Microsoft’s initial Windows 11 hardware requirements were not really well received by users and they were not really clearly represented from the start making a lot of potential customers slowly drift away from the hype.
Error Code 0x80070057 - What is it?
Error 0x80070057 is a typical Windows 7 error code. It may occur when you try to back up files by using Windows Backup on Windows 7 and the backup fails. The error message is often displayed as the following:Besides this, you may also experience this error message when you format a hard disk drive to install Windows 7.“An internal error has occurred: The parameter is incorrect: (0x80070057)”
Solution
 Error Causes
The error 0x8007005 occurs due to multiple reasons. However, the most common causes for this error code include:
- The partition that is reserved for the system is damaged
- Misconfigured registry keys
- Misconfigured decimal symbol settings
Further Information and Manual Repair
Here are some of the best and easy DIY methods to resolve the error 0x80070057 on your PC.Solution 1: Change the Decimal Symbol Setting
As mentioned above the error 0x80070057 sometimes can be triggered by misconfigured decimal symbol settings. Therefore, try changing the settings to fix the problem. The error is likely to occur if the decimal symbol is not set to ‘.’ (dot). This is common in languages and locales other than English such as German. Here’s what you need to do to change the decimal symbol setting:- First, open the Control Panel, click the clock, then language, and then region.
- Now click the formats tab and go to the additional settings menu.
- Here you will find the decimal symbol field, now type "." (dot) and then click OK twice.
- After that, you must restart your PC to activate the changes.
Solution 2: Create a New Partition and Reinstall Windows 7
If the error 0x80070057 is linked to partition damage, then this method is the best way to resolve it. Here’s what you need to do:- Insert the Windows 7 DVD and start the installation.
- Select your language preference to install. Here you will see a screen of the Microsoft License Agreement. Click on the I accept option to proceed with the installation process.
- Choose a custom advance option and select the Disk O partition 1 option.
- Once selected, click delete. When you do this you will be prompted if you want to confirm the deletion, click OK to continue.
- Now repeat the same however now select Disk O partition 2.
Solution 3: Add a Registry Key Value
If the underlying cause of the error 0x80070057 is a registry issue, then it is serious as such issues can put your PC at serious risks like system failure, crash, and data loss. To resolve this error and add a registry key value here’s what you need to do: Go to the start menu and type Regedit.exe in the search bar and then press enter. Locate and click the following registry sub-key: HKEY_LOCAL_MACHINESOFTWAREPoliciesMicrosoftSystem. Once you locate it, now go to the edit menu and point to new, and then click DWORD Value. After that, type CopyFileBufferedSynchronousIo and press enter again. Right-click now on the text you just typed and then click Modify. In the Value data box, type 1 and then click ok and exit the registry editor. This will fix the error on a temporary basis but not permanently. However, a long-term solution is to clean and repair the registry.Solution 4: Restoro
The registry gets cluttered with unnecessary and redundant files like junk files, cookies, internet history, and bad registry keys. If these are not removed timely, they can damage the registry and corrupt DLL files. It often leads to disk fragmentation (disk partition) too. To remove these files immediately, clean and restore the registry and repair the corrupt files, it is advisable to download Restoro.Why Restoro
- This is an advanced and highly functional Registry Cleaner. It is deployed with a cutting-edge and intuitive algorithm that scans your entire PC to detect all registry issues in seconds. It cleans the cluttered disk and restores the registry back to normal.
- It is safe, bug-free, and efficient. This software is easy to use and compatible with all Windows versions.
- In addition to this, it is also deployed with several other powerful utilities like an antivirus that detects all malicious software and removes them right away. It also functions as a system optimizer and boosts the speed of your PC significantly.

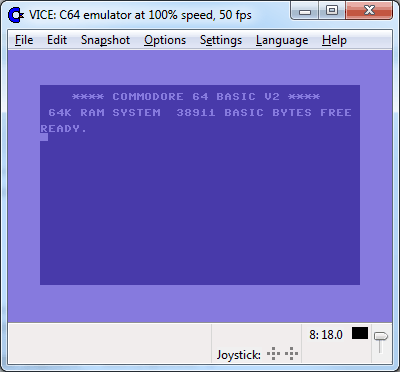
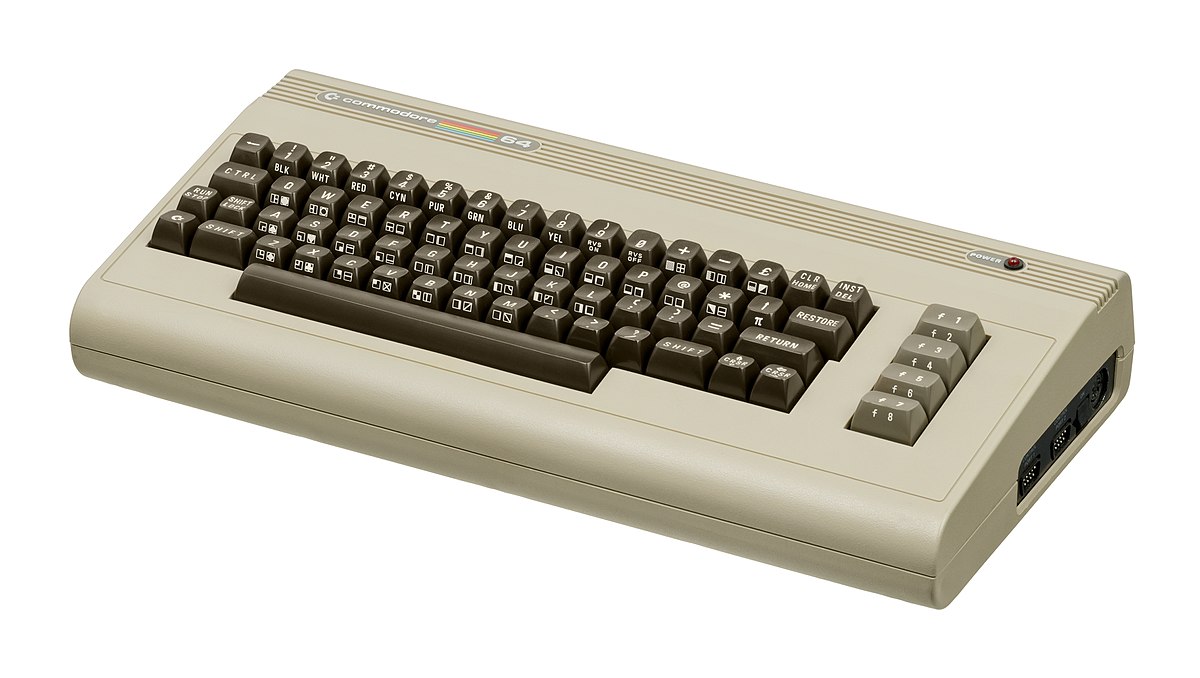 History of Commodore
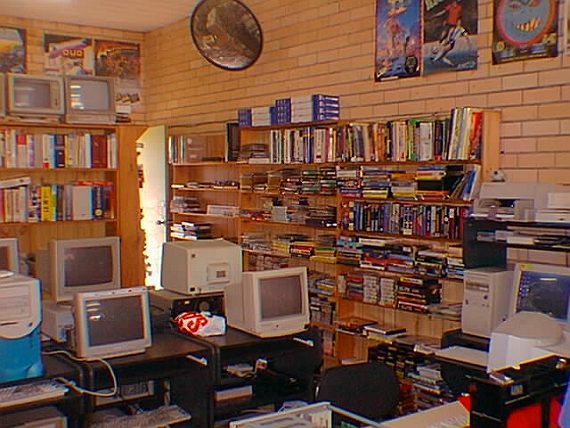 With sales booming and the early reliability issues with the hardware addressed, software for the C64 began to grow in size and ambition during 1984. This growth shifted to the primary focus of most US game developers. The two holdouts were Sierra, who largely skipped over the C64 in favor of Apple and PC compatible machines, and Broderbund, who was heavily invested in educational software and developed primarily around the Apple II. In the North American market, the disk format had become nearly universal while cassette and cartridge-based software all but disappeared. So most US-developed games by this point grew large enough to require multi-loading.
At a mid-1984 conference of game developers and experts at Origins Game Fair, Dan Bunten, Sid Meier, and a representative of Avalon Hill said that they were developing games for the C64 first as the most promising market. By 1985, games were an estimated 60 to 70% of Commodore 64 software. Over 35% of SSI's 1986 sales were for the C64, ten points higher than for the Apple II.
Everything was great for Commodore but the industry was moving forward and by the year 1988, PC compatible computers were stated to be the largest and fastest-growing home entertainment systems pushing C64 on to second place. Also, Nintendo’s gaming system has started to take hold in the world with amazing 7 million systems sold in 1988 only.
By the year 1991, many developers exited the gaming market for Commodore 64 home computer system and its popularity started to fall due to lack of software and not so many hardware changes.
With sales booming and the early reliability issues with the hardware addressed, software for the C64 began to grow in size and ambition during 1984. This growth shifted to the primary focus of most US game developers. The two holdouts were Sierra, who largely skipped over the C64 in favor of Apple and PC compatible machines, and Broderbund, who was heavily invested in educational software and developed primarily around the Apple II. In the North American market, the disk format had become nearly universal while cassette and cartridge-based software all but disappeared. So most US-developed games by this point grew large enough to require multi-loading.
At a mid-1984 conference of game developers and experts at Origins Game Fair, Dan Bunten, Sid Meier, and a representative of Avalon Hill said that they were developing games for the C64 first as the most promising market. By 1985, games were an estimated 60 to 70% of Commodore 64 software. Over 35% of SSI's 1986 sales were for the C64, ten points higher than for the Apple II.
Everything was great for Commodore but the industry was moving forward and by the year 1988, PC compatible computers were stated to be the largest and fastest-growing home entertainment systems pushing C64 on to second place. Also, Nintendo’s gaming system has started to take hold in the world with amazing 7 million systems sold in 1988 only.
By the year 1991, many developers exited the gaming market for Commodore 64 home computer system and its popularity started to fall due to lack of software and not so many hardware changes.
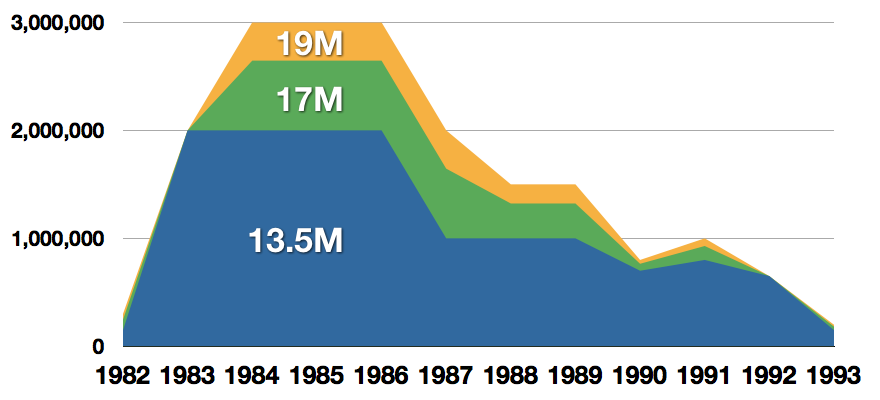 Commodore announced that the C64 would be finally discontinued in 1995.
However, only one month later in April 1994, the company filed for bankruptcy. When Commodore went bankrupt, all production on their inventory, including the C64, was discontinued, thus ending the C64's 11 and a half year production.
Commodore announced that the C64 would be finally discontinued in 1995.
However, only one month later in April 1994, the company filed for bankruptcy. When Commodore went bankrupt, all production on their inventory, including the C64, was discontinued, thus ending the C64's 11 and a half year production.
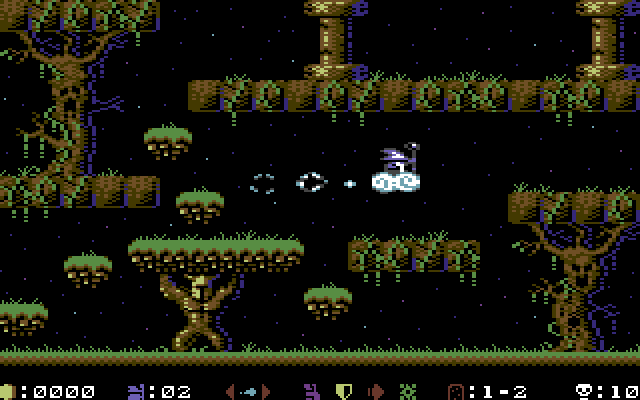 Zak McKracken and the Alien Mindbenders
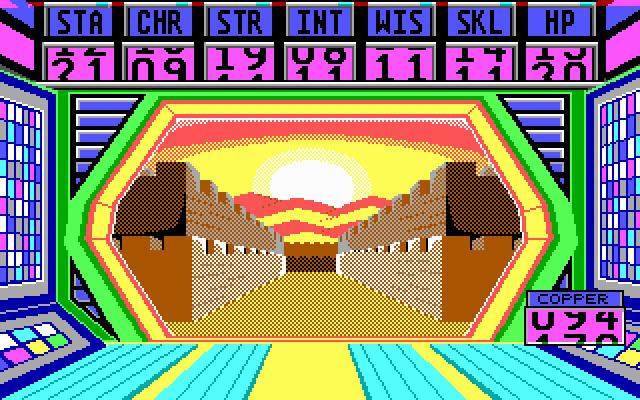
 If you are not keen on spending money for reliving and checking games or software of C64 here are some links to help you to at least experience part of it completely free.
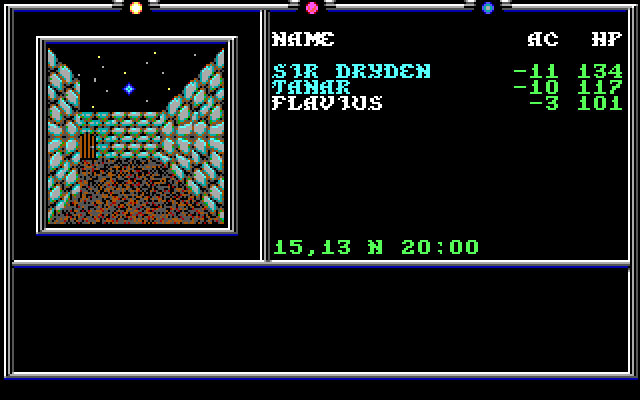
Commodore 64
If you are not keen on spending money for reliving and checking games or software of C64 here are some links to help you to at least experience part of it completely free.
Commodore 64