Downloading Windows Updates does not always go smoothly as you can encounter several issues like the “Some updates did not finish downloading, We will keep trying, Error code 0x80246007” error. In fact, this error can also occur on other Windows applications like OneNote.
According to security experts, this error happens for many reasons. For one, it could be that the Windows Update database is corrupted. It could also be that there is another process that’s in conflict with the Windows Update components or there might be some issue with the Background Intelligent Transfer Service (BITS). Whichever the cause may be, you can fix it by following the solutions given below.
You can also try deleting the contents in the Temporary folder – all the downloaded, pending, or failed Windows 10 updates. You can do that using the simple and easy steps below.
Running the built-in Windows Update troubleshooter is one of the things you can first check out as it is known to automatically resolve any Windows Update errors like Error code 0x80246007. To run it, go to Settings and then select Troubleshoot from the options. From there, click on Windows Update and then click the “Run the troubleshooter” button. After that, follow the next on-screen instructions and you should be good to go.
The problem might be due to some pending .xml file so you need to rename or remove it. To do so, just go to C:/Windows/WinSxS folder. From there, look for a pending .xml file – you can either rename it or delete it. This will allow the Windows Update to delete any pending tasks and build a new and fresh update check.
The Background Intelligent Transfer Service or BITS is a part of the Windows Update service that manages the background download of Windows Update, as well as scans for new updates and so on. Thus, if your Windows Update fails a couple of times, you might want to restart BITS. For you to do that, make sure that you have admin privileges.
Running the DISM Tool helps in repairing the Windows System Image as well as the Windows Component Store in Windows 10. Using this built-in tool, you have various options such as the “/ScanHealth”, “/CheckHealth”, and “/RestoreHealth”.
The downloaded Windows Updates are placed in a folder called “SoftwareDistribution”. The files downloaded in this folder are automatically deleted once the installation is completed. However, if the files are not clean up or if the installation is still pending, you can delete all the files in this folder after you pause the Windows Update service. For complete instructions, refer to the steps below.
net stop wuauserv
net start cryptSvc
net start bits
net start msiserver
After resetting the SoftwareDistribution folder, you need to reset the Catroot2 folder to restart the services you just stopped. To do that, follow these steps:
net start wuauserv
net start cryptSvc
net start bits
net start msiserver

 So there are several problems that can cause this error like issues with accessing the Microsoft servers, corrupt system files, settings being misconfigured, malware infections, or conflicting applications. We will cover all solutions for each scenario taking approaches from most simple solutions to more complex ones. Follow the guide and let's fix this annoyance.
CHKDSK [volume [[path] filename]] [/F] [/V] [/R] [/X] [/C] [: size]]Note: In the command given above, “[/F]” will try to fix the system errors while “[/R]” will be the one to fix the bad sectors.
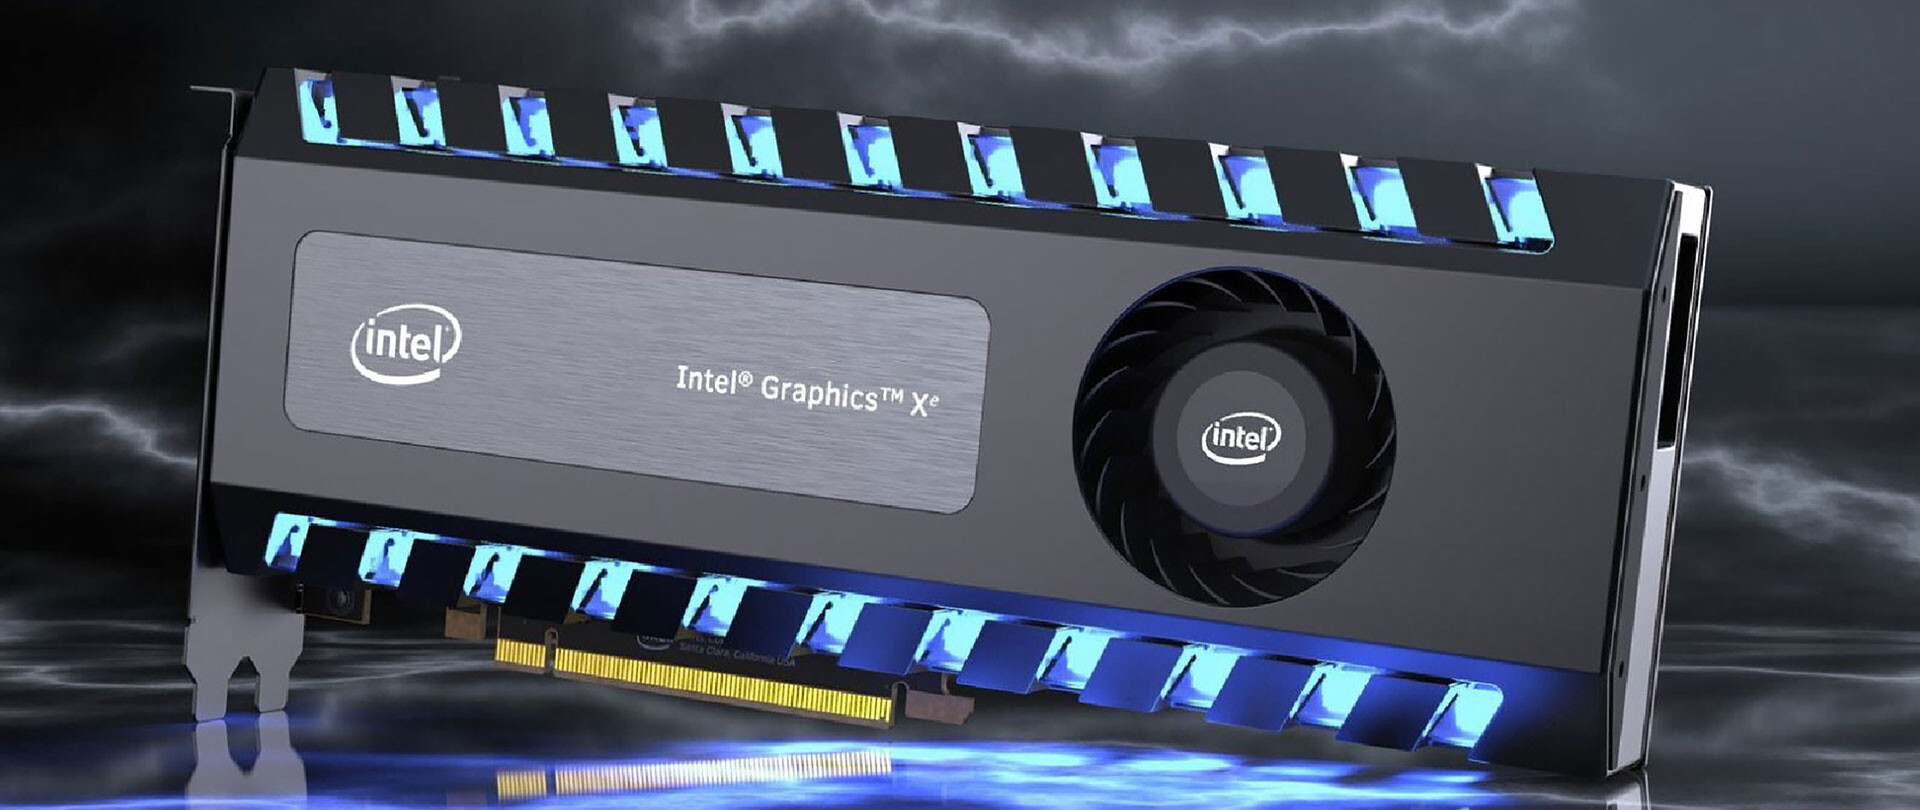 This is not the first time that Intel is trying to enter the GPU field but its adventures so far were, well let us agree not so good. All of that is hoping to be changed with the upcoming ARC GPU. The first generation of Arc graphics, code-named Alchemist and previously known as DG2, will support desktop PCs and laptops and is set to arrive in the first quarter of 2022.
Alchemist will have hardware-based Ray tracing and AI-driven supersampling. This indicates that GPU is aimed to compete in the Hi-end spectrum and battle side by side with Nvidia and AMD on the market. Alchemist will also pack full DirectX 12 Ultimate support.
Intel also released names for the next upcoming future generations of ARC GPUs: Battlemage, Celestial & Druid. More information about ARC products will be released later this year.
“Today marks a key moment in the graphics journey we started just a few years ago. The launch of the Intel Arc brand and the reveal of future hardware generations signifies Intel’s deep and continued commitment to gamers and creators everywhere,” Roger Chandler, Intel vice president, and general manager of client graphics products and solutions.
This is not the first time that Intel is trying to enter the GPU field but its adventures so far were, well let us agree not so good. All of that is hoping to be changed with the upcoming ARC GPU. The first generation of Arc graphics, code-named Alchemist and previously known as DG2, will support desktop PCs and laptops and is set to arrive in the first quarter of 2022.
Alchemist will have hardware-based Ray tracing and AI-driven supersampling. This indicates that GPU is aimed to compete in the Hi-end spectrum and battle side by side with Nvidia and AMD on the market. Alchemist will also pack full DirectX 12 Ultimate support.
Intel also released names for the next upcoming future generations of ARC GPUs: Battlemage, Celestial & Druid. More information about ARC products will be released later this year.
“Today marks a key moment in the graphics journey we started just a few years ago. The launch of the Intel Arc brand and the reveal of future hardware generations signifies Intel’s deep and continued commitment to gamers and creators everywhere,” Roger Chandler, Intel vice president, and general manager of client graphics products and solutions. Hello all the wonderful people and welcome to our new article where we take a little different turn than usual and discuss why keeping old electronics around the house is not such a good idea. We all have some drawer or in some bag around the house and in the end of the day if that electronic has battery inside it is probably not the smart thing to keep it.
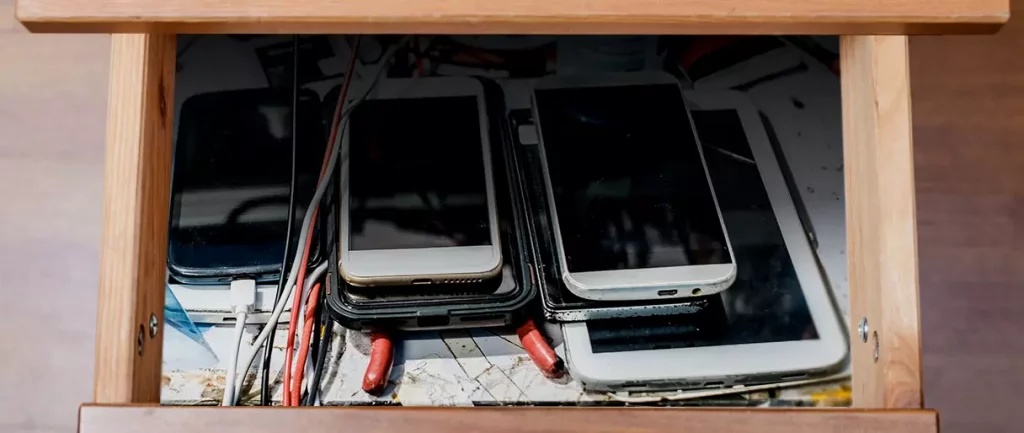
So naturally, the question comes why it is a bad idea to have old electronics with batteries in them? Well unlike a battery failure with, say, some AA batteries jammed in the back of an old toy, the risk with a lithium-ion battery failing isn’t just some leaking and corrosion in the battery compartment, it’s a potential fire as the battery swells up and the gases (combined with the stored energy) turn the battery into a potential fire hazard.
Good thing is that the battery will not explode just like that, it will swallow over time and get bigger and bigger until the breaking point is reached and all the fire breaks lose. So if by any chance you have some old gadgets lying around you can check up on them and see if has swelling process started, if yes, dispose properly of that piece of the old device immediately.
If you’re not ready to get rid of the gadget then it’s best to charge it properly for storage. Proper charging keeps the battery cells and circuits in optimum health.
While recommendations vary by manufacturer and application, the general consensus is that lithium-ion batteries should be charged to approximately 40%. (Some manufacturers recommend charging 50% or 60% instead.)
Really, the important part here isn’t the exact percentage. What’s important is ensuring that the battery is charged to roughly half capacity and not stored with a completely discharged or completely full battery.
Discharge rates on lithium-ion batteries in completely powered-off devices are very slow, but you should still plan to top off the charge every 12-18 months or so to keep it around 50%.
If you wanted to go above and beyond, a metal storage container with a snug lid on a basement shelf with a desiccant pack inside to control the moisture would offer optimum conditions.
Windows 10 and Windows 11 have automatic dynamic screen brightness depending on the surrounding light inside the room. Please take note that this option is available only on devices with build-in screens like laptops, tablets, and all in one desktop PC. If you are connected with your PC via an external monitor you will not have these settings available and probably feature is not even working.

Some computers will also allow automatic brightness changes also on what is displayed on the screen. This option is meant to save battery life on devices. Microsoft calls this automatic brightness feature Content adaptive brightness control. In order to change this setting, we will go to settings inside Windows.
Open Settings inside Windows, in Windows 11 press WINDOWS + I to open settings, then click on the system in the sidebar and then go to Display. Click on the small arrow beside the Brightness slider in order to expand a small menu and then uncheck Help improve battery by optimizing the content show and brightness. If you see Change brightness automatically when lighting changes, uncheck that as well. Close the settings and you are good to go, now brightness will always be as set in settings.
Inside Windows 10, go to Settings and then go to System and then in Display under the Brightness and Color section look below and locate the box that says Automatically adjust contrast based on the displayed content to help improve battery and uncheck it, if the box below with text Change brightness automatically when lighting changes exists, uncheck it as well. Close settings and you are done.
“0x8007001F-0x20006, The installation failed in the SAFE_OS phase with an error during REPLICATE_OC operation.”The error pointed out the “Safe OS phase”. It is the phase that’s initiated to install all the required Windows Updates. Thus, the possible cause for this error could have something to do with an interrupted download, internet connection, and many more. Although this error could be caused by a lot of factors, fixing it shouldn’t be that hard. You can try to reset the Windows Update Components or delete the Windows Update cache. You could also disable both the Firewall and your antivirus program temporarily or run the Windows Update in a Clean Boot state, as well as run the Windows Update troubleshooter. To get started troubleshooting the error, follow each one of the suggestions provided below.
Windows 10X is a new version of Windows that has been built from the ground up for new PCs and will begin shipping on hardware in 2021. It's built on top of a new modern version of Windows called 'Windows Core OS' that guts legacy components and features in favor of contemporary user experiences and enhanced security. This means everything from the Windows Shell to the underlying OS has been rebuilt with modern technologies.
As a result, Windows 10X does not support legacy Win32 applications at launch. Windows 10X PCs in 2021 will be able to run Microsoft Edge, UWP, and web apps. Legacy Win32 application support will arrive at a later date, however. When it does, Win32 applications will run in a secure container by default, meaning those legacy applications cannot affect system performance and battery life when closed. Windows 10X is a much more secure and stable OS as a result of this, as there's no opportunity for legacy apps to cause bitrot.
Windows 10X features a new shell of the user interface that has been built with modern technologies. It's an adaptive user experience that can adjust depending on the "posture" of your device. For example, with a foldable PC, the user might want to use it in several different ways; as a laptop, or tablet, or in tent mode for movies. Because of this, the user interface must adapt to provide the best experience no matter which way your device is being used. This also means that legacy shell elements, such as the Control Panel, File Explorer, and error dialogs and icons are gone on Windows 10X. As Microsoft has rebuilt the entire shell, it doesn't include any of the legacy things that make Windows 10 so inconsistent when it comes to UI. The Windows Shell on Windows 10X should be much more consistent. At launch, Windows 10X will only be available on traditional clamshell PCs aimed primarily at the education and enterprise markets. The platform will eventually ship on the new devices from factors such as foldable PCs, but that won't be happening in 2021.