Error Code 0xc00007b – What is it?
When error code 0xc00007b occurs in Windows 8, users are unable to run gaming or multimedia programs on their devices. The message box will occur stating that
error code 0xc00007b is present. This issue is usually related to software conflict associated with the use of a gaming program that has errors. It may also result when users use applications that are not compatible with the version of Windows they have installed on their machine.
Solution
 Error Causes
Error codes on Windows devices can result from many reasons, including lack of proper PC maintenance, the presence of malware, and issues related to servers. In the case of error code 0xc00007b, it manifests itself on various versions of the Windows operating system when users attempting to run applications incompatible with their system or use the incorrect bit location. To correct these issues that may be causing error code 0xc00007b, users will need to use manual repair methods listed in this article. Failure to rectify this error code could result in others such as error code 0xc0000142.
Further Information and Manual Repair
The manual repair procedures listed in this article do not require extensive technical knowledge. Thus, even average Windows users will be able to apply these solutions in order to fix error code 0xc00007b in Windows 8. However, in case of difficulty applying the solutions listed below, contact a Windows repair technician.
Method One: Install Windows Updates
One of the first manual repair methods you can attempt is to use Windows Update. This will enable users to access the latest updates for the version of Windows they have on their system. To update your system, follow the instructions below.
- Step one: Open Start Menu, then select Settings
- Step two: Select Update & security
- Step three: Select Windows Update
- Step four: Install updates if any are available
After you’ve completed the installation of the latest updates, reboot your machine then attempt to run the gaming application you were unable to open due to error code 0xc00007b. You should be able to run the application if Windows Update fixed the issue. However, if the error code reoccurs, proceed to the next manual repair method by installing Microsoft DirectX.
Method Two: Install Microsoft DirectX
Another important manual repair method relates to the use of DirectX, a free tool available to Windows users regardless of the version of the Windows operating system present on their PC. Visit Microsoft’s official website and search for DirectX End-User Runtime Web Installer. Ensure you access the latest version of the program, then click download.
The app enables Windows users to access high-speed gaming by providing a powerful platform for games and multimedia applications. Access to the latest version of DirectX can help users fix the issues causing error code 0xc00007b in Windows 8.
When the installation process is complete, reboot your PC, then proceed by checking if you are able to run your gaming applications. If you are still unable to run the applications the issue will need to be resolved via another manual repair method.
Method Three: Install Latest Version of .NET Framework
Access the latest version of Microsoft’s .NET Framework to complete the final manual repair method. Be sure to follow the steps listed below to download the latest version of the .NET framework. This is crucial as only the latest version of the framework is equipped with the necessary capabilities required to successfully address the issues causing error code 0xc00007b on your device.
- Step one: Open your favorite web browser
- Step two: Enter www.microsoft.com/net
- Step three: Click Downloads
- Step four: Select the latest version of the .NET Framework by clicking the framework at the top of the list. (Currently, the latest version is .NET Framework 4.6.2.)
- Step five: Select preferred language, then download
- Step six: Run software.
Restart your computer after you’ve downloaded the latest version of the .NET framework. Open the gaming application you were previously unable to run due to error code 0xc00007b.
You’ll be able to access all your gaming or multimedia programs if the issue was resolved via this manual repair method. Otherwise, you may need to reinstall the programs you are unable to run as there may be an issue with the program itself resulting in software conflict or the inability to run other gaming programs.
Method Four: Download an Automated Tool
If you wish to always have at your disposal a utility tool to fix these Windows 8 and other related issues when they do arise, download and install a powerful automated tool.

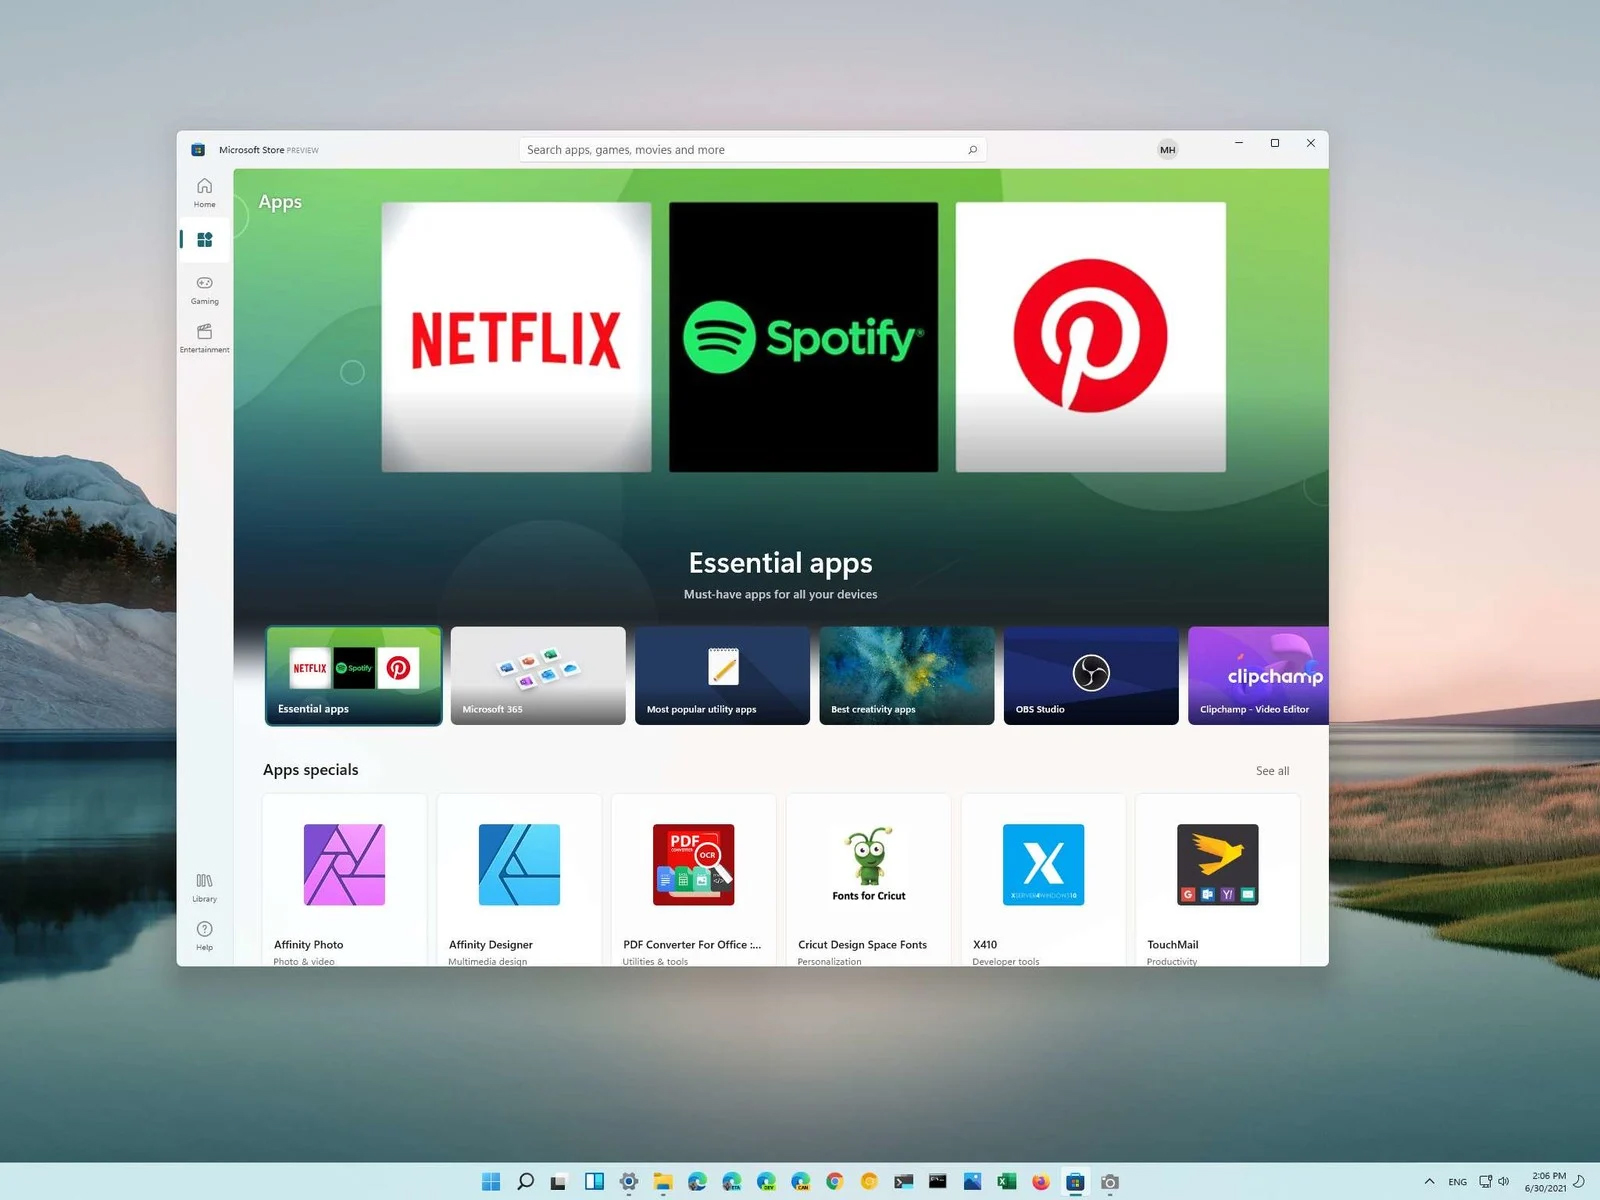 You can prevent starting of app installations files if they have not come from the MS store inside Windows 11.
This can make your PC more secure because all apps in the store will have to be digitally signed and overall it can provide you with more control over what will be installed.
Follow the guide below to find out how can you easily turn this feature ON.
You can prevent starting of app installations files if they have not come from the MS store inside Windows 11.
This can make your PC more secure because all apps in the store will have to be digitally signed and overall it can provide you with more control over what will be installed.
Follow the guide below to find out how can you easily turn this feature ON.