Error Code 0xC004C4AE - What is it?
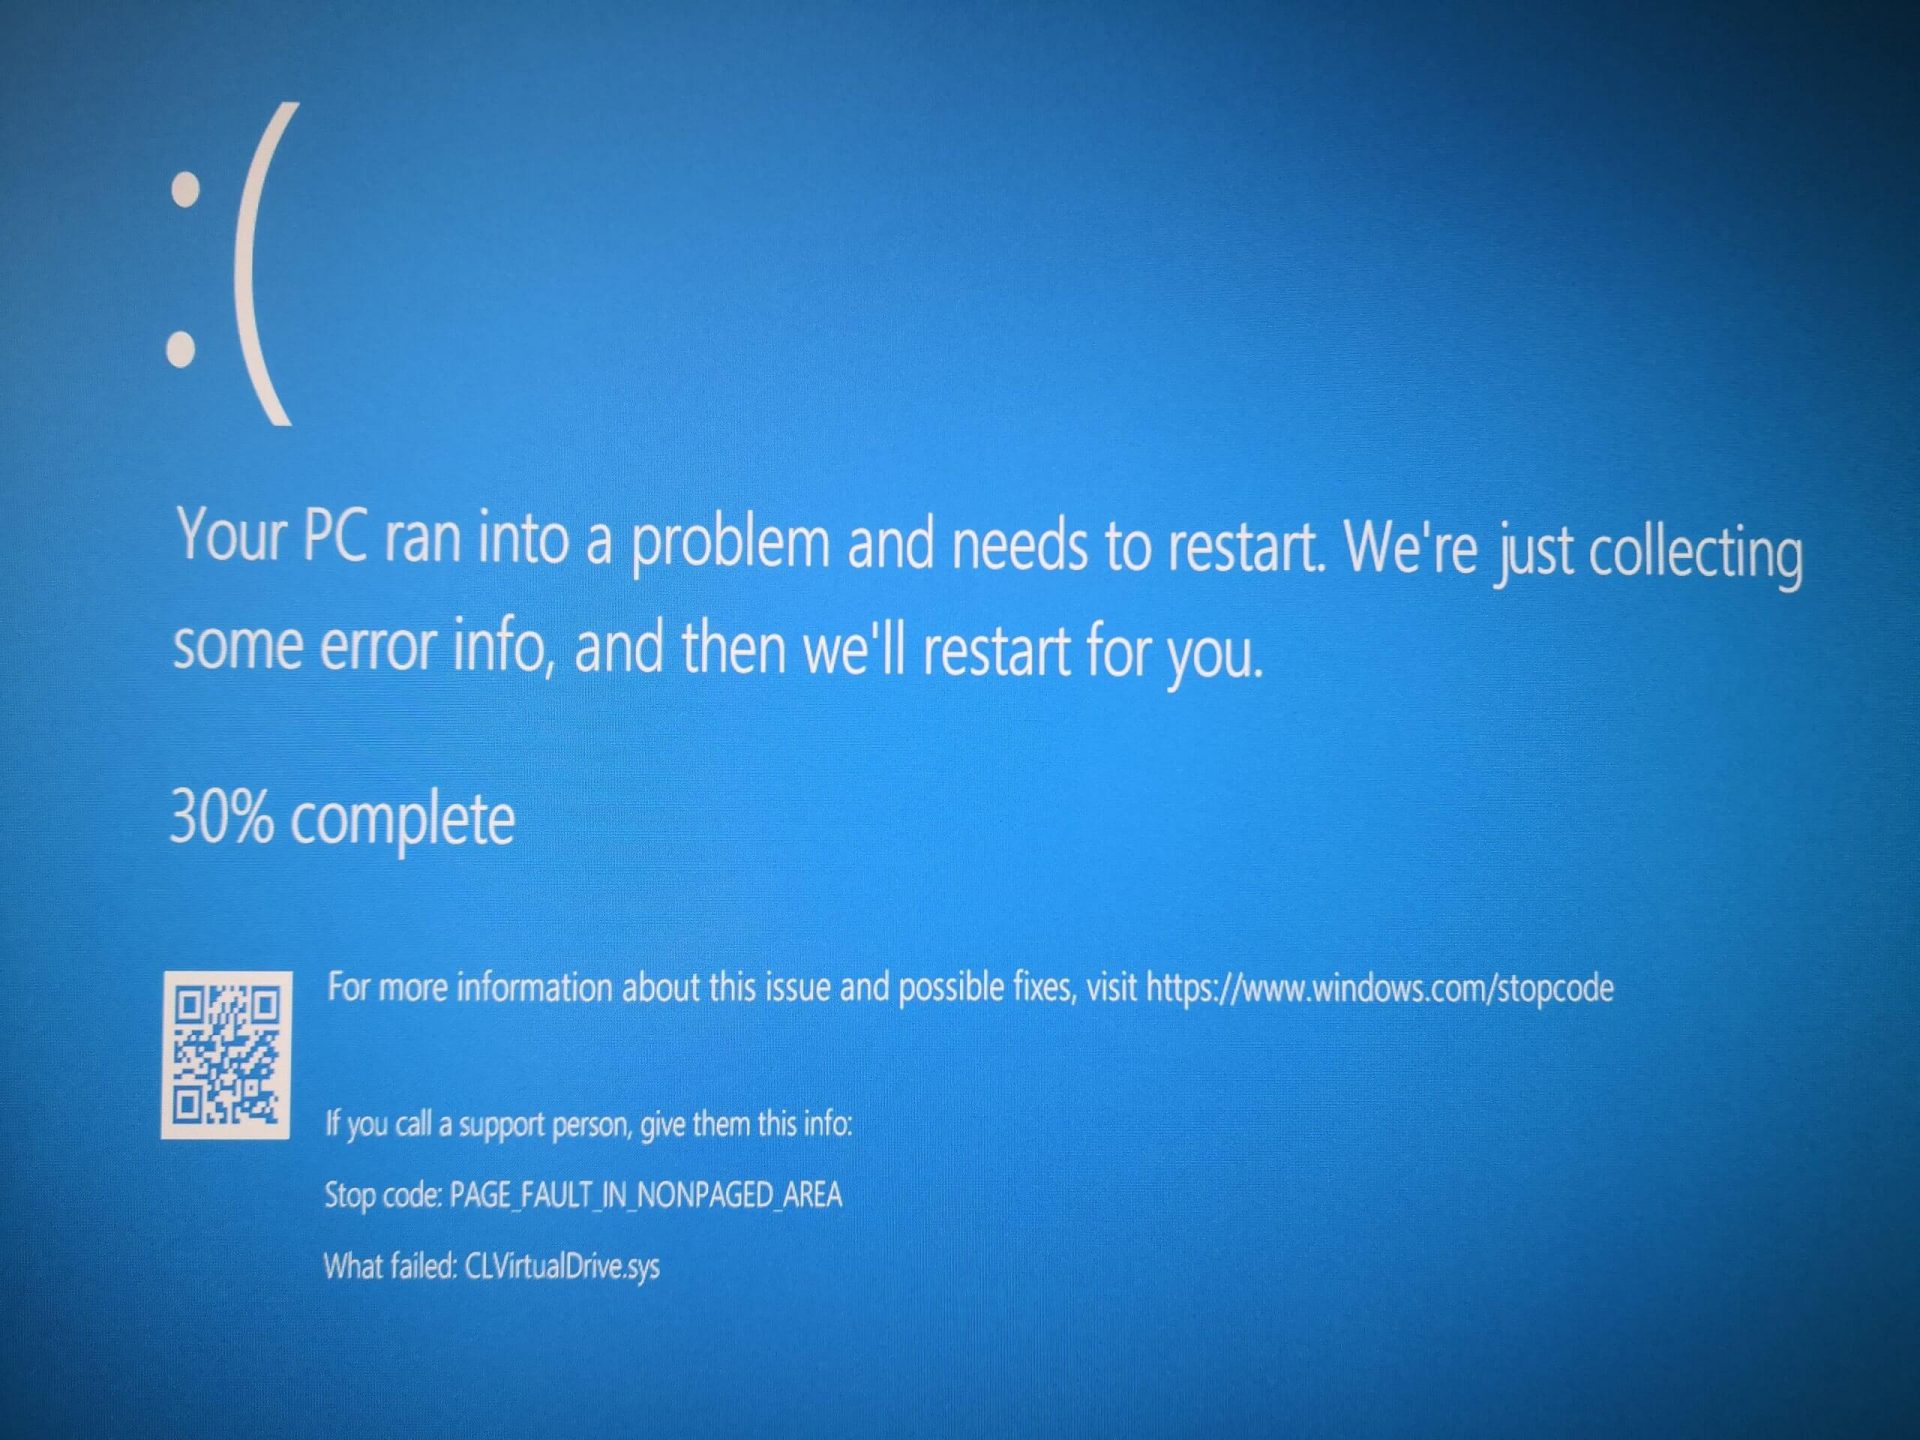
Activation errors in Windows 10 can interfere with your ability to fully use the system. When Error Code 0xC004C4AE appears on your computer, you may see a message that shows that the validation process has been stalled due to binaries that appear to have been tampered with.
While the text of this message may sound intimidating to people who are not familiar with the inner workings of the Windows 10 system, the basic meaning of the error message is that something has been introduced to the system that is not natively supported in Windows 10. During the Activation process, Windows checks to ensure that all of the Windows elements that are currently on the computer are valid and authentic to the Windows system. Usually, this particular error code refers to a language package that has been downloaded into the system using an outside application, which the Windows 10 operating system does not support.
Common symptoms include:
- An error message when the activation is attempted
- Inability to complete the Windows 10 Activation process
- Inability to fully use apps in Windows 10 until the issue is resolved
This particular error can easily be resolved with a few simple steps. However, if you are not confident in your ability to use the methods below or they do not fully remove the issue on your computer, you may want to seek the assistance of a qualified repair technician who is well versed in the Windows 10 Activation process.
Solution
 Error Causes
The most basic cause of Error Code 0xC004C4AE is that an unsupported language package has been enabled in the computer. This most often occurs when third-party applications have been used to introduce additional display languages to your system. While third-party applications that provide language packs are acceptable in some versions of the Windows operating system, the Windows 10 Activation process will not be able to complete if the system detects that one of these unofficial language packs exists on your machine.
Further Information and Manual Repair
There are several methods that may be helpful in resolving the basic issue in the display languages that causes Error Code 0xC004C4AE to appear:
Method 1: Restore Your System to an Earlier Point to Revert Changes
Use a backup copy to restore your computer to an earlier date, in effect undoing the changes that caused the error. When your system has been restored, you will be able to go through any language packs that are not native to the Windows operating system and remove them before re-attempting the installation and activation of the Windows 10 system.
This method is most useful if you keep a regular backup of your system and files. If you do not regularly back up the information on your computer, attempt one of the other methods instead. If you are unsure of how to use a backup to revert your changes or are not comfortable completing this step on your own, contact a certified Windows technician to assist you in the process.
Method 2: Revert to an Earlier System to Remove the Language Pack
If you are unable to restore your system using a backup, the other option to resolve Error Code 0xC004C4AE is to halt your installation of Windows 10 and go back to Windows 7 or Windows 8.1, from which you will be able to remove the language pack in question. Once the offending language pack has been completely removed from your computer, the Windows 10 Activation process should be able to proceed normally.
Several versions of windows don’t support language packages, so the best way to prevent this error from occurring is to avoid using any kind of third-party tool to install additional languages onto your Windows system. Activities Language You may be able to use third-party tools to instead complete alternative language actions without installing these languages as language packs.
If the above solutions do not help you to resolve Error Code 0xC004C4AE on your machine, get in touch with a qualified Windows repair technician, who may be able to perform the operations needed to remove the problematic language pack from your computer and allow the Windows 10 Activation process to continue to completion.

 Rollback using system restore
 When the personalization setting opens go-to color tab on left and scroll down until you find 2 checkboxes under "show accent color on the following surfaces:"
 check ones you wish to apply the effect to and you are done. Now your START menu and/or title bars are using the color scheme of your choice.
  The latest update from Panos Panay on Twitter is including New and redesigned Snipping tool inside Windows 11. From the shared video, we can see that it includes modern Windows 11 UI redesign and it looks and feels like a part of Windows 11.
More things that can be seen from the shared video is that it looks like the new snipping tool is a merged version of the old with snip & sketch.
It is good to see that it is still possible to capture screen with easier way natively inside Windows 11 but some more functionality would be more welcome I guess.
Users were asking for added functions for a long time like adding simple text for example but from shared video, no new features were presented so for some users 3rd party solutions will still be the way to go.
The new and redesigned Snipping tool will roll out with the next update and we will see then about all new features inside it firsthand. Until then, take care.
The latest update from Panos Panay on Twitter is including New and redesigned Snipping tool inside Windows 11. From the shared video, we can see that it includes modern Windows 11 UI redesign and it looks and feels like a part of Windows 11.
More things that can be seen from the shared video is that it looks like the new snipping tool is a merged version of the old with snip & sketch.
It is good to see that it is still possible to capture screen with easier way natively inside Windows 11 but some more functionality would be more welcome I guess.
Users were asking for added functions for a long time like adding simple text for example but from shared video, no new features were presented so for some users 3rd party solutions will still be the way to go.
The new and redesigned Snipping tool will roll out with the next update and we will see then about all new features inside it firsthand. Until then, take care.  Since the Control Panel icon itself is somewhat not right away once clicked on the start button we are presenting you a couple of ways to open it so you can change each detail you want.