Google Chrome, Microsoft Edge, Mozilla Firefox are some of the leading browsers commonly used these days and they all include an embedded copy of the Adobe Flash Player. So if you are running a Windows 10 PC then you can have up to 4 copies of Adobe Flash Player; one for Microsoft Edge, one for Internet Explorer, one for Opera, one for Firefox. You might also experience cases wherein two flash players are simultaneously running, i.e. one installed in Chrome as a single plug-in and another one installed in Windows, trying to parse the data. And in such cases, you might consider removing or uninstalling one of the versions of Adobe Flash Player. If you do, then you’ve come to the right place as this post will guide you in disabling the embedded Adobe Flash Player in Windows 10.
Before you get started in removing the Adobe Flash Player in Internet Explorer & Microsoft Edge browser, you need to sign in with your administrative account even if don’t use it or set it as the default browser. After you’ve signed in to your administrative account, follow the steps below.
Step 1: Open your browser, if you are using Edge then open it.
Step 2: After opening your browser, go to its Settings and select Advanced Settings.
Step 3: Next, Move the slider against the “Use Adobe Flash Player” option to off.
Step 4: After that, open File Explorer and navigate to this address, “C:/Windows/servicingPackages” and from there, check on the following entries:
- Adobe-Flash-For-Windows-Package~31bf3856ad364e35~amd64….(version number of the Flash Player)
- Adobe-Flash-For-Windows-WOW64-Package~31bf3856ad364e35~amd64….(version number of the Flash player #)
- Adobe-Flash-For-Windows-onecoreuap-Package~31bf3856ad364e35~amd64…(version number of the Flash Player)
Step 5: Take note of all the listed package names of Adobe Flash Player and tap the Win + R keys to open the Run dialog box and type “Regedit” in the field and hit Enter to open the Registry Editor.
Step 6: Next, right-click on the three keys which have the name of the packages you listed and select “Permissions” one after the other.
Step 7: Then check “Allow” to enable full control for the Administrators account and click OK to save the changes made.
Step 8: Select the three keys one after the other and select Visibility DWORD located on the right side and then right-click on Visibility and change the Value data from 2 to 1.
Step 9: Go over the same procedures again for the other keys. Once you’ve completed then you should now be able to remove packages using the DISM tool.
Step 10: Simply open an elevated Command Prompt and execute the following commands:
- dism /online /remove-package /packagename:Adobe-Flash-For-Windows-Package~31bf3856ad364e35~amd64-10.0.17134.1
- dism /online /remove-package /packagename:Adobe-Flash-For-Windows-WOW64-Package~31bf3856ad364e35~amd64-10.0.17134.1
- dism /online /remove-package /packagename:Adobe-Flash-For-Windows-onecoreuap-Package~31bf3856ad364e35~amd64-10.0.17134.1
Keep in mind that the numbers at the end could be different on your computer due to the difference of version number so you have to use the numbers on your system. After that, reboot your computer.

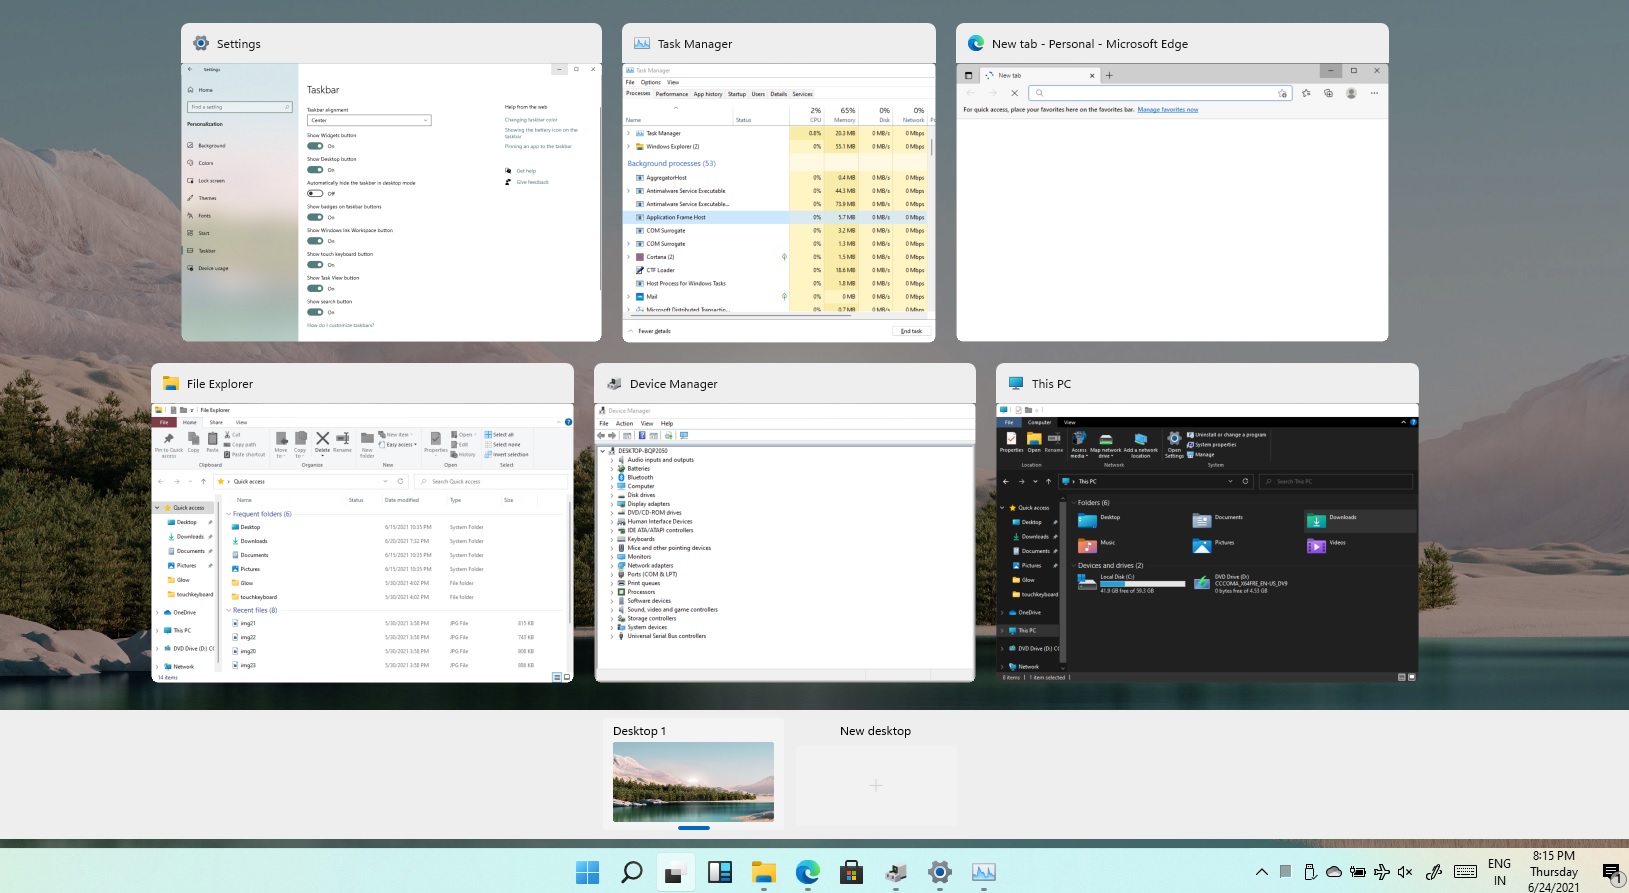 Task View feature inside Windows 11 is actually a great feature, letting you quickly view open windows and virtual desktops. How Task view itself could be reached with keyboard shortcut combination of ⊞ WINDOWS + TAB some users will prefer this way of using it and thus button on the taskbar is something you do not want or need.
There is a very easy way to remove mentioned button and I will show you how to do it.
Right-click the taskbar button itself and click on Hide From Taskbar.
That’s it, you have done it.
Now in order for you to bring it back if you change your mind, you will have to do some extra steps but it is nothing difficult.
Right-click on the taskbar and click on Taskbar settings, you will be lead to Personalization > Taskbar.
Inside locate Taskbar Items and switch Task View to ON, you will see the Task View button right away showing itself again.
Task View feature inside Windows 11 is actually a great feature, letting you quickly view open windows and virtual desktops. How Task view itself could be reached with keyboard shortcut combination of ⊞ WINDOWS + TAB some users will prefer this way of using it and thus button on the taskbar is something you do not want or need.
There is a very easy way to remove mentioned button and I will show you how to do it.
Right-click the taskbar button itself and click on Hide From Taskbar.
That’s it, you have done it.
Now in order for you to bring it back if you change your mind, you will have to do some extra steps but it is nothing difficult.
Right-click on the taskbar and click on Taskbar settings, you will be lead to Personalization > Taskbar.
Inside locate Taskbar Items and switch Task View to ON, you will see the Task View button right away showing itself again. 
 For many people that are playing online games, this is not such a big deal since they always must have the latest version in order to play their games but for other ones, this has arrived as a bit of a problem. Many people preferred older game versions since often updates can change certain mechanics inside the game making it different as an experience or introduce some elements that not everyone likes.
So far, people could use the steamDB site to find depo of the game versions you would like to play and download it but if this beta code goes live that will not be an option anymore. Now, playing old games without updates could also be used for nostalgic reasons and these people have also been cut off with this update.
It is important to point that update is still in beta client only but users have already started to voice their opinions asking Valve not to place it live. In the end, it will all depend on Valve’s decision will they listen to their customers or decide to push updates on live service.
For many people that are playing online games, this is not such a big deal since they always must have the latest version in order to play their games but for other ones, this has arrived as a bit of a problem. Many people preferred older game versions since often updates can change certain mechanics inside the game making it different as an experience or introduce some elements that not everyone likes.
So far, people could use the steamDB site to find depo of the game versions you would like to play and download it but if this beta code goes live that will not be an option anymore. Now, playing old games without updates could also be used for nostalgic reasons and these people have also been cut off with this update.
It is important to point that update is still in beta client only but users have already started to voice their opinions asking Valve not to place it live. In the end, it will all depend on Valve’s decision will they listen to their customers or decide to push updates on live service. 