Fix Invalid file handle Error during ...

If you encounter an error saying, “Invalid file handle” when you try to rename, copy, delete a file or other operations in your Windows 10 computer, then read on as this post will guide you in what you can do to fix it. This kind of error pops up when the operating system tries to carry out an operation on a folder or file using the following words:

CON, PRN, AUX, NUL, COM1, COM2, COM3, COM4, COM5, COM6, COM7, COM8, COM9, LPT1, LPT2, LPT3, LPT4, LPT5, LPT6, LPT7, LPT8, and LPT9

When you rename or create a folder or file using the reserved words given above, you could encounter an error that says, “The specified device name is invalid”. This occurs since these words are Windows system reserved words that you can’t use, unlike any other words. Thus, if you have a folder or file which contains any of the reserved words on another computer that runs a non-Windows operating system and you try to copy or rename it Windows, then it’s no wonder why you’re getting this error message.

In such cases, you can always click on the Skip button to stop the operation. However, if there are various folders or files, you can just use the Command Prompt to carry out the task. All it takes is a simple command that will get rid of the folder as well as the files in it. How? Refer to the instructions given below.

Step 1: Tap the Win + R keys to open the Run utility.

Step 2: Next, type “cmd” in the field and then tap Enter to open Command Prompt.

Step 3: After opening Command Prompt, execute the following command:

rd \.file-folder-path /S /Q

Note: The “rd” command will remove the directory or the folder while the “\.” command will select the current computer. The “/S” command, on the other hand, helps you in removing all the sub-directories and the files that are in the CON folder. The “/Q” command is not really mandatory since it helps you remove everything silently without any confirmation message. For example, if you have a folder named “CON” located on your Desktop, the path will be like this “C:/Users/<username>/Desktop/CON”. In this case, the command should be like this:

rd \.C:Users<username>DesktopCON /S /Q

However, if the error pops up for a whole different reason, you could use the following command instead to remove the reparse point extended functionality. Once you’ve entered the given command below, you should now be able to delete the file.

FSUTIL reparsepoint delete C:Users<username>DesktopFileName

DEL C:Users<username>DesktopFileName
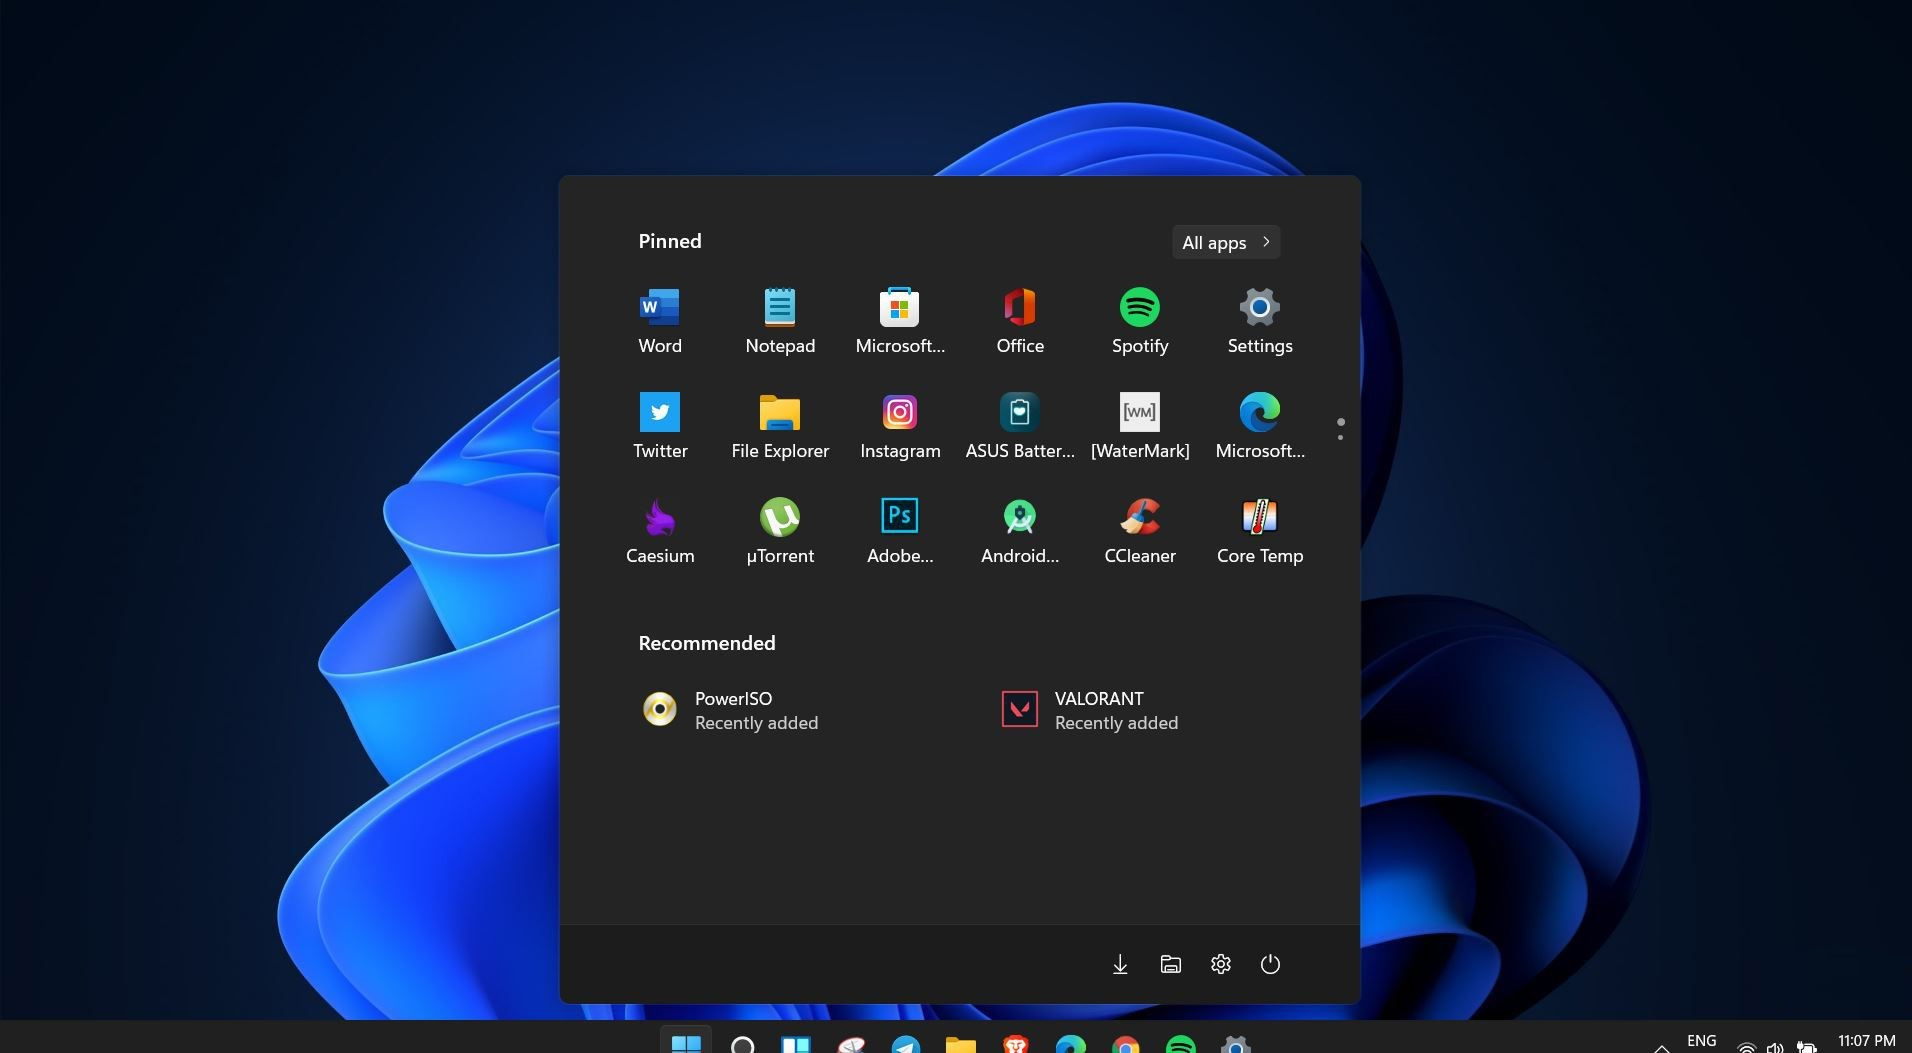
Do You Need Help with Your Device?

Our Team of Experts May Help
Troubleshoot.Tech Experts are There for You!
Replace damaged files
Restore performance
Free disk space
Remove Malware
Protects WEB browser
Remove Viruses
Stop PC freezing
GET HELP
Troubleshoot.Tech experts work with all versions of Microsoft Windows including Windows 11, with Android, Mac, and more.

Share this article:

You might also like

Fix Hello Errors 0x801c004d or 0x80070490
As you know, Windows Hello offers you quick access to computers since you can log in to your Windows devices three times faster compared to passwords with the help of the camera via Face recognition and fingerprint reader. This way, Windows Hello will recognize you right away. However, there are also times when you might encounter some problems when using Windows Hello. For one, if you are trying to add the PIN method to Windows Hello on your Windows 10 computer but you suddenly encountered an error code of 0x801c004d or if you are trying to use your existing pin and you encounter an error code of 0x80070490 along with an error message that says, “Not recognized”, then read on as this post will guide you on how you can fix both of these errors. Here is the complete content for both errors:
  • 0x801c004d – Unable to enroll a device to use a PIN for login”
  • 0x80070490 - Not recognized, Pin and fingerprint are no longer options for signing in”
If you got any of these two errors, there are several potential fixes you can check out to resolve them. You can try to check for any Windows Updates or create the PIN again or check the CNG Key Isolation Service. You could also try to reset the TPM or create a new User Account. For more information, follow the instructions provided below.

Option 1 – Try checking for any available Windows Updates

The first thing you can do is to check for any available Windows Updates. It is possible that your computer may be outdated and is the reason why you’re having troubles with Windows Hello. To check for Windows Updates, just go to Settings and from there, head over to the Update and Security section and click on Windows Updates located on the left pane, and then click on the Check for Updates option. Wait until the process of checking updates is completed and if it finds new updates, install it. After you install the new Windows Updates, check if you can now add the PIN on Windows Hello or not.

Option 2 – Try creating the PIN again

The next thing you can do is to create the PIN again by signing out and signing in again and then try creating the PIN once more. If this does not work, you can try restarting your computer and creating the PIN again. You could also try removing the PIN and then change it.
  • Remove the PIN by going to Settings > Accounts > Sign-in options.
  • From there, go to the PIN section and click on the Remove button.
  • You will be asked to verify your account to proceed in removing the PIN, enter your credentials.
  • Restart your computer and then set up a new PIN.
  • Once you’re done, restart your computer and check if the error is gone now.

Option 3 – Try checking the CNG Key Isolation Service

The CNG Key Isolation Service is the one that stores and uses long-lived keys in a secure process complying with the common criteria requirements and it is possible that the error could be related to this service. This service is hosted in the LSA processes and provides key process isolation to private keys and associated cryptographic operations as required by the common criteria. Thus, you need to check this service to see if it’s the one that’s causing the error.
  • Tap the Win + R keys to open the Run dialog box and type “services.msc” in the field and hit Enter to open the Windows Services Manager.
  • Next, locate the “CNG Key Isolation Service” and once you find it, double click on it to open its Properties box.
  • After opening its Properties, check its Startup type and select Manual. This is the default setting and if it is Disabled, then it’s no wonder why you’re getting errors with Windows Hello, thus, you need to enable it.
  • Once done, restart your computer and check if you can now add the PIN to Windows Hello. If you still get the error, then you might want to try setting the CNG Key Isolation Service from Manual to Automatic and then click on the Start button and see if it fixes the error or not.

Option 4 – Try to reset the Trusted Platform Module or TPM

You might also want to try resetting the Trusted Platform Module or TPM to fix the error. You can do this by opening Windows PowerShell and then executing the “Clear-Tpm” command. After that, check if the error is now resolved.

Option 5 – Try to create a new User Account

You could also try to create a new User Account on your Windows 10 computer to fix the Windows Hello error. Once you have created a new local user or administrator account in Windows 10, check if you are now able to add the PIN from this newly created user account.
Read More
Windows requires a digitally signed driver
Device drivers are needed in order for the hardware and software to communicate in an operating system. Some of these drivers are digitally signed. These kinds of drivers are drivers that are signed by their issuing authority in a way that the end-user or any third party won’t be able to modify them. And there are times when you encounter an error that says, “Windows requires a digitally signed driver” when you try to install or update device drivers. Driver Signing is the process of associating a digital signature with a driver package. Digital signatures are used in Windows device installations to verify the identity of the vendor providing the driver packages as well as to verify the integrity of the driver packages. All the drivers you usually install on your PC from Windows Update, Original Equipment Manufacturers, or some other third-party driver download software and so on must be verified digitally by Microsoft through the digital signature. A digital signature is an electronic security mark that verifies the publisher for the driver and all the relevant information related to it. That’s why Windows won’t run a driver if it isn’t certified by Microsoft, be it a 32-bit or 64-bit system – this is called the Driver Signature Enforcement. The only Kernel-mode drivers that Windows 10 will load are the ones that are digitally signed by the Dev Portal. However, the changes only affect the new installations of the operating system with Secure Boot on while the non-upgraded fresh installations would require drivers that are signed by Microsoft. The “Windows requires a digitally signed driver” error indicates that the driver you are trying to update or install hasn’t been signed digitally by the issuing authority, preventing you from installing or updating it. To resolve this issue, you can try to update the drivers directly from the manufacturer’s site. You could also disable driver signing via Group Policy Editor.

Option 1 – Update the device drivers directly from the manufacturer’s site

The reason why you’re getting the “Windows requires a digitally signed driver” error in the first place is that you might have downloaded the drivers from external media. It could also be that the drivers didn’t update for some time now and the issuing authority changed its policies. Thus, you can try to update the drivers straight from the manufacturer’s website and install them. If this option didn’t work, then you’ll have to disable the driver signing or its recognition in Windows 10. Keep in mind that doing so is not advisable if you have to use the concerned driver.

Option 2 – Disable driver signing via Group Policy Editor

  • Tap the Win + R keys to open the Run utility and type “gpedit.msc” in the field and tap Enter to open the Group Policy Editor.
  • After that, navigate to this policy setting: User configuration > Administrative templates > System > Driver installation
  • Next, double click on the “Code signing for device drivers” entry located on the right pane to open its properties where you’ll see the following description:
“This setting determines how the system responds when a user tries to install device driver files that are not digitally signed. It establishes the least secure response permitted on the systems of users in the group. Users can use the System in Control Panel to select a more secure setting, but when this setting is enabled, the system does not implement any setting less secure than the one the setting established. When you enable this setting, use the drop-down box to specify the desired response. “Ignore” directs the system to proceed with the installation even if it includes unsigned files. “Warn” notifies the user that files are not digitally signed and lets the user decide whether to stop or to proceed with the installation and whether to permit unsigned files to be installed. “Warn” is the default. “Block” directs the system to refuse to install unsigned files. As a result, the installation stops, and none of the files in the driver package are installed. To change driver file security without specifying a setting, use System in Control Panel. Right-click My Computer, click Properties, click the Hardware tab, and then click the Driver Signing button.”
  • Now select the radio button for “Enabled” and select Ignore from the drop-down menu under “When Windows detects a driver file without a digital signature”.
  • Then click on the Apply and OK buttons to save the changes made. This will get rid of the “Windows requires a digitally signed driver” error but take note that this will also make your system less secure.
Read More
PrintNightmare returns Microsoft states
PrintNightmareA few days ago we celebrated fixing of months-long PrintNightmare vulnerability by Microsoft, sadly a new bug and issue have been found. Firstly discovered Microsoft stated:
A remote code execution vulnerability exists when the Windows Print Spooler service improperly performs privileged file operations. An attacker who successfully exploited this vulnerability could run arbitrary code with SYSTEM privileges. An attacker could then install programs; view, change, or delete data; or create new accounts with full user rights.
A few days ago, Microsoft officially released a patch that was supposed to finally fix it. As you might recall this vulnerability was present for quite some time, Microsoft's solution after a long struggle was to elevate certain privileges to administrator account only and remove user accounts from managing printers. It complicated things a little bit but it was stated payoff was worth it. The new issue now is that on a system that already had accounts created and set, old accounts still can hijack the system, patch issues address only accounts that are created after the fix is administrated, old ones can still do whatever they want. Once again of course Microsoft has stated that until it is again resolved you should again disable the Print Spooler service as a temporary workaround.
Read More
A Guide to Fixing Error 101

Error 101 - What is it?

Error 101 is a Google Chrome error. You may experience this error if you browse the internet using Google Chrome. This error results when the existing HTTP connection between Chrome and the website is broken. The error is displayed in the following format: “Error 101 (net::ERR_CONNECTION_RESET): The connection was reset.”

Solution

Restoro box imageError Causes

The cause of Google Chrome error 101 cannot be narrowed down. This error can be triggered on your PC due to multiple reasons. These include:
  • The inability of the Google Chrome installer to create a temporary directory on your PC during the installation process
  • Enabled DNS Prefetching
  • Firewall
  • Viral Infection
  • Bad Registry Entries
  • Poor Internet Connection
Though this error code is not fatal, nonetheless it is advisable to fix it to ensure you are able to browse the internet using Google Chrome.

Further Information and Manual Repair

The good news is that this error is quite easy to resolve. Even if you are not a technical whiz you can still manage to fix it by trying these easy and effective DIY methods we have listed below:

Method 1: Reload the Website link on Chrome or Check Your Internet Connection

Sometimes refreshing the webpage can resolve the issue easily. Try doing it. Reload the link by pressing Ctrl +R. This will refresh the webpage. If it starts working then that’s great but if it doesn’t then it is advisable to check your internet connection. Disable and Enable the connection and then try browsing on Chrome again. If websites are accessible then the problem is resolved. If the error persists then try other methods.

Method 2: Disable DNS Pre-fetching

Sometimes this error may occur due to enabled DNS pre-fetching. To resolve the issue, open Chrome, then click on the wrench key. Go to setting and under the bonnet and Privacy section, look for the DNS perfecting option. If it is enabled, then uncheck it to disable DNS Pre-fetching. Save the changes and then close the browser. Now open it again and try browsing on Chrome. If error 101 does not appear and you are able to access websites then the issue is fixed.

Method 3: Scan for Viruses

Another way to fix this is to download and run a powerful antivirus. Scan and remove viruses to fix the problem.

Method 4: Check the permission for your temporary folder

As mentioned above, another underlying reason for error 101 can be Google Chrome installer was unable to create a temporary directory on your system during the installation process. To resolve it, check the permission for your temporary folder. Here’s how to do it: First go to the start menu and type Run. Now enter one of the following directories in the text fields 1. Windows XP: %USERPROFILE%Local Settings 2. Windows Vista: %USERPROFILE%AppDataLocal After that press OK. This will open a new window. In the Window that opens, right-click the temp folder. Now select properties and press the security tab to continue. In the group and user names section, select your user profile name. In the permissions, section verify that the checkboxes for READ, WRITE, and READ  & EXECUTE permissions in the DENY column are not selected. After you have verified, click apply and then ok. Now try reinstalling the Google Chrome browser again on your system.

Method 5: Remove Bad Entries by Cleaning the Registry

Bad entries and cookies saved in the registry can also lead to error 101. You can remove them manually but that will take a great deal of time and can be slightly difficult if you are not technically sound. Therefore, it is advisable to download Restoro. This is a user-friendly PC Fixer integrated with a registry cleaner that scans and removes all registry issues in a few clicks. It removes all the bad entries and junk files cluttering the registry and repairs it instantly. Click here to download Restoro.
Read More
Blu-ray player does not recognize the disc
So, you just made some popcorns, dimmed light, relaxed in from of the TV, pressed play on your application and Blu-ray drive can not read your movie. Your movie night failed sadly, but there is hope and in this article, we are going to explore and offer you solutions on what to do when something like this happens so you do not miss another movie night and some hard-earned relaxation. Please note that in this article we are assuming that you are using a Blu-ray player on your PC, so some of the solutions presented are meant only for this case. So the first thing that you are supposed to do is to check the disc itself. You can turn the disc around and visually check the disc for fingerprints and scratches which can be fatal for disc playing, alternatively, you can try to play the same disc on another device and if it fails there also it is not the disc, it is your drive. So if it is no issue with the disc let's see that seems to be a problem with the drive. The common thing that could stop disc reading are cables, check all connections and cables in the back of your device to be sure that everything is plugged in correctly and nicely. After checking cables if the issue persists lens cleaning is the next step. Over time lens from the Blu-ray, the device becomes dirty and dust accumulates on it, there are special cleaning discs on market made especially for this purpose, to clean the dirty lens of optical devices. If you have one put it in and clean your lens. After lens cleaning with a specialty disc, a good idea would be to use compressed air in a can to reduce the dust inside so no excess dust will accumulate quickly again on the lens itself.

So the device is cleaned and checked and still no disc playing?

Update firmware first. In order to accomplish this visit your device manufacturer's website and follow instructions there on how to upgrade firmware. If this did not helped also update or reinstall device drivers. Go to device manager and update drivers for your device by right-clicking on it and choosing update driver. If none of the things helped, go to command prompt as administrator and type in SFC /scannow, leave the process to finish, and reboot.
Read More
MS Edge, autoplay video blocking coming
Microsoft Edge may be about to win a lot of fans by introducing a new feature that it says could prevent one of the most annoying things about being online. A new update to the browser suggests it is looking at a way to block auto-playing videos by default when a user navigates to a website. People spotted a new entry to the Microsoft Edge Canary browser where the company tries out its in-progress updates, that suggests auto-playing videos may have had their day at last. The new addition, for Mac, Windows, and Linux systems, is called “Autoplay Limit Default Setting”, with the description suggesting that Microsoft Edge would set the media autoplay setting to "Limit" as a default - stopping videos from starting up when a user lands on a website. Currently, Edge offers two options for users to control media autoplay - "Allow" (the current default setting), where all videos on a website will play automatically with sound, and "Limit", where media won’t be autoplayed on sites that a user has previously visited. It appears that Microsoft is looking to test the feature in Canary before rolling it out to a wider user base - as blocking autoplaying videos can cause issues for some websites. The same Canary entry also hints at a future "Block" option, which would presumably stop any videos or media from playing when a user lands on a website. However, this feature, which is also listed as being available for Mac, Windows, and Linux systems, doesn't appear to be enabled as yet. If you would like to read more helpful articles and tips about various software and hardware visit errortools.com daily.
Read More
Remove login screen in Windows 10
Each time we turn ON our computer or wake it from hibernation we are greeted with a Windows login screen where we need to provide login credentials in order to get into Windows itself and start working. This method of preserving data and privacy is perfectly fine and as a matter of fact, it is recommended for mobile computers but if you have a home computer in a safe environment where no one will try to look at your data or rummage through your personal stuff then removing login screen is safe enough action and can cause you a lot piece, from time-saving to less frustration on every restart or sleep action. In previous Windows versions, it was much easier to turn off this feature but it seems Microsoft has determined that our privacy and security are important and somewhat removed the ability to turn OFF the lock screen. In this guide, we will show you how you can still remove the lock screen and automatically log in with your account like in the good old days. The first thing you need to do is to press ⊞ WINDOWS + R  to bring up the Run dialog keyboard with windows and r markedIn the dialog, type in netplwiz and press ENTER. run dialog with netplwiz typed inYou will find yourself in the User Accounts window, inside deselect Users must enter a user name and password to use this computer. Press OK user accounts windowSign in the window will pop up where you will have to type in your password and confirm it in order to start the feature. automatically sign in dialogAfter typing in your password and confirming it, press OK. That's it, next time you wake your computer from hibernation or turn it ON, you will automatically be greeted with a desktop instead of a Windows login screen.
Read More
Check Windows 11 UI inside your Browser
windows 11 websiteWindows 11 release date is closing in, some people have tried it via insider build, some have decided not to. It has come to our attention that there is a little website made by BlueEdge that offers a virtual Windows 11 desktop. Opening the Website will put you right inside Windows 11 desktop, now take note that this is not Windows 11, it is a simulation of Microsoft’s newest OS and therefore many things will not work like File Explorer, etc. One thing you can make sure it is working is UI itself, you can see how you do like the new Taskbar, start menu, widgets, and some other things. You can just pop up on the site and check how you do like the overall new look and feel of Windows 11 UI before installing it or trying it. We are sure that many more options will come in time but even now you can get a feel of the newest OS. Windows 11 BlueEdge site: https://win11.blueedge.me/
Read More
Windows 11 android apps update

One of the selling points of Windows 11 was the ability to run Android apps natively in it without the need for any third-party software. It is not a big surprise that even after its release Microsoft is evolving and expanding Windows 11 and its features.

Windows 11 Android apps

Microsoft is now rolling out an update for the Windows Subsystem for Android on the Dev Channel of the Windows Insiders program. The new version upgrades the core operating system from Android 11 to Android 12.1 (also known as Android 12L), which means the new system and app features in Android 12 and 12.1 are now available on Windows for the first time. However, not the new features in those updates apply to the modified version that runs on top of Windows. For example, one of the main improvements in 12.1 was a dual-pane notification panel for larger screens, but Android app notifications on Windows just show up in the Windows notification panel.

The upgrade also improves how Android apps integrate into Windows. The Windows taskbar will now show which Android apps are currently using the microphone, location, and other system services — similar to many native Windows applications. Toasts messages (the small popups that some apps use for temporary messages) are now displayed as Windows notifications, and the titlebar on Android apps will use the current activity name for the title.

Full changelog

  • Windows Subsystem for Android updated to Android 12.1
  • Advanced networking on by default for newer x64 Windows builds
  • Updated Windows Subsystem for Android Settings app: redesigned UX and diagnostics data viewer added
  • Simpleperf CPU profiler recording now works with Windows Subsystem for Android
  • Windows taskbar now shows which Android apps are using microphone and location
  • Improvements to Android app notifications appearing as Windows notifications
  • Reduced flicker when apps are restored from minimized state
  • Apps are not restarted when devices come out of connected standby on recent Windows builds
  • New video hardware decoding (VP8 and VP9)
  • Fixes for on-screen keyboard in apps
  • Fixes for full-screen Android apps and auto-hidden Windows taskbar
  • Windows Subsystem for Android updated with Chromium WebView 100
  • Added support for Android NetworkLocationProvider in addition to GpsLocationProvider
  • Improved general stability, performance, and reliability

The new update is limited to Windows Insiders for now, but once Microsoft fixes all the bugs, it should start rolling out to everyone on Windows 11 that has the Android Subsystem enabled.

Read More
Capture screen with Windows 10
if you were following our articles you are aware that Windows 10 has a build-in-game mode that you can summon by pressing ⊞ WINDOWS + G. But did you know that you can use this to capture and record your screen? Hello and welcome to another great tutorial about how to get the maximum out of your Windows 10, today our topic will be recording your screen using Windows 10 game mode.
  • In order to start recording first, we need to bring game mode by pressing ⊞ WINDOWS + G
  • In the Game Bar overlay screen, look for the “Capture” window.
  • If you don’t see it, click the Widget menu icon on the left. It looks like several lines with bullet points to their left.
  • A drop-down list will appear; click “Capture.” The “Capture” shortcut may also be in the Game Bar toolbar.
  • Look for the “Capture” widget window in the overlay. There are four buttons on the Capture widget (from left to right):
    • Screenshot: Takes a screenshot of the active window.
    • Record last 30 seconds: Creates a recording of the previous 30 seconds.
    • Start recording: Starts recording your active window.
    • Turn on the mic while recording: If this option is enabled, Windows 10 will capture audio from your computer’s microphone and include it in the recording.
  • You’ll notice text underneath the buttons. This is how you’ll know what the active window is, aka what will be recorded. For example, if you’re browsing the web, it will show the title of the open tab.
  • To start recording your screen, you must first decide whether you want to use your mic, which is useful if you’re trying to explain something on the screen.
  • Next, simply click the Start Recording button.
  • The screen recording will begin, and you’ll see a little toolbar appear in the corner of the screen. It will show the running time of the recording, and it also has buttons to stop recording and toggle the microphone.
  • When you’re finished, click the Stop icon to end the recording.
  • From the Capture widget, click “Show All Captures” to see your recording.
  • Your recording will be at the top of the list. Click the folder icon to see all recordings and screenshots in File Explorer.
  • These recordings are stored under your Windows user folder at C:\Users\NAME\Videos\Captures by default.
Read More
1 2 3 171
Logo
Copyright © 2023, ErrorTools. All Rights Reserved
Trademark: Microsoft Windows logos are registered trademarks of Microsoft. Disclaimer: ErrorTools.com is not affiliated with Microsoft, nor claims direct affiliation.
The information on this page is provided for information purposes only.
DMCA.com Protection Status