If you got an error message saying, “Windows could not start the Windows Update service on Local Computer, Error 87. The parameter is incorrect” while you were trying to start the Windows update service on your computer, then this post could help you resolve the problem. Along with this error, you might also get any of these error codes such as 0x80240034, 0x80244019, 0x80070643, and so on. Aside from these error codes, you will also notice that the Windows Update service has been stopped.
To fix this issue, here are a couple of suggestions that might help but before you go on, you need to create a System Restore point first.
Option 1 – Try checking Services Dependencies
Dependencies of a Windows Service in Windows 10 are when windows services depend on other services. Such is the case with the Windows Update service – it also depends on three different services such as the Remote Procedure Call or RPC service, DCOM Server Process Launcher, and the RPC Endpoint Mapper. Meaning to say, if two of these services are not working as expected, then the dependant service will also be affected. This could be the reason why the Windows Update service could not start.
- Tap the Win + R keys to open the Run dialog box.
- Next, type “services.msc” in the field and hit Enter to open Windows Services.
- From the list of Services, look for the following services:
- Remote Procedure Call (RPC) Service
- DCOM Server Process Launcher
- RPC Endpoint Mapper
- After you find these services, double click on each one of them and check whether the Startup type for all is set to Automatic and the Service status is set to Running or not.
- If the service status is not running, then click the Start button. Afterward, check if you can now run the Windows Update service.
Option 2 – Check the Background Intelligent Service and the Cryptographic Service
- Tap the Win + R keys to open the Run dialog box.
- Next, type “services.msc” in the field and hit Enter or click OK to open Services.
- From the list of Services, look for the following services and make sure that their Startup type is as follows:
- Background Intelligent Transfer Service – Manual
- Cryptographic Service – Automatic
- After that, check if the Service status of the listed services above is set to Running. If they’re not, click on the Start button to start these services and then check if you can now enable the Windows Update service or not.
Option 3 – Reset Windows Update components
If the first two options did not work then you might want to reset the Windows Update components manually. Follow the steps below to reset them.
- Open Command Prompt with admin privileges.
- After that, type each one of the following commands and hit Enter after you key in one after the other.
- net stop wuauserv
- net stop cryptsvc
- net stop bits
- net stop msiserver
Note: The commands you entered will stop the Windows Update components such as Windows Update service, Cryptographic services, BITS, and MSI Installer.
- After disabling WU components, you need to rename both the SoftwareDistribution and Catroot2 folders. To do that, type each one of the following commands below, and don’t forget to hit Enter after you type one command after the other.
- ren C:WindowsSoftwareDistribution SoftwareDistribution.old
- ren C:WindowsSystem32catroot2 Catroot2.old
- Next, restart the services you’ve stopped by entering another series of commands. Don’t forget to hit Enter after you key in one command after the other.
- net start wuauserv
- net start cryptsvc
- net start bits
- net start msiserver
- Close Command Prompt and reboot your PC.
Option 4 – Run the Windows Update Troubleshooter
If resetting the Windows Update components didn’t work, you could also try running the Windows Update Troubleshooter as it could also help in fixing any issues related to Windows Update including this one. To run it, go to Settings and then select Troubleshoot from the options. From there, click on Windows Update and then click the “Run the troubleshooter” button. After that, follow the next on-screen instructions and you should be good to go.
Option 5 – Try removing a value from the Windows Registry
If running the Windows Update troubleshooter didn’t help and you receive a message instead saying, “Service Registration is Missing or Corrupt”, you can try to remove a value from the Windows Registry.
- Tap the Win + R keys to open the Run dialog box.
- Then type “Regedit” in the field and hit Enter to open the Windows Registry.
- Next, navigate to this path: HKEY_LOCAL_MACHINESOFTWAREMicrosoftWindowsSelfHostApplicability
- From this path, look for a value named “ThresholdOptedIn” and if you find it, delete it.
- Exit the Registry Editor and see if you can now enable the Windows Update service.

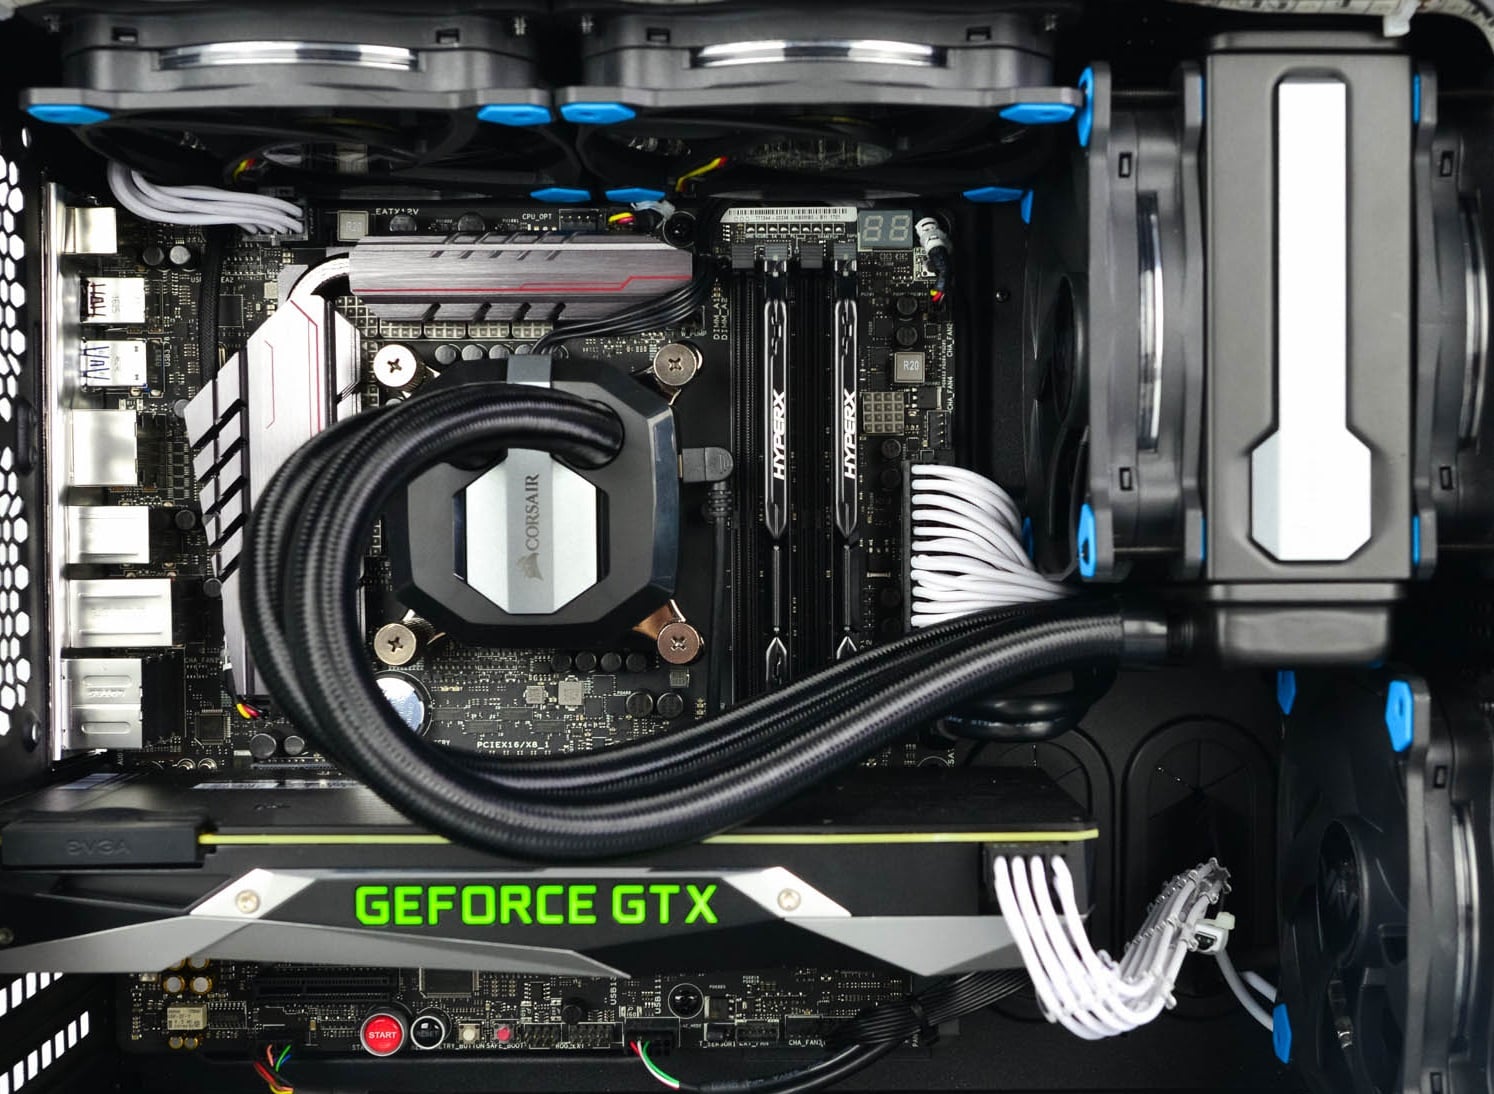 Builders with no depth knowledge and experience can sometimes choose improper CPU or GPU, picking one of them to be much more powerful than another thus not using it to its full potential because another component cannot handle stuff at the same speed. In order to not be trumped by this kind of stuff, there is a website that is completely free and you do not even need to be registered in order to use it.
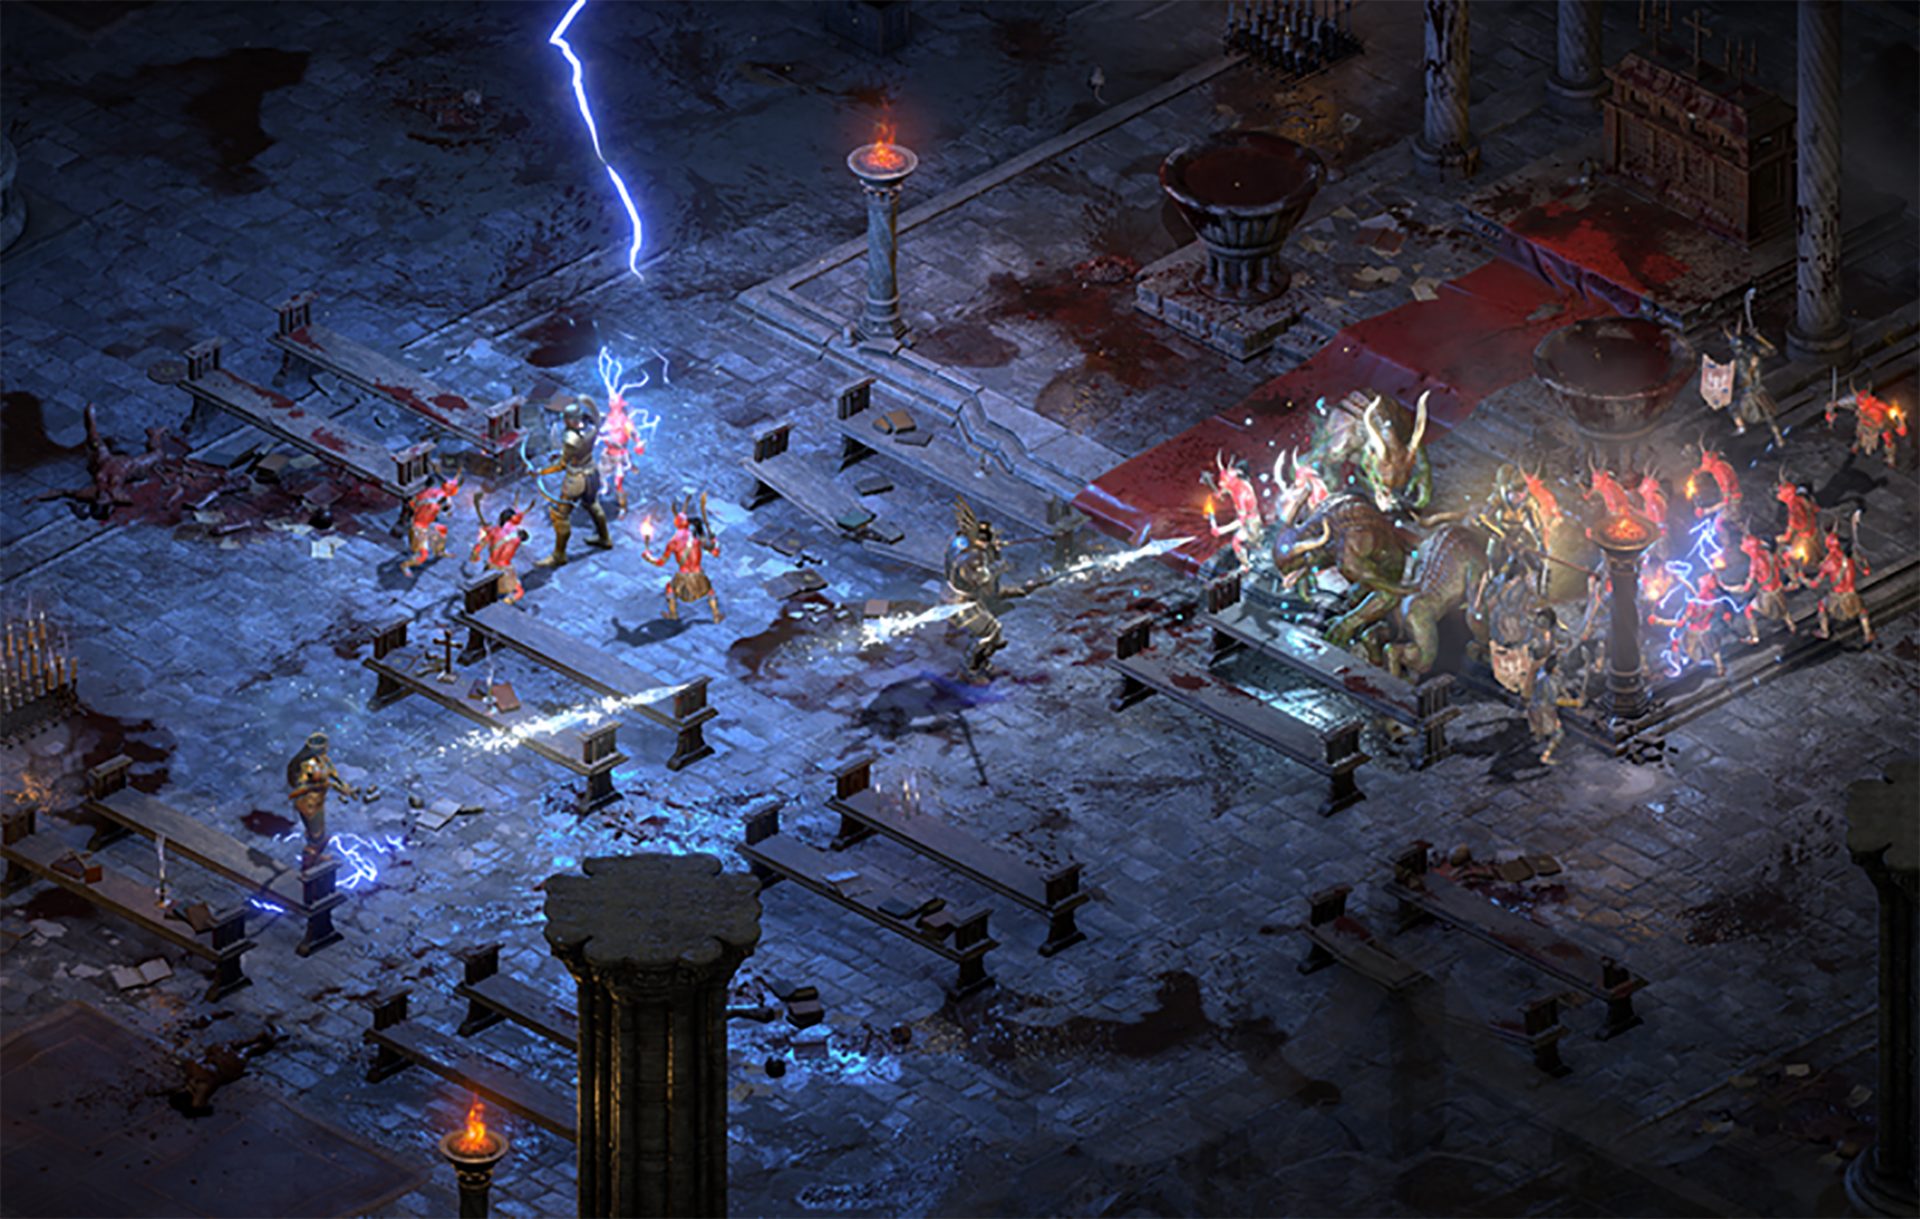 Speaking of old players of old Diablo 2, they can transfer their old characters into remaster and continue playing them within this new great HD environment. There are some steps and requirements but we are here to help and transferred characters will bring full stash, inventory, and equipped items with them.
 If you consider yourself a power user or you value your privacy then firefox is the browser for you. It is open source and is packed with great features like reporting when your email has been used for a known data breach, it stops annoying pop-up notifications, stops browser fingerprinting, and many more. Firefox is also a cross-platform browser making it a great choice if you want to transfer and use your data across multiple devices with one account. The downside of firefox however is its speed, this browser is the slowest on this list, I guess features and advantages took their tool in the speed department, but if that is not a concern for you and you feel like the positives outweigh some slower speed, grab it
  Chrome browser has been a game-changer when it was released and even today some of its features are still great and needed. It is packed with some great features like tab freezing, for example, it is cross-platform meaning that also as firefox you can change data between browsers on different devices. it is a very expandable browser with tons of extensions and its speed performance is very very good. The downside of Chrome are two things sadly, one of them is its hunger for RAM, the browser takes a big chunk of RAM once it is active and on some older computer with limited RAM it performs slowly, another is telemetry which its sending, in other words, other browsers don’t come with the lingering fear that Google’s just a little bit too involved in all of our lives. But if downsides do not trouble you and you have a decent amount of RAM in your system chrome might be the best solution for you, grab it
  Or should I say Microsoft edge 2.0 since this new Edge is completely recoded and rethought, a completely new browser based on chromium. The first version of the edge was an inhouse attempt from Microsoft and it was a disaster, I guess the lesson was learned, and this new edge we have today is a great Browser, it is lightning fast and packed with some great features with one among them standing out I just love, that is the ability to save web pages as applications and truth to be told you have to try this in order to see al great advantages it offers. A very interesting feature is that edge itself wins the speed race from all of the 5 contestants here which is a great surprise. Of course, the downside of annoying Microsoft pushing it to be your default is, well it's Microsoft, as chrome is tied to Google so is edge tied to Microsoft, and the same dreaded feeling that big MS is watching you. If however, you do not concern yourself with these kinds of things, since it is already part of Windows 10, give it a spin and try it, I am sure you will at least love its blazing speed.
 A new kid on the block, relatively unknown Browser Vivaldi offers some great customizable features no other one on this list offers, a very unique and down to each detail customization option, you can literally tweak each and every aspect of this browser making it best customizable and personal browser ever. How it is also based o chromium, every chrome extension works in it naturally. It is very good in speed and constantly updated and developed. The downside, well if you are anything like me, you could spend ages trying to customize it, ages, it has tons of features, and making it really feel and tick as you want can consume a really lot of time. If this thing does not bother you at all, grab Vivaldi
  Last but not least, we have another relic of the old browser age, the Opera browser. Packed with great security and great in-house features like a built-in VPN, built-in ad blocker, built-in crypto wallet, etc this browser seems like a swiss army knife. Opera is full of features and it shows once you start using it. The downside of opera is that its look and feel are specifically tailored to a certain type of user and not everyone will find that appealing or attractive, add some great but hidden and hard to come by features and it may go unnoticed. However, I think you should really give it a go since it definitely deserves more attention than it gets. Grab it
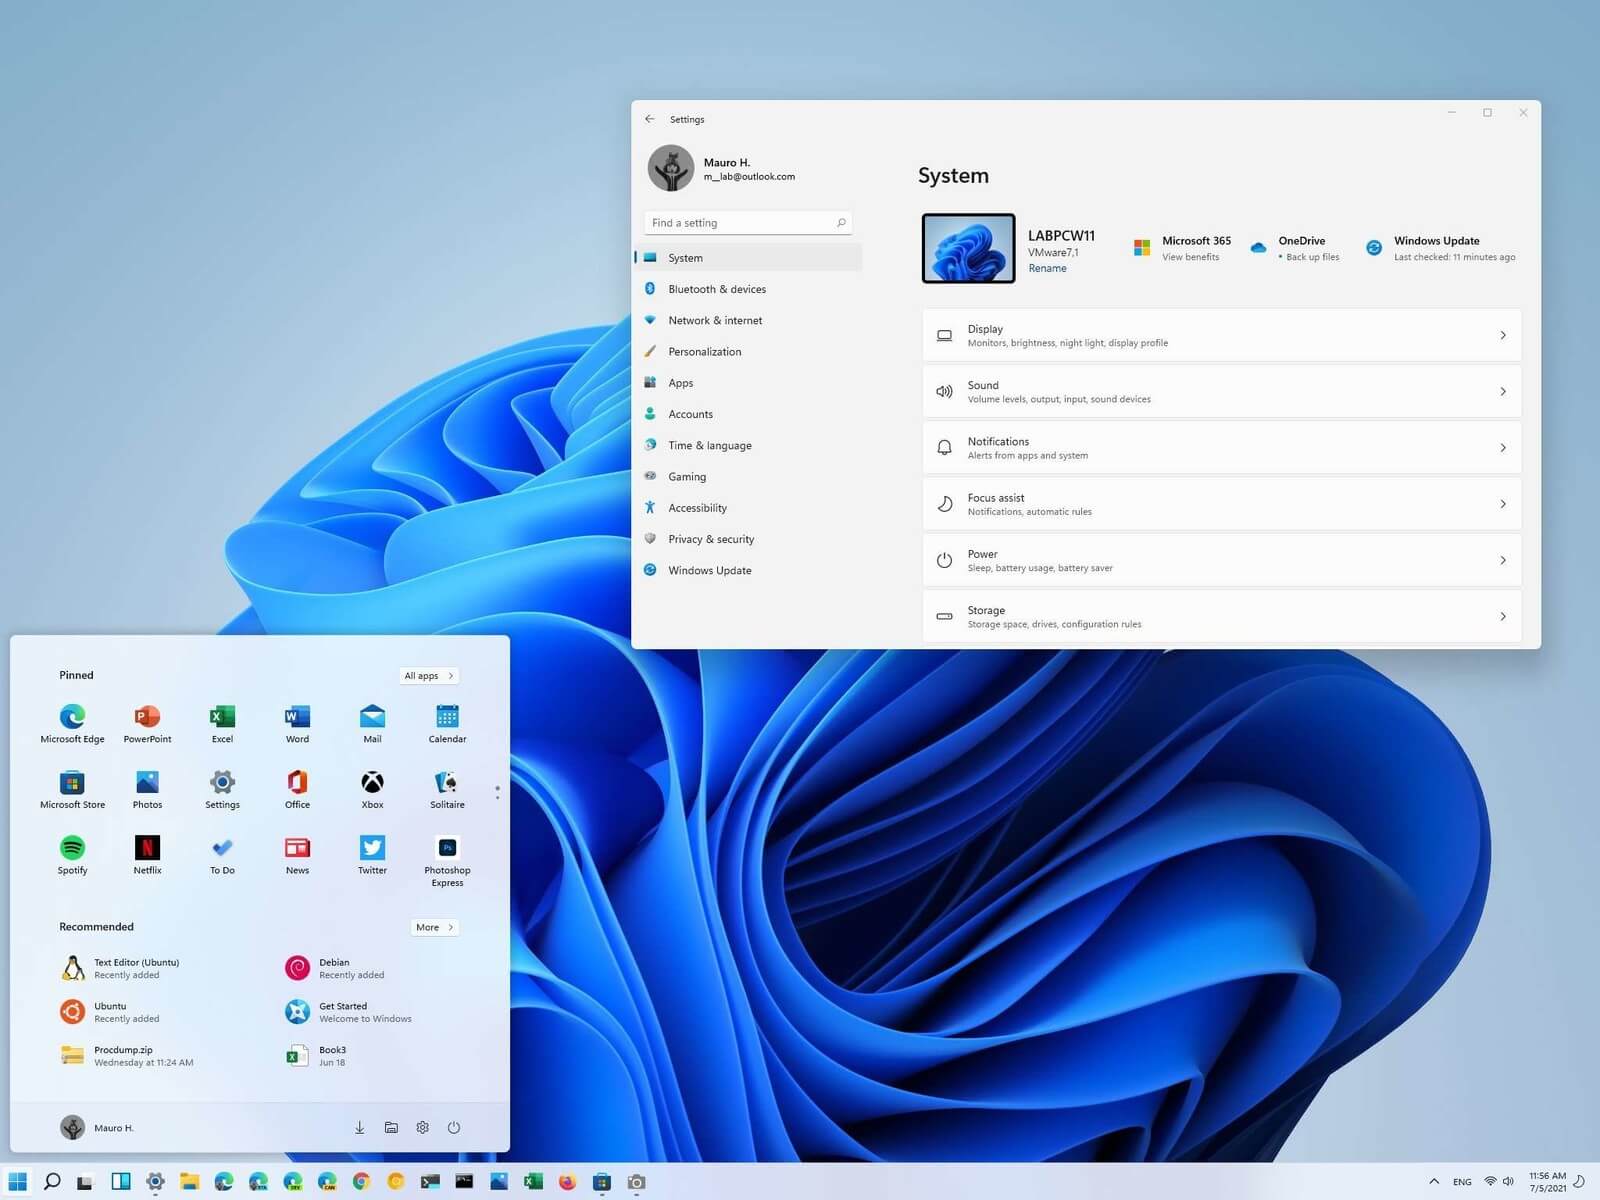 Most scrollbars are hidden by default if they are not used in Windows 11. If you are not ok with this feature and want scrollbars to be always visible and available do not worry, turning them ON is very easy.