The microphone has become from exclusive niche hardware to everyday requirements. In today's world when we live in a pandemic most of the work has shifted from office to home where people need working computers with microphones, working microphones.
So what do we do when the microphone stops working? Keep reading on to find out and hopefully, we will fix this as fast as possible.
Check Microphone Privacy Settings
In 2019, Microsoft introduced new privacy features to Windows that give you more granular control over which apps are accessing your microphone. The side effect of this is that certain apps may be blocked from using your microphone without you even knowing.
To find out if this is the issue, go to Settings > Privacy > Microphone.
Click Change and make sure the slider is set to On. This will broadly mean that the mic is now enabled on your PC.
Next, make sure the slider under Allow apps to access your microphone is set to On, then look through the list of Microsoft Store apps to make sure the apps you want to use are selected.
You’re likely to be using many apps, not from the Microsoft Store, so to make sure these are enabled, scroll down even further and set the Allow desktop apps … slider to On.
Check Microphone Driver
The outdated or corrupted driver could be the issue for the microphone not working in Windows 10.
To check the driver status, follow these steps:
- In your Start menu search for Device Manager
- In the device manager window search for sound and expand it.
- Once expanded, you should see your audio drivers. Note that the names of these will vary depending on the manufacturer.
- On Audio, right-click, and select properties. On the General tab, check to see if the device is working properly.
- If it is not working properly, click on the driver tab and select the update option.
- Repeat for the other audio drivers.
- Restart the computer.
Check the Sounds setting
- In the taskbar, right-click on the speaker icon at the far-right corner and select the sound option.
- On the Recording tab, click on the microphone and select the Properties option.
- Select the levels tabs and increase the volume for both microphone and microphone boost.
- Go to the Enhancement tab of the same pop-up and make sure that the immediate mode checkbox is checked.
- Click Ok and restart the computer.
The sound troubleshooter
- Right-click on the sound icon at the far-right corner of the taskbar and select troubleshoot sound problems.
- The computer will detect any fault that exists with your audio and recommend fixes for you. You just need to read through the prompts and click the options that you think will work for you.
Try microphone on another computer
If previous steps have not produced results, try the microphone on another computer, if it is not working there then it is a hardware malfunction


 When Task Manager opens, click on the startup tab on top.
 Once you click on startup you will get a list of applications that are set to be started when Windows is booted.
 You can now click on the application and then click on disable on the bottom button, the application status will update in task manager to disabled and it will not be booted anymore when Windows starts. In this same manner, you can enable back some applications if you changed your mind about them.
Please note that some applications are using some services and must have them running or they will not work properly. The best practice is to disable applications you are positive you will not use or use rarely so you do not want them to slow down Windows.
You can now click on the application and then click on disable on the bottom button, the application status will update in task manager to disabled and it will not be booted anymore when Windows starts. In this same manner, you can enable back some applications if you changed your mind about them.
Please note that some applications are using some services and must have them running or they will not work properly. The best practice is to disable applications you are positive you will not use or use rarely so you do not want them to slow down Windows.  In Windows 11 by default inside the Start menu, there is recommended section that contains recently opened folders, documents, and files. If you do not wish this section and do not want recent items in your Start menu there is an easy way to turn it off.
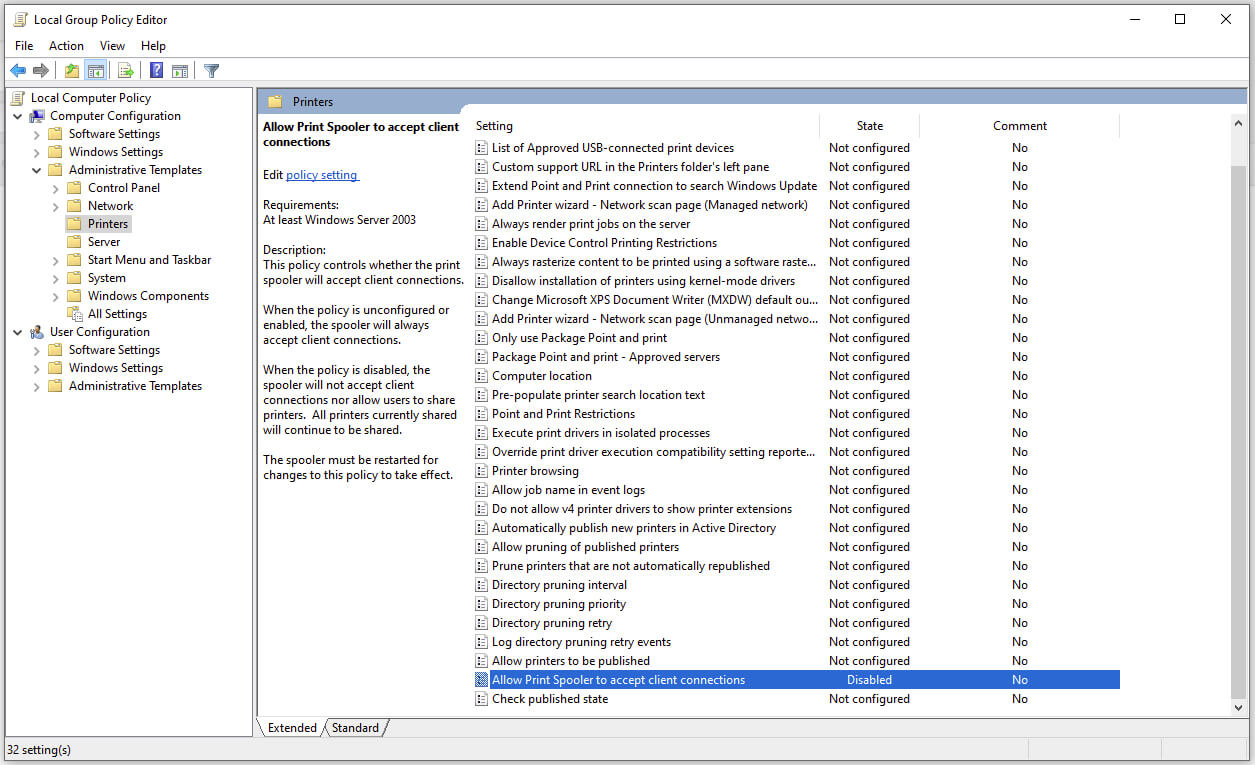 Microsoft is once again advising its customers to disable Windows print spooler after a new vulnerability that allows hackers to execute malicious code on machines has emerged. While a patch fixing the flaw will be released in due course, the most effective workaround currently on the table is to stop and disable the print spooler service entirely.
