A command is not recognized Error, what it is? If you are constantly using programs like CMD or DISM directly from the Run prompt, you might have wondered how they launched instantly and how is it that the Windows operating system is able to find them right away. For instance, when you create a shortcut of a program, the shortcut knows where exactly the program is located and launches it quickly.
The Windows operating system keeps a list of paths where the most common system programs are located so when you use the Run prompt, it opens easily. The list kept by Windows is called the Windows Environment Variables. If something goes wrong with this list, the programs won’t work. So in this guide, you will be guided on how you can troubleshoot the problem where any command you use is not recognized as an internal or external command, operable program, or batch file.
Before you start troubleshooting the problem, you need to make sure that the program you are trying to run really exists. In fact, this can also happen to the Run program which is pulled up using the Win + R shortcut. To check, go to C:\Windows\System32 and there, check if the program exists or not or you can also try searching for the EXE in the System 32 folder. After making sure that the program exists, refer to the instructions given below.
Note: Now all you have to do is to try executing the programs once again – the ones where you got the error, “ is not recognized as an internal or external command, operable program or batch file” every time you open them and then see if you can now open these programs or not.

 New Microsoft store
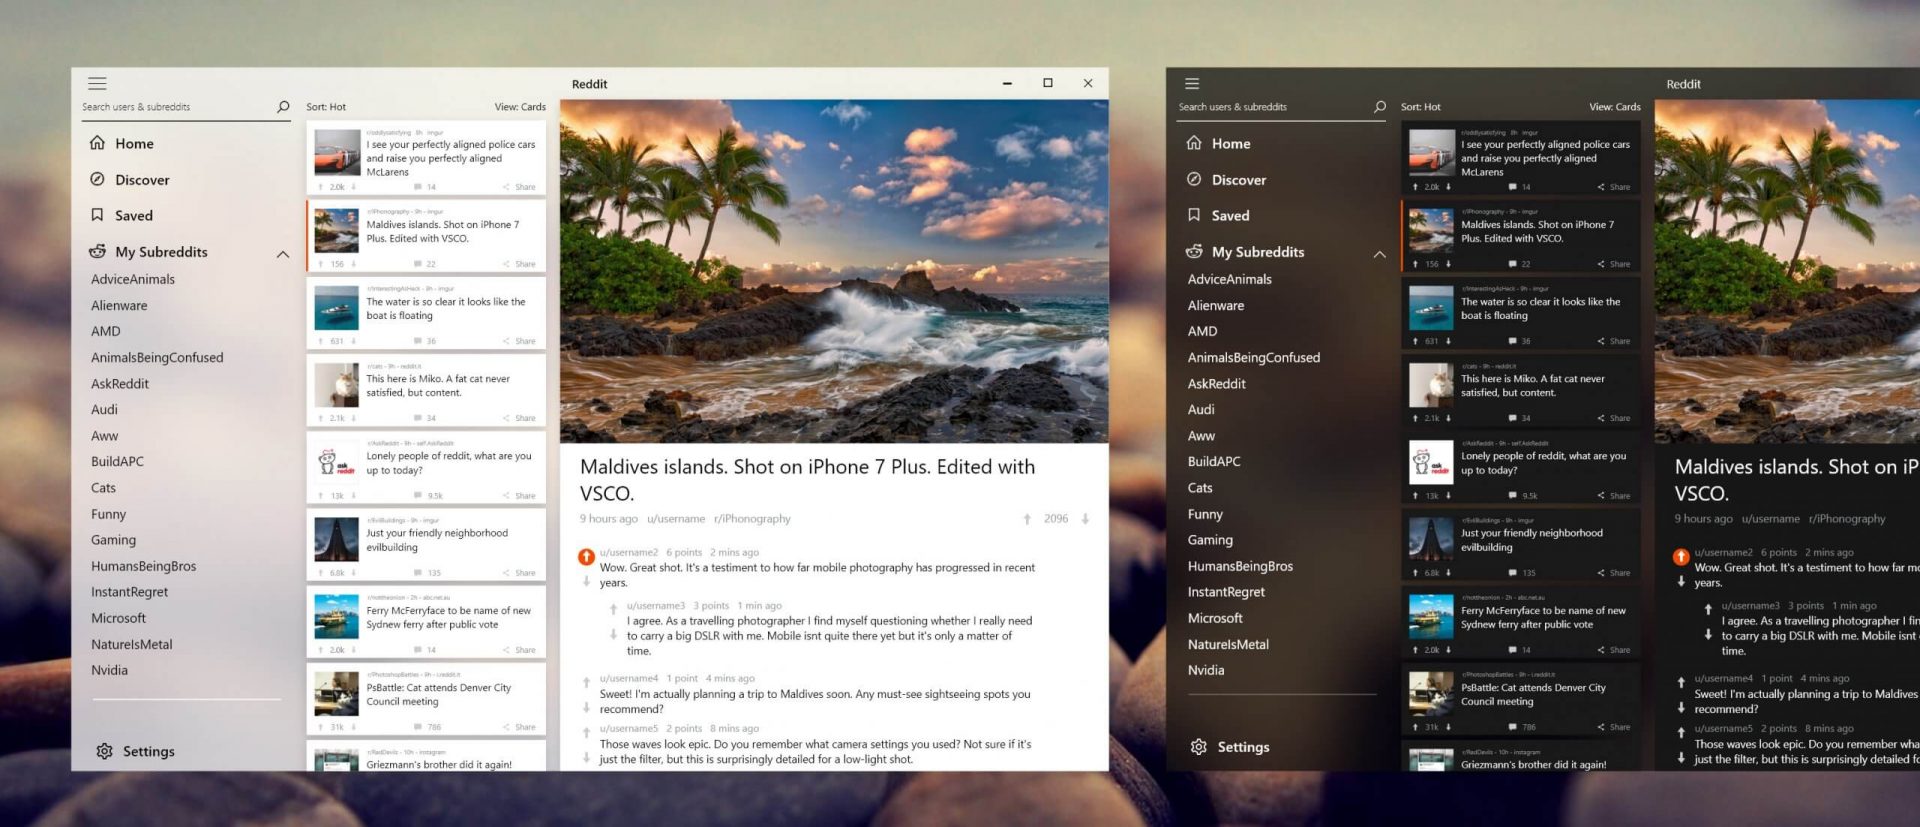 Reddit is one of the most popular websites in the world and how Microsoft is opening doors to everyone in its new store Reddit took a logical step and made a Progressive web application and placed it in it.
Being a Progressive web app makes it more familiar and feels like a home experience using it for a lot of Reddit users.
Reddit itself has a large community and active topics discussions all the time about anything. Bringing it to Windows as an application is, in my opinion, a great move since as an application it is independent, more light-weighted, and offering some other advantages specifically tied to being a standalone windows application.
Everyone familiar with and using the Reddit website will feel right at home in this app and you can start using it right away.
Reddit is one of the most popular websites in the world and how Microsoft is opening doors to everyone in its new store Reddit took a logical step and made a Progressive web application and placed it in it.
Being a Progressive web app makes it more familiar and feels like a home experience using it for a lot of Reddit users.
Reddit itself has a large community and active topics discussions all the time about anything. Bringing it to Windows as an application is, in my opinion, a great move since as an application it is independent, more light-weighted, and offering some other advantages specifically tied to being a standalone windows application.
Everyone familiar with and using the Reddit website will feel right at home in this app and you can start using it right away. FullTab is a Browser Extension for Google Chrome, Firefox, and Internet Explorer. When installed this extension hijacks your home page, and changes your default search engine to http://search.fulltabsearch.com. This extension usually comes bundled with other freeware software, and while installed it monitors your internet browsing activity, visited links, clicked pages, and other private information that it later uses to distribute targeted unwanted ads in your search results.
While this extension is installed, you will see modified search results, injected ads, sponsored links, web page redirects, and sometimes even pop-up ads. Several anti-virus scanners have detected this extension as a Browser Hijacker, and due to the information it is gathering from your computer it is not recommended to keep.
“Windows could not configure one or more system components. To install Windows restart the computer with error code 0xc1900101-0x30018.”When you check on the Windows 10 rollback log, you will see a part with the “iisetup.exe” that’s related to the abort. Usually, the upgrade process completes over 50% and gets stuck and then rolls back later on and generates the error logs. This kind of error, in most cases, appears during the upgrade of Windows 10 and is related to the Internet Information Services or IIS in Windows 10. For some unknown reason, it restricts the installation or the upgrade which causes the error to appear. To fix the “Windows could not configure one or more system components” error, you can try to remove the IIS from the Windows Features or rename the “inetsrv” folder. You could also move all the folders related to IIS to another drive. For more details, refer to the options provided below.
 From the menu choose command prompt (admin)
 In command prompt type sfc /scannow and press ENTER
Leave the computer for the operation to be completed and Reboot your computerFrom the menu choose command prompt (admin)
in command prompt type: DISM.exe /Online /Cleanup-image /Restorehealth and press ENTER
wait for the process to be finished and Reboot your computer
In command prompt type sfc /scannow and press ENTER
Leave the computer for the operation to be completed and Reboot your computerFrom the menu choose command prompt (admin)
in command prompt type: DISM.exe /Online /Cleanup-image /Restorehealth and press ENTER
wait for the process to be finished and Reboot your computer Error Causes
The number of Hertz is the number of how many images your screen draws in one second. So monitor with a refresh rate of 60Hz will draw 60 images each second on your screen. To most users, this will look fine and enough but actually, if you would place them in front of a 120Hz screen difference will be visible right away.

In most simple words just looking at a screen that has a higher refresh rate will produce a more natural feel of things, although some people would argue that flickering can not be seen on 60Hz monitors and that should be enough, I would argue that they never watched the movie, played the game or used high refresh rate screen when they can state something like that.
Yes, 60Hz might be enough to look at the web page or read some documents but long exposure to 60Hz can have a tiring effect on the eyes in the long run. 120Hz and above just feel more relaxed and it is far less demanding on the eyes. Watching movies also is much better on a higher refresh screen, with way much less motion blur in fast scenes giving the overall experience a greater natural feel.
Gaming is perhaps an area where a refresh rate of 120Hz and above will show its best. Having a higher refresh rate will be easier on your eyes and can even give you a competitive edge. When for example you have twice more images per second on your screen than your opponent his movement will be more fluid and predictable because of that and overall precision will be much higher when moving the cursor in the game since more frames per second means more precision and smoother movement.
After all the positive things that were said about the advantages of high refresh rates, it is just fair to look at some negatives or in this case only negative one and that is Computer power. As said in the previous section having a 120Hz refresh rate means having 120 frames displayed on the screen per single second. Having even higher monitors like 360Hz means even more frames per second and in order to actually see all of that frames you will need to have enough computer power to back it up. Having for example screen with a refresh rate of 240Hz means nothing if your GPU and rest of the computer are able only to push 150 frames per second, in this case, you will still have 150 frames in one second despite the monitor being able to go to 240.
Generally and with all of my heart I would recommend moving away from 60Hz monitors, yes they are cheaper and more affordable but at the end of the day if you are someone like me who spends most of his daily time in front of the computer you would be grateful to have higher refresh rate screen and save your eyes, and after all, why not enjoy some smoother and better movie and game experience as well as saving your eyesight.
MyScrapNook is a browser extension for Google Chrome that allows users to easily find scrapbook templates, layouts, and graphics. This extension requires the use of Adobe Flash Player and does not work with Chrome’s built-in flash player.
When installed MyScrapNook will change your home page and default search engine to MyWebSearch.com. It will also inject unwanted ads and sponsored links into your search queries. This extension has been marked as a Browser Hijacker by several anti-virus applications and is recommended to remove it from your PC.
From the Author:
FREE scrapbooking templates, layouts, and graphics! Get creative with tons of FREE scrapbooking features. With MyScrapNook, you can make beautiful, custom scrapbooks — with just a few clicks. Let us help you capture the memories with FREE scrapbook templates. The MyScrapNook extension offers convenient web search and features from the Chrome New Tab page.
ListenToTheRadioNow is a Browser Extension that allegedly lets you listen to radio from your browser. However, all this extension does is add links to the popular radio stations on your home page. This extension hijacks your home page and changes your default search provides to MyWay. While running it monitors browsing data from your browser, mining information such as website visits, clicked links, and sometimes even personal information. This information is later used to display targeted ads through your browser. Several anti-virus scanners have marked this extension as a possible Browser Hijackers, and due to its data mining nature, it is not recommended to keep it on your computer.