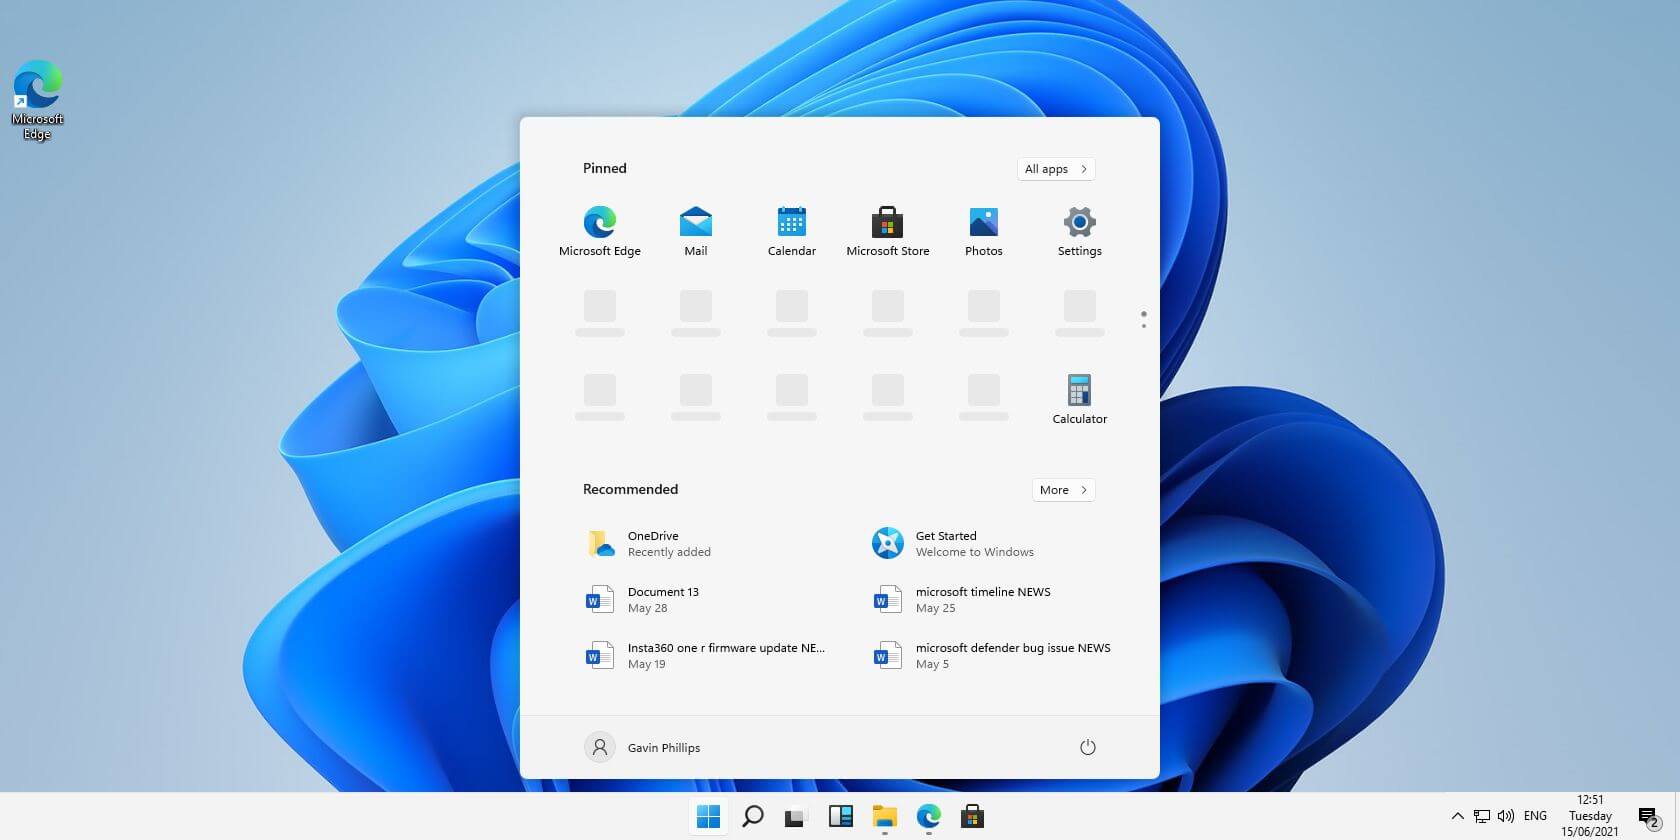
Being in the Microsoft Windows insider program will let you get a hands-on new Windows 11, but some people just want Windows 11 without being in the insider program.
Well, people beware! It was detected that some groups have been releasing fake Windows 11 installers with malware into them.
There’s one malicious file called 86307_windows 11 builds 21996.1 x64 + activator.exe. Based on the filename, one might guess that it includes Windows 11 build 21996.1, and on top of that, there’s something in it that will automatically activate Windows for you. It comes in at 1.75GB, so for some people, that might seem reasonable. It starts out looking like a normal installer, and then there’s a second installer that calls itself a download manager. If you accept the nonsense agreement that’s included, you get a bunch of malware.
This is just one example of malicious installers running amok internet, but there are more of them with different software placed inside. Malware can be anything from adware to a Trojan virus. The adware usually isn’t super dangerous. It’s just malware that’s meant to inject your PC with advertisements. Viruses can be more of an issue, and they can be harder to get rid of if your machine is infected.
Windows Defender does a good job of getting rid of this stuff. The only problem is that if you’re downloading Windows 11 from shady sources, you’re probably already set to click through the dozen or so warnings that pop up telling you not to install it.
The solution will be to get Windows from a trusted source of roll inside the insider program and get it from Microsoft directly.


 Windows 11 comes with glass and transparency effects by default once it is installed. The transparency effect looks really good but if in any case, you do not like them, you can easily turn them off very easily
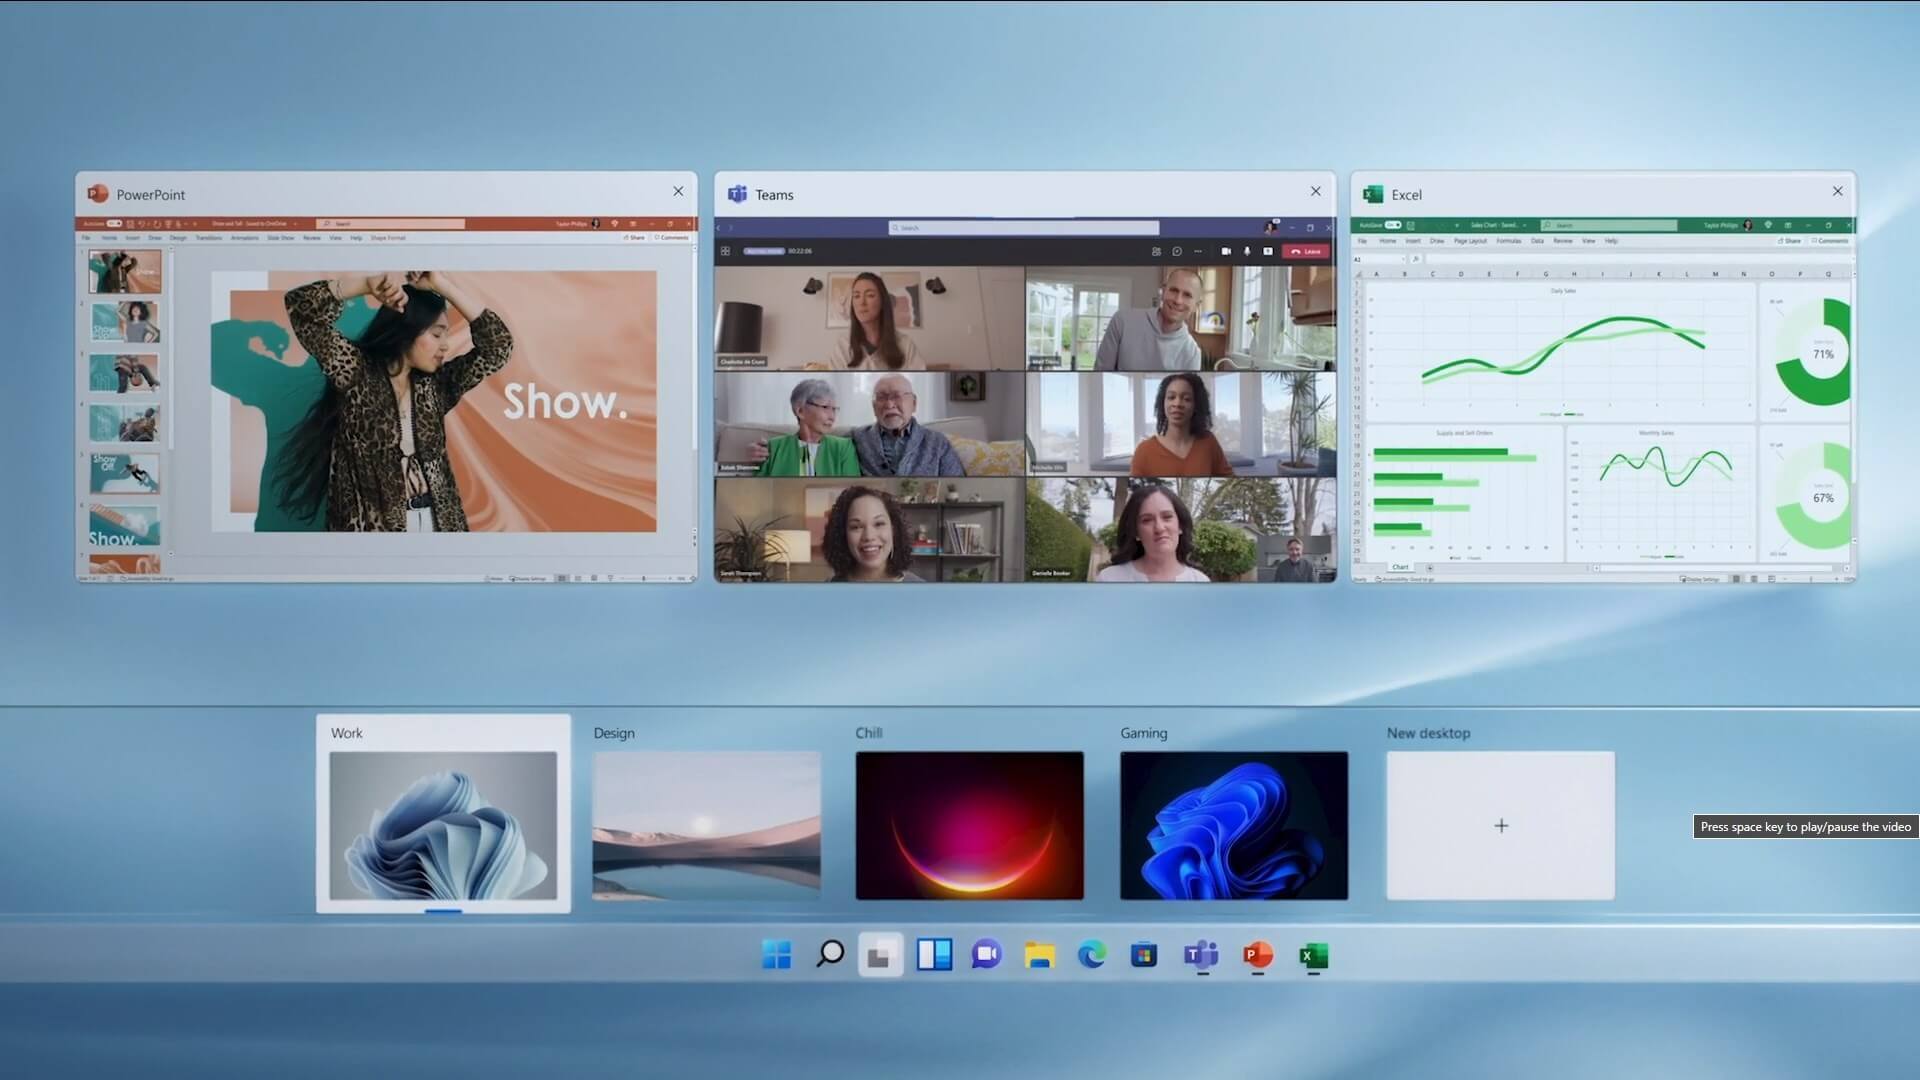 The feature that was originally planned for now scrapped Windows 10X is included in Windows 11. You will be able to customize your Virtual desktop with different wallpapers for each screen.
In order to fully customize your virtual desktops with different wallpapers follow this easy step-by-step guide.
The feature that was originally planned for now scrapped Windows 10X is included in Windows 11. You will be able to customize your Virtual desktop with different wallpapers for each screen.
In order to fully customize your virtual desktops with different wallpapers follow this easy step-by-step guide.
 The true cause is that there is no working Border Gateway Protocol (BGP) routes into Facebook's sites. BGP is the standardized exterior gateway protocol used to exchange routing and reachability information between the internet top-level autonomous systems (AS). Most people, indeed most network administrators, never need to deal with BGP.
Cloudflare VP Dane Knecht was the first to report the underlying BGP problem. This meant, as Kevin Beaumont, former Microsoft's Head of Security Operations Centre, tweeted,
"By not having BGP announcements for your DNS name servers, DNS falls apart = nobody can find you on the internet. Same with WhatsApp btw. Facebook has basically de-platformed themselves from their own platform."
Many people are very annoyed by this and with the fact that they cannot use their social media platforms but it seems that Facebook employees are in even bigger annoyance as it was reported that Facebook employees can't enter their buildings because their "smart" badges and doors were also disabled by this network failure. If true, Facebook's people literally can't enter the building to fix things.
Reddit user u/ramenporn, who claimed to be a Facebook employee working on bringing the social network back from the dead, reported, before he deleted his account and his messages:
"DNS for FB services has been affected and this is likely a symptom of the actual issue, and that's that BGP peering with Facebook peering routers has gone down, very likely due to a configuration change that went into effect shortly before the outages happened (started roughly 1540 UTC). There are people now trying to gain access to the peering routers to implement fixes, but the people with physical access is separate from the people with knowledge of how to actually authenticate to the systems and people who know what to actually do, so there is now a logistical challenge with getting all that knowledge unified. Part of this is also due to lower staffing in data centers due to pandemic measures."
Ramenporn also stated that it wasn't an attack, but a mistaken configuration change made via a web interface.
Both BGP and DNS are down, the "connection to the outside world is down, remote access to those tools don't exist anymore, so the emergency procedure is to gain physical access to the peering routers and do all the configuration locally."
Technicians on site don't know how to do that and senior network administrators aren't on site.
It seems that it will all be down for a couple of more hours before the issue is resolved.
The true cause is that there is no working Border Gateway Protocol (BGP) routes into Facebook's sites. BGP is the standardized exterior gateway protocol used to exchange routing and reachability information between the internet top-level autonomous systems (AS). Most people, indeed most network administrators, never need to deal with BGP.
Cloudflare VP Dane Knecht was the first to report the underlying BGP problem. This meant, as Kevin Beaumont, former Microsoft's Head of Security Operations Centre, tweeted,
"By not having BGP announcements for your DNS name servers, DNS falls apart = nobody can find you on the internet. Same with WhatsApp btw. Facebook has basically de-platformed themselves from their own platform."
Many people are very annoyed by this and with the fact that they cannot use their social media platforms but it seems that Facebook employees are in even bigger annoyance as it was reported that Facebook employees can't enter their buildings because their "smart" badges and doors were also disabled by this network failure. If true, Facebook's people literally can't enter the building to fix things.
Reddit user u/ramenporn, who claimed to be a Facebook employee working on bringing the social network back from the dead, reported, before he deleted his account and his messages:
"DNS for FB services has been affected and this is likely a symptom of the actual issue, and that's that BGP peering with Facebook peering routers has gone down, very likely due to a configuration change that went into effect shortly before the outages happened (started roughly 1540 UTC). There are people now trying to gain access to the peering routers to implement fixes, but the people with physical access is separate from the people with knowledge of how to actually authenticate to the systems and people who know what to actually do, so there is now a logistical challenge with getting all that knowledge unified. Part of this is also due to lower staffing in data centers due to pandemic measures."
Ramenporn also stated that it wasn't an attack, but a mistaken configuration change made via a web interface.
Both BGP and DNS are down, the "connection to the outside world is down, remote access to those tools don't exist anymore, so the emergency procedure is to gain physical access to the peering routers and do all the configuration locally."
Technicians on site don't know how to do that and senior network administrators aren't on site.
It seems that it will all be down for a couple of more hours before the issue is resolved.