As you know, Bluetooth headphones allow users to connect to their mobile devices wirelessly. This allows you to talk on your mobile device or listen to music without having to connect any cords or wires. Additionally, it even allows you to adjust the volume of a left or right speaker. However, Bluetooth headphones in Windows 10 are another story as their scope is limited. For instance, the left and right pieces can’t have different volume levels. But if you still want to change the dual control of the volume of headphones separately in Windows 10. And in this post, you will be guided on how exactly you can do that.
In addition, in this post, you will also be guided on what you can do if the Windows Update messed with the Bluetooth volume control and what you can do to disable the absolute volume in Windows 10. In case you don’t know, the Absolute Volume feature is actually incompatible with a number of Bluetooth devices which can result in the inability of the Bluetooth device to adjust its volume.
Thus, if you experience this kind of issue, you’ll notice that the volume slider in the taskbar and the device volume control neither have any effect in adjusting the volume. And each time you try to adjust the volume level for one speaker, the volume of another speaker also automatically changes. In such a case, it would be difficult for you to separately change the dual volume control headphones. Worry not for there is an easy registry tweak you can try to make this possible to do. But before you proceed with the instructions provided below, make sure that you create a System Restore first. Once you have that covered, follow the steps below carefully.
Step_1: Tap the Win + R keys to open the Run dialog box and type “Regedit” in the field and hit Enter to open the Registry Editor.
Step_2: Next, navigate to this registry path: HKEY_LOCAL_MACHINESYSTEMControlSet001ControlBluetoothAudioAVRCPCT
Step_3: After that, look for the entry named “DisableAbsoluteVolume” which should be located in the right pane. But if you’re unable to find this entry, you can just create it by right-clicking on the CT key and selecting New > DWORD (32-bit) value, and then assign “DisableAbsoluteVolume” as its name.
Step_4: Once done, double click on the “DisableAbsoluteVolume” DWORD and set its value from 0 to 1.
Step_5: Now exit the Registry Editor and restart your computer.
On the other hand, you can also disable or enable the Absolute Volume feature by executing a command in the Command Prompt.
After you execute the command, just restart your computer.
Once you’re done executing the given instructions above, you have to right-click on the speaker icon located in the system tray and select Open Sound Settings and click on Manage device settings – the same controls will be visible to you like earlier. Now when you change the volume level for one speaker, the other speaker should now remain as it is and won’t change alongside the speaker.

 Like in Windows 10, Windows 11 will also support God mode to be enabled and used. For those readers that do know what God mode is, let me explain it in simple terms. God mode is the icon on the desktop that once clicked will open and let you adjust every option in the control panel and some hidden features for Windows inside one application.
There are a lot of advantages to having this one-click fast access to features, especially if you are a power user. Luckily creating such an awesome icon and enabling God mode is very easy to accomplish, all you have to do is:
Like in Windows 10, Windows 11 will also support God mode to be enabled and used. For those readers that do know what God mode is, let me explain it in simple terms. God mode is the icon on the desktop that once clicked will open and let you adjust every option in the control panel and some hidden features for Windows inside one application.
There are a lot of advantages to having this one-click fast access to features, especially if you are a power user. Luckily creating such an awesome icon and enabling God mode is very easy to accomplish, all you have to do is:
 As more and more people get into insider preview of upcoming Windows 11 we will see more and more different takes and opinions on it.
Generally speaking, the first wave was quite positive when it was previewed but how time is passing more and more limitations and frustration comes to the surface.
Some of the limitation that is inside it, which have been confirmed by Microsoft itself includes features missing that we had in Windows 10 like moving the application to the taskbar in order to pin it, moving the file in the taskbar to open it in default application and some big annoyances like Windows opening widgets always in Edge no matter what is your default browser. Not being able to move the taskbar from the bottom is also one of many illogical things.
There is not really a point in these missing features since they were working fine in Windows 10 and many users liked them since they could customize Windows more to their liking, now with this new look at limitations it reminds me personally much of apple macOS and I will be honest, I am not a big fan of that kind of thinking.
If I wanted that kind of OS I would have gotten myself a MAC, not custom build PC, but hey, Linux is always a free alternative, and how Microsoft itself is pushing limitations and in my opinion bad design choices along with awful system requirements that might just be a case for a lot of users.
I am really not sure what is logic behind these moves and I am sure they have their reasons but this time it seems that their take on the new OS is not resonating well with the overall user population, well at least what I have heard so far. Things of course can still be changed and made for the better and I would rather see release postponed and issues addressed than getting more system hogging and limited new OS that at its current state looks like reskinned Windows 10 with limitations.
As more and more people get into insider preview of upcoming Windows 11 we will see more and more different takes and opinions on it.
Generally speaking, the first wave was quite positive when it was previewed but how time is passing more and more limitations and frustration comes to the surface.
Some of the limitation that is inside it, which have been confirmed by Microsoft itself includes features missing that we had in Windows 10 like moving the application to the taskbar in order to pin it, moving the file in the taskbar to open it in default application and some big annoyances like Windows opening widgets always in Edge no matter what is your default browser. Not being able to move the taskbar from the bottom is also one of many illogical things.
There is not really a point in these missing features since they were working fine in Windows 10 and many users liked them since they could customize Windows more to their liking, now with this new look at limitations it reminds me personally much of apple macOS and I will be honest, I am not a big fan of that kind of thinking.
If I wanted that kind of OS I would have gotten myself a MAC, not custom build PC, but hey, Linux is always a free alternative, and how Microsoft itself is pushing limitations and in my opinion bad design choices along with awful system requirements that might just be a case for a lot of users.
I am really not sure what is logic behind these moves and I am sure they have their reasons but this time it seems that their take on the new OS is not resonating well with the overall user population, well at least what I have heard so far. Things of course can still be changed and made for the better and I would rather see release postponed and issues addressed than getting more system hogging and limited new OS that at its current state looks like reskinned Windows 10 with limitations. “We couldn’t install Windows 10. The installation failed in the SAFE_OS phase with an error during INSTALL_UPDATES operation: Error 0x800F081F” “The installation failed in the Safe_OS phase with an error during apply_image operation: Error: 0x800f081f – 0x20003”To fix this kind of Windows Update error, you need not use external programs but you can try to disable the Developer Mode, run the Windows Update troubleshooter or restart all the Windows Update-related services and components. For more details, refer to the options provided below.
Generated due to temporary device and Window system conflicts, Error code 14 is a typical Device Manager error. This error code can pop up anytime and usually displayed in the following format:
“This device cannot work properly until you restart your computer. (Code 14)”
Though it is not a fatal error code like the infamous Blue Screen of Death and runtime error codes, nonetheless it is still advisable to repair it immediately before any delay to avoid inconvenience.
It can lower your PC’s performance and hamper you from using certain hardware devices as a result of driver problems.
 Error Causes
Error 14 is triggered when your system is unable to correctly read the files and settings which is important for running a certain piece of your PC hardware. Now this conflict may occur due to reasons like outdated, corrupted, or poorly installed drivers. Other causes may include corrupted registry entries.
Simply put, Error code 14 is a good reminder that PC users should pay attention to updating device drivers to ensure healthy systems and optimum PC performance.
The good news is that error code 14 is quite easy to resolve. You don’t have to spend hundreds of dollars to hire a professional programmer to get it fixed. To repair, simply follow the DIY methods listed below.
We have compiled some of the best, proven, and easy to perform solutions for PC users to resolve Device Manager error codes like error code 14. Follow the instructions here to resume the functionality of your PC.
Let’s get started:
Sometimes, an action as simple as rebooting your PC can also resolve technical problems like error code 14. So, before you try any other method, try giving this a shot.
The moment the error code pops on your screen, simply close all the programs running on your system and restart your PC. This refreshes your system settings, processes and services allowing it to run smoothly.
However, if the error still persists, then try other methods given below.
Corrupted registry entry can also trigger error code 14. To resolve delete the corrupted registry entries. For this, go to the start menu and type Regedit. A dialog box will open. Now navigate through the HKEY_LOCAL_MACHINE key. Expand further to locate HKEY_LOCAL_MACHINESYSTEMCurrentControlSetControlClass. Once located, now in the right pane click upper filters and then click delete on the edit menu. Click yes when prompted to confirm the deletion.
Now in the right pane, click lower filters. Repeat the same steps as performed to delete upper filters. Confirm deletion and then exit the registry editor. To activate changes, restart your PC. This will hopefully resolve the issue. If the error code pops up on your computer screen, then try method 3.
Drivers are basically software applications that communicate and provide instructions to your system to operate hardware devices.
When these become corrupt or outdated, you start experiencing problems like error code 14. To resolve, locate corrupted drivers and update them. You can do it both manually and automatically. We’ll discuss both ways.
For a manual driver update, go to the start menu, control panel, and then Device Manager. Now go through all devices listed to locate problematic drivers. To identify problematic drivers, look for yellow exclamation marks next to each device. Devices with yellow exclamation marks indicate that driver issues. To repair, right-click on each hardware device and select update driver.
Updating each driver separately and manually is a stressful and frustrating task. This can take a lot of your time. Sometimes, you may also have to download new driver versions from the internet to install perform updates. To avoid the hassle and save time, it is advisable to install a program like DriverFIX.
This user-friendly and intuitive software is based on sophisticated technology featuring an intelligent programming system that automatically detects all your PC drivers in seconds.
Once you install this software on your system, it instantly identifies problematic drivers and matches them to the latest versions. It updates PC drivers immediately thereby resolving the error code 14 problem in a few seconds. It enables accurate installations and ensures that your PC runs at its optimum level.
More importantly, with this software installed on your PC, you don’t have to worry about keeping track of your driver updates anymore. The software updates drivers on a regular basis with new and compatible versions ensuring that your PC functions properly and you don’t experience any type of Device Manager error code. It is easy to use and install. It is compatible with all Windows versions.
Click here to download DriverFIX to resolve error code 14 on your system right away.
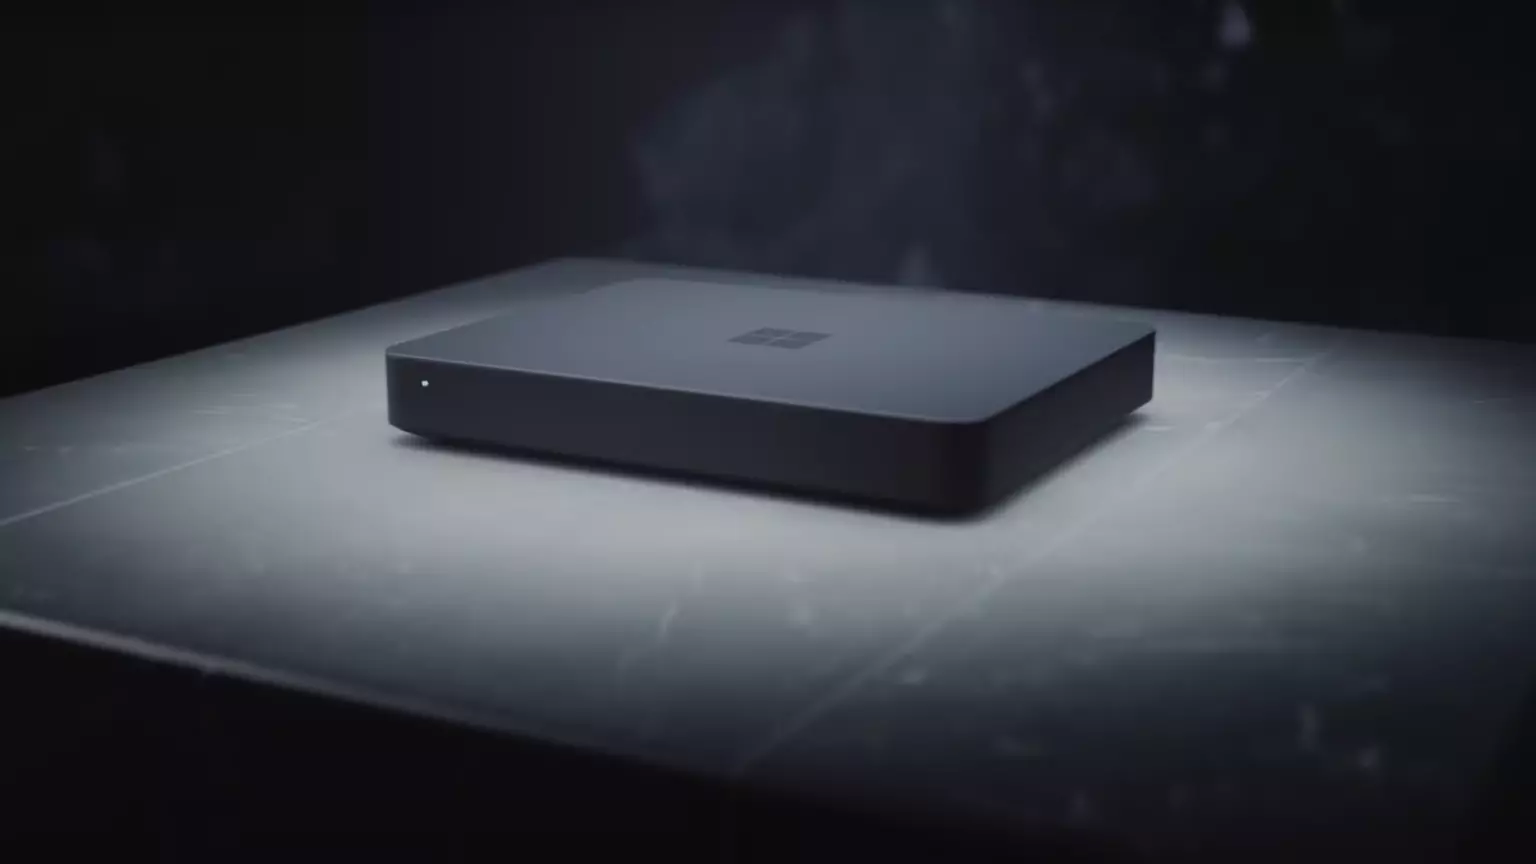
Microsoft will soon offer 4 CPU computer specifically aimed at developers and its name is Volterra. The machine as stated will come with 4 processors but the strange thing is that they will be ARM-based instead of x86.
CEO of Microsoft, mister Satya Nadella has introduced the product and Microsoft has released a youtube video promoting it.
The computer system will have Qualcomm's NPU or built-in neural processing unit to use AI's power to help developers write and produce better and faster code. The sad news is that besides processors used there is no other information on other components that will go into this system.
As seen in the video, the computer reminds me a lot of the apple MAC mini with its size and design, and as stated it is made from recycled plastic which in our opinion will bring the price under $1000.
Microsoft has not provided an official price tag for Volterra, but our hope is that it will be more affordable than building your own development PC. Also, there was nothing said about computer availability, we suspect that the selling model will be typical Microsoft one with first models available only in the USA and moving forward slowly opening it to other markets.
As previously said nothing except the number of CPUs and their type has been officially said but we managed to get some information about some other specific things not including its inside components.
The unit will have a fan inside of it for cooling purposes and better performance and that is what was officially stated by Microsoft. On the outside, it is known that the computer will have three USB-A ports, a mini DisplayPort, and an ethernet input. All of these will be positioned on the back of the device, on its left side there will be two USB-C ports.
The unit itself will be running on Windows 11 but it was not disclosed anything about the version, we presume since this is a model aimed for professional use that it will come with Windows 11 PRO version.
Since this product is aimed at developers logically support for developing software is a must-have and at the time of this writing software that will come and that will run on Volterra is:
Once MAC studio has been released it showed that specific builds have their audience and can be sold for less of a price than full-fledged custom-made workstations. There is no doubt that Microsoft Volterra will find its audience but will that be enough to have more versions of this compact computer only time will tell.
 10 worst computer viruses in history