For three decades, Wolfram Mathematica has defined the state of the art in technical computing and provided the principal computation environment for millions of innovators, educators, students, and others around the world.
Widely admired for both its technical prowess and elegant ease of use, Mathematica provides a single integrated, continually expanding system that covers the breadth and depth of technical computing—and seamlessly available in the cloud through any web browser, as well as natively on all modern desktop systems.
With energetic development and consistent vision for three decades, Mathematica stands alone in a huge range of dimensions, unique in its support for today's technical computing environments and workflows.
Mathematica has nearly 5,000 built-in functions covering all areas of technical computing—all carefully integrated so they work perfectly together, and all included in the fully integrated Mathematica system.
Building on three decades of development, Mathematica excels across all areas of technical computing—including neural networks, machine learning, image processing, geometry, data science, visualizations, and much more.
Mathematica builds in unprecedentedly powerful algorithms across all areas—many of them created at Wolfram using unique development methodologies and the unique capabilities of the Wolfram Language.
Superfunctions, meta-algorithms... Mathematica provides a progressively higher-level environment in which as much as possible is automated—so you can work as efficiently as possible.
Mathematica is built to provide industrial-strength capabilities—with robust, efficient algorithms across all areas, capable of handling large-scale problems, with parallelism, GPU computing, and more.
Mathematica draws on its algorithmic power—as well as the careful design of the Wolfram Language—to create a system that's uniquely easy to use, with predictive suggestions, natural language input, and more.
Mathematica uses the Wolfram Notebook Interface, which allows you to organize everything you do in rich documents that include text, runnable code, dynamic graphics, user interfaces, and more.
With its intuitive English-like function names and coherent design, the Wolfram Language is uniquely easy to read, write, and learn.
With sophisticated computational aesthetics and award-winning design, Mathematica presents your results beautifully—instantly creating top-of-the-line interactive visualizations and publication-quality documents.
Get started with almost any project with help from 150,000+ examples in the Documentation Center, over 10,000 open-code Demonstrations in the Wolfram Demonstrations Project—and a host of other resources.
Mathematica has access to the vast Wolfram Knowledgebase, which includes up-to-the-minute real-world data across thousands of domains.
Mathematica is now seamlessly integrated with the cloud—allowing sharing, cloud computing, and more in a unique and powerful hybrid cloud/desktop environment
Mathematica is built to be connected to everything: file formats (180+), other languages, Wolfram Data Drop, APIs, databases, programs, the Internet of Things, devices—and even distributed instances of itself.
If you would like to read more helpful articles and tips about various software and hardware visit errortools.com daily.

 Error CausesError Causes
“The program can not start because corefoundation.dll is missing from your computer. Try reinstalling the program to fix this problem”. "This application has failed to start because CoreFoundation.dll was not found. Re-installing the application may fix this problem." “The procedure entry point_CFBundleCopyFileTypeForFileData could not be located in the dynamic link library corefoundation.dll.” "MobileMe Control Panel cannot continue as Apple Application Support is missing or outdated. Please uninstall and reinstall the latest version of iTunes and MobileMe Control Panel to fix this issue.”Though this error code is not fatal but if it is not fixed immediately it will hamper your ability to load and run Apple programs on your system.
Error CausesGoogle Docs has cemented itself as a great free alternative to Microsoft Office Word. Most of the time people just share links to google Docs among themselves but sometimes you need to save and download files.

Luckily Google docs let you download easily files in various formats including PDF as well. In this short tutorial we will explain how can you download your Google document as a PDF file.
Open the Google document inside the browser and click on the File drop-down menu. In the file drop-down menu go to Download and choose PDF document. Next, choose the location where you would like your file to be saved and click on SAVE.
And that's all that needs to be done. Also, you can edit PDF files as well in google docs if you need to.
BringMeSports is a browser extension developed by Mindspark Inc. that lets you watch live sports streams, follow sports scores, and catch up on the latest news from the sports world. BringMeSports installs an extension into your browser that replaces your default home page with the MyWebSearch starting page, it also replaces your default search engine, shows additional ads, and while running, collects personal and web browsing data that is later sent back to be Sold / Forwarded to serve ads. While browsing the internet with this extension installed, you will see additional ads and sponsored links appear in your search results. It may even show pop-up ads. Several anti-virus scanners have marked this extension as a Browser Hijacker and are therefore not recommended to keep on your computer.
Error code 0xc004f210 is one of the many activation errors that affect Windows 10 users. Users will be able to identify error code 0xc004f210 because of the following common symptoms which occur:
Error CausesError code 0xc004f210 usually occurs due to issues related to one’s product key or digital entitlement. Both the product key and digital entitlement are used by Microsoft to enable customers to activate the version of Microsoft that they have legitimate access to. If you enter the wrong product key or if you upgrade to Windows 10 but the current version of Windows to which you are attempting an activation does not match the edition of your digital entitlement, error code 0xc004f210 may occur. To correct this issue, you will need to implement one or more manual repair procedures. This will depend on the problem that caused the error to occur in the first place.
The methods below are simple procedures that Windows users lacking technical knowledge will be able to successfully complete. However, do contact a Windows repair technician if you have difficulty completing the manual repair methods listed below, or if the problem persists after completing these steps.
In order to successfully activate your Windows 10 operating system and resolve error code 0xc004f210, you will need to enter a valid product key. Ensure you enter the 25-character code in the order it is given as making a simple mistake while typing the product key can lead to the reoccurrence of the error code. Follow the instructions below to enter the product key.
You should be able to successfully activate Windows 10 once you complete the process. However, move to the next manual method suggested below if the problem persists as error code 0xc004f210 could be due to an issue with your digital entitlement.
Digital entitlement, a new form of activation that doesn’t require the use of a product key, could be the real reason you are experiencing error code 0xc004f210 on your device. To combat any issues related to your digital entitlement, ensure the version of Windows 10 installed on your system matches your digital entitlement. This will require that you reinstall your operating system as well. After reinstalling Windows 10, follow the steps below to complete the process.
If this method is successful, you will no longer see the error code 0xc004f210 pop up on your screen. However, contact a Windows repair technician to evaluate your system if the issue persists.
This method involves the use of a powerful automated tool. But why is this important you might ask? A third-party tool is often the best solution when all manual repair efforts fail. Automated tools come equipped to tackle the most serious PC problems including error codes which can cause frustration and result in reduces PC performance.
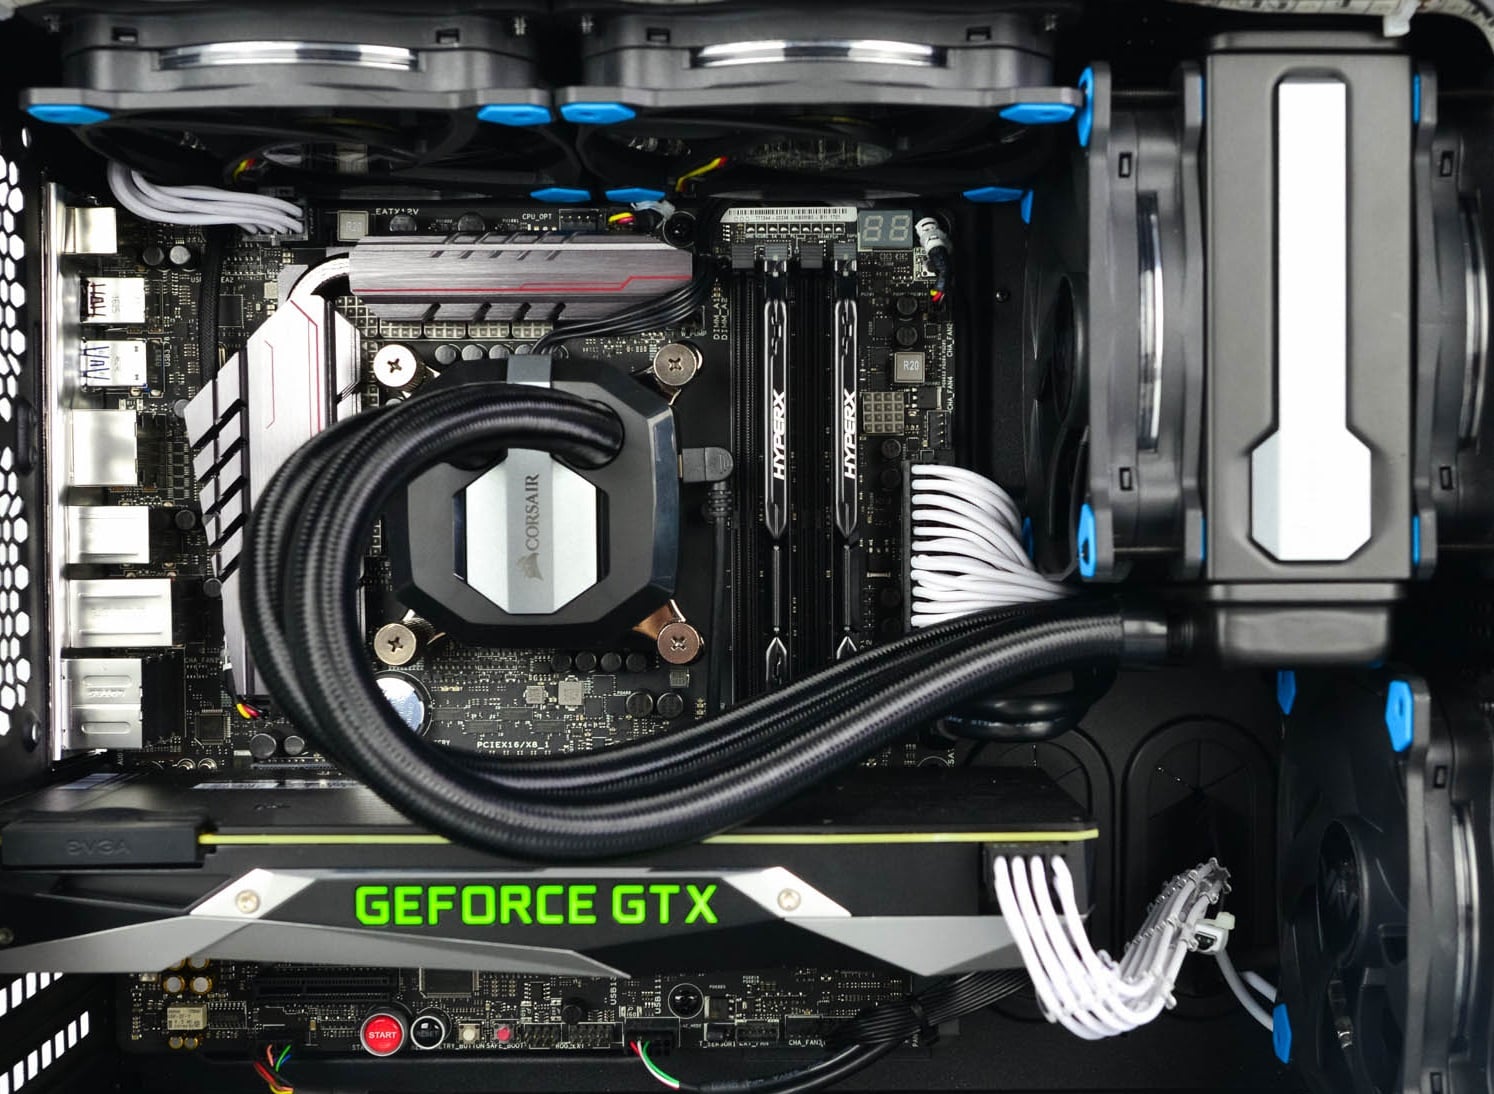 Builders with no depth knowledge and experience can sometimes choose improper CPU or GPU, picking one of them to be much more powerful than another thus not using it to its full potential because another component cannot handle stuff at the same speed. In order to not be trumped by this kind of stuff, there is a website that is completely free and you do not even need to be registered in order to use it.
Bottlenet calculator link here
What is even better, once you input your components you will get advice on what to change in order to tweak the system a little more to avoid bottlenecks even more. It is a very useful tool and we are advising you to use it in order to save money but not throwing it on some component that will be half used.
Builders with no depth knowledge and experience can sometimes choose improper CPU or GPU, picking one of them to be much more powerful than another thus not using it to its full potential because another component cannot handle stuff at the same speed. In order to not be trumped by this kind of stuff, there is a website that is completely free and you do not even need to be registered in order to use it.
Bottlenet calculator link here
What is even better, once you input your components you will get advice on what to change in order to tweak the system a little more to avoid bottlenecks even more. It is a very useful tool and we are advising you to use it in order to save money but not throwing it on some component that will be half used.