Easy Home Decorating is a Browser Extension for Google Chrome. It offers users tips and tricks on how to manage your home decoration, you can find ideas for certain rooms, combine and plan.
This might seem useful at the start, however, all this extension does is add a toolbar that links you to the most popular Home Decor Websites that you can find on any Search engine within seconds.
When installed it changes your default search engine and new tab page to MyWay.com or Ask.com (depending on the extension version). It monitors user browsing activity in the background, allowing it to gather visited websites, clicked links, search queries, and other user information. This data is later sent/sold to better target ads.
While using this extension you will see additional ads and sponsored content displaying throughout your browsing sessions. Several anti-virus applications have marked this extension as a Browser Hijacker and a potential security flaw and are therefore not recommended to keep on your computer.
About Browser Hijackers
Browser hijackers (sometimes referred to as hijackware) are a type of malware that modifies web browser configurations without the user’s knowledge or approval. These hijacks happen to be increasing at an alarming rate worldwide, and it could be actually nefarious and sometimes harmful too. Browser hijacker malware is developed for many different reasons. These are generally used to force visitors to a particular website, manipulating web traffic to earn ad revenue. It might seem naive, but the majority of these websites are not legitimate and can present a serious risk to your online safety. Moreover, hijackers could make the whole infected system vulnerable – other destructive malware and viruses would use these opportunities to get into your computer effortlessly.
How one can know if your browser has been hijacked
Here are some signs and symptoms that suggest you’ve been hijacked: your web browser’s home page is suddenly different; if you enter a URL, you find yourself regularly directed to a different site than the one you meant; the default online search engine is modified; unsolicited new toolbars are added to your web browser; you see a lot of pop-up ads on your computer screen; your web browser gets slow, buggy, crashes frequently; you can’t visit specific websites like home pages of security software.
How does a computer get infected with a browser hijacker?
Browser hijackers infect computer systems in numerous ways, including through a drive-by download, a file-share, or an infected email. They can also come from any BHO, extension, add-on, toolbar, or plug-in with malicious purpose. Other times you might have inadvertently accepted a browser hijacker as part of a software bundle (generally freeware or shareware). Examples of well-known browser hijackers are Fireball, GoSave, Ask Toolbar, CoolWebSearch, Babylon Toolbar, and RocketTab.
Browser hijackers could affect the user’s web browsing experience significantly, monitor the websites visited by users and steal private information, cause difficulty in connecting to the web, and finally create stability problems, causing programs and systems to freeze.
How you can fix a browser hijack
Certain kinds of browser hijackers can be effortlessly removed from your PC by deleting malicious software applications or any other recently installed shareware. But, many hijackers are very hard to identify or eliminate as they might get themselves associated with some important computer files which allow it to operate as a necessary operating system process. Rookie computer users should never try the manual form of removal methods since it requires comprehensive computer knowledge to carry out repairs on the computer registry and HOSTS file.
Anti-malware application is really efficient with regards to picking up and removing browser hijackers that normal anti-virus application has overlooked. To eradicate any kind of browser hijacker from your PC, you can download this certified malware removal program – SafeBytes Anti-Malware. Employ a system optimizer (like Total System Care) together with your antivirus software to solve various registry issues, remove system vulnerabilities, and improve your computer's overall performance.
How To Install Safebytes Anti-Malware On An Infected PC
All malware is bad, but certain kinds of malware do much more damage to your PC than others. Some malware is designed to restrict or prevent things that you wish to do on your personal computer. It may well not permit you to download anything from the net or prevent you from accessing some or all of the websites, especially the anti-virus sites. If you’re reading this article, you probably have got infected by a virus that prevents you from downloading a computer security program such as Safebytes Antimalware on your PC. There are some steps you can take to get around this issue.
Install in Safe Mode
The Windows OS has got a special mode known as “Safe Mode” in which just the bare minimum required programs and services are loaded. If the malware is blocking access to the internet and affecting your PC, running it in Safe Mode allows you to download antivirus and run a scan while limiting possible damage. In order to get into Safe Mode or Safe Mode with Networking, press the F8 key while the computer is starting up or run MSCONFIG and locate the “Safe Boot” options in the “Boot” tab. Once you are in Safe Mode, you can attempt to download and install your antivirus program without the hindrance of the malicious software. Now, you can run the antivirus scan to eliminate viruses and malware without any interference from another application.
Switch to an alternate internet browser
Web-based malware could be environment-specific, aiming for a particular web browser or attacking specific versions of the browser. In case you suspect that your Internet Explorer has been hijacked by a computer virus or otherwise compromised by cybercriminals, the most effective course of action is to switch to a different internet browser such as Chrome, Firefox, or Safari to download your favorite computer security software – Safebytes Anti-Malware.
Run anti-virus from a USB drive
Another solution is to save and operate an antivirus software program entirely from a Thumb drive. To run antivirus using a thumb drive, follow these simple steps:
1) On a clean PC, download and install Safebytes Anti-Malware.
2) Put the USB drive into the uninfected PC.
3) Double-click the Setup icon of the anti-malware program to run the Installation Wizard.
4) When asked, choose the location of the USB drive as the place in which you would like to store the software files. Follow the instructions to finish the installation process.
5) Now, insert the pen drive into the infected PC.
6) Double-click the EXE file to open the Safebytes program right from the flash drive.
7) Click “Scan Now” to run a complete scan on the affected computer for viruses.
SafeBytes Anti-Malware Overview
To help protect your laptop or computer from various internet-based threats, it’s very important to install an anti-malware program on your PC. But with countless numbers of antimalware companies out there, these days it’s challenging to decide which one you should buy for your PC. Some of them are good, some are ok types, while some will harm your PC themselves! You must pick a company that builds industry-best anti-malware and has gained a reputation as reliable. Amongst few good programs, SafeBytes Anti-Malware is the highly recommended software program for the security-conscious user.
SafeBytes is a powerful, real-time anti-spyware application that is designed to assist the everyday computer end user in safeguarding their computer from malicious internet threats. With its cutting-edge technology, this application will allow you to remove several types of malware including viruses, trojans, PUPs, worms, ransomware, adware, and browser hijackers.
There are plenty of great features you’ll get with this particular security product. Listed here are a few of the great ones:
Real-time Threat Response: SafeBytes offers real-time active checking and protection from all known viruses and malware. It’ll monitor your PC for suspicious activity continuously and its unparalleled firewall shields your PC from illegal access by the outside world.
Antimalware Protection: Built upon a greatly acclaimed anti-virus engine, this malware removal tool can find and get rid of many obstinate malware threats such as browser hijackers, PUPs, and ransomware that other typical anti-virus software will miss.
Website Filtering: SafeBytes checks and gives a unique safety rating to every website you visit and block access to webpages known to be phishing sites, thus protecting you against identity theft, or known to contain malicious software.
Lowest CPU and RAM Usage: SafeBytes provides complete protection from internet threats at a fraction of the CPU load due to its advanced detection engine and algorithms.
Premium Support: For any technical questions or product support, you could get 24/7 expert assistance through chat and email.
Overall, SafeBytes Anti-Malware is a solid program as it has lots of features and could detect and remove any potential threats. You can be sure that your PC will be protected in real-time once you put this software program to use. You will get the very best all-around protection for the money you pay on SafeBytes Anti-Malware subscription, there’s no question about it.
Technical Details and Manual Removal (Advanced Users)
If you don’t wish to use an automated tool and prefer to get rid of Easy Home Decorating manually, you might accomplish this by going to the Windows Add/Remove Programs menu in the control panel and removing the offending software; in cases of web browser add-ons, you could remove it by visiting the browser’s Add-on/Extension manager. Additionally, it is suggested to factory reset your web browser settings to their default state.
To make sure of complete removal, find the following Windows registry entries on your computer and delete it or reset the values appropriately. Please remember that this is for experienced users only and might be challenging, with incorrect file removal causing additional PC errors. Also, certain malware is capable of replicating itself or preventing deletion. Completing this task in Safe Mode is suggested.
Files:
Search and Delete:
73Bar.dll
73bar.dll
73highin.exe
73medint.exe
73regfft.dll
73regiet.dll
73hkstub.dll
73reghk.dll
73barsvc.exe
73bprtct.dll
73datact.dll
73dlghk.dll
73dlghk64.dll
73feedmg.dll
73htmlmu.dll
73httpct.dll
73idle.dll
73mlbtn.dll
73Plugin.dll
73script.dll
73skin.dll
73skplay.exe
73SrcAs.dll
APPINTEGRATOR.EXE
AppIntegrator64.exe
APPINTEGRATORSTUB.DLL
AppIntegratorStub64.dll
ASSISTMONITOR.DLL
ASSISTMONITOR64.DLL
CREXT.DLL
CrExtP73.exe
DPNMNGR.DLL
HKFXMGR.DLL
HKFXMGR64.DLL
HPG.DLL
Hpg64.dll
T8EPMSUP.DLL
T8EXTEX.DLL
T8EXTPEX.DLL
T8HTML.DLL
73SrchMn.exe
73srchmr.dll
NP73Stub.dll
73auxstb.dll
73auxstb64.dll
73ieovr.dll
73radio.dll
73brmon.exe
73brstub.dll


 Check for a poorly functioning background process
 The final solution. Contact Firefox about these errors on your browser. Oftentimes, these errors occur when you attempt to visit particular websites. Mark the offending websites' URLs and include them in your communications with Firefox.
Sometimes you can also contact the website owner yourself and request them to check their website's code.
Following are additional measures you can take to resolve the Unresponsive Script error.
The final solution. Contact Firefox about these errors on your browser. Oftentimes, these errors occur when you attempt to visit particular websites. Mark the offending websites' URLs and include them in your communications with Firefox.
Sometimes you can also contact the website owner yourself and request them to check their website's code.
Following are additional measures you can take to resolve the Unresponsive Script error.
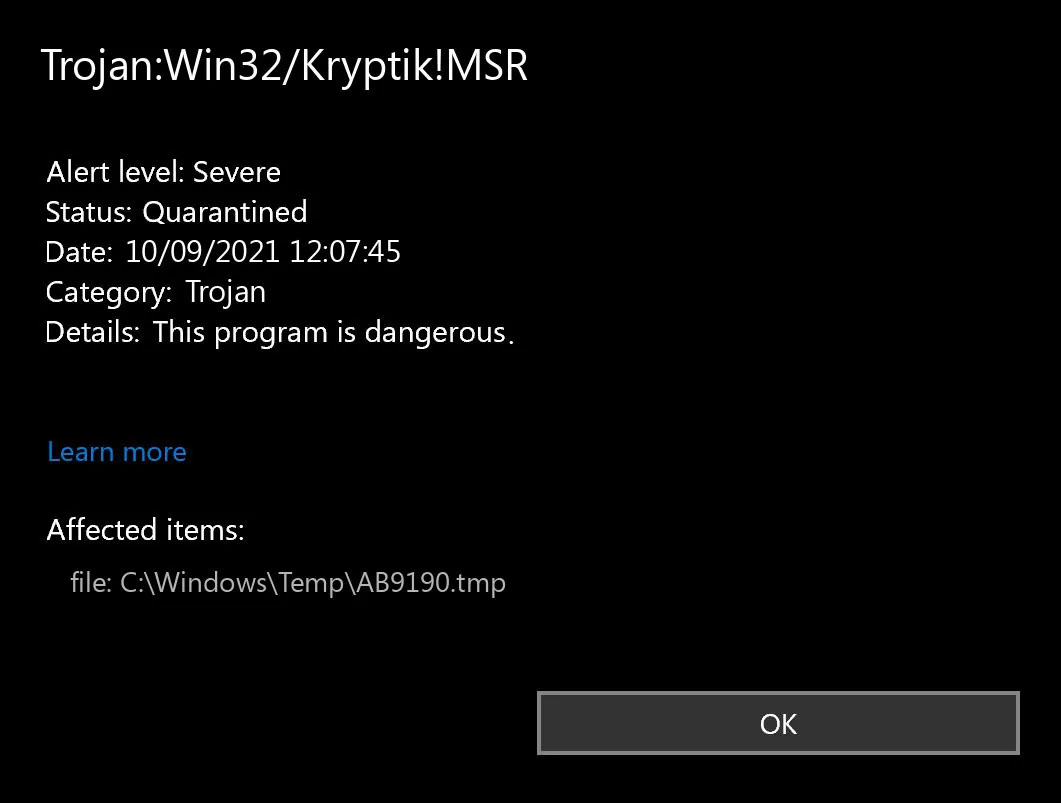 Trojan.Kryptik creates the following registry entry or registry entries: