Crash Dump is a type of malfunction that can happen when a few portions of the processor's data or RAM memory are erroneously copied to one or more files.
It is common among Windows PCs. It used to be most prominent on the Windows 95 edition but subsequent versions have mostly remedied the situation. Even with the remedies over time though, this error still occurs.
Error Causes
A Crash Dump usually points to some serious and critical errors with your Computer. Below are some of the possible causes for this error:-
- Corrupt memory
- Incorrect configurations on hardware
- Programming errors.
- Incompatible drivers
- Faulty Operating system
Despite the listed causes for Crash Dumps. Nobody is ever ready for them. A crash dump is classified as an unexpected error simply because it can happen anytime.
Further Information and Manual Repair
Most PC users get scared and anxious when a crash dump happens. Which need not be the case. You can easily repair a Crash Dump without necessarily requiring a computer technician. Follow these simple steps and the malfunction will soon dissipate:
a) Re-Install the Operating System
Put the setup CD into the computer disk drive. Once you've completed this, reboot the pc.
b) Push F8
Push the F8 function key on your keyboard while the pc is re-booting. This takes you to a menu where you should choose “Advanced Boot Options”
c) Click "Repair My Computer"
As soon as you push the F8 option, and do what's suggested in the last measure above, you must click on "Repair My Computer" and press the "Return/Enter" key.
d) Click on the "Startup Repair"
Search for the start-up repair option, and choose it. Subsequently, move to Next. Using this method, the cause of the Crash dump will undoubtedly be recognized and ended after a thorough scan of your system.
Additionally, it is smart to take note of the whole Crash Dump information that appears on your screen. Windows supplies you with detailed error messages. Write down each of the error codes in hexadecimal values as well as capital characters as displayed on the screen.
-
Disconnect Hardware and Un-Install all Drivers
Disconnect and remove any new hardware that is causing your PC to crash dump. Uninstall any drivers you used to install the hardware. If this solves the problem, contact the hardware manufacturer and request the latest and updated device drivers.
At length, prior to starting panicking, see the error information that appears on your own display. Browse to see whether it includes info on a certain driver that you ought to search for and install.
Bottom line, remain calm when your computer crash dumps and use the mentioned steps to repair it.

 If you are one of the mentioned users and for any reason, you do not wish to have a touchscreen-enabled then sit back and relax, we have you covered in this tutorial on how to fully disable touchscreen inside Windows 11.

 5 Essential IT skills everybody should know
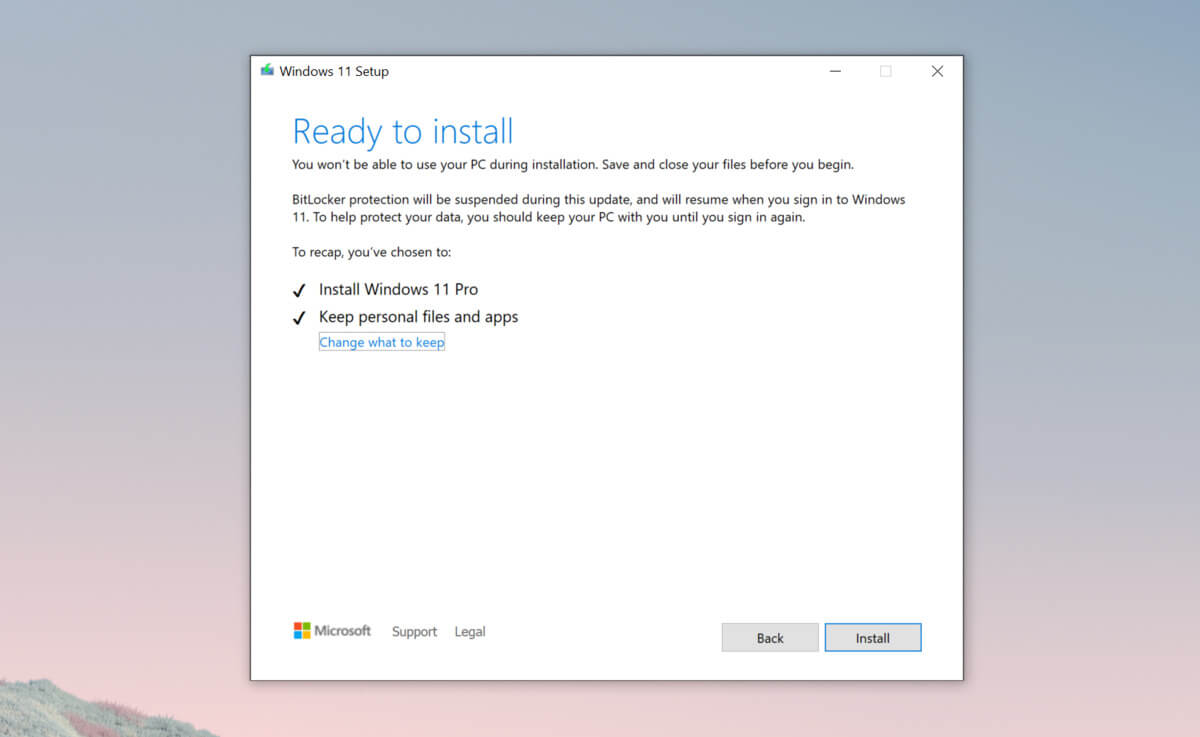 Bypass TPM with changing installation media

 Therefore we are presenting a couple of solutions that will fix your issue, it is advisable to follow them as presented since they will go from the most common to the more complex one.