If you are not able to access the Windows 10 Advanced troubleshooting options within Windows then you’ve come to the right place as this post will guide you on how you can repair or boot the Windows 10 installation without losing data using the bootable installation USB or DVD media. To repair or boot Windows 10 using the installation media, you have to download the Windows ISO, create a bootable USB or DVD drive, boot from the media and select “Repair your computer” and then select Startup Repair under Advanced troubleshooting. To get started, follow the given steps below carefully.
Step 1: Frist, download the Windows ISO.
Although this is not necessarily needed, it’s still better if you download the Windows ISO first so make sure that you download the same ISO version as installed on your computer.
Step 2: Next, create a bootable USB or DVD drive.
Note: If your platform supports the Unified Extensible Firmware Interface or UEFI, replace the “NTFS” with “FAT32” in the command on Step 10.
Step 3: After creating a bootable drive, boot from the media and select the “Repair your computer” option.
Once you boot from the USB drive, it will start the Windows 10 installation right away. So you must not keep on clicking Next as you will end up installing Windows. You need to look for the “Repair your computer” link on the first installation screen and click on it and then boot your computer into Advanced Recovery.
Step 4: Select Startup Repair under the Advanced options screen

Building your own custom PC system can be one of the greatest things you can do to your budget. Instead of going for a rebuild, we will go into detail about why building your own PC is a much better option. Also, note that if you do not possess enough technical knowledge about a topic there are plenty of stores that will offer you advice on components and after all, you can always get help from a friend.
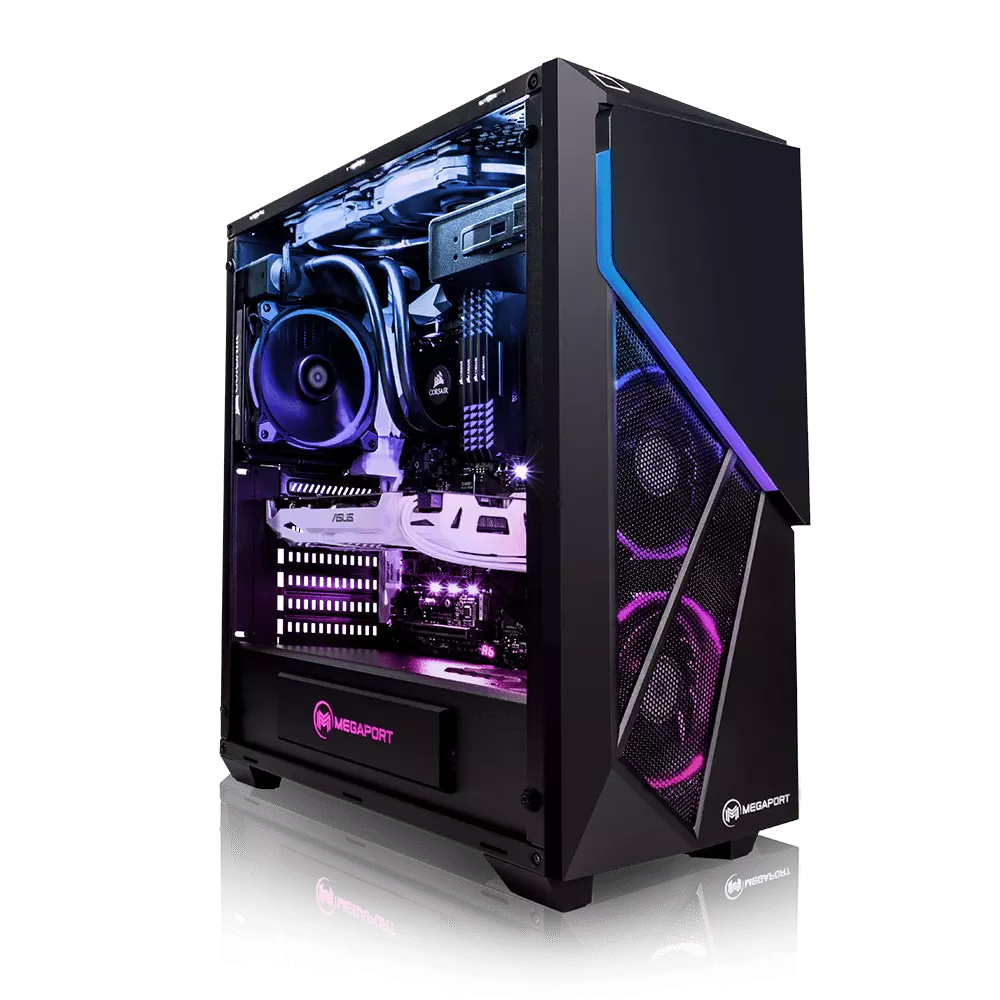
So without further diversion from the topic, let us explore all the benefits of building a custom computer.
At the first look, this statement does not feel right since when you look at the prebuilt systems you get a feeling that it is much cheaper than do it yourself variant and although CPU and GPU seem like a great deal I beg you to look under the hood on other components. Usually to lower price compromise would be made on other crucial components like SD or power supply, a PC case, or motherboard so even if you have a good CPU and GPU that will not matter much since other components would not be able to catch up with them. After all, prebuild computers will need to pay people who are building them and there is no way that will be cheaper if you just plain went and bought the same components yourself and install them.
When you are in control in choosing each component there is not only being cheaper online, it is flexibility with building itself. You choose which components you want to be stronger and which to be normal. Also, you can choose the exact model of the given component leaving you more in control and open to future upgrades.
Also, it may sound irrelevant but when building your own custom PC you can also choose which company you would like to purchase for each model, yes considering the CPU it is AMD or Intel but when you are buying a case, SSD, GPU, and other components choosing the right company for your needs is also the thing that should not be overlooked.
Not really a quality argument but with a custom PC build, you can choose would you like that RGB component or not, you choose do you like white or black fans, and many more things. You really can place a personal stamp on the computer making it indeed a personal computer.
When you buy an already prebuilt PC, usually it comes with some sort of OS on it, sometimes it is freedos, Linux and sometimes it is Windows Home. When you get your hands dirty you can place whichever system you want on it and install applications that you use and know and some preinstalled typical apps.
 Once it opens, click on Device Manager to open it,
If you have a driver device error inside Windows, you should see it immediately when entering the Device Manager, it will have a yellow exclamation mark beside it. Right-click on it and choose update driver.
Once it opens, click on Device Manager to open it,
If you have a driver device error inside Windows, you should see it immediately when entering the Device Manager, it will have a yellow exclamation mark beside it. Right-click on it and choose update driver.Nvidia announced the third generation of GeForce RTX GPUs called Ada Lovelace. New technology is bringing 76 billion transistors with 18,000 CUDA cores along with new gen ray tracing cores and improved Tensor cores as well. The new lineup also comes with DLSS 3 which is vastly improved from its previous version pushing a 4 times increase in frame rates over native rendering.
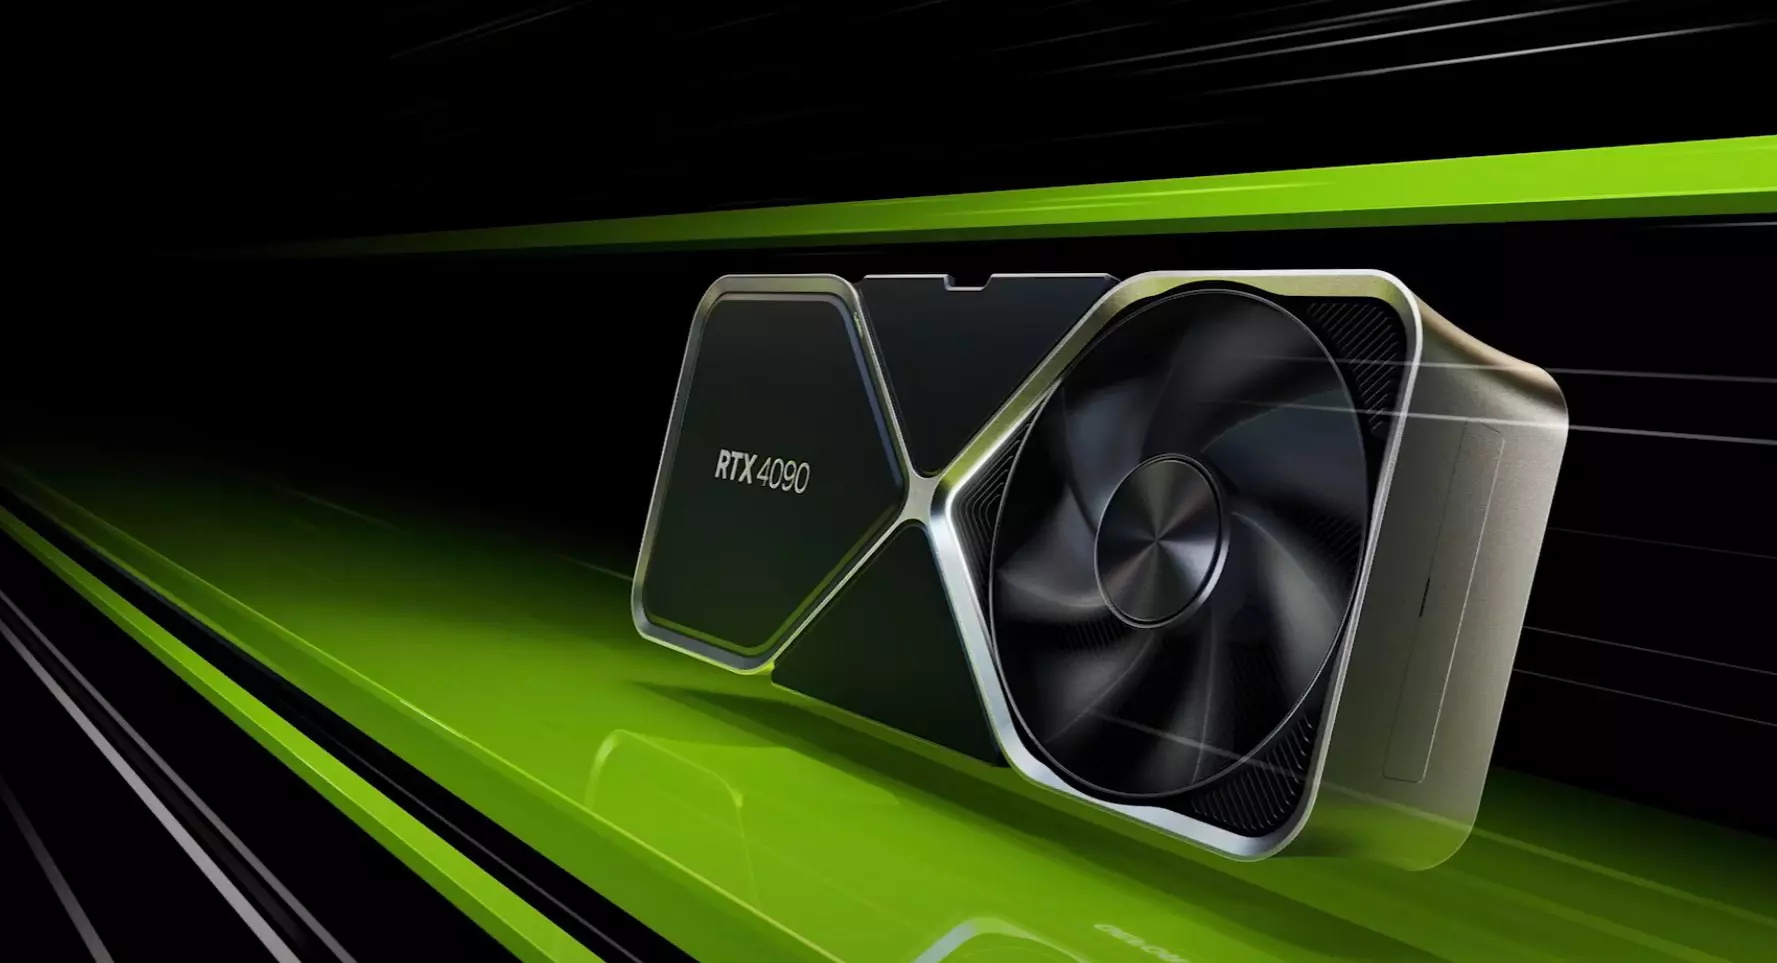
RTX 4090, a better model of GPU will come with 16,384 CUDA cores and a boost clock speed of 2.52 GHz. Also, it is packed with stunning 24 GB of GDDR6V VRAM. In Nvidia's words, its performance is twice faster than the 3090 Ti in games like Flight simulator, three times faster on Portal RTX, and four times faster on RacerX.
RTX 4080 comes in two modes, one with 12GB VRAM and a stronger one with 16GB VRAM but differences do not end here. The lower model is packing 7,680 CUDA cores while the stronger one is going to 9,728 CUDA cores. We will wait to see how will these cores count impact real-world performance in games.
As for prices, the flagship model RTX 4090 will be $1,600 USD and it will hit the market on October 12th. RTX 4080 12GB model will be $900 USD and the model with 16GB VRAM will go up to $1,200 USD. This, of course, is the price for Founders Edition cards, OEM cards from third parties like ASUS, MSI, Gigatech, etc will cost more.
PrivateSearchPlus is a browser extension that redirects all your searches through yonto. This way the extension claims you are browsing privately.
From the author: Search the web without tracking your search history or any personally identifiable information Access quickly to popular websites with icons sliding from this homepage is easy speedy and accessed ..Google Search, Yahoo, Aol, Facebook, Amazon, eBay, and more from all world without login However, PrivateSearchPlus monitors your browsing activity, the websites you visit, the links you click, and stores personal information that is later sent to server ads. This extension changes your default search engine to Yonto, it displays additional unwanted ads, may display pop-up ads, and hijacks your home page. Several anti-virus scanners have classified this extension as a Browser Hijacker and are therefore not recommended to keep on your computer.The Motitags toolbar browser add-on was created by Mindspark Inc. and is compatible with Internet Explorer and Mozilla Firefox. It claims to enhance users’ Internet browsing experience by enabling smileys within popular email clients such as Gmail, Yahoo!, AOL, and Outlook Live. While such added functionality may seem useful, Internet users should be aware that this browser plugin is categorized as a Browser Hijacker due to its behavior.
When installed this extension changes your default search engine, the home page, and new tab to MyWay.com, and while installed it gathers user browsing data and sends it back to Mindspark servers. This data is later used to inject additional unwanted ads into the user’s browser search results.
SMSFromBrowser is a Browser Extension developed by MindSpark. This extension usually comes bundled up with other software or via online advertising. Allegedly this extension allows you to send SMS messages from your computer, however, all it does is point you to other websites that offer this service. While active this extension monitors your browsing behavior, it records your website visits, clicks, links, and sometimes even private information, in order to use this data to better serve additional ads. During your browsing sessions, you may encounter additional unwanted ads, sponsored links, and sometimes even pop-up ads. Several anti-virus scanners have detected this extension as a potentially unwanted extension / Browser Hijacker, and due to its privacy mining behavior, it is not recommended to keep it on your computer.
Browser hijackers (sometimes referred to as hijackware) are a kind of malicious software that modifies web browser settings without the computer owner’s knowledge or permission. These hijacks appear to be increasing at an astonishing rate around the world, and they could be actually nefarious and sometimes harmful too. Browser hijackers are capable of doing more than just modifying homepages. These are typically used to force hits to a specific site, manipulating web traffic to generate ad revenue. Though it might seem naive, these tools are made by vicious people who always try to take advantage of you, so that they can easily make money from your naive and distraction. As soon as the program attacks your laptop or computer, it starts to mess things up a whole lot that slows your system down to a crawl. In the worst-case scenario, you will be forced to deal with serious malware threats as well. Error Causes