Recent Facebook, Instagram, WhatsApp, Messenger & Oculus fiasco and downtime reminded us that even big IT tech behemoth is vulnerable and can go offline. The situation has been resolve in not so fast manner but not long also, let’s say it was resolved in time that people have not left and switched to another platform.
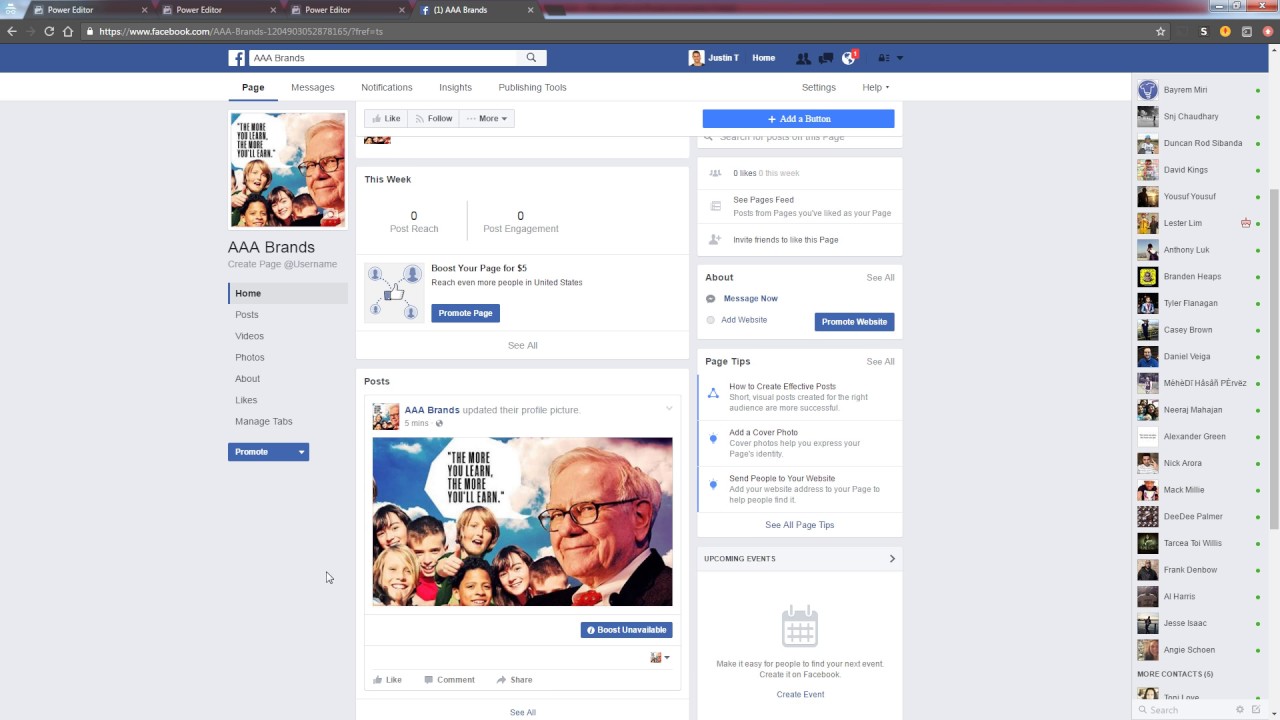
That being said, now when services are back we stopped and reflected on the platform itself and on its users. If Facebook is vulnerable so are its users, but sometimes users themselves are responsible for being a target. We step back and take a look at posts that manifest on Facebook and have come with some advice on what things you should never post on Facebook and on other social platforms.
Pictures of any kind of ID, bill, vaccine cards or similar document
This should be a no-brainer at all but we see people posting this kind of information. They go on a rant about how the bill is too high and place a picture of it, or they took their vaccine shot and posted a vaccine card as proof. Why this is a bad idea is that any of these documents contain certain things like birthdays, names, and even more like addresses and other information that can be used against users.
Information about where you live
This could be tied to the previous point but it is very crucial that a living address is not something that you wish to share publicly. A lot of burglars are stalking social media for exactly this kind of information so they can then analyze when and how to strike and this time you have done all work for them providing them with the information on where to find your flat.
Daily routines and vacation plans
The most burglary happens to believe it or not during the day, in hours when people are at work. So by providing the world with your daily routines and when you are not at home you are putting your home at risk of being broken into. Posting vacation plans are even worse or posting pictures and status when you are on vacation will send a clear message to anyone that your home is empty and unattended.
Pictures of your home interior
This can also sadly disclosure more information that you wish like maybe some interesting facts like address or birthday on certificates, diplomas, or other documents accidentally caught in the taken picture. Also, these kinds of pictures can show much about your home security, alarm positions if you have some, how is your front door secured, etc.
Content that can get you fired
We hear all the time, famous star or director has some tweets that have resurfaced and now it is fired. I know that many of us are not famous stars but we can also be fired. Sharing some offensive opinions, inappropriate content or just plain pure lies like took sick leave to play this new game can have not so great resolution for your working relationship with your employer. We do not support lies nor do any kind of inappropriate content but posting it online on social media will just make things worse for you personally.
Your login info or sites and services that you are using
It is fairly safe to say hey we are chilling with Netflix or watching the new season of Mandalorian on Disney plus but speaking of things like made a new account on freelancer service of got my new e-banking in this cool new bank, etc. is not very wise. Cyber crooks are always on the lookout for identity theft and will use available information to steal data and money. You are risking also losing provided accounts this way leaving you with tons of work to explain that you got mugged to service providers.
Conclusion
We know that this article seems paranoid and maybe assumes that among your friends there are some crocks and people trying to take advantage of you. As this certainly was not our attention nor goal, we had to point to extremes in order to protect you the most.
 Despite popular belief, there are a lot of users running Linux OS. Linux offers great security and working environment and 96.3% of the world's top 1 million servers run on Linux. 90% of all cloud infrastructure operates on Linux and practically all the best cloud hosts use it. But gaming on Linux is limited, enter Steam proton a Valve’s gaming solution.
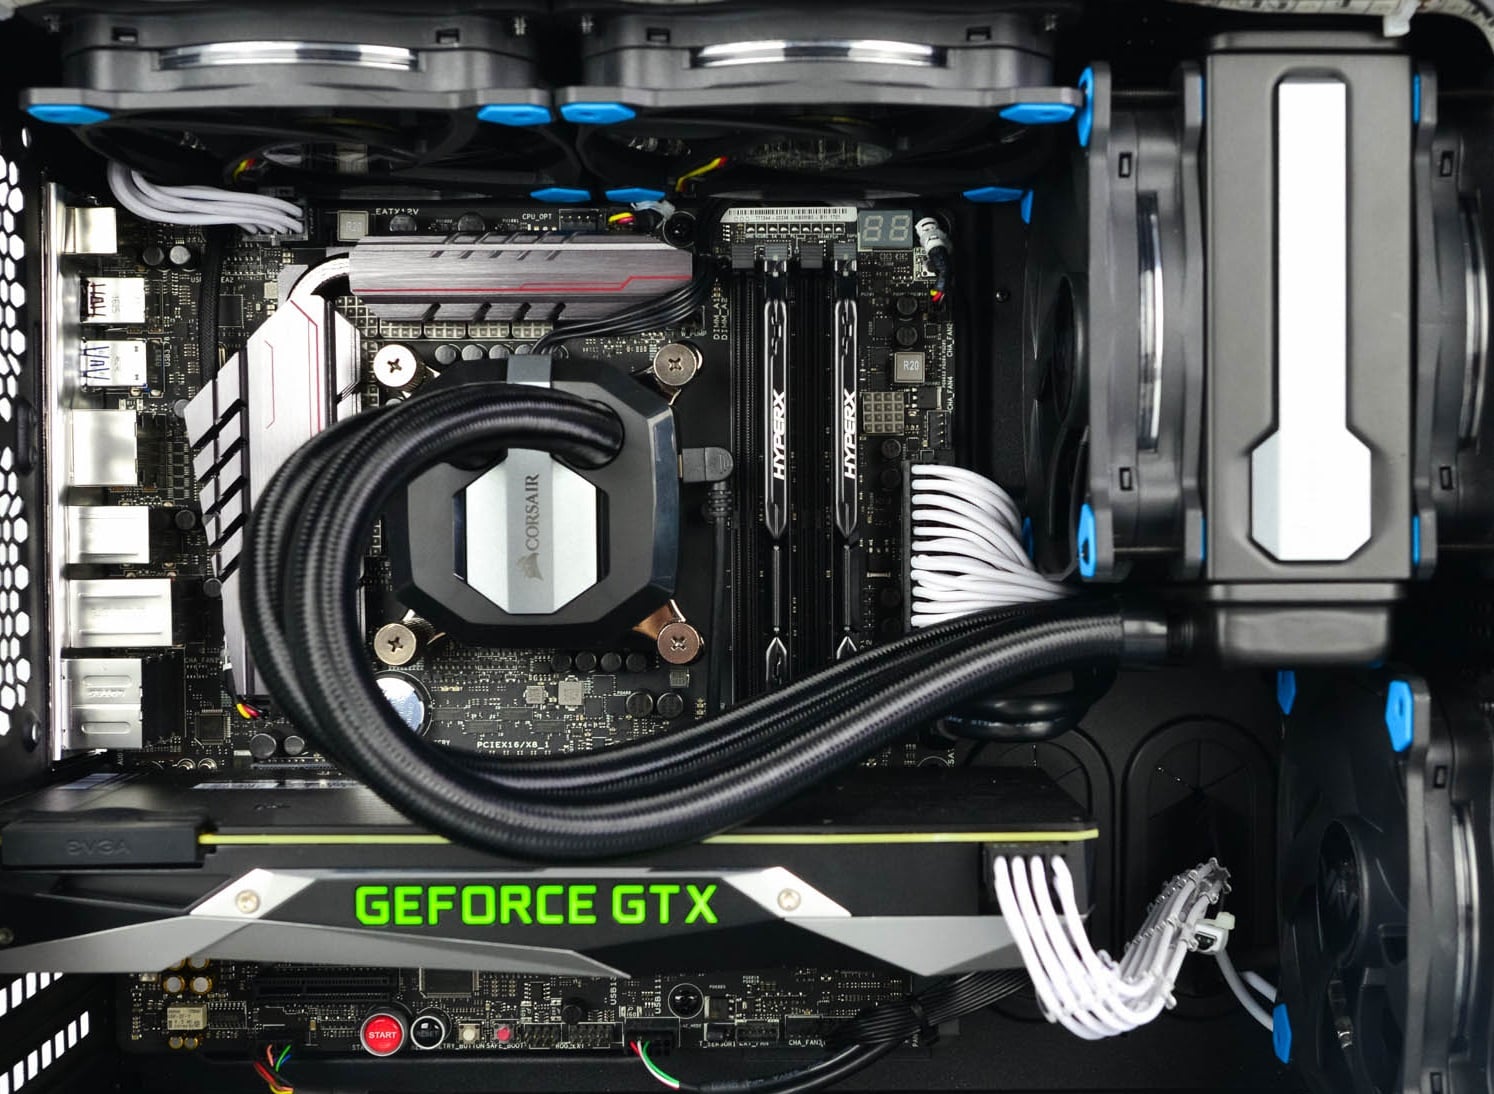 Builders with no depth knowledge and experience can sometimes choose improper CPU or GPU, picking one of them to be much more powerful than another thus not using it to its full potential because another component cannot handle stuff at the same speed. In order to not be trumped by this kind of stuff, there is a website that is completely free and you do not even need to be registered in order to use it.
Bottlenet calculator link here
What is even better, once you input your components you will get advice on what to change in order to tweak the system a little more to avoid bottlenecks even more. It is a very useful tool and we are advising you to use it in order to save money but not throwing it on some component that will be half used.
Builders with no depth knowledge and experience can sometimes choose improper CPU or GPU, picking one of them to be much more powerful than another thus not using it to its full potential because another component cannot handle stuff at the same speed. In order to not be trumped by this kind of stuff, there is a website that is completely free and you do not even need to be registered in order to use it.
Bottlenet calculator link here
What is even better, once you input your components you will get advice on what to change in order to tweak the system a little more to avoid bottlenecks even more. It is a very useful tool and we are advising you to use it in order to save money but not throwing it on some component that will be half used.  The greatest lag and server crashes are pinpointed to game-creating events. When a player creates a new online game, the server needs to pull a lot of details from the database and make a game, due to some legacy code present this process takes some time and it is demanding a bit on the server-side, and although code was optimized to cater to more modern approach some legacy code still remains.
Another thing that was spotted to affect performance itself is player behavior, to be more specific, modern gamer behavior. Where players find good builds and runs on the internet and then go to farm-specific areas or bosses for loot or experience points, which in return boils down to making plenty and short runs that are made by creating games and after run eliminating them. Now pair that with the previous statement about legacy server and database code and you can add 1 and 1 and see how this might be an issue.
A lot of short games over legacy code are placing games in a state it was not designed for back in 2001 and therefore we have issues. Sadly solutions without completely rewriting the whole code are not very promising and they include rate limiting, which will prevent players to create many games in succession in a short period of time and maybe even login queues to drop a load on servers.
Blizzard reached to people in the whole company, even old diablo 2 developers to ask for advice and they say that they are working on solutions so they could lift limitations and have everything running fine.
The greatest lag and server crashes are pinpointed to game-creating events. When a player creates a new online game, the server needs to pull a lot of details from the database and make a game, due to some legacy code present this process takes some time and it is demanding a bit on the server-side, and although code was optimized to cater to more modern approach some legacy code still remains.
Another thing that was spotted to affect performance itself is player behavior, to be more specific, modern gamer behavior. Where players find good builds and runs on the internet and then go to farm-specific areas or bosses for loot or experience points, which in return boils down to making plenty and short runs that are made by creating games and after run eliminating them. Now pair that with the previous statement about legacy server and database code and you can add 1 and 1 and see how this might be an issue.
A lot of short games over legacy code are placing games in a state it was not designed for back in 2001 and therefore we have issues. Sadly solutions without completely rewriting the whole code are not very promising and they include rate limiting, which will prevent players to create many games in succession in a short period of time and maybe even login queues to drop a load on servers.
Blizzard reached to people in the whole company, even old diablo 2 developers to ask for advice and they say that they are working on solutions so they could lift limitations and have everything running fine. 