Error code 0Xc004F074 - What is it?
Did you previously use Windows 7 or 8 but decided to run with the latest Windows 0S, Windows 10? An early error message encountered was activation error code 0Xc004F074. Error code 0Xc004F074 is manifested when the user fails to activate Windows directly after the installation of Windows 10. This occurs if the previous operating system on your computer was Key Management Service (KMS) activated.
The KMT provides a more seamless operation when users are activating volume license editions of Microsoft Windows and Office. This process tends to be clear to end-users of the system.
Symptoms of error code 0Xc004F074 include:
- Windows is unable to reach your company’s activation service.
- The Key Management Service is unavailable.
Solution
 Error Causes
Various factors might incite error code 0Xc004F074. A primary cause is a discrepancy or difference between the KMS client and the KMS host machine. The host computer could possibly be operating a Windows Server 2003 or Windows Server 2008, while the client runs on OS Windows 7 or Windows Server 2008 R2. To supplement, the computer’s time might be a contributing factor. The time on the host machine and client might show a difference (Usually the host time exceeds 4 hours).
Further Information and Manual Repair
To rectify error code 0Xc004F074, users are advised to try various methods. These methods include:
-
Method 1: Update Your KMS Host 9 (Windows Server 2003)
Are you running later versions of Windows Server? Use an update that fixes or installs KMS on your computer. The update is available on Microsoft’s website. Keep clearly in mind that the update is only for Windows Server 2013 Service Pack 1 and later versions of Windows Server 2003.
-
Method 2: Update Your KMS Host 9 (Windows Server 2008)
This step is similar to the aforementioned. However, it applies to Windows Vista and Windows Server 2008. This ensures the service is extended to Windows 7 and Windows Server 2008 R2.
-
Method 3: Update the Time
It was previously mentioned that the time reflected on the KMS host and client might cause error code 0Xc004F074 to manifest. A simple fix to adhere to is to always ensure that the time between both is updated. To Resync the time on the client, execute the following command.
w32tm /resync
-
Method 4: Uninstall the Existing KMS
For this method to be successfully deployed, you’ll need to have in your possession an activation key or KMSpico Key. As you cannot apply the new key with the existing one, remove or uninstall the initial key. To perform this step, open the command prompt. This should be done while the computer is in admin mode. Then, run the command
(slmgr.vbs /dlv)
It should be executed without the brackets and before you have removed the existing key.
After executing the command, you’ll encounter the description:
Windows(R) Operating System, VOLUME_KMS_WS12_R2 channel
Move along with the process by applying the slmgr.vbs /upk to uninstall the existing KMS key.
After the old key is uninstalled, you’re ready to apply the following:
slmgr.vbs /ipk <NewKMSProductKey>
To check if things are in place and complete the process, follow the steps below: PC Settings >Update and Security > Activation
-
Method 5: Download an Automated Tool
If you wish to always have at your disposal a utility tool to fix these Windows 8 and other related issues when they do arise,
download and install a powerful automated tool.

 The 2021 CLUVENS BRAND newly issued model UNICORN has fully electrical tilting capabilities to 160 degrees, Reading light-two LED & RGB illumination lighting, manual open/close keyboard tray, and armrests. This model is suitable for home and office, and also gaming computer work environments.
It offers functions that enable the user to experience unprecedented comfort and quasi total immersion through strategically positioned 1-3 monitors, audio systems, and accessories. The result is a complete computer office, ergonomically optimized, with a minimal footprint that improves overall performance and productivity and health and comfort.
Sitting on a chair can help a lot for relieving health problems like lower back pain, herniated discs, sciatica, and neck pain and also enhance performance and viewing effects.
The 2021 CLUVENS BRAND newly issued model UNICORN has fully electrical tilting capabilities to 160 degrees, Reading light-two LED & RGB illumination lighting, manual open/close keyboard tray, and armrests. This model is suitable for home and office, and also gaming computer work environments.
It offers functions that enable the user to experience unprecedented comfort and quasi total immersion through strategically positioned 1-3 monitors, audio systems, and accessories. The result is a complete computer office, ergonomically optimized, with a minimal footprint that improves overall performance and productivity and health and comfort.
Sitting on a chair can help a lot for relieving health problems like lower back pain, herniated discs, sciatica, and neck pain and also enhance performance and viewing effects.
 Scorpion is basically a premium version of Unicorn with being able to hold more weight, having cup holders on the armrest, etc.
The look is also similar with Scorpion being more sinister-looking but overall Steel frame and chair are the same.
Scorpion is basically a premium version of Unicorn with being able to hold more weight, having cup holders on the armrest, etc.
The look is also similar with Scorpion being more sinister-looking but overall Steel frame and chair are the same.
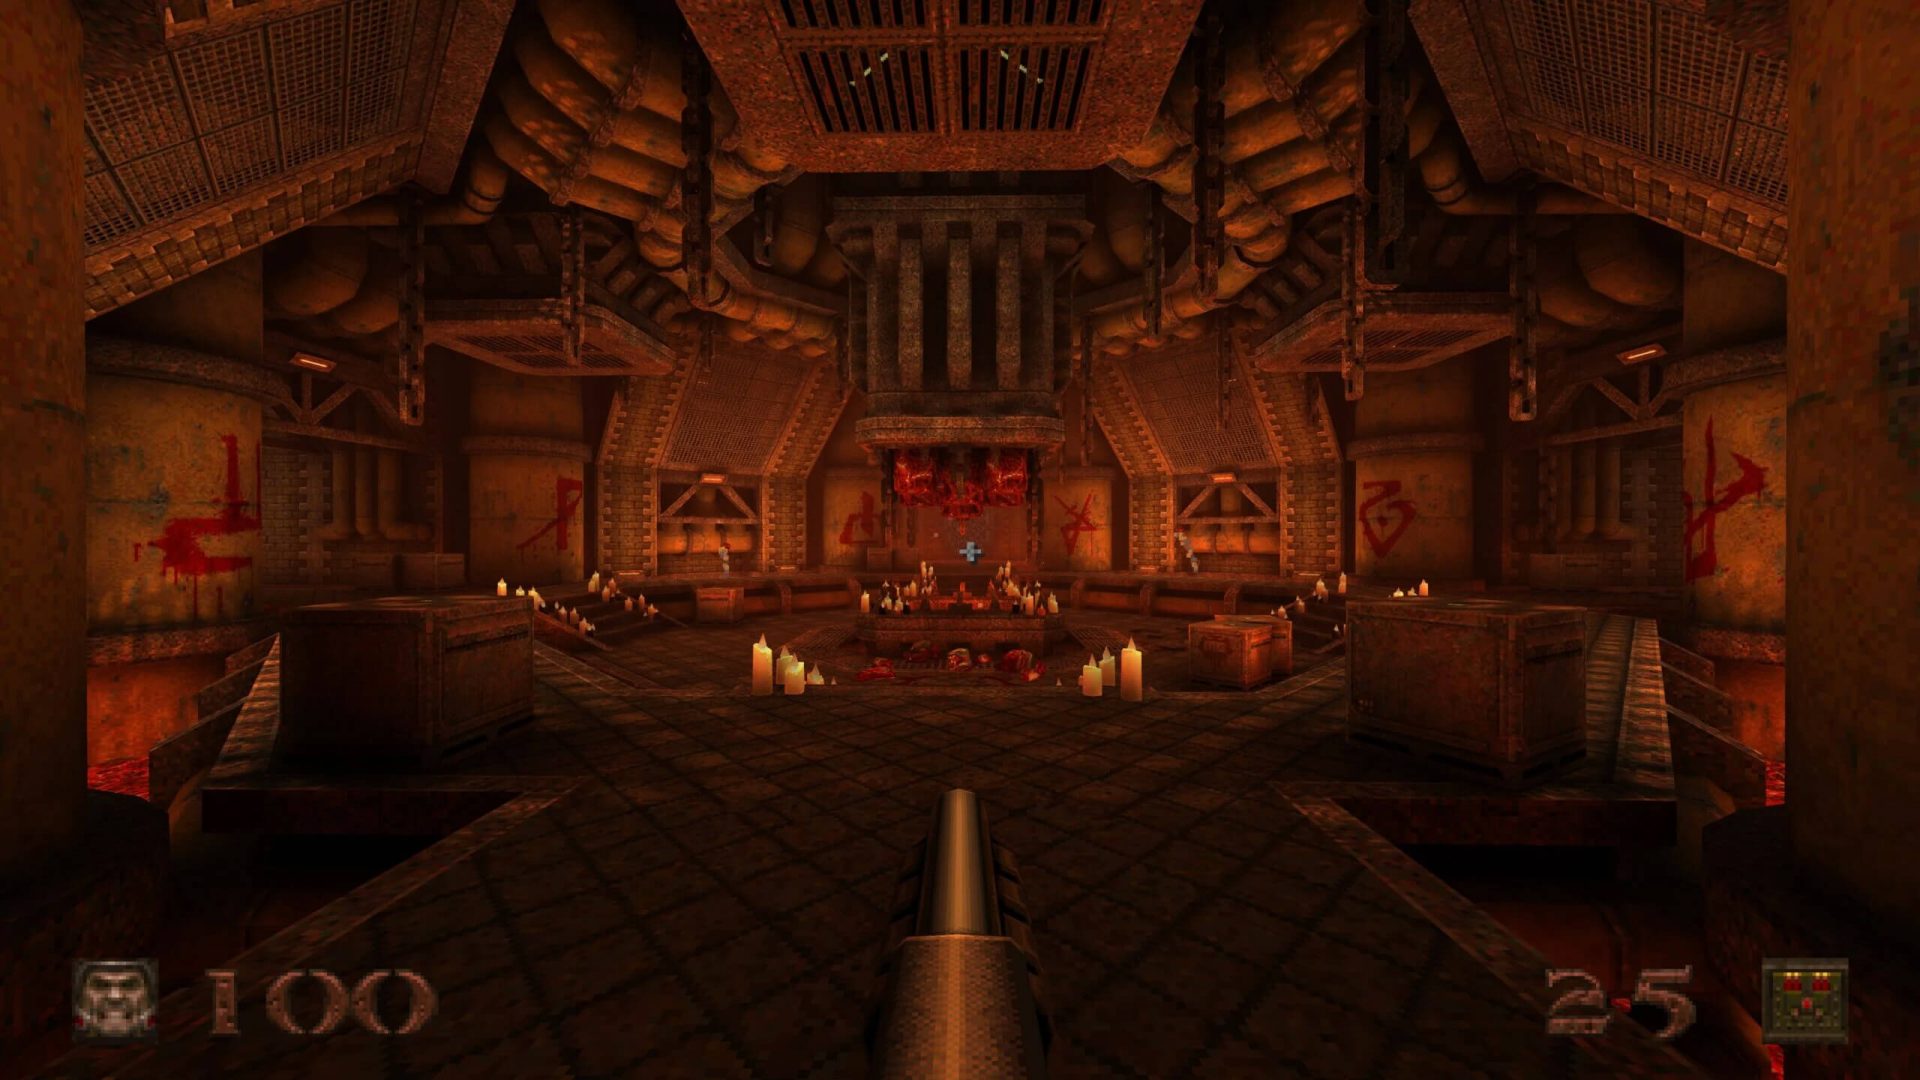 Without any fanfare, news, or information Bethesda has released a completely free upgrade for legendary Quake 1. Free upgrade is automatically applied to all users who possess the original game and it has already been rolled out.