A lot of Windows users, use a second GPU for their computer systems, especially gamers above the dedicated graphics card. The operating system is set such that the dedicated high-end graphics card is set to default but there are times when the system does not recognize or detect the second graphics card.
Even though every computer system comes with an integrated graphics card, for the most part, it is insufficient for graphics-intensive games and software which is why if you have an extra dedicated graphics card and your computer does not seem to detect or recognize it, then this post is for you. It could be that the dedicated graphics card has failed or it could also be an issue with the drivers and so on. Follow the suggested options below to resolve the problem.
Note: You also have the option to go directly to the website of your graphics card manufacturers like NVIDIA, Intel, or AMD and go to the section called Drivers then check if there’s a new available update – if there is, download and install it.
Take note that you have to be careful when modifying something in the BIOS. So if you don’t know much about it, it’s best if you skip on this option and try the other ones instead. However, if you are well-versed in navigating the BIOS, then follow the steps below.

 Windows 11 release date is closing in, some people have tried it via insider build, some have decided not to. It has come to our attention that there is a little website made by BlueEdge that offers a virtual Windows 11 desktop.
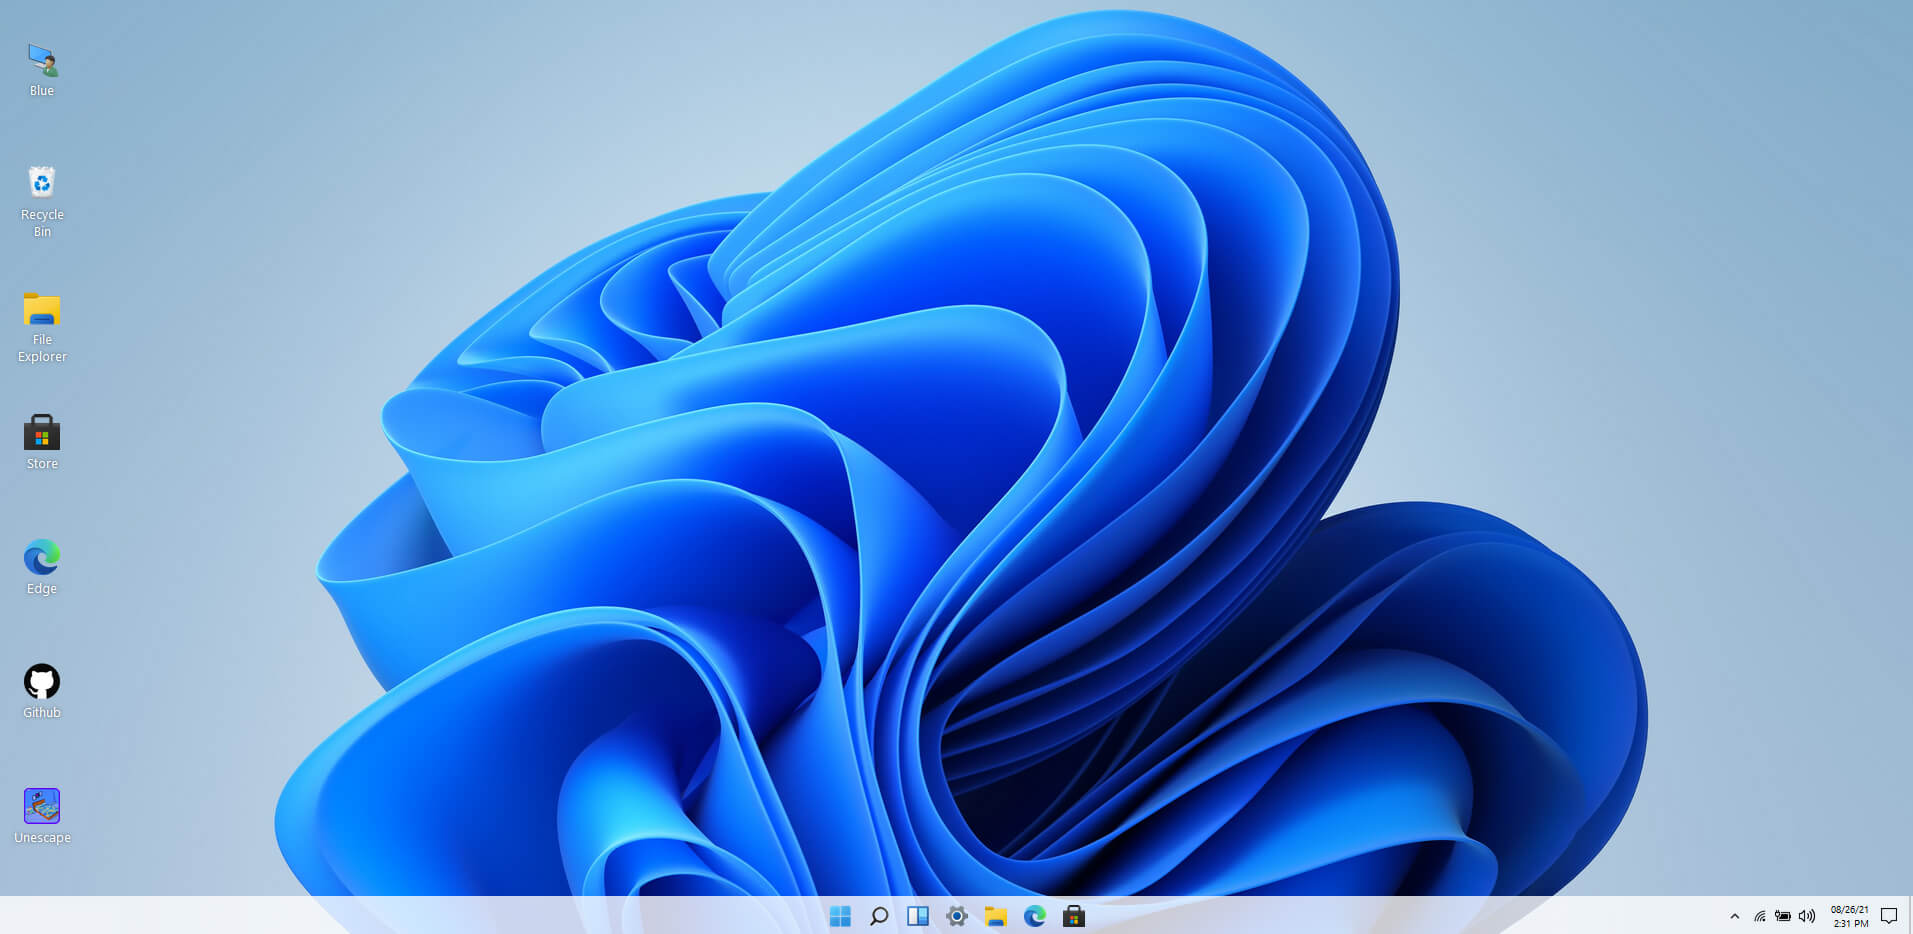
Opening the Website will put you right inside Windows 11 desktop, now take note that this is not Windows 11, it is a simulation of Microsoft’s newest OS and therefore many things will not work like File Explorer, etc.
One thing you can make sure it is working is UI itself, you can see how you do like the new Taskbar, start menu, widgets, and some other things. You can just pop up on the site and check how you do like the overall new look and feel of Windows 11 UI before installing it or trying it.
We are sure that many more options will come in time but even now you can get a feel of the newest OS.
Windows 11 BlueEdge site: https://win11.blueedge.me/
Windows 11 release date is closing in, some people have tried it via insider build, some have decided not to. It has come to our attention that there is a little website made by BlueEdge that offers a virtual Windows 11 desktop.
Opening the Website will put you right inside Windows 11 desktop, now take note that this is not Windows 11, it is a simulation of Microsoft’s newest OS and therefore many things will not work like File Explorer, etc.
One thing you can make sure it is working is UI itself, you can see how you do like the new Taskbar, start menu, widgets, and some other things. You can just pop up on the site and check how you do like the overall new look and feel of Windows 11 UI before installing it or trying it.
We are sure that many more options will come in time but even now you can get a feel of the newest OS.
Windows 11 BlueEdge site: https://win11.blueedge.me/  Error Causes
SpeedItUp is a potentially unwanted application made by MicroSmarts LLC. The program claims to optimize RAM, clean the registry, and boost internet connection speed. It is designed to speed up your computer by removing some background processes. While not malicious itself, SpeedItUp Free and its variations are often installed via third-party installer bundles, causing many users to unwittingly install the program. Aliases of the program include CheckMeUp, SpeedCheck, SpeedChecker, SpeedItUp Free, Speeditup-Checkup, and Speeditup-Nova. While intended to speed up the performance, its background processes and startup tasks may actually slow PCs down in some cases. Some versions of SpeedItUp also include a browser extension.

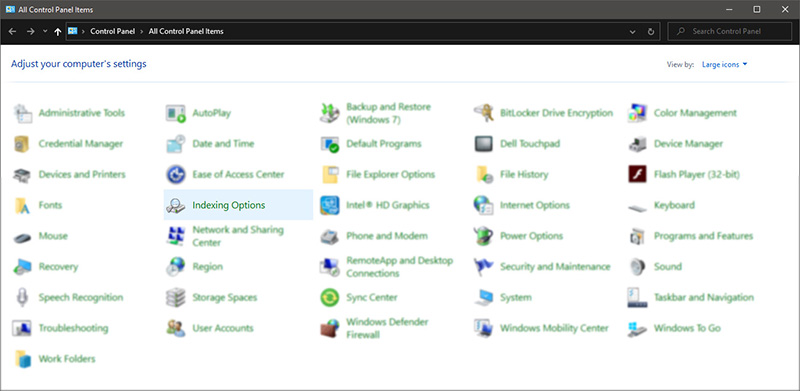
 Once you are in the control panel, switch your view to large icons and locate Indexing options.
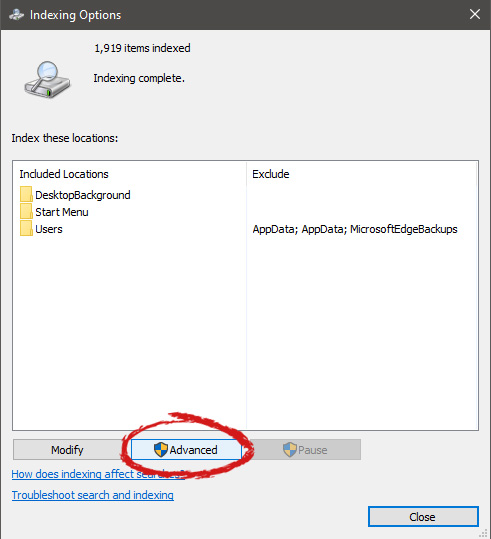
 Inside indexing options, click on advanced.
 In advanced options click on the rebuild and confirm.
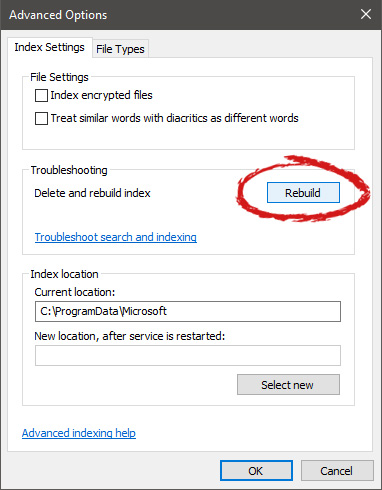 Leave your computer to finish and your searches should be working fine now. Error Causes
‘HTMLayout.dll cannot be loaded to properly start GUI. Therefore process cannot continue’, ‘Htmlayout.dll not found’, ‘The file htmlayout.dll is missing’,and so on, then your system may be exposed to serious privacy and security threats.
Error CausesWhen Windows evolved into Windows 10, the program known as Windows Security Essentials is no longer. It is now the program known as Windows Defender. When a computer is upgraded from a previous version of Windows up to Windows 10, the Windows Defender takes over and will replace the Security Essentials. In a small percentage of Windows 10 upgrades, something will go wrong and the new program will fail to replace Security Essentials. The result will be that the operating system has both of the programs installed. In this case, Windows Defender will not offer any protection and Security Essentials will not be able to defend either. This error code will also present itself when the Windows Mail App in Windows 10 fail to retrieve and sync email from the user's account.
Common symptoms include:
Error CausesError code 0x80070426 will present itself when a PC user has upgraded their OS from a previous version of Windows to the new Windows 10 version. When this happens, a small portion of users will experience the disconnect between older versions of specific programs, namely the virus protection. When the previous version of the program under a different name is not completely removed and the new virus protection program is installed, the programs will cancel each other out and collectively offer no protection.
This error code may also be found when Windows 10 tries to sync the user's email with the Windows Mail App.
Hold down the Windows Key and press R. Type in taskmgr into the run dialogue. You should locate the Windows Defender Service (this may show up as Windefend). Right-click on it and then choose Stop.
This will stop the program, but the program will start back up automatically when the computer restarts. While this program is stopped, uninstall Essentials.
To do this: go to Control Panel, Programs, and Features, Uninstall a Program. Alternately, you may hold down the Windows Key and press R, type in appwiz.cpl, click OK, and then locate Microsoft Essentials. Uninstall it, and then restart your computer.
After this is done, go to Settings, Update, and Security. Choose Windows Defender and ensure that Real-time protection is on. Refer back to the Task Manager, Services. Make sure that Defender service is on and running.
When error code 0x80070426 presents itself in the form of an error with the Mail app, it may be necessary to run an SFC scan.
Right-click on the Start menu or Windows icon, and select Command prompt. The command prompt may be navigated by using shortcut keys Win and X and then select it.
Run the command prompt and then type in sfc /scannow and then press enter. The SFC scan will be run, and be careful not to abort the process before it has finished. This will scan for any files that are lost or corrupt on the PC.
If the scan has found any corrupt files, type in this code and then hit Enter: findstr /c:”[SR]” %windir%LogsCBSCBS.log >”%userprofile%Desktopsfcdetails.txt.
To skip the repair of corrupt or missing files, type in: Dism /Online /Cleanup-Image /RestoreHealth. The details of the scan can be found on the sfcdetails.txt file that will be on the desktop.
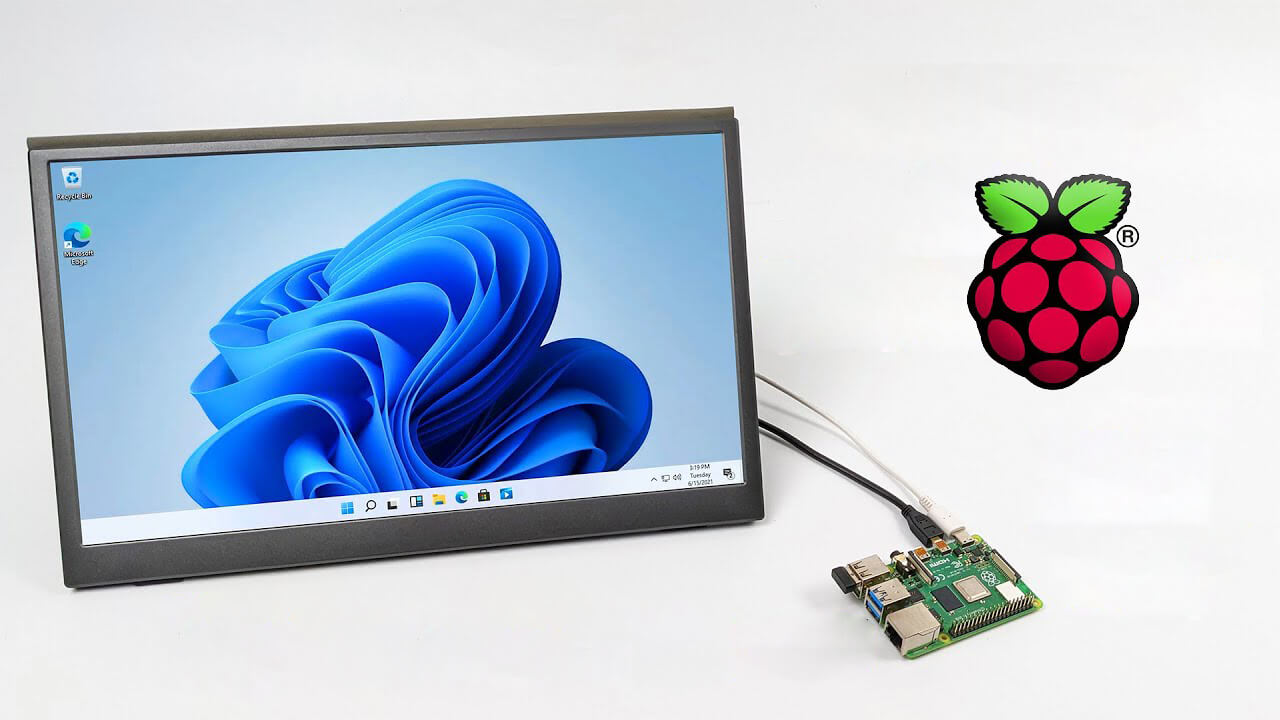 Raspberry Pi 4 and things you need for Windows 11 installation