Error Code 0xc0000001 – What Is It?
Error code 0xc0000001 on Windows 10 has been reported by some users when attempting to install Windows 10. When you encounter this error, the setup will be in a loop and the error message will keep popping up.
Solution
 Error Causes
If you encounter the error code 0xc0000001 while trying to install Windows 10, it most probably be due to corrupted installation file. However, it can also be caused by any of the following:”
- Damaged SAM file
- Damaged system files
- File system integrity compromised
- Damaged RAM
Further Information and Manual Repair
Here are some methods that will help you fix the error code 0xc0000001 while trying to install Windows 10. Do not perform these methods unless you’re absolutely confident you can do it properly. Otherwise, you might make things worse.
If you’re not that confident, consider seeking advice from a technical expert. If you can’t afford one, you may want to consider getting an automated software to fix the job.
Method 1: Convert drive/partition to GPT
If you need to manually wipe the drive and then convert it to GPT, follow these steps:
- Step 1: Power down your computer and put your Windows 10 installation DVD or USB drive
- Step 2: Boot your computer to the USB or DVD key in UEFI mode.
- Step 3: Once you’re at the Windows 10 Setup, press the Shift+F10 keys. This will open the command prompt window.
- Step 4: Open diskpart tool from CMD. Just type diskpart and enter.
- Step 5: Then, type the list disk on CMD again. Press enter. This will allow you to identify your computer’s drive that you want to reformat.
- Step 6: Choose the drive and reformat it by typing the following on the command prompt:
select disk <disk number> (press enter)
clean (press enter)
convert gpt (press enter)
exit (press enter)
- Step 7: Proceed with the Windows 10 Setup installation.
Note: when you’re prompted to choose the installation type, make sure to choose Custom. Then, choose unallocated space and click Next. This will automatically start the installation of Windows 10.
Method 2: Use Media Creation Tool to Perform Automatic Repair
Automatic Repair is a Windows feature/utility that allows you to fix certain system problems preventing you from installing or starting Windows. It works by scanning your computer system for any potential problem and tries to fix it.
- Step 1: Download the Media Creation Tool
- Step 2: Boot your computer using the Windows 10 DVD, or the System Repair disc. When you’re asked to press any key to boot, just press any key on your keyboard.
- Step 3: Choose the right time and the keyboard type.
- Step 4: Click Repair your computer. You’ll see this in the lower-left corner of your screen.
- Step 5: Choose Troubleshoot from Choose an option screen
- Step 6: Click Advanced options
- Step 7: Choose an automatic repair
This will automatically run the utility.
Method 3: Check Hardware Devices
Another possible reason why you are getting this error while installing Windows 10 is due to the connected external hard drives. To fix this, power down your computer. Afterward, unplug and remove all connected external hard drives. If you’re using USB device to install Windows 10, ensure your BIOS is set to boot your computer from the USB.
Method 4: Create New Copy of Windows 10 Installer
Another possible reason why you experience this error is that your copy of the Windows 10 installer is corrupted. To fix this, it’s better to create a new copy of the Windows 10 installer.
- Step 1: Go to this link
- Step 2: Click the Download tool now. Choose Run with admin privileges
- Step 3: On What do you want to do? section, choose installation media for another PC. Click Next.
- Step 4: Select edition, language, and architecture (32-bit or 64-bit).
- Step 5: Choose the media you want to use. If you want to use a USB flash drive, make sure the device at least has 5GB of free space. If you’re using an ISO file, you need to save the file first on your computer and then burn the file to a DVD.
Method 5: Use a Powerful Automated Tool
If you still encounter these errors after performing the above methods, find a trustworthy automated tool. As long as the automated tool is powerful and reliable, it will help you fix this error.

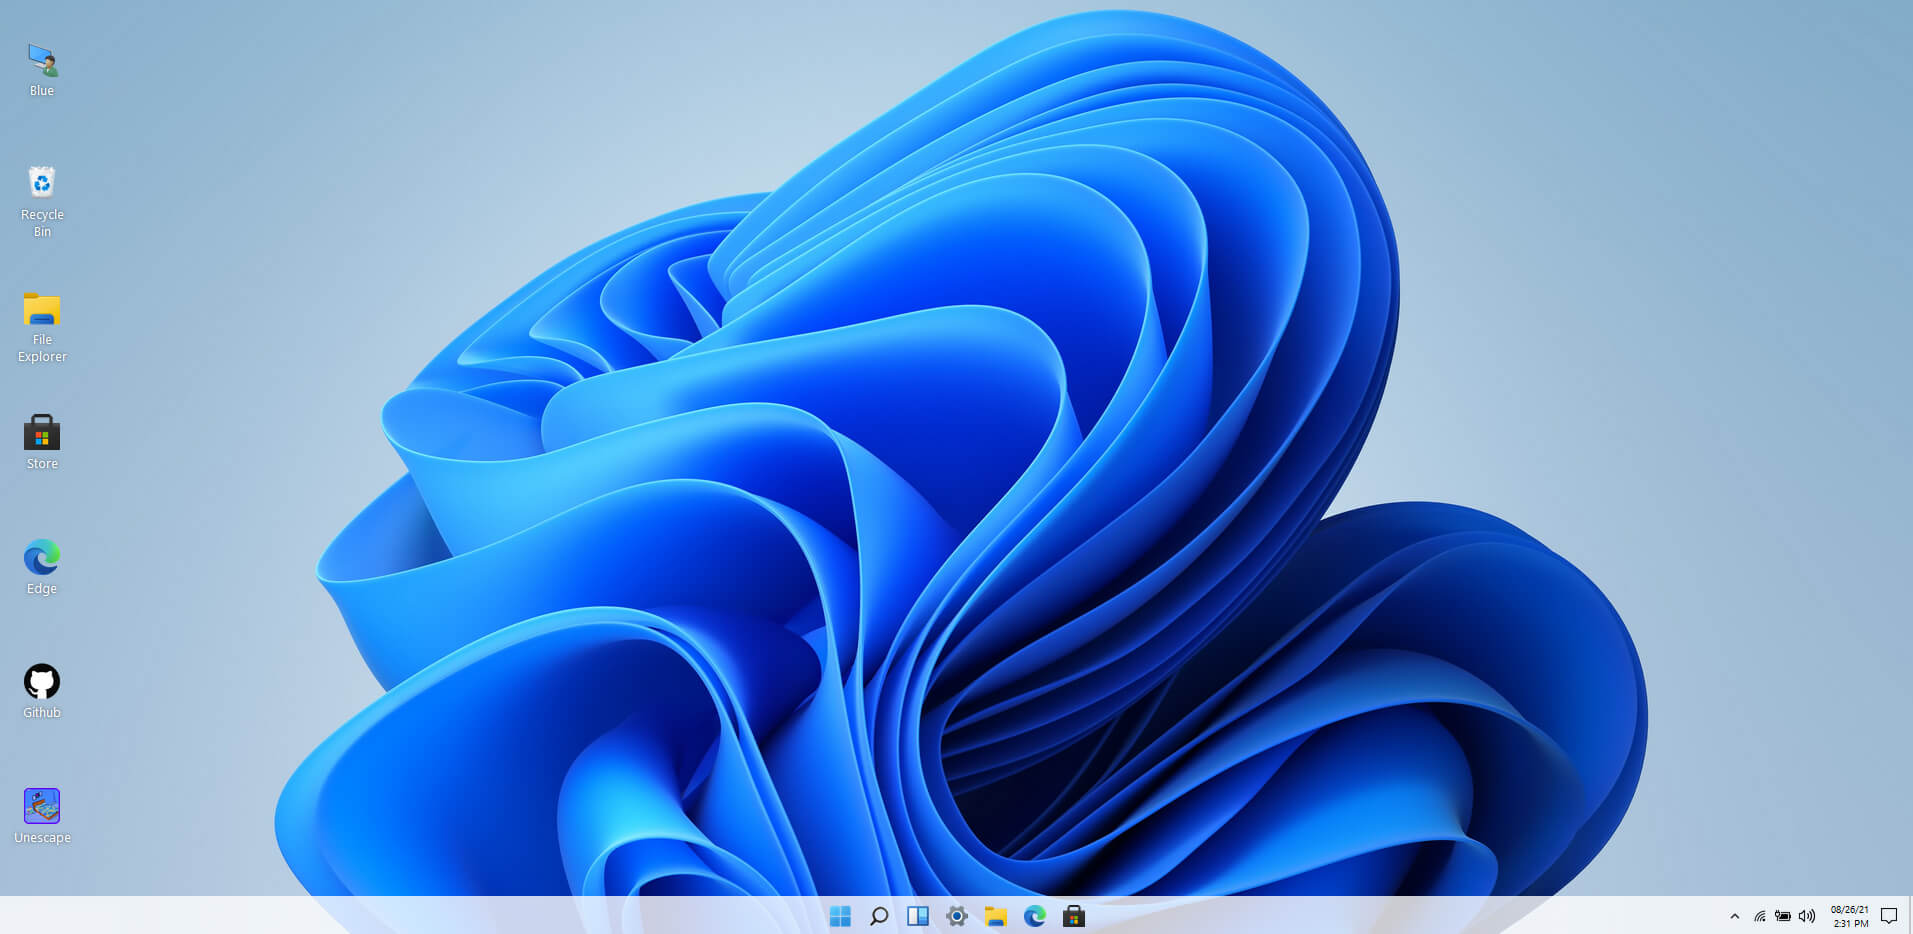 Windows 11 release date is closing in, some people have tried it via insider build, some have decided not to. It has come to our attention that there is a little website made by BlueEdge that offers a virtual Windows 11 desktop.
Opening the Website will put you right inside Windows 11 desktop, now take note that this is not Windows 11, it is a simulation of Microsoft’s newest OS and therefore many things will not work like File Explorer, etc.
One thing you can make sure it is working is UI itself, you can see how you do like the new Taskbar, start menu, widgets, and some other things. You can just pop up on the site and check how you do like the overall new look and feel of Windows 11 UI before installing it or trying it.
We are sure that many more options will come in time but even now you can get a feel of the newest OS.
Windows 11 BlueEdge site:
Windows 11 release date is closing in, some people have tried it via insider build, some have decided not to. It has come to our attention that there is a little website made by BlueEdge that offers a virtual Windows 11 desktop.
Opening the Website will put you right inside Windows 11 desktop, now take note that this is not Windows 11, it is a simulation of Microsoft’s newest OS and therefore many things will not work like File Explorer, etc.
One thing you can make sure it is working is UI itself, you can see how you do like the new Taskbar, start menu, widgets, and some other things. You can just pop up on the site and check how you do like the overall new look and feel of Windows 11 UI before installing it or trying it.
We are sure that many more options will come in time but even now you can get a feel of the newest OS.
Windows 11 BlueEdge site:  Antivirus software has become the kind of a must-have in every computer in this day and age. When you think about it, our systems are connected to the internet most of the time if not always, and therefore kind placed in from the line of various cyber-attacks. Here antivirus software comes into focus, especially because it has evolved long from just a simple virus removal tool to full security suites.
We will be going through the best of these applications in order to present both their good and bad sides and hope that we will help you in picking the right one for you. Remember, picking either one of the presented solutions is way better than not having one at all. The list is made from best down in our opinion so number one is highly recommended.
Antivirus software has become the kind of a must-have in every computer in this day and age. When you think about it, our systems are connected to the internet most of the time if not always, and therefore kind placed in from the line of various cyber-attacks. Here antivirus software comes into focus, especially because it has evolved long from just a simple virus removal tool to full security suites.
We will be going through the best of these applications in order to present both their good and bad sides and hope that we will help you in picking the right one for you. Remember, picking either one of the presented solutions is way better than not having one at all. The list is made from best down in our opinion so number one is highly recommended.
 When the personalization setting opens go-to color tab on left and scroll down until you find 2 checkboxes under "show accent color on the following surfaces:"
 check ones you wish to apply the effect to and you are done. Now your START menu and/or title bars are using the color scheme of your choice.