Microsoft has implemented a number of small features in Windows 10 to enhance user productivity. These features make a difference in the overall experience and productivity of users. However, there are times that instead of helping users, these small feature causes some issues instead which causes the computer to function in an unusual way. One of the issues caused by these features is where the Mouse automatically scrolls up or down even without any user intervention. This can get really annoying especially when you’re doing an important task on your computer. So if this bug takes place repeatedly, it can make your computer unusable. If you are currently facing this problem, worry not for this post will guide you on what to do to fix the mouse auto-scrolling issue in your Windows 10 computer.
Use the options provided below to fix the mouse auto-scrolling issue.
The mouse issue might have something to do with a recent update you have installed on your computer. It is possible that there are some recently installed updates that have messed up some settings in your computer. Thus, you can try to uninstall this recent Windows Update to try and fix the problem. Not that the best way to do this is in Safe Mode.
You might have made some adjustments in your computer’s settings that caused the issue with the mouse. You can undo those changes using System Restore.

InternetSpeedTracker is a browser extension developed by MindSpark Inc. This browser add-on offer uses tips on how to boost their “bad” internet connection speed. It displays false internet speed in order to get you to open the sponsored links listed in the toolbar.
This extension also hijacks your browser home page and replaces your default search engine with MyWay. While browsing the internet you will see additional unwanted sponsored ads and links throughout your search results, and sometimes even pop-up ads might appear. While active this extension gathers personal information, website visits, links, and clicks and uses this data to serve ads.
InternetSpeedTracker has been flagged as a Browser Hijacker by several anti-virus scanners, and due to its data mining behavior, it is not recommended to keep it on your computer, especially because it gives false data about your internet speed.
 It is not a secret that Windows 11 is the most secure Windows ever created, well at least up until now. It is packed with advanced security features like S-mode, Secure Boot, and Trusted Platform Module (TMP 2.0). All these new security features that Microsoft has advertised made people question are enough for security or do you still need third-party Antivirus software.
In order to get an answer to this question, let us first take a detailed look at what each one of them does, and then we will give you our opinion on a given subject.
It is not a secret that Windows 11 is the most secure Windows ever created, well at least up until now. It is packed with advanced security features like S-mode, Secure Boot, and Trusted Platform Module (TMP 2.0). All these new security features that Microsoft has advertised made people question are enough for security or do you still need third-party Antivirus software.
In order to get an answer to this question, let us first take a detailed look at what each one of them does, and then we will give you our opinion on a given subject.
A slow PC startup can be pretty annoying. This usually results from various computer issues. If your computer is acting sluggishly, here are four ways to speed up your PC startup.

You probably heard about switches for LAN but not a lot of people heard about KVM switches. So what exactly is KVM switch?
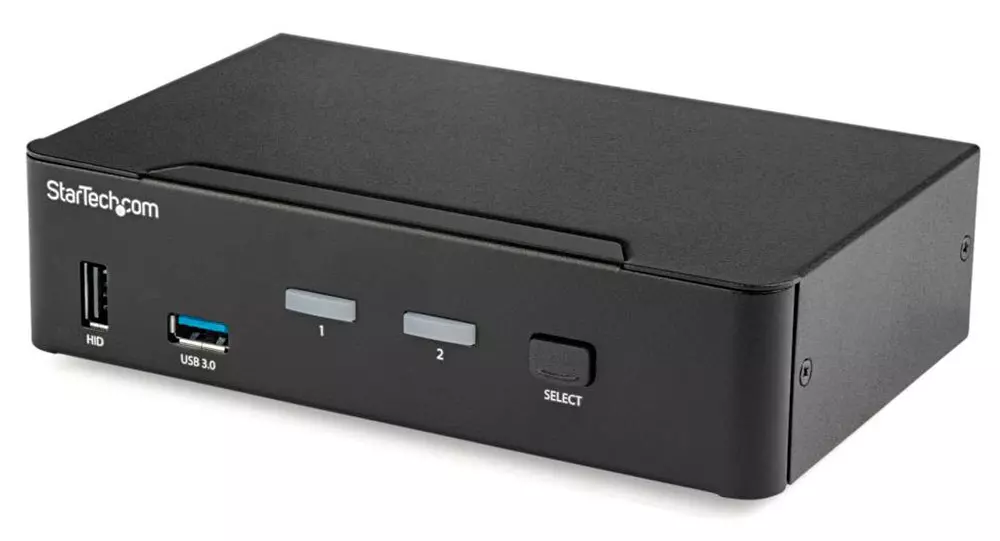
If we look at the name, it is a shortcut for Keyboard, Video & Mouse and the original idea was to have multiple computers but one keyboard, mouse, and monitor. These peripherals would be connected to the KVM switch and other computers could all use one set of these on the fly when needed.
The technology behind the switch is a little interesting since it will actively fake signals to other computers that are not using peripherals. Once they are switched to them the transition is smooth and not noticeable. In old days these switches were more important than today since on every mouse or keyboard disconnection you had to reboot the computer, and although today that is not the case CPU will still detect disconnection and on the next connection it will run through the ID of the device and try to use the existing driver and if peripheral was connected in other USB port, it will install the same driver but connect it to the new USB port.
This type of reconnection can slow down work and place unnecessary load on the CPU so that is why KVM will fake connection in order to make switching externals on the computer smooth and in nick of a time.
These days modern KVM switches will offer you more options than just being able to switch between keyboard, mouse, and monitor. Modern switches now offer Lan, audio, and many more various options.
There are also different kinds of switches offering you only one option, like for example just a Video switch that will let you use one monitor on three computers and many more other specialized options.
So far we talked about Hardware switches, a real device being able to take peripherals into it and switch computers on the fly. On the other line, we have software switch solutions that will have specific software installed on all computers and have it run at all times, and switching between them will be through specific software.
There are two very good and main advantages of using software solutions instead of a hardware one. First, of course, is the price, since the most popular Synergy is an open-source solution, completely free of charge. The second big advantage is that software switch is not limited to how many computers can you use. Hardware switches tend to go to a large number like 16 but if you have a large cluster of computers over a LAN, let's say 30 then the box solution might be difficult.
On the other hand software solution will switch only keyboard and mouse since each other computer will have to have some screen on it in order to work. Both solutions have their strong advantages and disadvantages and it is up to you to choose one that best suits you.
If you are multitasking with a lot of computers or just need your peripherals from time to time to connect to another machine then the KVM switch is something that you might find the use of. Just be aware that if you go for some cheap switch you might experience some lag on your peripherals, but if that is not a concern you can get hardware one for as low as $50 USD.
 Valve has officially announced that Steam Deck will be compatible with Windows 11 despite TPM 2.0 Microsoft requirements.
From the beginning, Deck was announced like a mini handheld PC device. Powered with new Steam OS 3.0 based on Linux. However, besides out-of-the-box OS it was also stated that Deck will be a personal device meaning that other PC-based operating systems could be installed on it and even run your typical applications in it.
Since Microsoft announced Windows 11 hardware requirements, specifically the TPM 2.0 requirement many users voiced concern that Steam Deck will not be able to connect to Windows 11
TPM 2.0 is something that Microsoft requires for every internal and hardware component that is to connect on a Windows 11 device. This is to ensure that only trusted devices would be included in the array of a PC setup and avoid any problems like malicious hardware injecting software into a system.
This would also minimize the compromise Windows would have, as unverified or untrusted devices connect to a Windows PC.
However, Valve and AMD are ensuring us that Deck will not have any issue connecting to a PC running Windows 11 or even if you wish to transform Deck itself into a Device running Windows 11.
Valve has officially announced that Steam Deck will be compatible with Windows 11 despite TPM 2.0 Microsoft requirements.
From the beginning, Deck was announced like a mini handheld PC device. Powered with new Steam OS 3.0 based on Linux. However, besides out-of-the-box OS it was also stated that Deck will be a personal device meaning that other PC-based operating systems could be installed on it and even run your typical applications in it.
Since Microsoft announced Windows 11 hardware requirements, specifically the TPM 2.0 requirement many users voiced concern that Steam Deck will not be able to connect to Windows 11
TPM 2.0 is something that Microsoft requires for every internal and hardware component that is to connect on a Windows 11 device. This is to ensure that only trusted devices would be included in the array of a PC setup and avoid any problems like malicious hardware injecting software into a system.
This would also minimize the compromise Windows would have, as unverified or untrusted devices connect to a Windows PC.
However, Valve and AMD are ensuring us that Deck will not have any issue connecting to a PC running Windows 11 or even if you wish to transform Deck itself into a Device running Windows 11.