There is a built-in tool in Windows 10 the Disk Cleanup Utility which can help you restore hard disk space by removing temporary files, Thumbnails, old Windows files, Windows Upgrade logs, Delivery optimization files, and many more. However, from time to time, this built-in tool also experiences some issues. One of these issues is when it gets stuck on Windows Update Cleanup. Read on to find out what you can do in such a case.
When the Disk Cleanup Utility is stuck on the Windows Update Cleanup, the process could be slow and take a long time to complete when purging the files. If this happens, click on Cancel to close the dialog box. After that, try running the Disk Cleanup Tool again as administrator and check if the files that you want to clean is still there or not. If it isn’t there, then this means that the cleanup has been done, otherwise, you need to refer to the options given below.
net stop wuauserv
net start cryptSvc
net start bits
net start msiserver
After resetting the SoftwareDistribution folder, you need to reset the Catroot2 folder to restart the services you just stopped. To do that, follow these steps:
net start wuauserv
net start cryptSvc
net start bits
net start msiserver
The Windows.old folder is the one that holds the older version of Windows when you upgrade. It comes really useful when you want to revert to the previous version of Windows 10. Thus, you can delete the Windows.old files in case the cleanup tool is stuck.
Another thing you can try is to restart your computer in a Clean Boot State or Safe Mode. Chances are, there are some programs that are preventing the Disk Cleanup Utility tool to run properly. After you restart your computer in a Clean Boot State or Safe Mode, try to run the Disk Cleanup tool again and then see if it now works or not.
You might also want to run the Windows Update Troubleshooter as it could also help in fixing this issue. To run it, go to Settings and then select Troubleshoot from the options. From there, click on Windows Update and then click the “Run the troubleshooter” button. After that, follow the next on-screen instructions and you should be good to go.
You can try running the Deployment Imaging and Servicing Management or DISM tool to fix the Wdf01000.sys Blue Screen error. Using this built-in tool, you have various options such as the “/ScanHealth”, “/CheckHealth”, and “/RestoreHealth”.

 BigTech platforms Google and Facebook were hit with a series of antitrust lawsuits by the US federal government and states on charges they are operating monopolies and abusing their power.
Below is the status of the cases, as well as government probes of Apple and Amazon in their current states
BigTech platforms Google and Facebook were hit with a series of antitrust lawsuits by the US federal government and states on charges they are operating monopolies and abusing their power.
Below is the status of the cases, as well as government probes of Apple and Amazon in their current states
CHKDSK [volume [[path] filename]] [/F] [/V] [/R] [/X] [/C] [: size]]Note: In the command given above, “[/F]” will try to fix the system errors while “[/R]” will be the one to fix the bad sectors.
 Error Causes
Action Classic Games Toolbar is another product from Mindspark Interactive Network, Inc. that may claim to relieve users of their boredom with more than 500 online games. The Action Classic Games toolbar is available for download from its official web page and Google Web Store, though it is normally distributed via advertising directly from its website. When installed, it will change your home page and new tab to MyWay.com and start gathering user browsing information while active.
Browsing the internet with Action Classic Games enabled will result in the additional ad and sponsored content placement throughout the browsing sessions. This extension has been flagged as a Browser Hijacker by several top anti-virus applications and is therefore not recommended to keep on your computer.
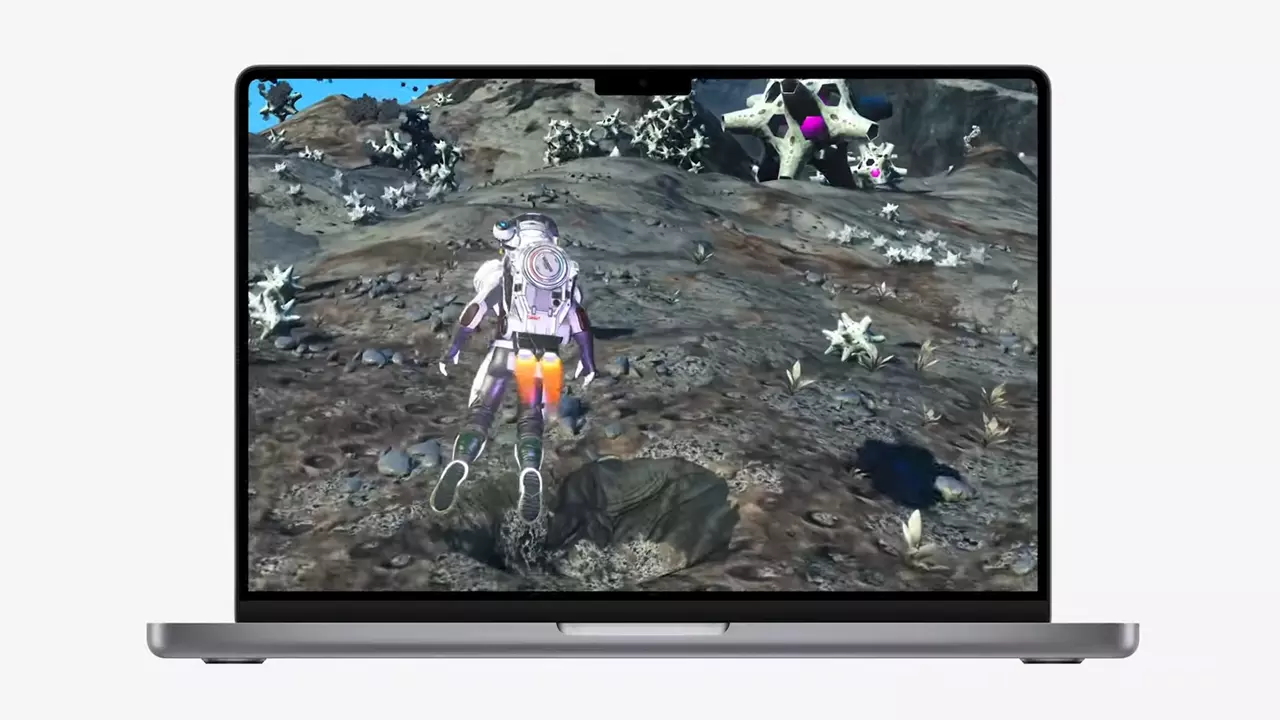
Error CausesNew Apple's upscaling technology called MetalFX will place iOS and macOS devices back into the gaming world. Apple had great games back in the old days and some all-time hits like the prince of Persia have been made first for apple but along the way, it just lost it.
Same as NVIDIA's DLSS and Intel's XeSS systems, Apple MetalFX also uses AI algorithms to upscale the resolution of output game frames. So, for example, the GPU inside your MAC might render the game at 1080p, but through MetalFX and AI upscaling it will look like a 4K image but have a good frame rate since it is rendered in base resolution.
The ability to make AI strike a good balance between performance and image quality is a key to technology in today's modern gaming and having this technology will help developers a ton to be able to achieve great results on Apple hardware.
So far three official games that will use this technology and be released natively for Appl hardware are Resident Evil 8 Village, GRID legends, and No Man's Sky. All three games have been confirmed and Resident Evil 8 Village is already sent for review people are impressed since the game can run smoothly on all Apple devices, even ones with an M1 CPU.
When you say Apple gaming is probably the last thing that comes to your mind but truth be told Apple makes more money from games than Microsoft, Nintendo and Sony combined. Also, Apple itself was a big player once regarding computer games as well, Myst and Prince of Persia are games that were made and have been released for Apple first. Bungie was also founded by Apple developers and Halo was originally announced as a Mac game.
Apple has been trying and pushing gaming on its platform since it kind of died down. Today all Sony, Nintendo, and Microsoft controllers work without any issues with all Apple products. Apple also has its own gaming subscription service, Apple Arcade, and its Apple TV is packed with GPU that can rival Xbox ones.
MetalFX API ties and brings it all together, it is designed to get the most performance from the hardware by minimizing overhead.
Now, computers and laptops do not hold any large numbers if we look at the user base, and that could deter developers but if we look at iPad and iPhone things are different there, much different. How same CPU power these devices and how MetalFX is available across all products it is clear that there is a market for games there. No Man's Sky is coming to iPad using these technologies and bringing full computer experience to tablets.
FormFetcherPro.com is a Browser Extension for Google Chrome developed by Mindspark Inc. This extension offers users quick and easy access to various forms required for visas and other documents. While this may seem appealing, all this extension does is point you to the most popular websites online that can easily be found by searching. When installed it hijacks your new tab page and changes it to search.myway.com, enabling it to better target ads.
While browsing the internet with this extension enabled you will see additional sponsored content, additional ads, and sometimes even pop-up ads displaying throughout your browsing sessions. Several anti-virus programs have marked this extension as Potentially Unwanted and as a Browser Hijacker and are therefore recommended to remove it from your computer.