I often switch between my desktop speakers and headphones and because of this I very often use the volume adjustment bar to adjust sound levels so it is not too loud and each time when I set it I get annoying BEEP at the end. Now personally this might not bother you and you might want to leave it since it can be a useful feature to tell you how much volume is loud but if you are adjusting multiple times volume during the say it can become really frustrating to hear it each time, especially when switching to headphones and it beeps into your ears.
In this guide, I will show you how to remove the beep so it is not heard anymore when you adjust the volume. Please know that beep is part of the Windows sound scheme and you can either remove specific sound with a completely silent wave or just turn off all windows alert sounds.
There you go! You have successfully removed annoying BEEP each time you adjust the volume in Windows 10

 Error Causes
“There were problems installing some updates, but we’ll try again later, If you keep seeing this and want to search the web or contact support for information, this may help – 0xc1900403”The log files displayed in the error message may include, “0XC1900403 – MOSETUP_E_UA_CORRUPT_PAYLOAD_FILES”. This indicates that the payload files are corrupted which is why you’re getting the Windows Update Error 0xc1900403 and to fix it, you can try to restart your computer and install the updates again or reset the Windows Update-related folders. You could also run the Windows Update troubleshooter or use either the Standalone Installer or the Media Creation tool. For more details, refer to each one of the options provided below.
net stop wuauserv net start cryptSvc net start bits net start msiserver
net start wuauserv net start cryptSvc net start bits net start msiserver
Error CausesError CausesIf you have a Runtime Error 339 issue on your computer, here is a great way how you can fix it right away:
HKEY_LOCAL_MACHINESOFTWAREPoliciesMicrosoftWindows
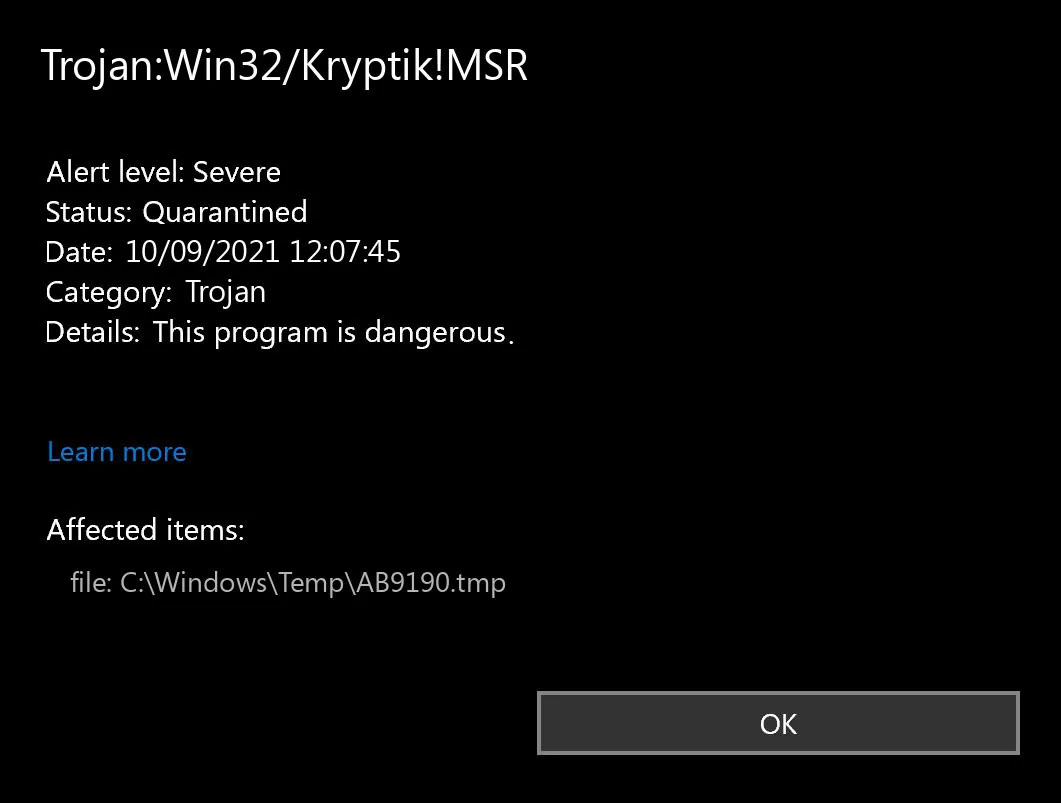 Trojan.Kryptik creates the following registry entry or registry entries:
 So far we probably all know what are good new and exciting features that W11 is bringing to the table, let’s talk now about features that will be removed and are not there but we had them in W10
 Following a two-year investigation by the California Department of Fair Employment and Housing, the state has filed a lawsuit against Activision Blizzard for fostering a "frat boy" culture in which female employees are allegedly subjected to unequal pay and sexual harassment.
As reported by Bloomberg, Activision Blizzard is being accused by the state of California of discriminating against female employees at nearly all levels of employment, including in regards to compensation, promotion, assignments, and termination. The state alleges Activision Blizzard’s leadership has failed to address any of these outstanding issues or prevent them from occurring within the workplace. You can read the full details of the lawsuit here.
The suit, filed Tuesday in the Los Angeles Superior Court, says Activision Blizzard, which is made up of about 20 percent women, assigns women, and women of color, to "lower paid and lower opportunity levels" with lower starting pay for similar work as their male counterparts.
The documents also accuse Activision Blizzard of fostering a "pervasive 'frat boy' workplace culture in the office. Male employees are said to drink "copious amounts of alcohol" as they make their way through cubicles and "often engage in inappropriate behavior toward female employees."
Male employees are said to come to work hungover, play video games during work "while delegating their responsibilities to female employees, engage in banter about their sexual encounters, talk openly about female bodies, and joke about rape."
The lawsuit also cites one particular incident where a female employee, who was already subjected to intense sexual harassment at the company, committed suicide during a work trip with a male supervisor who allegedly brought inappropriate, sexual items with him on the trip.
The lawsuit is asking for an injunction that will force Activision Blizzard to comply with workplace protections, as well as deliver unpaid wages, pay adjustments, back pay, and lost wages and benefits for female employees.
Following a two-year investigation by the California Department of Fair Employment and Housing, the state has filed a lawsuit against Activision Blizzard for fostering a "frat boy" culture in which female employees are allegedly subjected to unequal pay and sexual harassment.
As reported by Bloomberg, Activision Blizzard is being accused by the state of California of discriminating against female employees at nearly all levels of employment, including in regards to compensation, promotion, assignments, and termination. The state alleges Activision Blizzard’s leadership has failed to address any of these outstanding issues or prevent them from occurring within the workplace. You can read the full details of the lawsuit here.
The suit, filed Tuesday in the Los Angeles Superior Court, says Activision Blizzard, which is made up of about 20 percent women, assigns women, and women of color, to "lower paid and lower opportunity levels" with lower starting pay for similar work as their male counterparts.
The documents also accuse Activision Blizzard of fostering a "pervasive 'frat boy' workplace culture in the office. Male employees are said to drink "copious amounts of alcohol" as they make their way through cubicles and "often engage in inappropriate behavior toward female employees."
Male employees are said to come to work hungover, play video games during work "while delegating their responsibilities to female employees, engage in banter about their sexual encounters, talk openly about female bodies, and joke about rape."
The lawsuit also cites one particular incident where a female employee, who was already subjected to intense sexual harassment at the company, committed suicide during a work trip with a male supervisor who allegedly brought inappropriate, sexual items with him on the trip.
The lawsuit is asking for an injunction that will force Activision Blizzard to comply with workplace protections, as well as deliver unpaid wages, pay adjustments, back pay, and lost wages and benefits for female employees.