Error Code 0x8000ffff - What is it?
Error Code 0x8000ffff is an error that is often experienced while attempting to install updates on a Windows machine. It has been found in Windows 10, although the error has been present in the Windows operating systems dating back to Windows Vista.
Common symptoms include:
- Inability to download updates for the operating system
- Inability to successfully run updates for the operating system through to completion
There are several basic Windows tools that can be used to attempt to resolve Error Code 0x8000ffff on your machine. While some of these tools may be familiar for basic users, others may require advanced competency in order to be used correctly. If you are unsure of your ability to complete the methods listed below in order to resolve this error code on your system, you may need to get in touch with a computer repair technician who is competent in dealing with Windows Update repairs.
Solution
 Error Causes
The most common cause of Error Code 0x8000ffff is that there is a problem within one of the system files or the registry entries on the computer. There are a number of reasons why a device could have an error in these places, from conflicting software commands to updates that were not installed correctly, to bugs within the system, to viruses or malware that have corrupted the necessary files.
Further Information and Manual Repair
There are several common ways that users can attempt to resolve the appearance of Error Code 0x8000ffff on their Windows devices. If you are not sure that you can follow these steps through to completion, you would be well advised to get in touch with a qualified computer repair technician to help you to finish out the repair process.
Here are the best methods to resolve Error Code 0x8000ffff on your Windows machine:
Method One: Restart Your Computer
It may sound obvious, but one of the most effective ways to resolve Error Code 0x8000ffff on your machine is to simply reboot your computer. In some cases, the error shows up because there are processes that the system believes are still running when they really aren’t. Restarting your machine also allows your system to apply any previous changes that have been made and to mark any installations that have been undertaken as being complete.
Reattempt your update installations after you have restarted your computer to see if you are able to finish them out successfully.
Method Two: Run the Windows Registry Repair Tool
The Windows Registry Repair tool is an asset that can make it easy for your system to scan for potential problems in the registry and notify you as to their status. In many cases, the Registry Repair tool can fix the problems that it finds all on its own, although in some cases, you may receive a message that states an error was found that could not be resolved through the program.
The simplest way to access the Windows Registry Repair tool is to do a search for it within the search bar in the Start menu. Once you begin to run the Registry Repair tool, it can take a while to complete its scan, so be prepared to wait for some time once you start it.
Once the tool has completed its scan of your system, it’s always a good idea to reboot your computer so that all of the changes that have been made to the system can be applied successfully to the operating system.
Method Three: Run the Windows Fix It Tool
Another great tool to help in the resolution is the Windows Fix It tool. You can download it directly from the Microsoft website. Once you run it, it will complete a scan of your system to find any potential hang-ups and to attempt to resolve them. After you run the scan, it is a good idea to reboot your computer to allow all changes to be recognized and applied properly.
Method Four: Use An Automated Tool
If you wish to always have at your disposal a utility tool to fix these Windows 10 and other related issues when they do arise,
download and install a powerful automated tool.
 ⊞ WINDOWS + N - notification panel
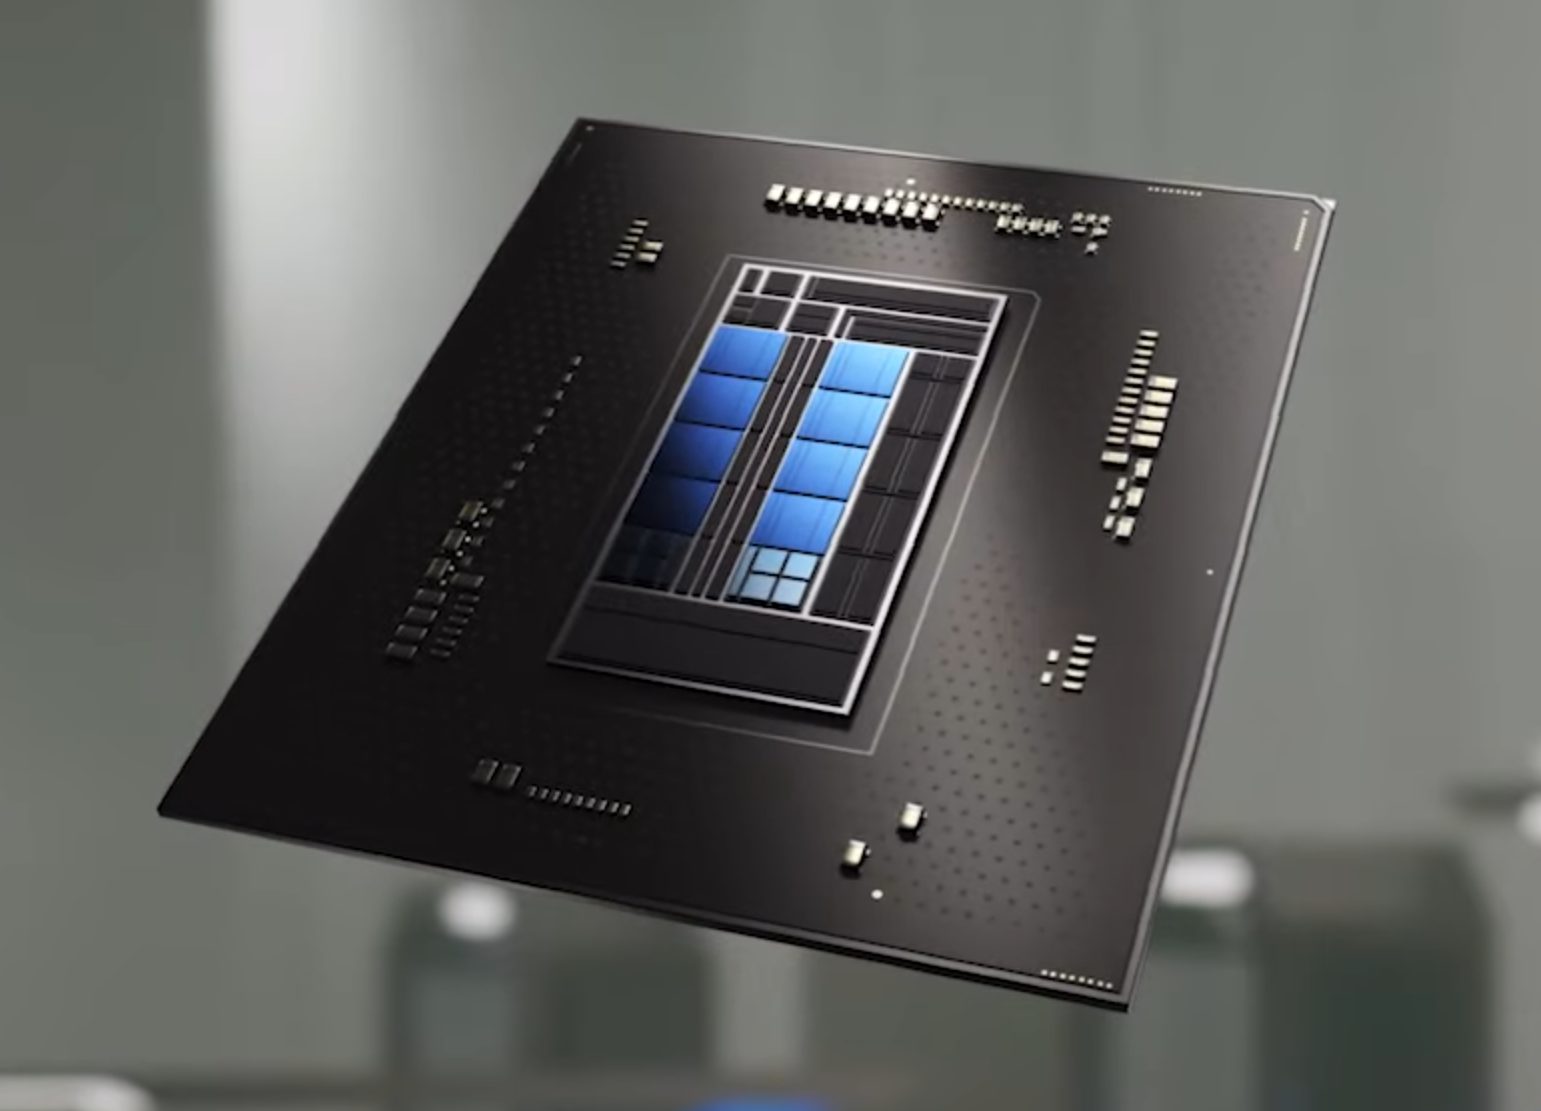 Now before you go on the bandwagon on bashing Intel itself take note that it is not Intel’s fault at all. The issue that arises is mostly due to DRM software and how it works. As you might know or not, Alder Lake has two sets of cores, standard performance cores, and power cores, and with Intel’s Thread Director on-chip right cores will be used for the right tasks, and here lies the issue.
DRM software might detect Thread Director as something suspicious and malicious, and then cut access to the game because of this. Intel, of course, has reached DRM manufacturers and places documentation about how software should be developed with this hybrid technology in mind.
Of course, newer games will be updated if needed and everything will work fine, also games on GOG will work fine because of GOG’s policy of no DRM store but some older ones might be left in limbo. They could work fine but DRM might be triggered and prevent them from loading, usually, game developer itself removes DRM protection after some time but that is not really always the case and there is a chance that some games might simply just not work on Alder Lake CPU only because of DRM protection.
Now before you go on the bandwagon on bashing Intel itself take note that it is not Intel’s fault at all. The issue that arises is mostly due to DRM software and how it works. As you might know or not, Alder Lake has two sets of cores, standard performance cores, and power cores, and with Intel’s Thread Director on-chip right cores will be used for the right tasks, and here lies the issue.
DRM software might detect Thread Director as something suspicious and malicious, and then cut access to the game because of this. Intel, of course, has reached DRM manufacturers and places documentation about how software should be developed with this hybrid technology in mind.
Of course, newer games will be updated if needed and everything will work fine, also games on GOG will work fine because of GOG’s policy of no DRM store but some older ones might be left in limbo. They could work fine but DRM might be triggered and prevent them from loading, usually, game developer itself removes DRM protection after some time but that is not really always the case and there is a chance that some games might simply just not work on Alder Lake CPU only because of DRM protection.
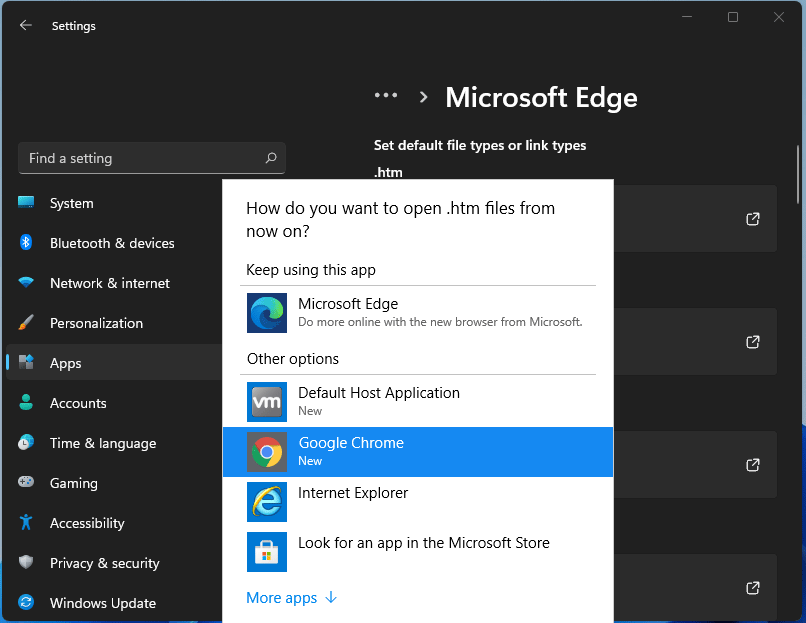 For anyone who is not aware, when Windows 11 was released if you wanted to switch to another browser you had to go into the settings app and choose the default browser for different types of file extensions like HTML, HTM, PDF for opening on the web, etc. Of course, this was completely unnecessary and it was not well received by users. So after some time, Microsoft backpedaled to standard one click, choose your default browser solution that existed in the previous version of Windows OS.
Altho sometimes Microsoft knows how to irritate its users base, it is good to know that they can also listen and fix things that are required.
For anyone who is not aware, when Windows 11 was released if you wanted to switch to another browser you had to go into the settings app and choose the default browser for different types of file extensions like HTML, HTM, PDF for opening on the web, etc. Of course, this was completely unnecessary and it was not well received by users. So after some time, Microsoft backpedaled to standard one click, choose your default browser solution that existed in the previous version of Windows OS.
Altho sometimes Microsoft knows how to irritate its users base, it is good to know that they can also listen and fix things that are required.  I going to admit right here that I am a big fan of Cooler Master PC cases, I like them and they are always one of the things that I consider when building a new PC, overall I like their ideas and quality so personal for me it was quite a surprise to see that they are one that is making a new generation gaming chair.
Now truth to be told Orb X is not your typical gaming chair as you can clearly see from the pictures. The chair itself will come in two colors: white or black and RGB lighting looks to be prominently featured throughout.
I going to admit right here that I am a big fan of Cooler Master PC cases, I like them and they are always one of the things that I consider when building a new PC, overall I like their ideas and quality so personal for me it was quite a surprise to see that they are one that is making a new generation gaming chair.
Now truth to be told Orb X is not your typical gaming chair as you can clearly see from the pictures. The chair itself will come in two colors: white or black and RGB lighting looks to be prominently featured throughout.
 The chair itself is advertised as both meant and aimed for professional and gaming crowds but I believe the gaming crowd is in general more interested in this hardware piece.
Hardware is enclosed in a fully motorized shuttle dome which aims to maximize your privacy, it supports a single 49inch display or three 27inch monitors along with surround speakers if you do not wish to use headphones.
The chair itself is advertised as both meant and aimed for professional and gaming crowds but I believe the gaming crowd is in general more interested in this hardware piece.
Hardware is enclosed in a fully motorized shuttle dome which aims to maximize your privacy, it supports a single 49inch display or three 27inch monitors along with surround speakers if you do not wish to use headphones.
 It offers an adjustable headrest, lumbar support, and footrest so you can spend some time in it and be comfortable. Controls on the chair itself allow you to raise or lower the dome for easier getting in and out of it.
Orb X also has a compartment in its backside, it folds out and has a sliding tray designed to hold your PC or console. Everything is enclosed so wiring is not the issue.
Overall Orb X seems really like the computer chair of the future, Cooler Master expects to release the Orb X by December 2021, priced around $12,000-$14,000.
It offers an adjustable headrest, lumbar support, and footrest so you can spend some time in it and be comfortable. Controls on the chair itself allow you to raise or lower the dome for easier getting in and out of it.
Orb X also has a compartment in its backside, it folds out and has a sliding tray designed to hold your PC or console. Everything is enclosed so wiring is not the issue.
Overall Orb X seems really like the computer chair of the future, Cooler Master expects to release the Orb X by December 2021, priced around $12,000-$14,000. 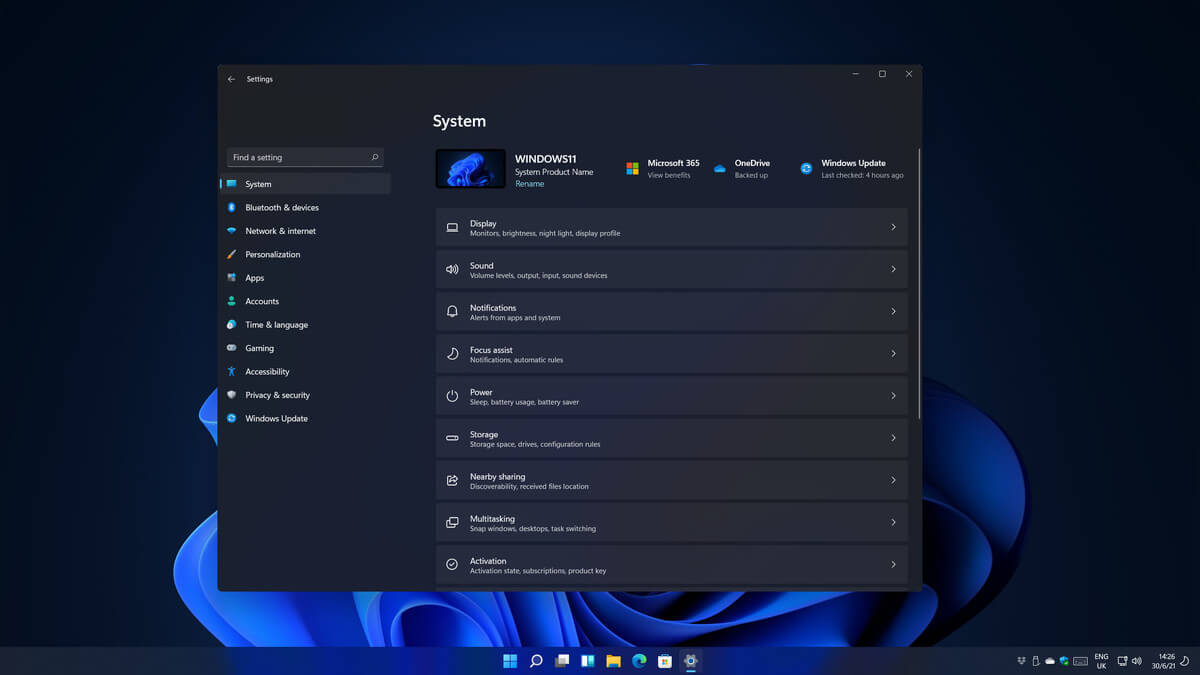 Same as Windows 10, Windows 11 also keeps track of date and time using an internet time server. But in a case that you need to change the date or time for any kind of reason here is a guide for that process: