Converters Now developed by Mindspark Interactive is a Browser Extension for Google Chrome and is promoted at their website like a very useful tool for converting PDF and Doc files, alongside with dictionary, and other useful tools. While this might appeal to you the extension hijacks your New Tab page, changing it to Search.MyWay.com
While active, this extension monitors user’s online activity, recording visited websites, clicked links, bought products, and other browsing information. This information is later forwarded or sold to Mindsparks ad network to better deliver user Targeted Ads.
Browsing the internet with ConvertersNow will result in displaying additional ads, sponsored content, and sometimes even pop-up ads injected into various pages or websites throughout your browsing sessions.
CovertersNow has been marked as a Browser Hijacker by several anti-virus programs and it is marked for removal.
About Browser Hijackers
Browser hijacking is actually a type of unwanted software, commonly a browser add-on or extension, which then causes modifications in the web browser’s settings. There are plenty of reasons why you may experience a web browser hijack; however commercial, advertising, and marketing are the major purposes for their creation. Usually, the idea would be to force users to visit particular websites that are aiming to improve their site visitor traffic and generate higher ad income. Though it might appear harmless, these tools were created by vicious individuals who always try to take advantage of you, so that they can easily earn money from your naivety and distraction. Browser hijackers could also let other vicious programs without your knowledge further damage your PC.
How you can recognize a browser hijack
Signs that an internet browser is hijacked include: the home page of your respective web browser is changed all of a sudden; your web browser is constantly being redirected to pornography websites; default web engine is changed; you are finding new toolbars you haven’t witnessed before; unstoppable flurries of popup ads show up on your computer screen; your web browser starts running sluggishly or presents frequent glitches; Inability to navigate to certain sites, particularly anti-malware and also other security software websites.
So how does a computer get infected with a browser hijacker
Browser hijackers could use drive-by downloads or file-sharing networks or even an e-mail attachment in order to reach a targeted computer system. Many web browser hijackings come from add-on applications, i.e., browser helper objects (BHO), toolbars, or plug-ins added to browsers to provide the extra features. Also, certain freeware and shareware can put the hijacker inside your computer through the “bundling” technique. Some of the most well-known hijackers are ConvertersNow, Conduit Search, Babylon Toolbar, OneWebSearch, Sweet Page, and CoolWebSearch.
Browser hijackers might record user keystrokes to collect potentially important information leading to privacy issues, cause instability on systems, drastically disrupt user’s browsing experience, and eventually slow down the PC to a stage where it becomes unusable.
Removal
Some hijackers could be removed by deleting the freeware they were included with or by eliminating any extension you’ve recently added to your computer. Having said that, most hijackers are quite tenacious and need specialized applications to eradicate them. Furthermore, manual removals require deep system knowledge and therefore can be very difficult task for beginner computer users.
You might opt for automatic browser hijacker removal by just installing and running efficient anti-malware software. If you want to eliminate persistent hijackers quickly and effectively, install the top-rated, award-winning Anti-Malware tool Safebytes Anti-Malware.
What To Do If You Cannot Install Any Anti-virus?
Malware can cause several kinds of damage to computing devices, networks, and data. Certain malware goes to great lengths to prevent you from installing anything on your computer system, particularly anti-virus software. If you’re reading this article now, you might have perhaps recognized that a malware infection is the cause of your blocked web traffic. So what to do when you want to download and install an anti-malware program such as Safebytes? Although this kind of issue will be tougher to circumvent, there are some actions you can take.
Install in Safe Mode
If the malware is set to load immediately when Windows starts, entering safe mode could block the attempt. Since only the minimal applications and services start-up in Safe Mode, there are seldom any reasons for issues to occur. You will have to do the following to remove malware in Safe mode.
1) At power-on/startup, hit the F8 key in 1-second intervals. This should bring up the Advanced Boot Options menu.
2) Make use of the arrow keys to choose Safe Mode with Networking and hit ENTER.
3) When this mode loads, you will have an internet connection. Now, use your web browser to download and install Safebytes.
4) After installation, do a complete scan and let the software program remove the threats it finds.
Download the security software using a different internet browser
Certain viruses may target vulnerabilities of a specific browser that obstruct the downloading process. If you’re not able to download the security software using Internet Explorer, this means malware may be targeting IE’s vulnerabilities. Here, you must switch to another web browser like Chrome or Firefox to download the Safebytes application.
Create a portable USB antivirus for removing viruses
Another way is to download and transfer an anti-malware program from a clean PC to run a scan on the infected computer. Try these simple steps to clear up your affected computer using portable anti-malware.
1) Download Safebytes Anti-Malware or Microsoft Windows Defender Offline onto a clean PC.
2) Insert the pen drive on the same computer.
3) Double-click on the downloaded file to run the installation wizard.
4) Choose the drive letter of the USB drive as the location when the wizard asks you where you would like to install the anti-virus. Follow the instructions to complete the installation process.
5) Now, plug the pen drive into the infected system.
6) Double-click the EXE file to open the Safebytes tool from the pen drive.
7) Simply click “Scan Now” to run a complete scan on the infected computer for malware.
Benefits and Features of SafeBytes Security Suite
In order to protect your personal computer from a variety of internet-based threats, it’s important to install an anti-malware program on your personal computer. But with countless numbers of antimalware companies out there, these days it’s hard to decide which one you should buy for your personal computer. A few of them do a good job in eradicating malware threats while many will ruin your PC by themselves. You need to pick out a tool that has got a good reputation and detects not only computer viruses but other kinds of malware also. When considering trustworthy software programs, Safebytes Anti-Malware is undoubtedly the strongly recommended one.
Safebytes is one of the well-established PC solutions firms, which offer this all-inclusive anti-malware program. Using its outstanding protection system, this utility will automatically detect and eliminate most of the security threats, which include viruses, adware, browser hijackers, PUPs, trojans, worms, and ransomware.
There are lots of amazing features you will get with this particular security product. Listed below are some of the highlighted features included in the product.
Anti-Malware Protection: Using a critically acclaimed anti-malware engine, SafeBytes offers multilayered protection which is designed to catch and eliminate threats which are concealed deep in your PC.
Live Protection: SafeBytes provides real-time active supervision and protection from all known computer viruses and malware. It will constantly monitor your pc for hacker activity and also provides end-users with advanced firewall protection.
Safe Browsing: Through its unique safety score, SafeBytes notifies you whether a website is safe or not to visit it. This will make sure that you’re always certain of your safety when browsing the world wide web.
High-Speed Malware Scanning Engine: SafeBytes’s very fast malware scanning engine cuts down scan times and extends battery life. At the same time, it’ll effectively detect and remove infected files or any internet threat.
Lightweight: SafeBytes is a lightweight application. It consumes a very small amount of processing power as it works in the background therefore you won’t observe any computer performance difficulties.
24/7 Online Tech Support: You can get high levels of support 24/7 if you are using their paid software.
To conclude, SafeBytes Anti-Malware is pretty great for securing your computer against all sorts of malware threats. There is no doubt that your computer system will be protected in real-time once you put this software program to use. For top protection and the best value for money, you can’t get better than SafeBytes Anti-Malware.
Technical Details and Manual Removal (Advanced Users)
If you’d like to carry out the removal of ConvertersNow manually instead of employing an automated tool, you may follow these steps: Proceed to the Windows Control Panel, click on the “Add/Remove Programs” and there, choose the offending program to remove. In case of suspicious versions of web browser extensions, you can easily get rid of them via your browser’s extension manager. It’s also advised to factory reset your web browser to its default condition to fix corrupt settings.
If you decide to manually delete the system files and Windows registry entries, use the following checklist to make sure you know precisely what files to remove before executing any actions. But bear in mind, this is often a tough task and only computer professionals could accomplish it safely. Furthermore, certain malicious programs are capable to defend against its removal. Doing this malware-removal process in Safe Mode is recommended.
Files:
%UserProfile%\Local Settings\Application Data\ConvertersNowTooltab
%LOCALAPPDATA%\Google\Chrome\User Data\Default\Sync Extension Settings\jbfdncemokhjnhoiohfdjahheefaiaec
%UserProfile%\Local Settings\Application Data\Google\Chrome\User Data\Default\Sync Extension Settings\jbfdncemokhjnhoiohfdjahheefaiaec
%LOCALAPPDATA%\Google\Chrome\User Data\Default\Local Extension Settings\jbfdncemokhjnhoiohfdjahheefaiaec
%UserProfile%\Local Settings\Application Data\Google\Chrome\User Data\Default\Local Extension Settings\jbfdncemokhjnhoiohfdjahheefaiaec
%LOCALAPPDATA%\Google\Chrome\User Data\Default\Extensions\jbfdncemokhjnhoiohfdjahheefaiaec
%UserProfile%\Local Settings\Application Data\Google\Chrome\User Data\Default\Extensions\jbfdncemokhjnhoiohfdjahheefaiaec
Registry:
HKEY_LOCAL_MACHINE\Software\Wow6432Node\ConvertersNow
HKEY_LOCAL_MACHINE\Software\ConvertersNow
HKEY_LOCAL_MACHINE\Software\Google\Chrome\PreferenceMACs\Default\extensions.settings, value: jbfdncemokhjnhoiohfdjahheefaiaec
HKEY_LOCAL_MACHINE\Software\Microsoft\Internet Explorer\DOMStorage\convertersnow.dl.tb.ask.com
HKEY_LOCAL_MACHINE\Software\Microsoft\Internet Explorer\DOMStorage\convertersnow.dl.myway.com
HKEY_LOCAL_MACHINE\Software\[APPLICATION]\Microsoft\Windows\CurrentVersion\Uninstall..Uninstaller
ConvertersNowTooltab Uninstall Internet Explorer

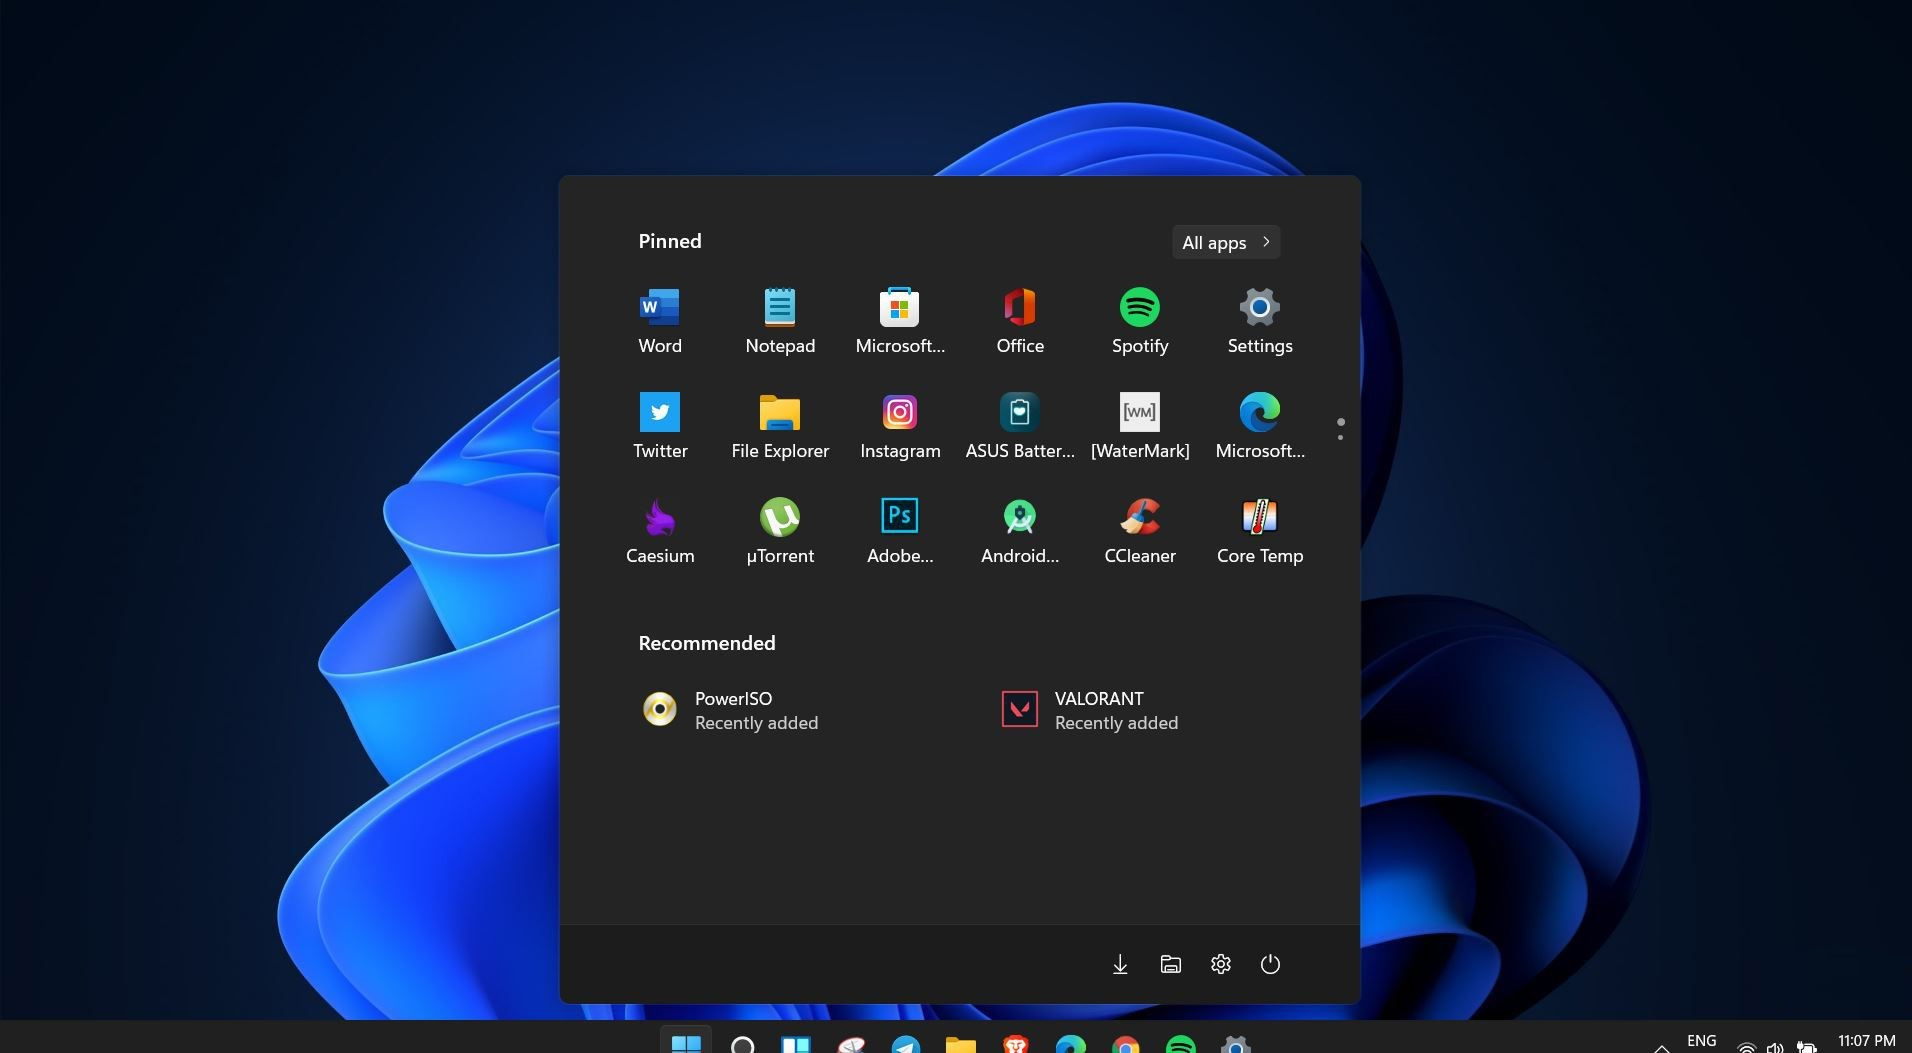 Windows 11 is coming soon, from its typical view and color scheme, Windows 11 will natively support dark mode.
The dark mode is very popular in many applications today, some large companies like Adobe, Autodesk, and many more have already adopted a dark color scheme for their software so it is logical for others to follow and Microsoft is aboard for it.
The dark mode itself has its benefits, for people who work on computer for longer period of time dark mode inside applications will throw less white and blue light on their eyes making workhours easier and pleasant on them.
As a person who does indeed spend a lot of time in front of the screen, I would advise you to switch to dark mode regardless of the time that you spend with a computer, your eyes will be grateful.
Windows 11 is coming soon, from its typical view and color scheme, Windows 11 will natively support dark mode.
The dark mode is very popular in many applications today, some large companies like Adobe, Autodesk, and many more have already adopted a dark color scheme for their software so it is logical for others to follow and Microsoft is aboard for it.
The dark mode itself has its benefits, for people who work on computer for longer period of time dark mode inside applications will throw less white and blue light on their eyes making workhours easier and pleasant on them.
As a person who does indeed spend a lot of time in front of the screen, I would advise you to switch to dark mode regardless of the time that you spend with a computer, your eyes will be grateful.
