In today's time, Wi-Fi is a common occurrence, each household has it, on town squares, there are free Wi-Fi hotspots, etc. But sometimes when relaxing at home WI-Fi can fail on us and stop working. If this happens to you do not lose your mind because we have several troubleshooting help tips and ways to get it back quickly so you can continue with your browsing and using your internet.
Restart the Router and Computer
Yes, we will start with this typical cliche in IT and tech in general. Surprisingly this method still proves over and over again to be true and effective. Over time some electric components simply start working a little bit differently, electrostatic electricity can accumulate on some parts and they can cause issues. By turning off the device and leaving it for some time you are discharging accumulated electrostatics and placing it again into normal working mode.
Unplug your router and leave it for at least 30s like that, a full 1 min is recommended, and then plug it back. Turn it on and restart your computer in order to reboot addresses.
Reset DHCP
If simple have you tried unplugging it and plugging it back in did not work let us reset DHCP. Click on the start button and type in PowerShell, then click on Run as administrator. Once inside the PowerShell type in the following command followed by ENTER: ipconfig /release and after the command finishes, type in: ipconfig /renew also followed by ENTER key. Try the connection again.
Reset TCP/IP stack
The next thing that we will try if the previous one failed is to reset the TCP/IP stack to eliminate corruption of settings files. Like in the previous step, press Start and type in PowerShell and click on run as administrator. inside type in: netsh int IP reset and press ENTER key. Wait for the process to finish and reboot your PC.
Reset WinSock
WinSock is yet another part of Windows OS that is responsible for network communication and resetting it could solve the issue. Again go to PowerShell as described in previous steps and type in this time: winsock reset and press ENTER. Wait for the process to finish and restart your computer.
Other things you can try
Change TCP IP setting back to automatic if you have set manual Ip address on your computer.
Update your network driver via the manufacturer's website of your network adapter. There is a chance that somewhat updates are available to address some issues discovered.
Factory reset your router on the back by locating the reset button on it and pressing and holding it for around 10s.
Turn off your firewall and antivirus protection in order to eliminate it from blocking your internet access.


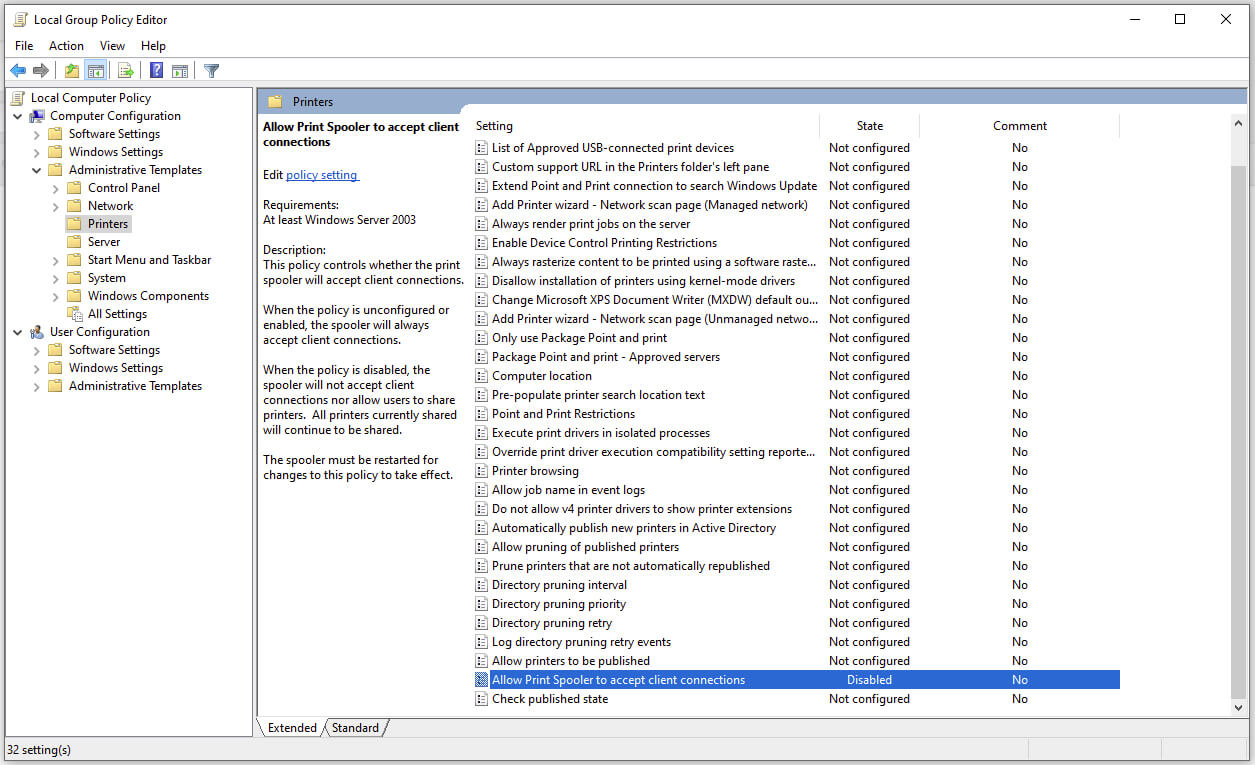 Microsoft is once again advising its customers to disable Windows print spooler after a new vulnerability that allows hackers to execute malicious code on machines has emerged. While a patch fixing the flaw will be released in due course, the most effective workaround currently on the table is to stop and disable the print spooler service entirely.
 Run the Windows Memory Diagnostic tool