Error Fmod.dll - What is it?
This is a type of DLL error code. DLL is the abbreviation of Dynamic Link Library. DLL files contain small programs which are similar to executable files. One DLL file may be used to load and run several programs.
Fmod.dll is created by Electronic Arts Inc. and associated with Crysis. This file is developed for the Windows OS. This error code occurs when you are unable to access, run and load programs supported by Crysis on your PC.
Fmod.dll error code message is displayed in different formats such as:
- "Fmod_event.dll not found."
- "The file fmod_event.dll is missing."
- "This application failed to start because fmod_event.dll was not found. Re-installing the application may fix this problem."
- "Cannot start Crysis. A required component is missing: fmod_event.dll. Please install Crysis again."
- "Fmod_event.dll Access Violation."
- "Cannot register fmod_event.dll."
- "Cannot find C:\Windows\System32\fmod_event.dll."
Error Fmod.dll may pop up when you start-up or shut down the PC or even during the installation of a program.
Solution
 Error Causes
Narrowing down to one cause for Fmod.dll error code is impossible virtually because this error may result due to different reasons on your system. Some of the common causes associated with this error code are:
- Viral Infection
- Hardware failure
- Missing, Corrupt, or Deleted Fmod.dll file
- Improper program installation
- Registry issues
No matter what the underlying cause of the reason may be, it is recommended to resolve the issue immediately to avoid serious PC threats.
Further Information and Manual Repair
To resolve this error on your system, try the methods discussed below:
Method 1 - Check the Recycle Bin
As mentioned above, Fmod.dll is a DLL file that is used to run and load a variety of programs on your system. There is a possibility that you uninstalled a program that was supported by the Fmod.dll file and accidentally deleted it.
In such a scenario, the easiest way to resolve the Fmod.dll error code is to re-install the deleted file from the recycle bin. For this, go to the
recycle bin and search for the file. If you find it reinstall if you can’t then simply download the Fmod.dll file from a reliable website.
Method 2 - Scan for Malware
Malware usually enters through phishing emails and downloads. These malicious programs then hide in your system disguising as either DLL or EXE files.
The occurrence of fmod.dll file error may be due to malicious programs hiding in your system. Therefore scan your entire PC with a powerful anti-virus. An antivirus detects and removes all malicious software programs such as viruses, malware, Trojans, spyware, and adware.
Try this, to resolve error code Fmod.dll and see the results.
Method 3 - Fix Hardware Problems
Fmod.dll file error may also pop on your screen due to hardware failure. If this is the reason, then we advise you to use the Device Manager an in-built tool in Windows 7 and 8 to fix hardware failures.
For this go to the start menu then control panel. Now click on the ‘hardware and sound link’ and then click on the Device Manager. If you find any devices in red exclamation point, then this means this device is problematic.
Uninstall the driver for that hardware device and then update the driver. Install the latest version to resolve. Remember, hardware problems are mostly related to outdated drivers.
Method 4 - Restore Points
Use System Restore, an in-built utility also known as the recovery tool, to restore points and ensure your PC is back to its previous working condition before the error code occurred.
Simply put, it helps undo recent changes. You can find the
System Restore tool in the System Tools folder.
Method 5 - Clean and Repair the Registry
The registry is that part of your PC that stores all the information, activities performed, and files including the junk files, invalid keys, bad entries, and cookies.
When these files accumulate on your PC, they take up all the registry space and corrupt the important system and DLL files also stored in the registry, thereby generating such errors. Now you can clean the registry manually.
But this process can be time-consuming and slightly technical, hence we advise you to download Restoro. This is a PC Fixer integrated with a registry cleaner.
It is easy to use deployed with an intuitive interface. The registry cleaner scans the entire PC and removes all registry errors. It wipes out all the obsolete files and repairs the damaged DLL and system files.
Click here to download Restoro.


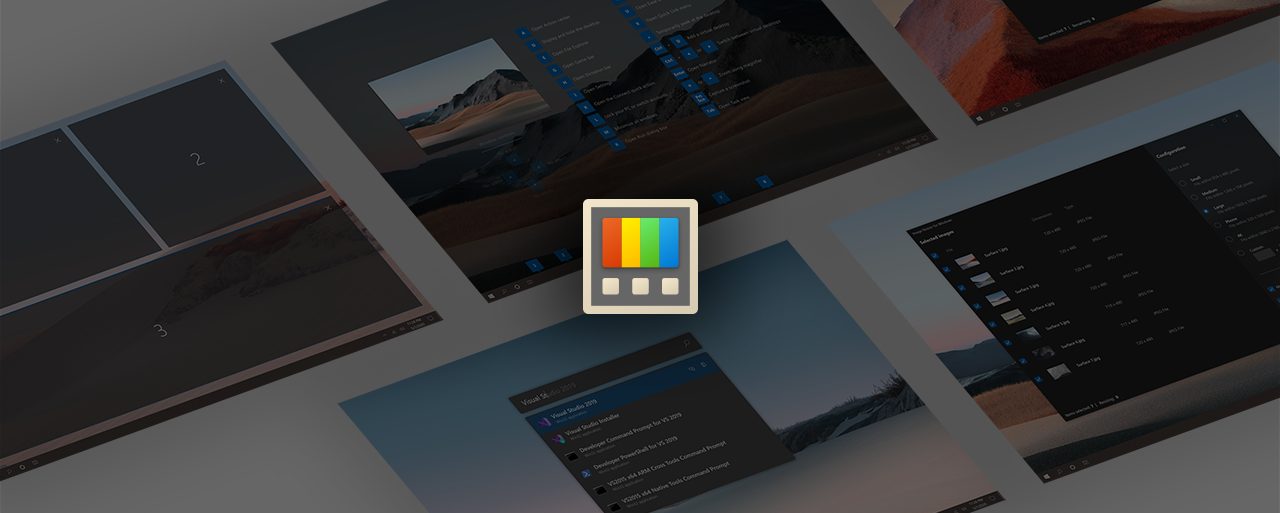 The first new feature that was slid in is Always on top utility. With this cool utility, you can keep the window as the name suggests, always on top of other windows. To enable this cool feature all you have to do is press the key combination of ⊞ WINDOWS + CTRL + T and an active window will be now always on top of all other windows. To reverse and unlock this window from being always on top just press key combination again.
A second new feature is a really great one and my favorite thing to happen in power toys. Often we are making the search in our browsers to find stuff, things, maybe some explanations, information, etc. The newest update in power toys brings this to a whole new dimension. While you are on PC you just simply need to type ?? followed by questions like: ?? When doctor strange 2 is coming out and that will launch your default browser with your chosen search engine and provide you with the answer.
Third and final thing is G-code support in the file explorer preview pane and thumbnails, meaning that if you work with CNC equipment you can now have a thumbnail preview of the code itself inside File Explorer.
And that’s it for now, thank you for coming and reading, Take care and I hope to see you next time.
The first new feature that was slid in is Always on top utility. With this cool utility, you can keep the window as the name suggests, always on top of other windows. To enable this cool feature all you have to do is press the key combination of ⊞ WINDOWS + CTRL + T and an active window will be now always on top of all other windows. To reverse and unlock this window from being always on top just press key combination again.
A second new feature is a really great one and my favorite thing to happen in power toys. Often we are making the search in our browsers to find stuff, things, maybe some explanations, information, etc. The newest update in power toys brings this to a whole new dimension. While you are on PC you just simply need to type ?? followed by questions like: ?? When doctor strange 2 is coming out and that will launch your default browser with your chosen search engine and provide you with the answer.
Third and final thing is G-code support in the file explorer preview pane and thumbnails, meaning that if you work with CNC equipment you can now have a thumbnail preview of the code itself inside File Explorer.
And that’s it for now, thank you for coming and reading, Take care and I hope to see you next time.