There are times when system files get corrupted and if the Windows Update process finds the system’s integrity questionable, chances are, the update, upgrade or the installation may fail and you will only be getting an error code 0x80073712 instead of completing the process.
The error code 0x80073712 indicates that a file needed by the Windows setup or the Windows Update is most likely missing or damaged. To resolve the problem, here are some suggestions you can try.
Running the DISM Tool helps in repairing the Windows System Image as well as the Windows Component Store in Windows 10. Using this built-in tool, you have various options such as the “/ScanHealth”, “/CheckHealth”, and “/RestoreHealth”.
After you run this tool, a log file is created at C:WindowsLogsCBSCBS.log. On the other hand, if the Windows Update client is already broken, you will be prompted to use a running Windows installation as the repair source or use a Windows side-by-side folder from a network share, as the source of the files. Although the chances of this happening are less, if it turns out to be the case, you need to run an advanced command in the DISM tool to repair a broken Windows Update. Just repeat the process above but use the following command instead:
DISM.exe /Online /Cleanup-Image /RestoreHealth /Source:C:RepairSourceWindows /LimitAccess
System File Checker or SFC is a built-in command utility that helps in restoring corrupted files as well as missing files. It replaces bad and corrupted system files with good system files that might be causing the error 0x80073712. To run the SFC command, follow the steps given below.
The command will start a system scan which will take a few whiles before it finishes. Once it’s done, you could get the following results:
You can also try running the Chkdsk utility to resolve the Windows Update error 0x80073712. If your hard drive has issues with integrity, the update will really fail as the system will think that it’s not healthy and that’s where the Chkdsk utility comes in. The Chkdsk utility repairs hard drive errors that might be causing the problem.
Note: The Chkdsk function might take a while before it finishes its operations so you need to be patient and wait until the entire process is completed.
Running the built-in Windows Update troubleshooter could also help you resolve the Windows Update error 0x80073712. To run it, go to Settings and then select Troubleshoot from the options. From there, click on Windows Update and then click the “Run the troubleshooter” button.
You also have the option to run Microsoft’s online troubleshooter which could help you fix Windows Update errors.

 Error Causes
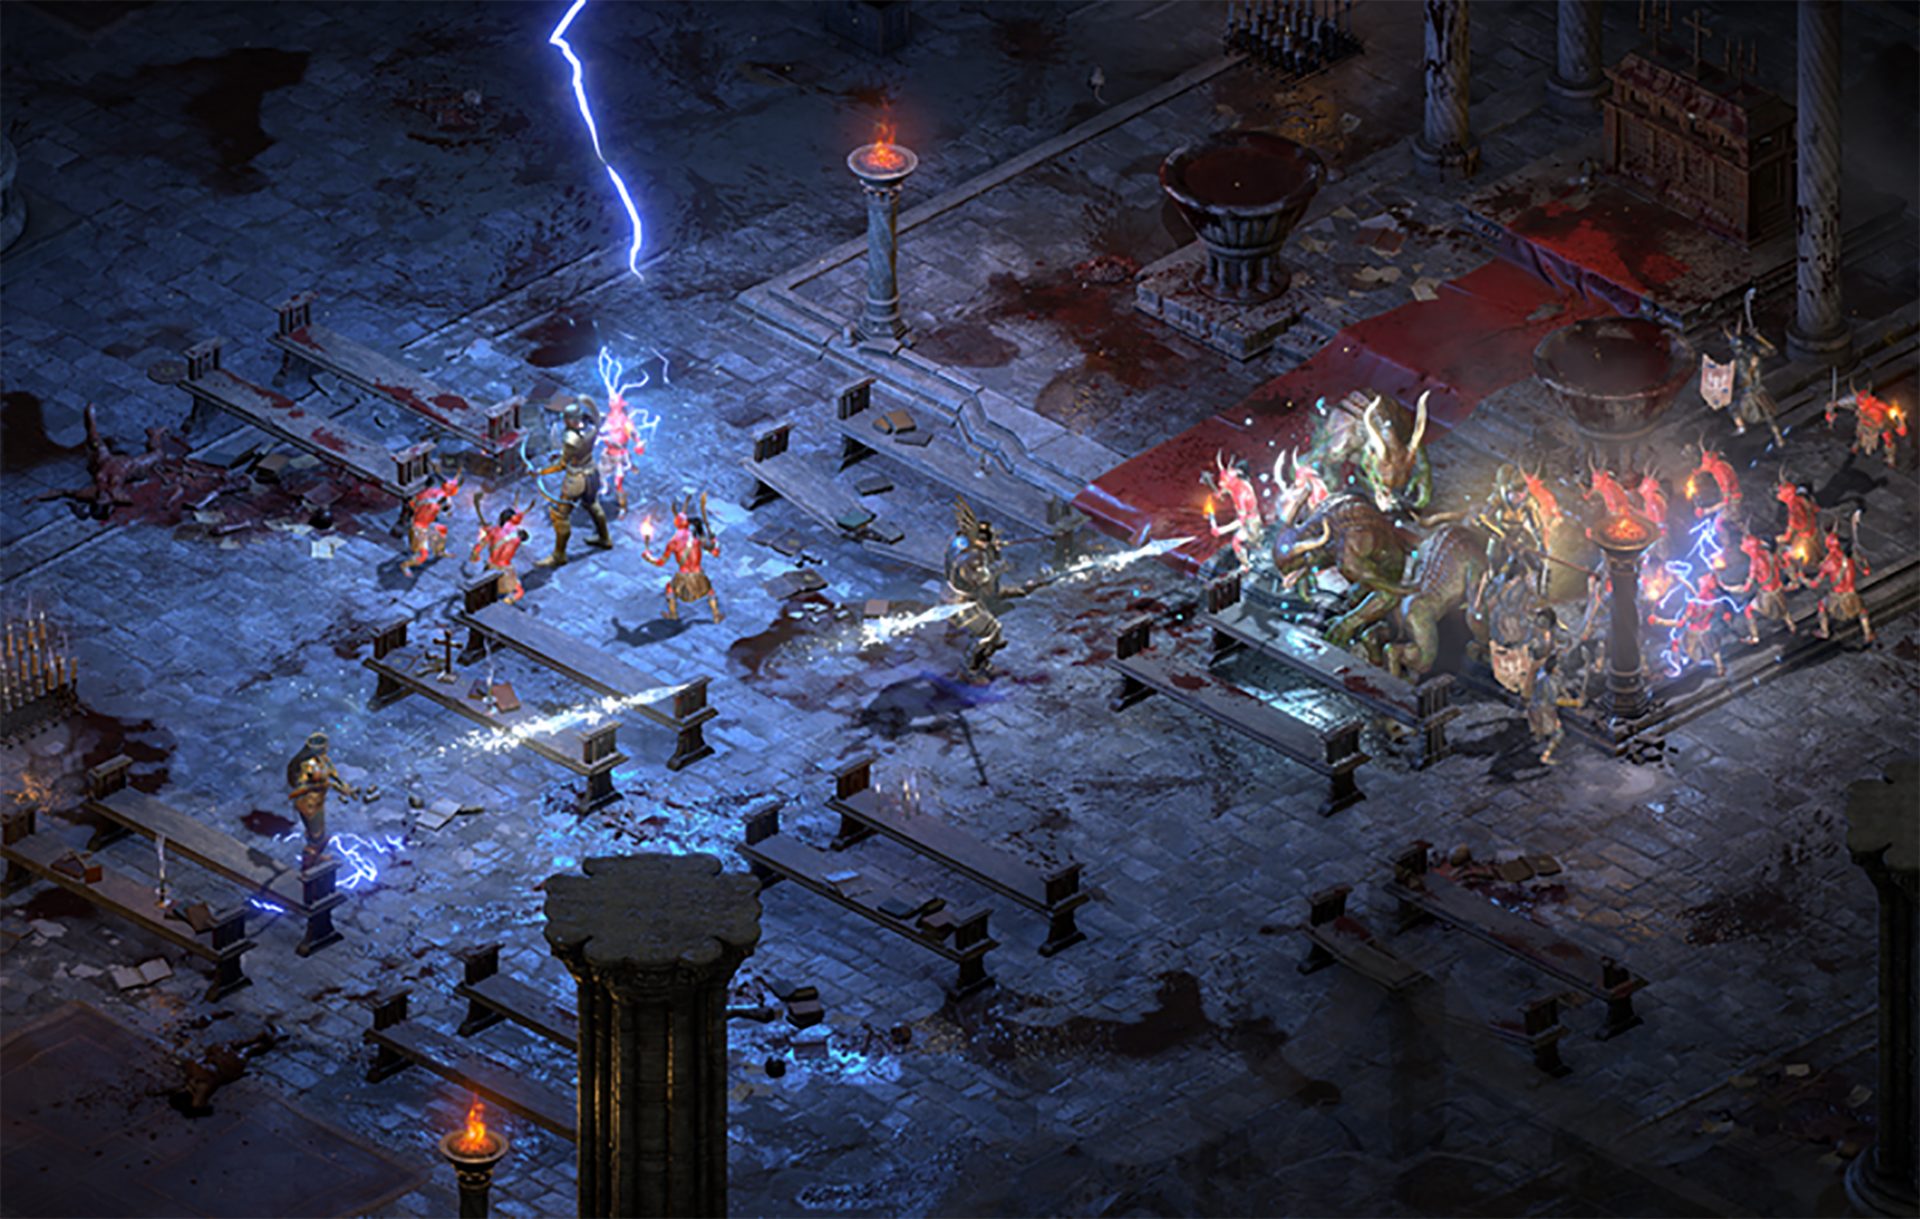 Speaking of old players of old Diablo 2, they can transfer their old characters into remaster and continue playing them within this new great HD environment. There are some steps and requirements but we are here to help and transferred characters will bring full stash, inventory, and equipped items with them.
In today's time, Wi-Fi is a common occurrence, each household has it, on town squares, there are free Wi-Fi hotspots, etc. But sometimes when relaxing at home WI-Fi can fail on us and stop working. If this happens to you do not lose your mind because we have several troubleshooting help tips and ways to get it back quickly so you can continue with your browsing and using your internet.

Yes, we will start with this typical cliche in IT and tech in general. Surprisingly this method still proves over and over again to be true and effective. Over time some electric components simply start working a little bit differently, electrostatic electricity can accumulate on some parts and they can cause issues. By turning off the device and leaving it for some time you are discharging accumulated electrostatics and placing it again into normal working mode.
Unplug your router and leave it for at least 30s like that, a full 1 min is recommended, and then plug it back. Turn it on and restart your computer in order to reboot addresses.
If simple have you tried unplugging it and plugging it back in did not work let us reset DHCP. Click on the start button and type in PowerShell, then click on Run as administrator. Once inside the PowerShell type in the following command followed by ENTER: ipconfig /release and after the command finishes, type in: ipconfig /renew also followed by ENTER key. Try the connection again.
The next thing that we will try if the previous one failed is to reset the TCP/IP stack to eliminate corruption of settings files. Like in the previous step, press Start and type in PowerShell and click on run as administrator. inside type in: netsh int IP reset and press ENTER key. Wait for the process to finish and reboot your PC.
WinSock is yet another part of Windows OS that is responsible for network communication and resetting it could solve the issue. Again go to PowerShell as described in previous steps and type in this time: winsock reset and press ENTER. Wait for the process to finish and restart your computer.
Change TCP IP setting back to automatic if you have set manual Ip address on your computer.
Update your network driver via the manufacturer's website of your network adapter. There is a chance that somewhat updates are available to address some issues discovered.
Factory reset your router on the back by locating the reset button on it and pressing and holding it for around 10s.
Turn off your firewall and antivirus protection in order to eliminate it from blocking your internet access.
One of the most common errors encountered by Microsoft users upgrading from Windows 7 or Windows 8/8.1 to Windows 10 is the Error Code 0xc1900106. Microsoft users experience a failure in the installation process. Either they will be notified that the installation process was ended but failed or that Windows is not able to install the update.
Error CausesMore and more Windows users are having trouble upgrading their operating system to Windows 10. There are a lot of errors being encountered by users and one of them is the Error Code 0xc1900106. This error is normally due to the misconfigured system files. If a Windows user encounters this error, most likely their device has some registry problems.
Fixing error code-related issues could be best resolved to do manual repair methods. Applying repair methods manually can help Windows users address the root causes of the errors they encounter, as well as apply definite solutions to rectify the issue.
Most Windows users can be able to implement manual repair methods themselves but there are some cases where help from a Windows professional is needed. If you’re not a very tech-savvy person and not confident performing the manual repair methods yourself, it would be advisable to seek help from a professional Windows technician who is knowledgeable enough to address the errors or problems you are encountering. However, if you don’t want to resort to seeking help from a professional, you can also consider using a powerful automated tool.
In trying to fix Error Code 0xc1900106, here are the following manual repair methods you can take:
net stop wuauserv net stop cryptSvc net stop bits net stop msiserver ren C:WindowsSoftwareDistribution SoftwareDistribution.old ren C:WindowsSystem32catroot2 catroot2.old net start wuauserv net start cryptSvc net start bits net start msiserver pause
iLivid is a video download manager for YouTube and other third-party video-hosted websites. iLivid download manager has powerful features that make it the fastest and easiest way to download hosted files. iLivid includes XBMC plug-ins that let you play almost all popular audio and video formats, in any available protocol and in any media type: streaming, CDs, DVDs, and RAR and archived files from your hard drive.
Livid is a program developed by Bandoo Media Inc. Upon installation, it defines an auto-start registry entry which allows the program to run on each boot for the user who installed it. A scheduled task is added to Windows Task Scheduler in order to launch the program at various scheduled times. The software is designed to connect to the Internet and adds a Windows Firewall exception in order to do so without being interfered with.
Multiple Anti-Virus scanners have detected iLivid as a possible Malware and are therefore not recommended.
HKEY_LOCAL_MACHINESOFTWAREMicrosoftWindows NTCurrentVersionScheduleMaintenance
 Antivirus software has become the kind of a must-have in every computer in this day and age. When you think about it, our systems are connected to the internet most of the time if not always, and therefore kind placed in from the line of various cyber-attacks. Here antivirus software comes into focus, especially because it has evolved long from just a simple virus removal tool to full security suites.
We will be going through the best of these applications in order to present both their good and bad sides and hope that we will help you in picking the right one for you. Remember, picking either one of the presented solutions is way better than not having one at all. The list is made from best down in our opinion so number one is highly recommended.
Antivirus software has become the kind of a must-have in every computer in this day and age. When you think about it, our systems are connected to the internet most of the time if not always, and therefore kind placed in from the line of various cyber-attacks. Here antivirus software comes into focus, especially because it has evolved long from just a simple virus removal tool to full security suites.
We will be going through the best of these applications in order to present both their good and bad sides and hope that we will help you in picking the right one for you. Remember, picking either one of the presented solutions is way better than not having one at all. The list is made from best down in our opinion so number one is highly recommended.
 The first new feature that was slid in is Always on top utility. With this cool utility, you can keep the window as the name suggests, always on top of other windows. To enable this cool feature all you have to do is press the key combination of ⊞ WINDOWS + CTRL + T and an active window will be now always on top of all other windows. To reverse and unlock this window from being always on top just press key combination again.
A second new feature is a really great one and my favorite thing to happen in power toys. Often we are making the search in our browsers to find stuff, things, maybe some explanations, information, etc. The newest update in power toys brings this to a whole new dimension. While you are on PC you just simply need to type ?? followed by questions like: ?? When doctor strange 2 is coming out and that will launch your default browser with your chosen search engine and provide you with the answer.
Third and final thing is G-code support in the file explorer preview pane and thumbnails, meaning that if you work with CNC equipment you can now have a thumbnail preview of the code itself inside File Explorer.
And that’s it for now, thank you for coming and reading, Take care and I hope to see you next time.
The first new feature that was slid in is Always on top utility. With this cool utility, you can keep the window as the name suggests, always on top of other windows. To enable this cool feature all you have to do is press the key combination of ⊞ WINDOWS + CTRL + T and an active window will be now always on top of all other windows. To reverse and unlock this window from being always on top just press key combination again.
A second new feature is a really great one and my favorite thing to happen in power toys. Often we are making the search in our browsers to find stuff, things, maybe some explanations, information, etc. The newest update in power toys brings this to a whole new dimension. While you are on PC you just simply need to type ?? followed by questions like: ?? When doctor strange 2 is coming out and that will launch your default browser with your chosen search engine and provide you with the answer.
Third and final thing is G-code support in the file explorer preview pane and thumbnails, meaning that if you work with CNC equipment you can now have a thumbnail preview of the code itself inside File Explorer.
And that’s it for now, thank you for coming and reading, Take care and I hope to see you next time.