Windows 7 was an operating system that had one thing which no other Windows had, even today. Official Microsoft desktop widgets.
With an attractive design, users loved to exploit the adequacy and neatness of these gadgets. However, Microsoft had to discontinue these gadgets as they posed a serious security threat to the Operating System. It was believed that a potential attacker could even use a gadget to take complete control of your PC.
With
Windows 10, things have changed big time. You have all the fantastic apps and live tiles at your disposal providing a more native experience.
Despite all this, if you still have a fondness for fancy gadgets, we have just the right tool for you to get started with similar
“Widgets” on Windows 10.
Win10 Widgets is a tool that places the most important information right in front of you, on your desktop.
Win10 Widgets
Win10 Widgets is a desktop app package provided by
Rainmeter which is an effective system customization engine for Windows. It brings some informative widgets to Windows 10 which look almost native with their intuitive and sleek design. You can pin them on your desktop to keep an eye on various system figures like CPU usage, data storage, battery usage, detailed computer performance, etc.
Native looking Widgets for Windows 10
These widgets are designed in such a way that it looks totally indigenous to the Windows 10 UI. With a similar design language, visual style, accent color, and even font settings, these widgets almost look like an inseparable system component.
You can choose between different size variants to pin on your desktop and arrange them in an orderly fashion to make the most of it.
Highly customizable desktop gadgets
Apart from the default size variants, you can configure several other parameters pertaining to the look and appearance of any widget. As Rainmeter is an open-source program, you are provided with the .ini configuration files which you can customize as per your wish. You can make adjustments to the widget coordinates, position and transparency as well. You can even create your own skins (
.rmskin package) using the built-in
Skin Packager and publish them for general usage through Rainmeter.
Illustro Skins
Over and above the cool widgets, Rainmeter also contains
Illustro, a simple collection of skins that shows the range of Rainmeter’s capabilities. You can load the skins on your desktop for a brief look at your system internals. You can also start editing these skins to make them yours by taking advantage of the Rainmeter manual and forum link provided on the Welcome screen.
Win10 Widgets is a great tool if you like widgets or gadgets on your Desktop. It blends into the background and puts the important piece of information right on your desktop without you having to look somewhere else. If you already have the Rainmeter application, you can download the Win10 Widgets .rmskin file from
here, else you can download the combined bundle for both Rainmeter and Win10 Widgets from
here.

 Option to right-click on the taskbar and launch task manager is gone but do not worry there are other same and simple ways you can launch it.
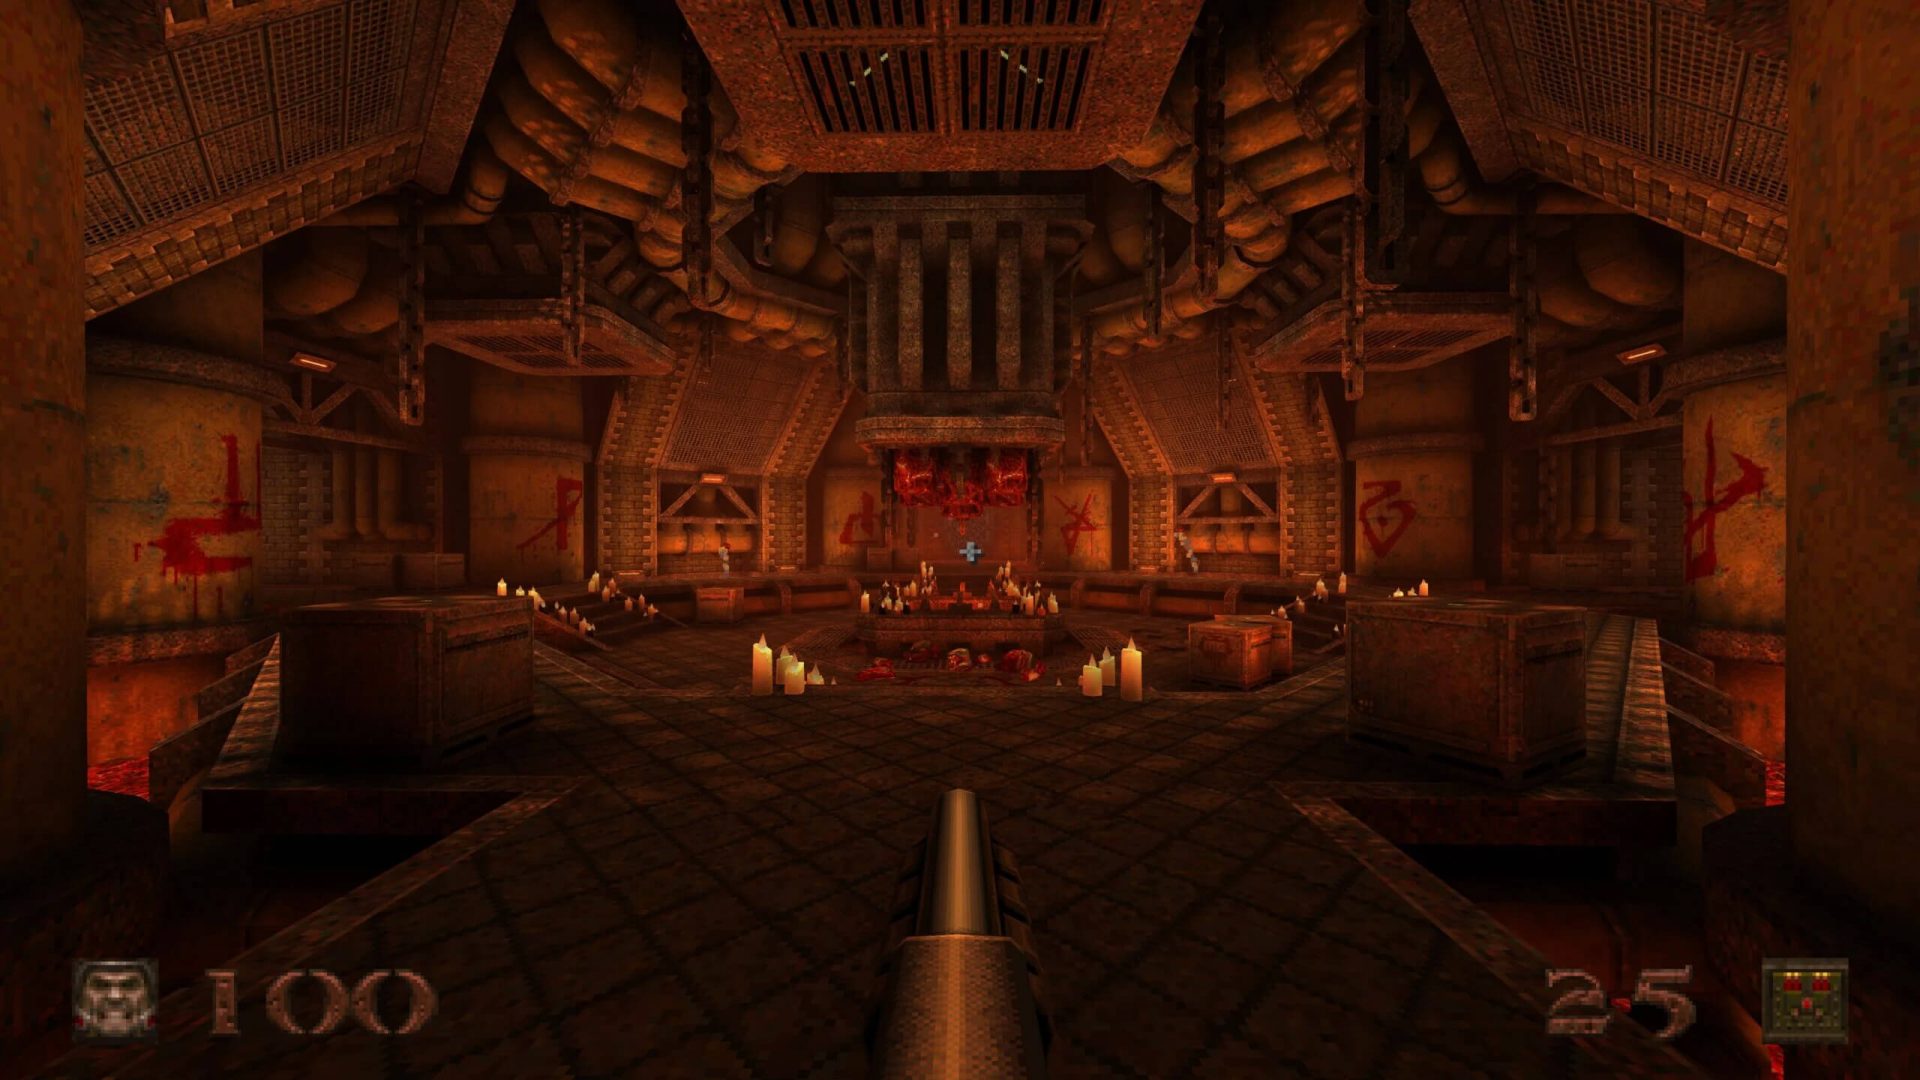 Without any fanfare, news, or information Bethesda has released a completely free upgrade for legendary Quake 1. Free upgrade is automatically applied to all users who possess the original game and it has already been rolled out.