If you suddenly encountered the PDC WATCHDOG TIMEOUT BSOD Blue Screen stop error with a bug check value of 0x0000014F, then it’s probably due to a system component that has failed to respond with the allocated period which prevents the system from exiting connected standby.
This kind of Blue Screen error could be caused by both hardware and software components. To fix this Stop error, here are some possible fixes you can try that might help but before you proceed, make sure that you create a System Restore point first and boot your computer into Safe Mode with Networking.
The next thing you can do to fix the PDC_WATCHDOG_TIMEOUT Stop error is to roll back, or update, or disable device drivers. It is most likely that after you updated your Windows computer that your driver also needs a refresh. On the other hand, if you have just updated your device drivers then you need to roll back the drivers to their previous versions. Whichever applies to you, refer to the steps below.
Note: You can install a dedicated driver on your computer in case you have it or you could also look for it directly from the website of the manufacturer.
In this option, you will have to disable or remove the hardware you’ve just installed recently since external devices could be the one that’s causing the Blue Screen of Death error to appear. To do that, just disconnect any external device that’s connected to your computer physically and then check if it fixes the PDC_WATCHDOG_TIMEOUT Blue Screen error.
The Memory Diagnostic tool in windows can help resolve the PDC_WATCHDOG_TIMEOUT Blue Screen error by checking and automatically fixing any memory-based issues. To run it, refer to these steps:
Updating the BIOS can help you fix the PDC_WATCHDOG_TIMEOUT BSOD error but as you know, BIOS is a sensitive part of a computer. Even though it is a software component, the functioning of the hardware depends on it largely. Thus, you must be careful when modifying something in the BIOS. So if you don’t know much about it, it’s best if you skip on this option and try the other ones instead. However, if you are well-versed in navigating the BIOS, then follow the steps below.
The Blue Screen troubleshooter is a built-in tool in Windows 10 that helps users in fixing BSOD errors like PDC_WATCHDOG_TIMEOUT. It can be found in the Settings Troubleshooters page. To use it, refer to these steps:

WeatherGenie is a Browser Extension that allows users to check the current weather in any town at any time. This extension adds the “Weather:” search option to your new tab, and changes your default search engine to Yahoo.com. It also ads system Registry Entities that allow it to run each time the computer is restarted, several task schedulers are also added to allow it to run at various times during the day.
While installing this extension monitor browsing data from your computer. You may also see additional injected ads, sponsored links, and pop-up ads through your browser sessions. Weather games have been marked as a Browser Hijacker by several anti-virus scanners and are therefore not recommended to keep on your computer. It is flagged as potentially unwanted for optional removal.
Polimva is a Browser Extension for Google Chrome. This extension offers users the ability to search for any recipe on the web.
From the Author:
Polimva will help you discover new content! You will be exposed to cool and fun content every day! You can search and find new articles, videos, and reviews on daily basis.
-Amazing search experience. -Access to new interesting articles and videos every hour. -Polimva Changes the default search. -Updated content every day. -Follow any channel and topic that you like. -Choose the interface and the design of the results you get every time.This extension changes your default search engine to Yahoo, and while active it changes the displayed ads on your browser, allowing it to make revenue on every ad you click. While this is not malicious, the extension redirects your search to its servers first before forwarding it to yahoo and displaying search results. The information that is sent back to the servers contains your browsing data & visited web pages. As a result, Polimva is considered a potentially unwanted browser hijacker and if flagged for optional removal.
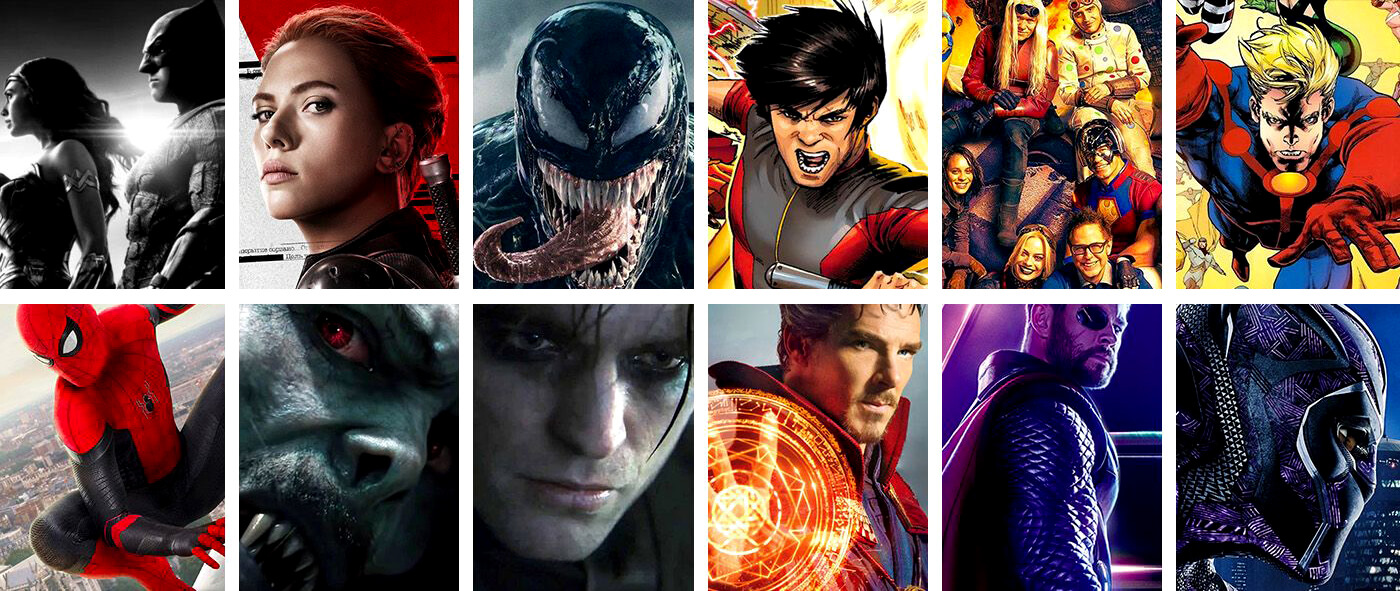 The World of Superhero movies has gone through some interesting variations, from good ones to bad ones, from big-budget ones to small ventures, even from large well-known characters to niche ones.
No matter what you think of some of them no one would disagree that since the release of Iron Man and starting Marvel cinematic universe superheroes movies exploded in popularity.
Following the Superhero craze, let’s see what is coming up in comic books transferred to big screens with their release dates.
The World of Superhero movies has gone through some interesting variations, from good ones to bad ones, from big-budget ones to small ventures, even from large well-known characters to niche ones.
No matter what you think of some of them no one would disagree that since the release of Iron Man and starting Marvel cinematic universe superheroes movies exploded in popularity.
Following the Superhero craze, let’s see what is coming up in comic books transferred to big screens with their release dates.
 Interesting information has come out from Microsoft, Windows 11 dark theme will include a different sound theme from its standard light one.
When in dark mode on Windows 11, the system sounds generally become softer, and they echo a bit, creating a more soothing experience that matches the overall look and feel of the dark mode. Flipping back to light mode brings the system sounds back to their normal level.
However, even though the light model has slightly louder sounds than the dark mode, Microsoft has taken great care to make sure the audio is more soothing, according to a report from CNBC.
The designers of Windows 11 took inspiration from an approach called calm technology. Microsoft’s Christian Koehn and Diego Baca wrote about calm technology in a post on Medium. In it, they said, “Windows 11 facilitates this through foundational experiences that feel familiar, soften formerly intimidating UI, and increase emotional connection.”
According to a Microsoft spokesperson in a statement to CNBC, “The new sounds have a much rounder wavelength, making them softer so that they can still alert/notify you, but without being overwhelming.”
Interesting information has come out from Microsoft, Windows 11 dark theme will include a different sound theme from its standard light one.
When in dark mode on Windows 11, the system sounds generally become softer, and they echo a bit, creating a more soothing experience that matches the overall look and feel of the dark mode. Flipping back to light mode brings the system sounds back to their normal level.
However, even though the light model has slightly louder sounds than the dark mode, Microsoft has taken great care to make sure the audio is more soothing, according to a report from CNBC.
The designers of Windows 11 took inspiration from an approach called calm technology. Microsoft’s Christian Koehn and Diego Baca wrote about calm technology in a post on Medium. In it, they said, “Windows 11 facilitates this through foundational experiences that feel familiar, soften formerly intimidating UI, and increase emotional connection.”
According to a Microsoft spokesperson in a statement to CNBC, “The new sounds have a much rounder wavelength, making them softer so that they can still alert/notify you, but without being overwhelming.” Easy Home Decorating is a Browser Extension for Google Chrome. It offers users tips and tricks on how to manage your home decoration, you can find ideas for certain rooms, combine and plan. This might seem useful at the start, however, all this extension does is add a toolbar that links you to the most popular Home Decor Websites that you can find on any Search engine within seconds.
When installed it changes your default search engine and new tab page to MyWay.com or Ask.com (depending on the extension version). It monitors user browsing activity in the background, allowing it to gather visited websites, clicked links, search queries, and other user information. This data is later sent/sold to better target ads.
While using this extension you will see additional ads and sponsored content displaying throughout your browsing sessions. Several anti-virus applications have marked this extension as a Browser Hijacker and a potential security flaw and are therefore not recommended to keep on your computer.
The Get Coupons Fast Toolbar is a Browser Extension for Google Chrome developed by Mindspark Inc. This extension allows quick access to the most popular coupon websites available. While this might look like a good useful idea, keep in mind that it has been classified as a Browser Hijacker by Several anti-virus applications.
When installed this extension will hijack your new tab page, changing it to a customized version of Search.MyWay.com. While active It records user browser activity, this data is later used to better target ads. While browsing the internet with this extension installed you will see additional pop-up ads, sponsored content, and injected ads into your browser search results and pages. GetCouponsFast usually comes bundled with other PUP-s or Browser Hijackers that may harm your computer and it is recommended you remove it from your PC.