Gaming has come a long way since its infant days and grown from spending some free time between coding to full e-sport events watched worldwide. As have some basic peripherals been upgraded like gaming keyboards and gaming mouse so have headsets been receiving similar treatments.
In today's article, we are presenting you with some of the best headsets specifically designed and made for gaming purposes. If you are looking for headphones for music listening look elsewhere, these bad boys are all made for replicating precise audio positioning and similar technology specifically tailored for games.
SteelSeries Arctis 7P/7X
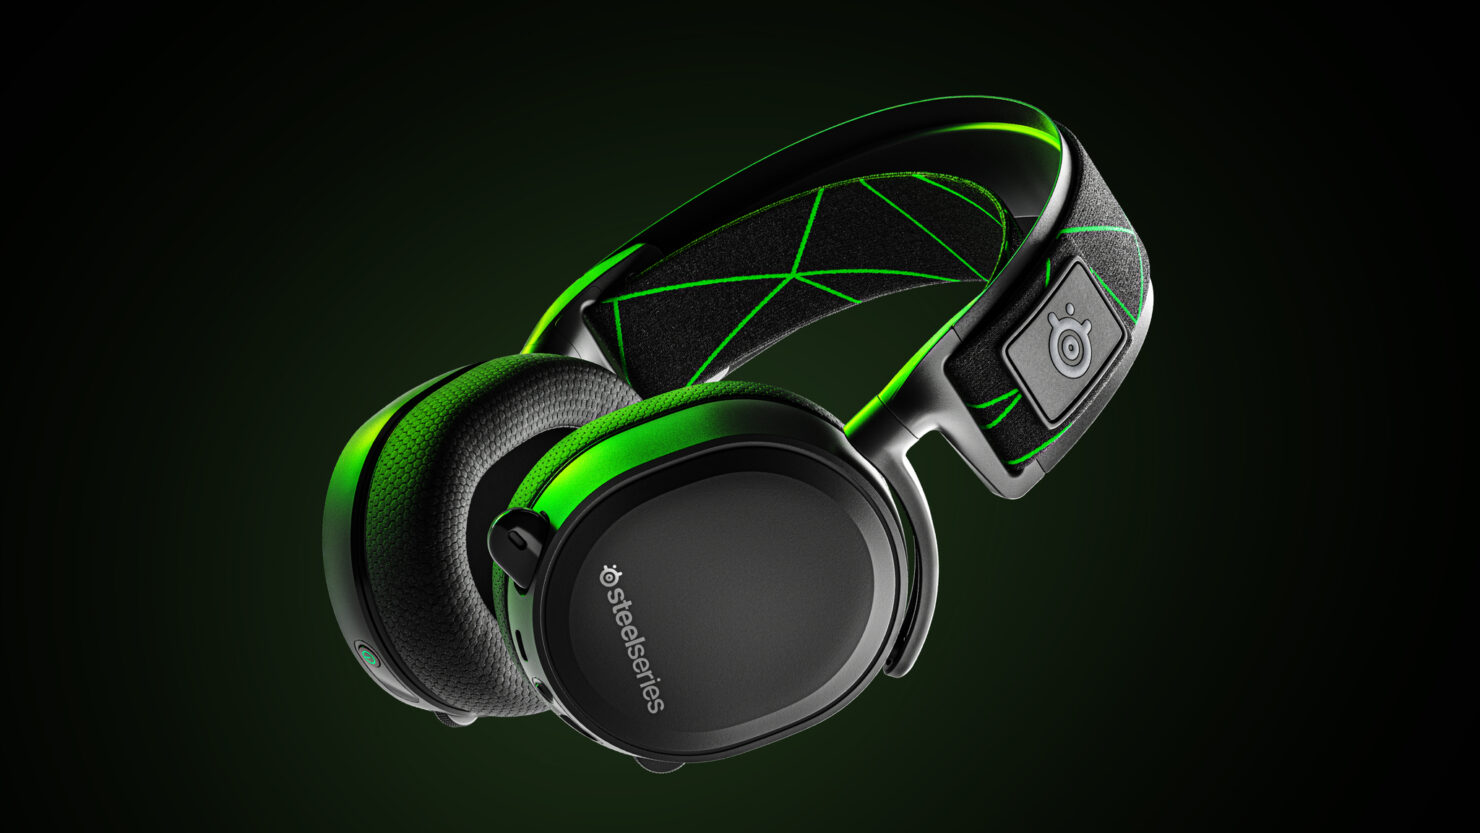
The best gaming headset overall for PC, PS5, PS4, Xbox Series X/S, Xbox One, Switch, Android
The SteelSeries Arctis 7P/7X is the best gaming headset overall, offering great sound, consistent wireless performance, and a comfy, attractive design at a reasonable price. The headset’s 2.4-GHz wireless connectivity keeps you glued to your game without any lag or interference. Even better: Thanks to its USB-C dongle and USB-A adapter, you can enjoy wireless performance with any system, from a PS5 to a Nintendo Switch in handheld mode, to an Android phone.
Razer Blackshark V2
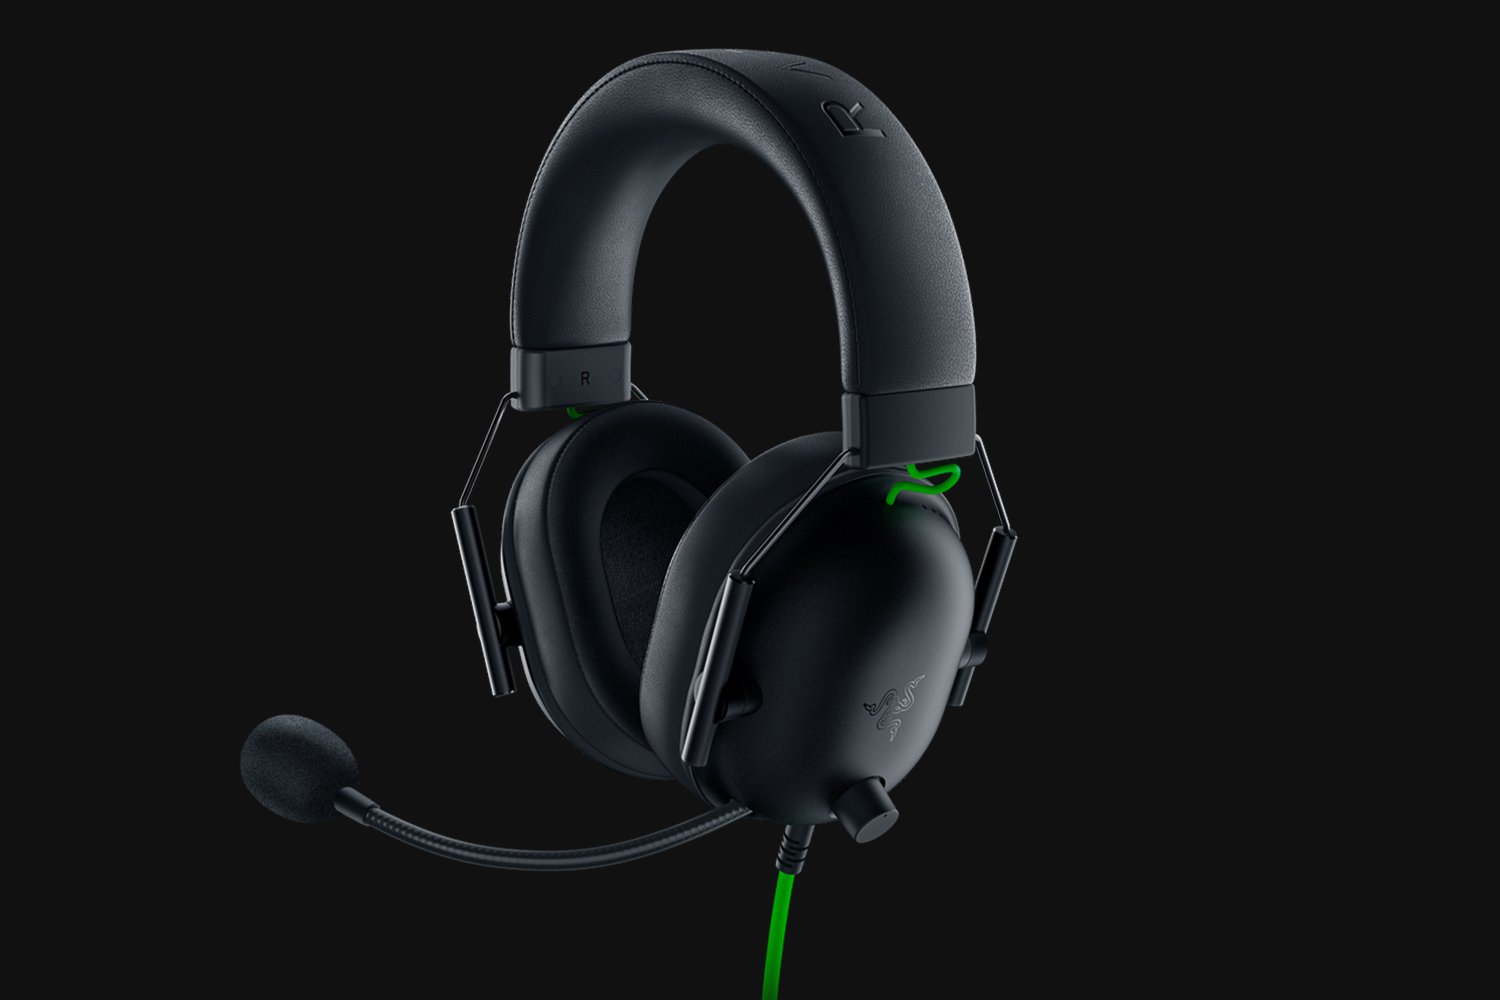
Razer's best headset yet for PC, PS5, PS4, Switch, Xbox One
The Razer Blackshark V2 is probably the best headset that Razer has ever made. This mid-range wired headset provides fantastic sound for both games and music, particularly thanks to its innovative THX profiles. The famous film audio company has lent its expertise to make the Blackshark V2's surround sound realistic and nuanced, especially for a handful of games like Apex Legends and Sekiro: Shadows Die Twice, which have their own optimized profiles.
Logitech G Pro X
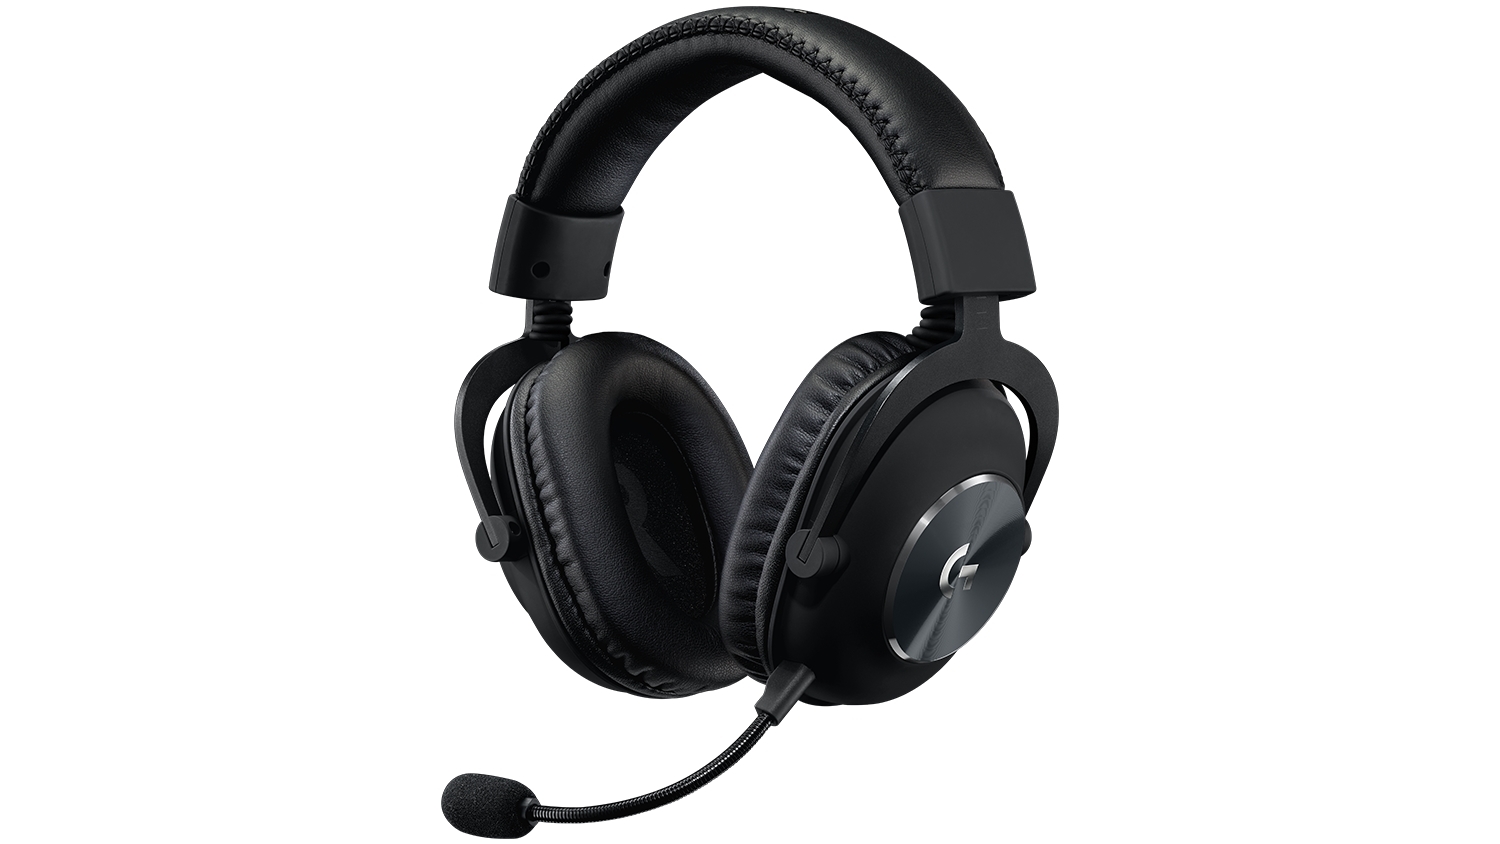
Built for tournament play for PC, PS5, PS4, Xbox One, Switch
The Logitech G Pro X delivers tournament-grade performance for a reasonable price. The headset's distinguished black design sets itself apart from the competition, in no small part thanks to its flexible headband and supremely comfortable foam and leatherette earcup options. The Go Pro X delivers rich, direction-accurate sound out of the box whether you're playing on PC or console. It's also the first gaming headset to sport a built-in Blue microphone, allowing for extra-crisp voice chat whether you're practicing with your Apex Legends squad or streaming to your online fans
SteelSeries Arctis Pro
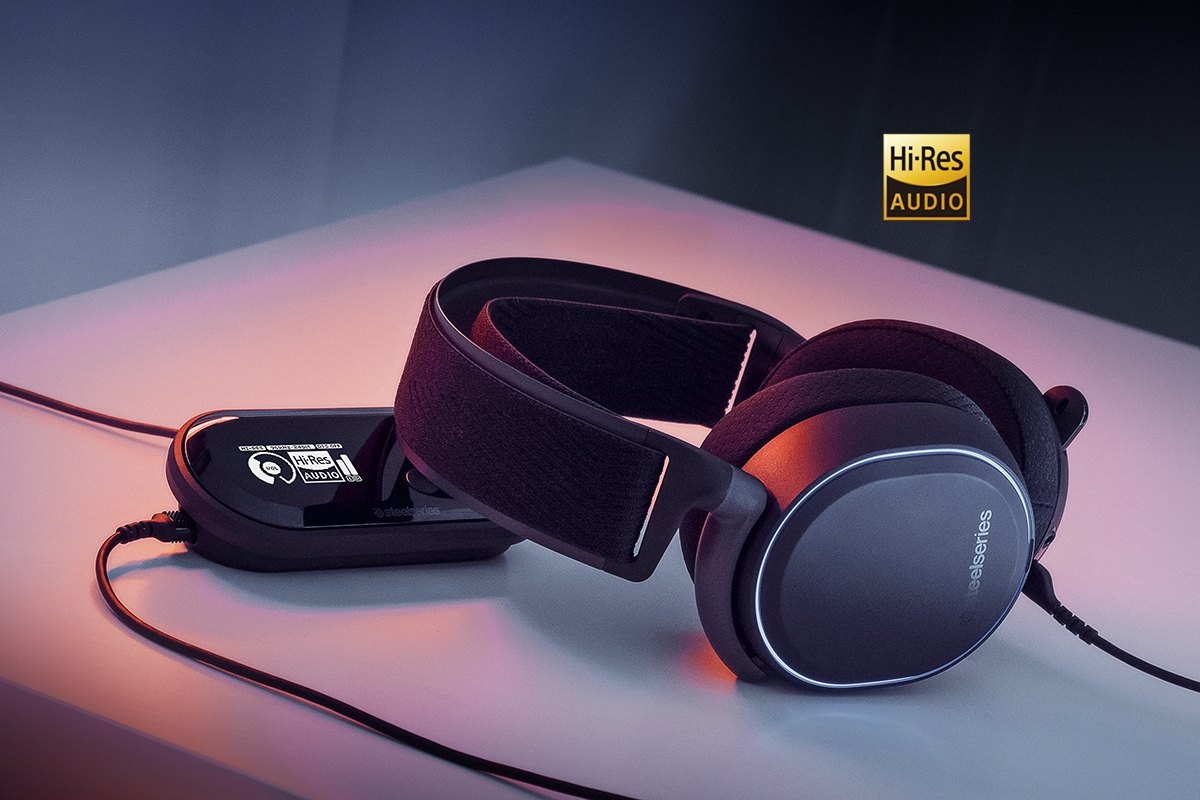
Audiophile sound for gamers made for PS4, PC (with GameDAC), Xbox One, Switch, mobile (analog)
SteelSeries’ Arctis Pro + GameDAC brings audiophile-grade features to the already excellent Arctis design. This headset includes a DAC (digital-to-analog converter), which allows it to deliver high-resolution 96-kHz/24-bit audio. The GameDAC also allows for a wealth of customization options, whether you want to fine-tune sound via an equalizer or customize the headset’s subtle RGB lighting.
HyperX Cloud Stinger
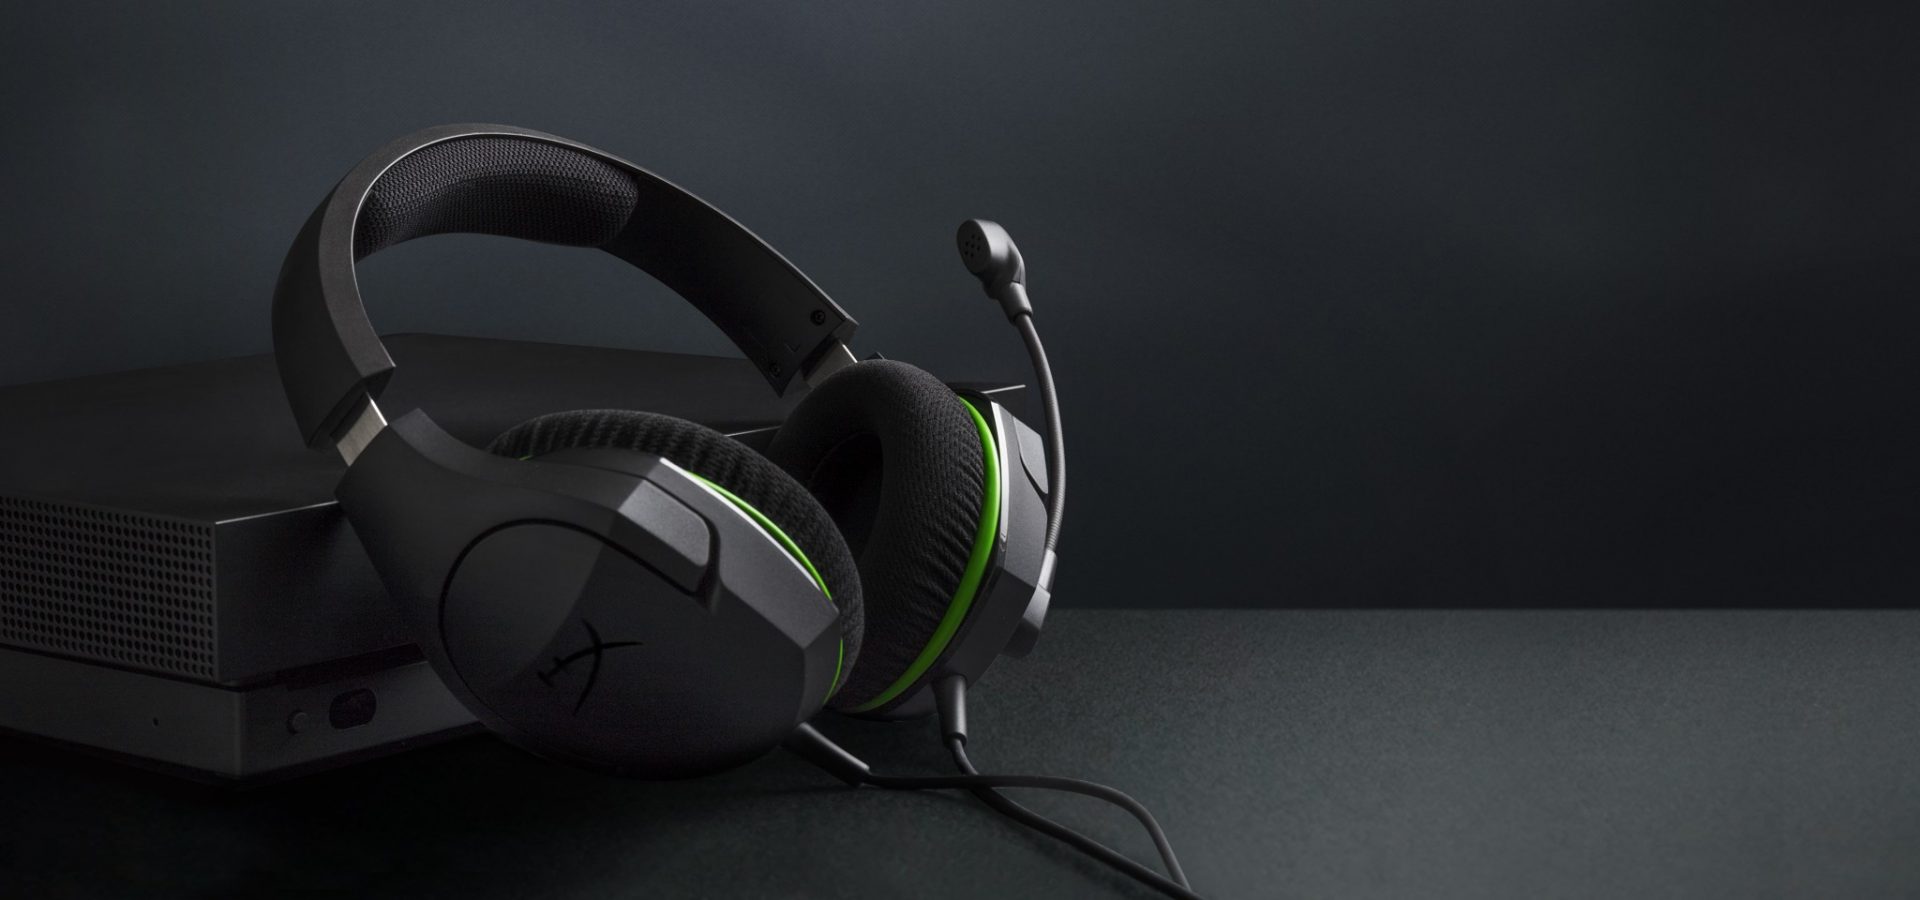
Big sound on a budget for PS, PS5, PS4, Xbox Series X/S, Xbox One, Switch, mobile
The Stinger’s sturdy, feather-light frame and soft, faux-leather earcups make for one of the best gaming headsets on a budget, and its handy on-ear controls and solid microphone certainly don’t hurt either. Finding a comfortable fit is arguably the most important thing you can look for in a gaming headset, and the Cloud Stinger doesn’t disappoint on that front. The Stinger also offers very solid audio quality for the price, though things can get a bit blown out at max volume
Corsair Virtuoso RGB Wireless XT
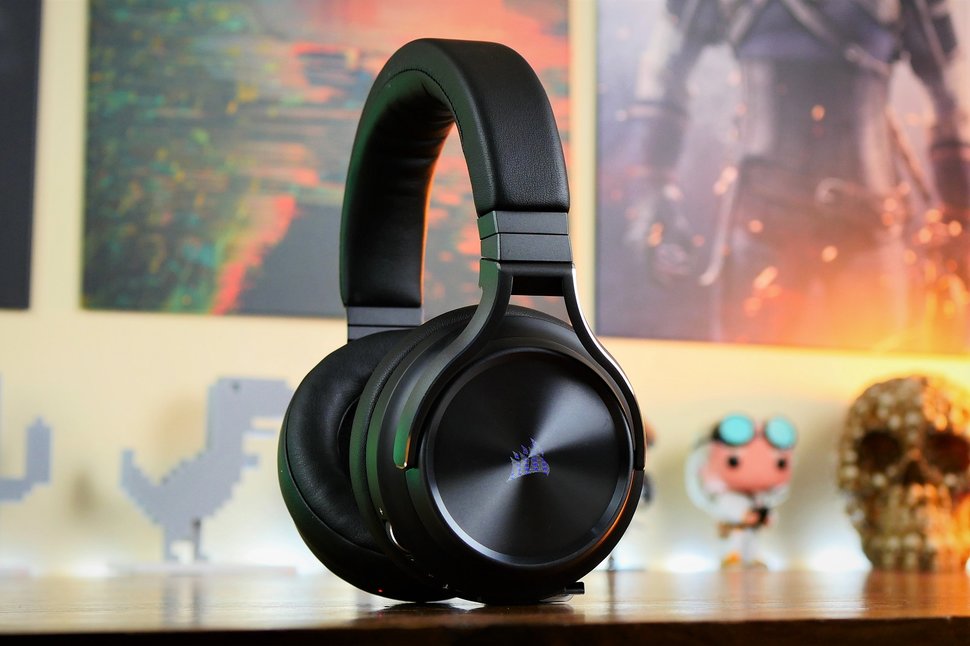
The best gaming headset with Bluetooth for PC, PS4, PS5, Xbox One, Xbox Series X/S, Switch (handheld), mobile
The Corsair Virtuoso RGB Wireless XT is one of the best gaming headsets that Corsair has ever made. Not only is this headset extremely comfortable, but it also provides excellent sound quality. It works wirelessly with PCs and PlayStation consoles via USB, as well as mobile devices, streaming players, and smart TVs via Bluetooth. You can connect it to a Switch, Xbox controller, or older system via a 3.5 mm audio cable. There's very little that the Virtuoso RGB Wireless XT can't do.
Xbox Wireless Headset
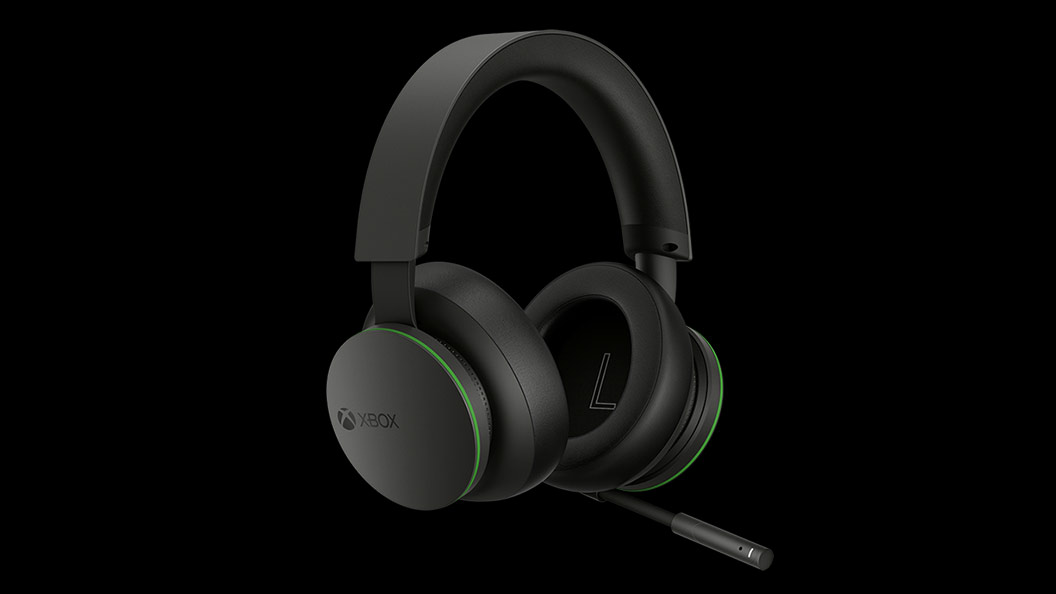
The best Xbox affordable headset for Xbox Series X/S, Xbox One, PC, mobile
The Xbox Wireless Headset is exactly what the name suggests: a wireless headset that works particularly well with Xbox consoles. Whether you have an Xbox Series X, an Xbox Series S, an Xbox One, or a Windows 10 PC with an Xbox controller adapter, this headset can provide fantastic sound with a simple pairing procedure. Not only that: the Xbox Wireless Headset supports Bluetooth as well, meaning that you can listen to music or take calls on your phone while you game.
Razer Kaira Pro

The best Xbox Series X wireless headset for Xbox Series X/S, Xbox One, PC, mobile
Debuting alongside the Xbox Series X, the Razer Kaira Pro is arguably one of the best gaming headsets for Microsoft's next-gen console. This sleek, lightweight wireless headset pairs with Xbox consoles right out of the box. But you can also use it with PCs and mobile devices, thanks to built-in Bluetooth capabilities. The Kaira Pro is not terribly expensive, and the sound quality is excellent, particularly for video games.
SteelSeries Arctis 1 Wireless
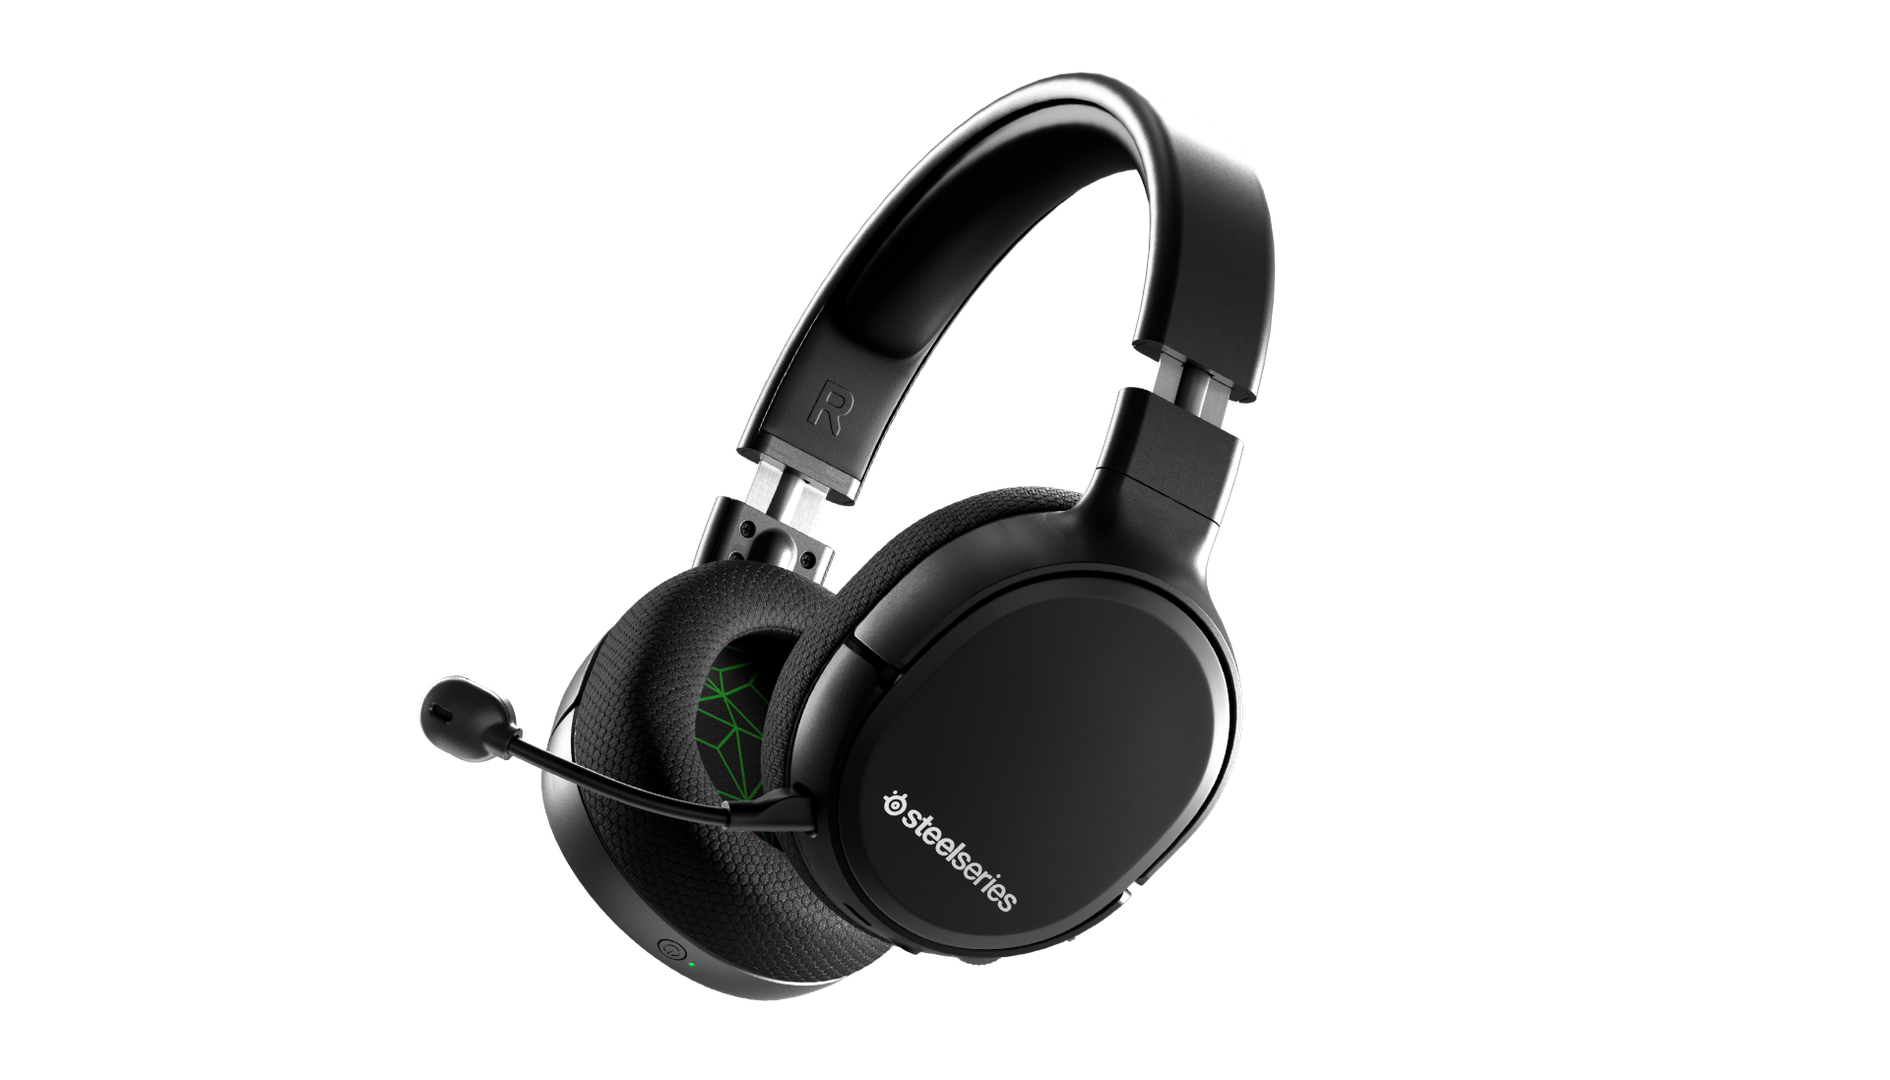
Affordable wireless for PC, PS5, PS4, Switch, Mobile (USB-C wireless), Xbox One (wired)
Getting good wireless performance has never been this seamless, or affordable. Thanks to its high-speed, discrete USB-C dongle, the SteelSeries 1 Arctis Wireless allows you to instantly enjoy wireless game audio from your Nintendo Switch, Android phone, PS4, or gaming PC, with none of the convoluted pairing or interference that comes with Bluetooth-based headsets. It’s worth mentioning the Nintendo Switch functionality again, as it’s hard to get a wireless headset for Nintendo’s handheld hybrid.
Turtle Beach Elite Atlas Aero
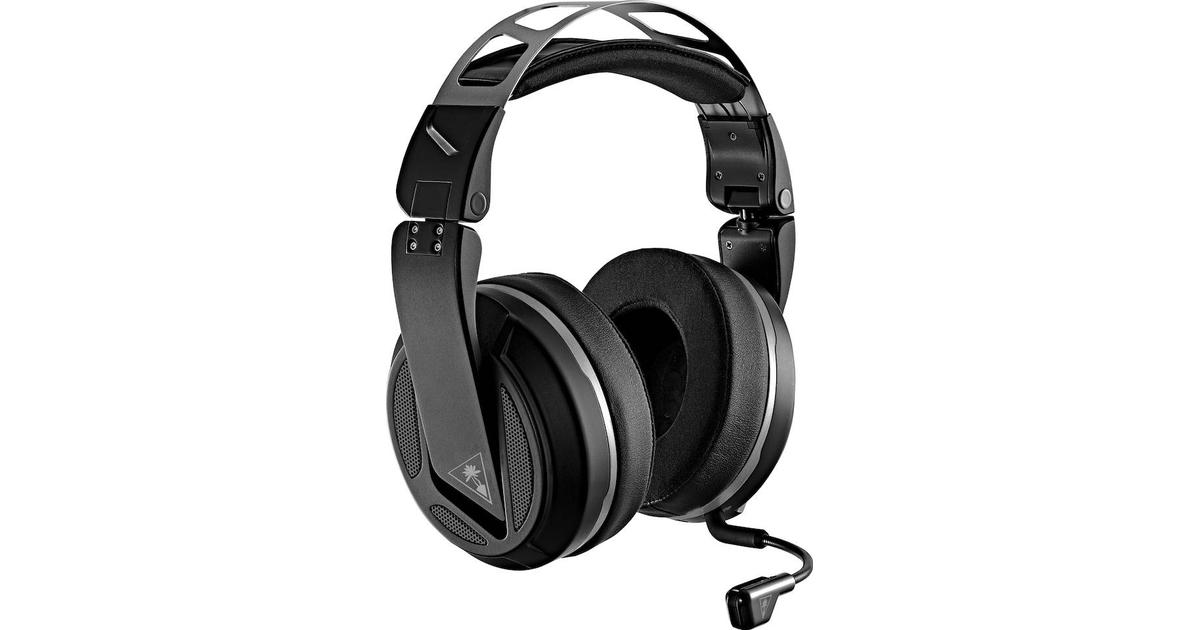
Absolute best in wireless for PC, PS4 (Wireless); Xbox One, Nintendo Switch, Mobile (Wired)
The highly customizable high-end headset that's especially ideal for PC, the new Turtle Beach Elite Atlas Aero is one of the best gaming headsets out there. This premium headset packs an incredibly comfortable pair of gel-infused ear cushions, which are also designed to play well with glasses. The Aero's 50mm speakers sound great out of the box, and it comes with a solid noise-canceling microphone to boot.
HyperX Cloud Alpha
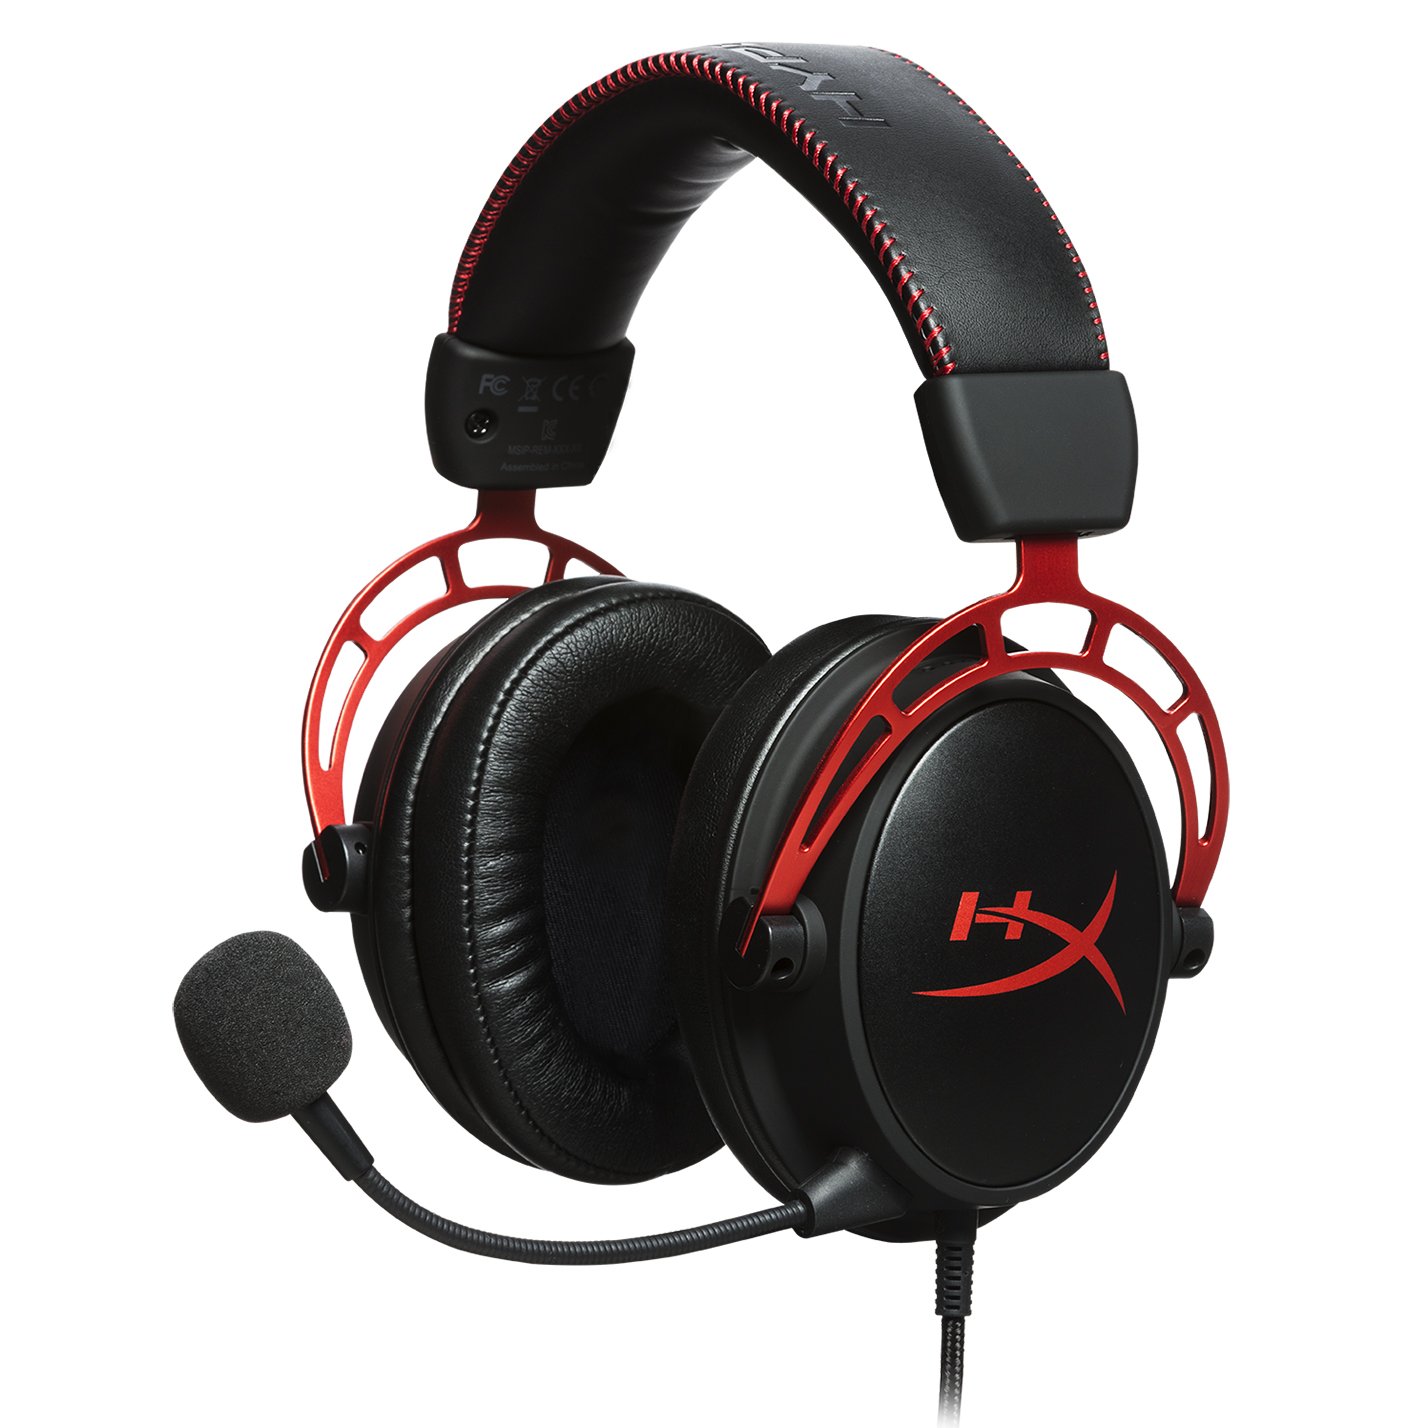
Superior style, sound, and value for PC, PS4, PS5, Xbox One, Switch, mobile
Thanks to a sturdy metal frame, a slick red-and-black paint job, and some of the most comfortable leatherette earcups this headset is really a steal for its price. This is a headset that you can transport with you anywhere and connect to almost any system, without ever having to worry about it breaking.
Turtle Beach Stealth 700 Gen 2
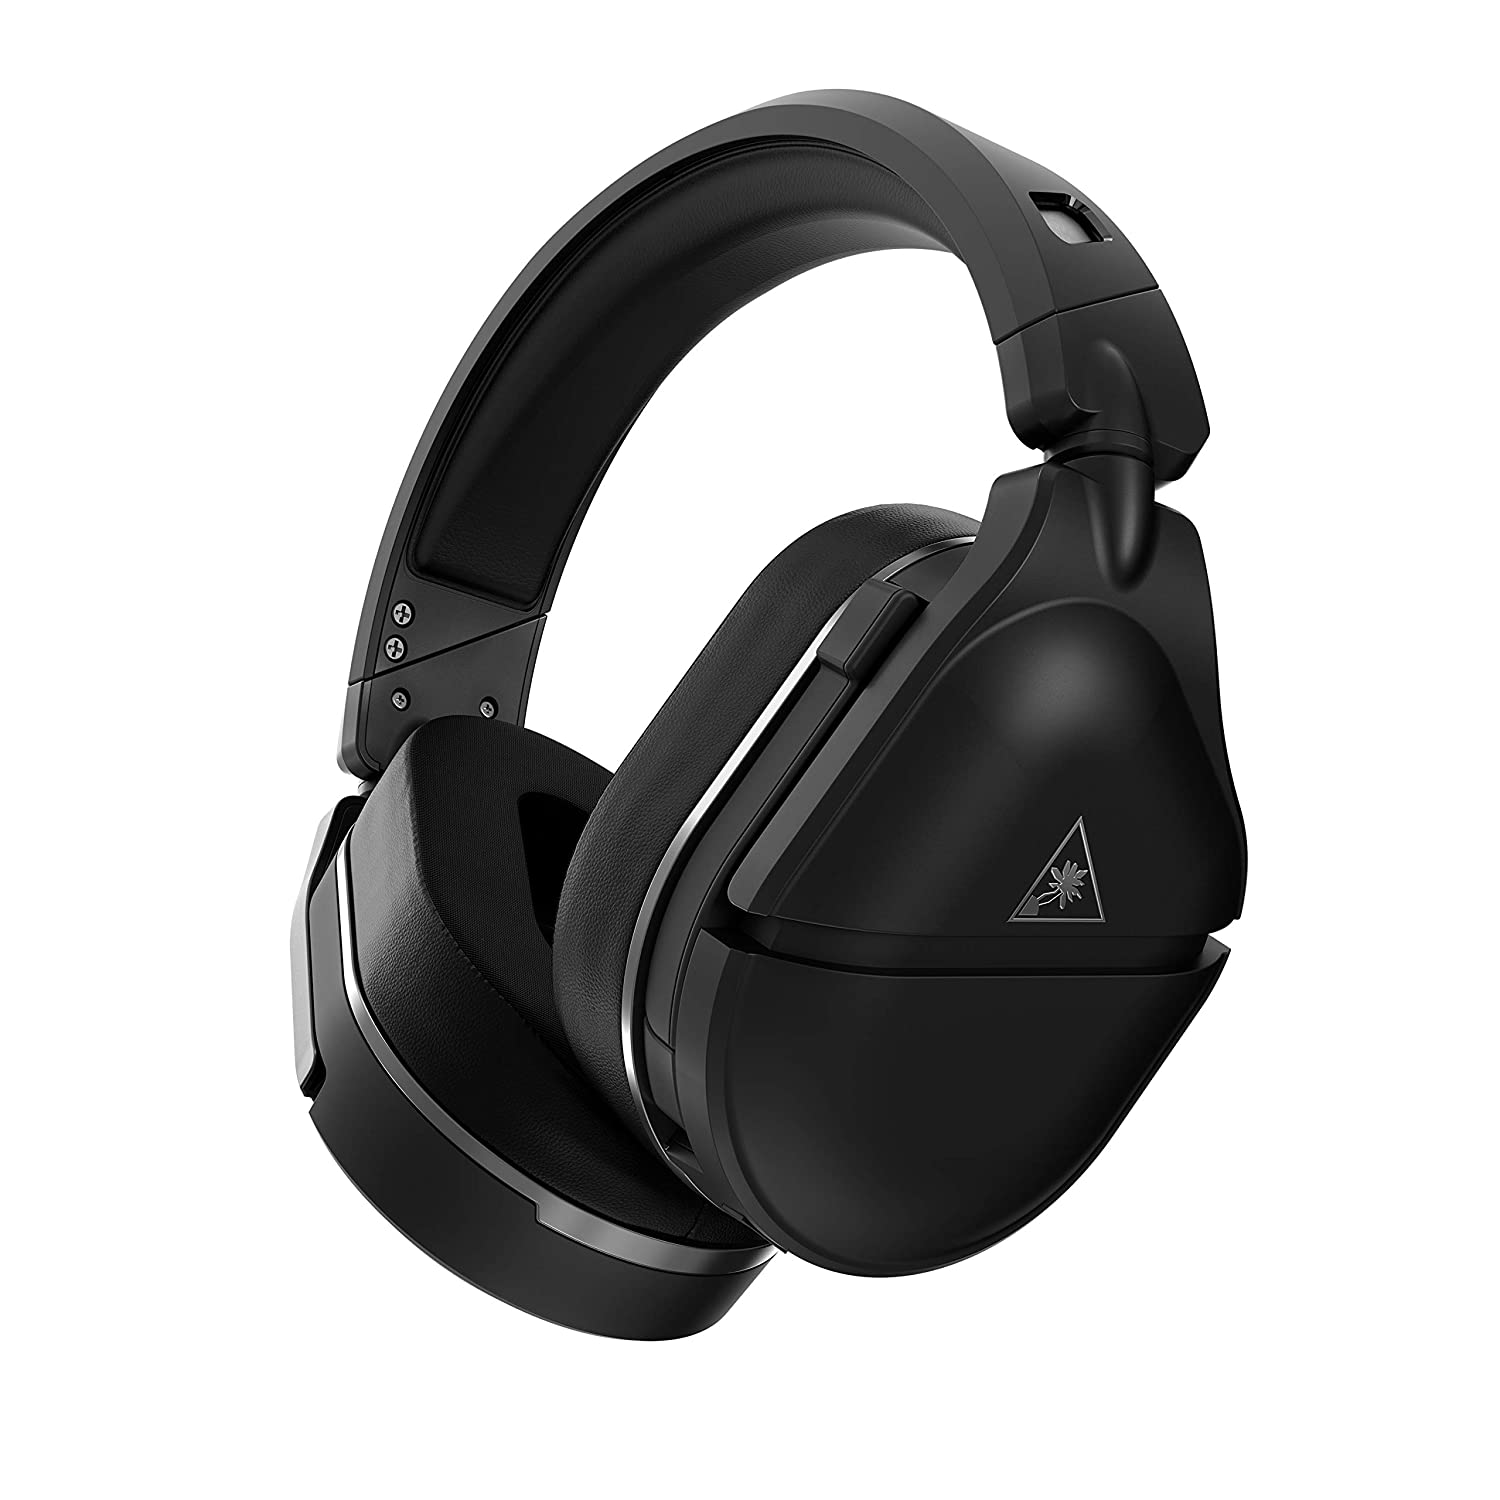
Console-centric wireless sound with Bluetooth for PC, PS4, Switch, Xbox One, mobile
The Turtle Beach Stealth 700 Gen 2 is one of the best console headsets on the market, particularly if you want a wireless model. This peripheral boasts great sound, plush earcups, and two kinds of wireless functionality. The PS4 version can connect to either PS4 or PC via a USB dongle; the Xbox One version can connect to the Xbox One right out of the box. Both versions can connect to mobile devices and PCs via Bluetooth. It's an extremely convenient feature, especially since very few gaming headsets offer Bluetooth functionality.
Astro A20 Gaming Headset Gen 2
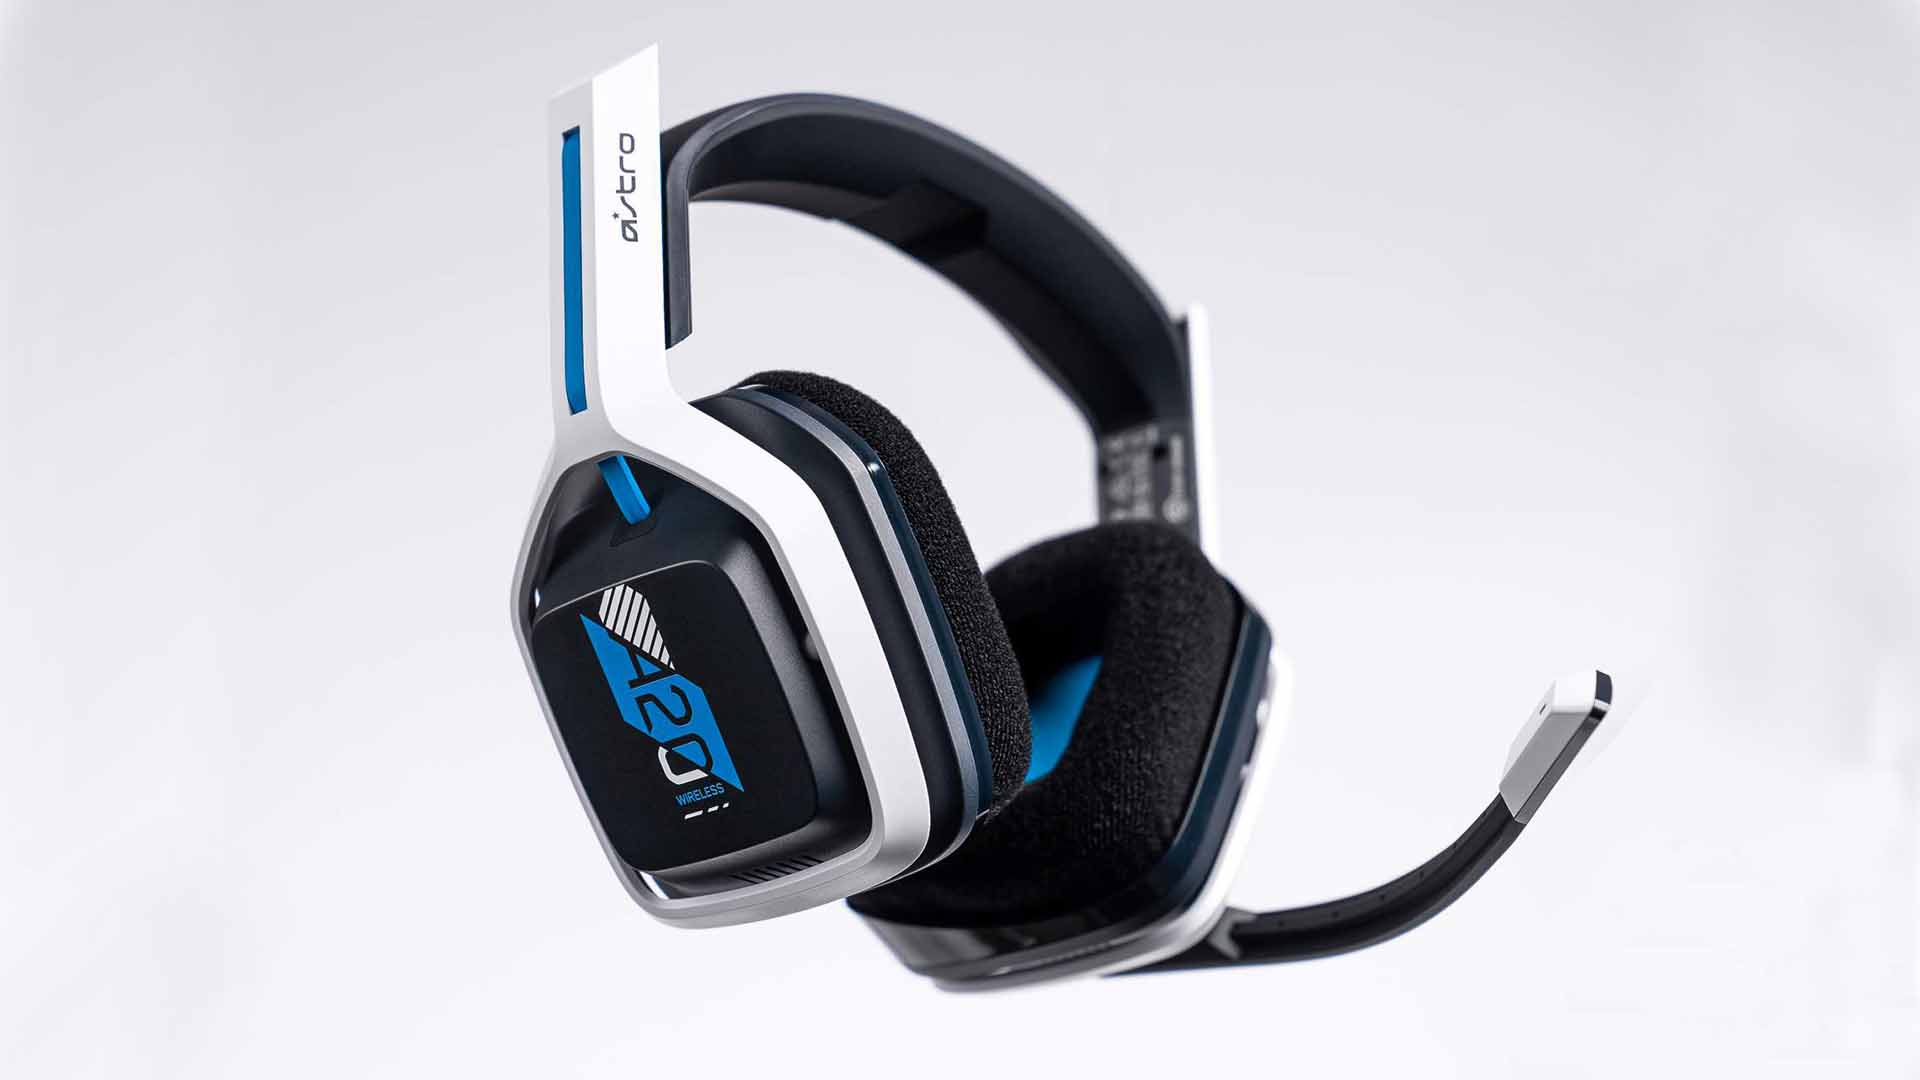
Wireless headset for both PS5 and Xbox Series X and PC, PlayStation, Xbox, Switch, mobile
The Astro A20 Gaming Headset Gen 2 is an ambitious and full-featured headset from one of the most trusted manufacturers on the market. This wireless peripheral offers excellent sound quality and a comfortable fit. More than that, though, the Astro A20 can also connect wirelessly to both the PS5 and the Xbox Series X, which is a rare feat, even among the best gaming headsets.
Razer Barracuda X
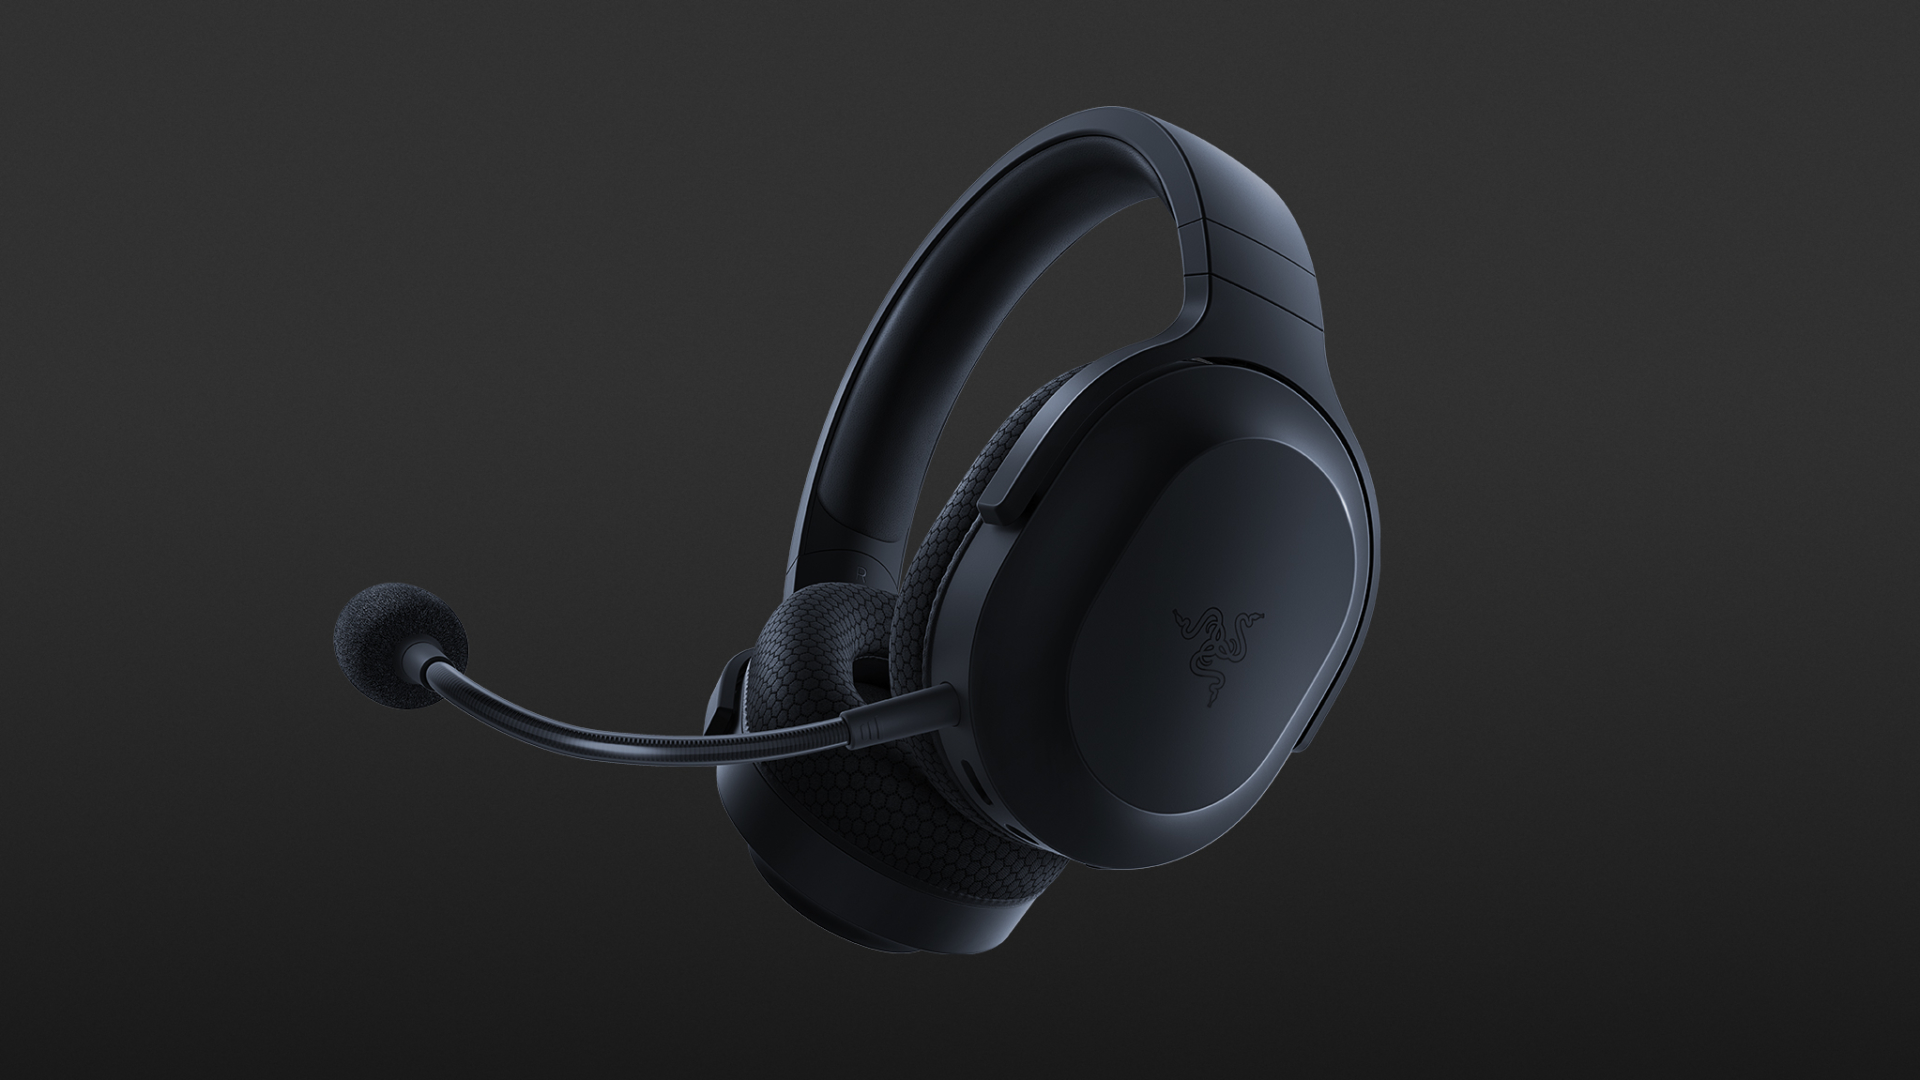
The best wireless Switch headset also for PC, PS4, PS5, Switch, mobile
The Razer Barracuda X is a wireless gaming headset that's ideal for the Nintendo Switch and mobile platforms. Thanks to its small USB-C dongle, it can connect wirelessly o the Switch in handheld mode, a rarity among gaming headsets. However, it also comes with a USB-A adapter, which means you can connect it to just about any other system you like, from PC to PS4, to Switch in docked mode. The USB-C dongle also fits neatly into a PS5.

