Error Code 0x80248014 - What is it?
Error Code 0x80248014 is an error that is particularly associated with the Windows 10 operating system. It generally appears during the Windows Update process and can interrupt the update installation, causing it to fail.
Common symptoms include:
- Inability to download, install, or run updates on the Windows 10 operating system
- The vague message that appears when the error occurs
- Inability to finalize purchases made from the Windows Store
- Inability to run a check to see if updates need to be installed
The resolutions available for Error Code 0x80248014 include the use of the command prompt and delving into the settings for Windows. While most users should be able to navigate the resolution methods on their own if you do not feel comfortable undertaking these steps on your own or if you aren’t able to resolve the error fully using these methods, get in touch with a qualified Windows repair technician who is familiar with issues in Windows updates.
Solution
 Error Causes
There are several common culprits that can make Error Code 0x80248014 appear on your Windows device. The most common ones include problems with your connections, interference on the server, or problems in the settings for the Windows Store itself from which the updates are downloaded.
If you believe that your error relates most specifically to the Windows Store, you may want to jump directly to method two in order to attempt to resolve the issue.
Further Information and Manual Repair
There are a number of ways that you can try to resolve Error Code 0x80248014 on your Windows 10 operating system. The first will attempt to reset the issue using the command prompt, while the second attempts to address the issues that are associated directly with the Windows Store.
If you do not feel comfortable taking the steps below, be sure to get in touch with a qualified Windows repair technician to assist you.
Here are the top two methods to resolve Error Code 0x80248014 on the Windows 10 operating system:
Method One: Attempt to Resolve the Error Using the Command Prompt
To use this method, employ the following steps in order:
- Step One: To begin, open up the Start menu and select the option for the Command Prompt, choosing to run it in Admin mode.
- Step Two: Put in the commands below, hitting the Enter key after each one:
- net stop WuAuServ
- %windir%
- Step Three: Open up the Windows folder on your local hard drive. Look for the folder labeled “SoftwareDistribution” and change the name to “SDold”.
- Step Four: Go back into the Command Prompt as an administrator and enter this command: “net start WuAuServ”.
- Step Five: Attempt to run your check for Updates again.
You may want to reboot your computer after running the steps above to ensure that the changes that you’ve made are fully applied to your device.
Method Two: Reset Your Windows Store Settings
In some cases, Error Code 0x80248014 can appear on a device when the settings for the Windows Store have been altered or cannot be successfully read by the machine in question. If you believe that this is the case on your machine, you can run a simple command to renew your Windows Store settings.
To attempt to reset your Windows Store settings, open up your search bar and type in the following phrase “wsreset.exe,” then hitting Enter. Running this command will reset your Windows Store settings to their defaults.
After you reset your Windows Store settings, it may be a good idea to reboot your computer to ensure that all changes have fully taken effect on your device. Once this has been done, you can open the Windows Store back up and try to download or install the programs that you were attempting to purchase when the error code occurred.
If you are still experiencing the effects on your Windows 10 operating system or if you have not been able to follow the steps above to completion, it may be time to get in touch with a qualified Windows repair technician to assist you with the error resolution process.
Method Three: Use An Automated Tool
If you wish to always have at your disposal a utility tool to fix these Windows 10 and other related issues when they do arise, download and install a powerful automated tool.

 Many times we were talking and writing here on Errortools.com about security, privacy, hacking, identity theft, etc. We tried to raise important security questions and I hope I have managed to at least shed some light and change maybe some bad behaviors for some, helping them embrace better routines about their security on their PC.
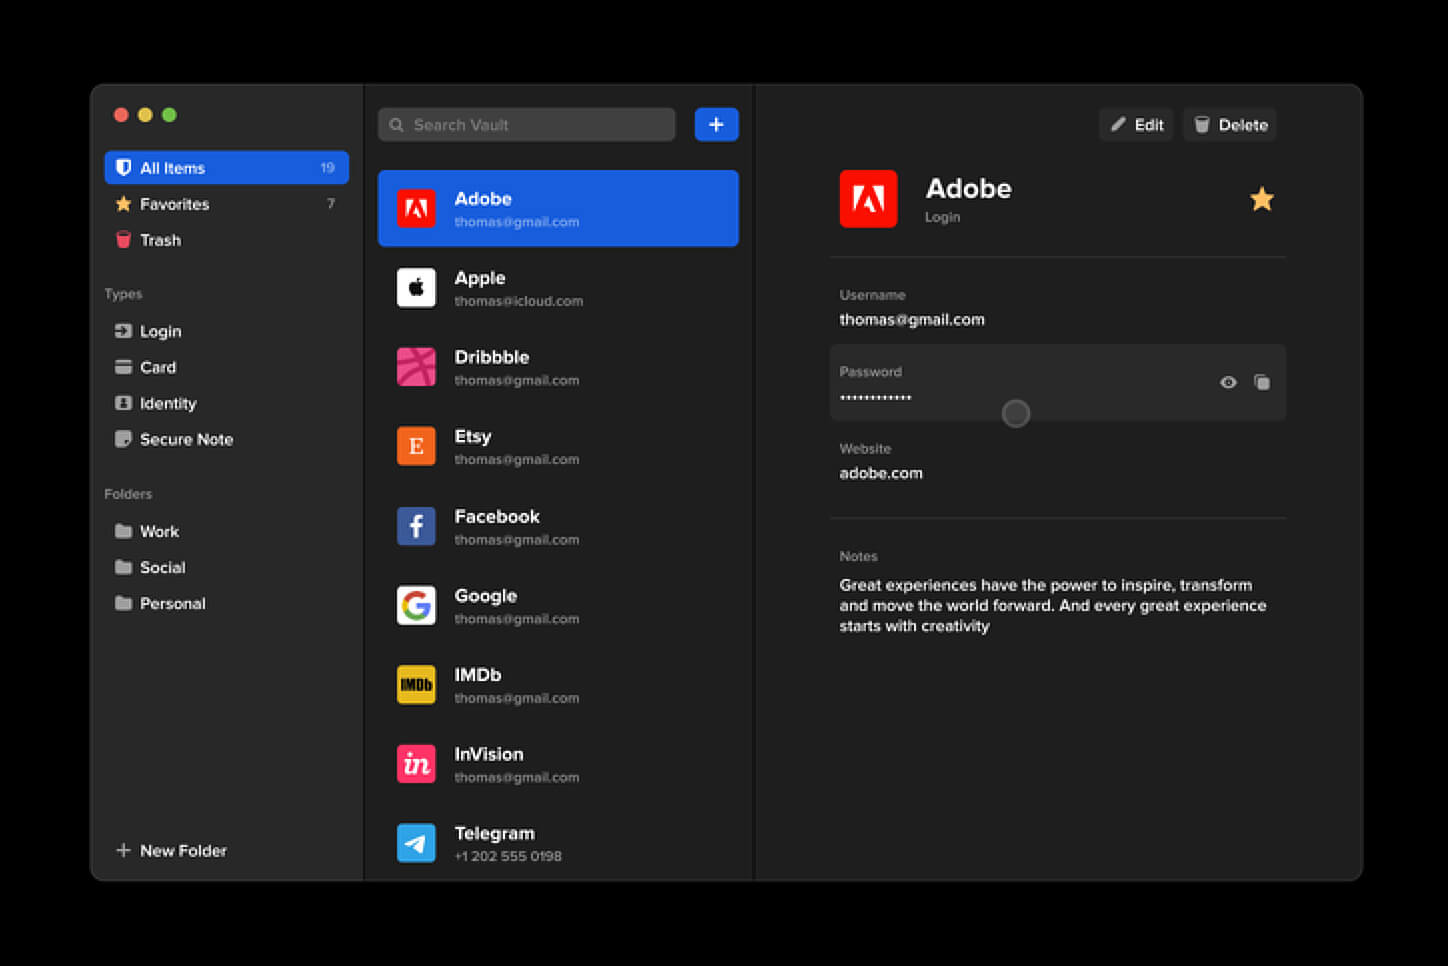
In this light, I will today present you with one neat and awesome piece of software, a password manager worth your time and money (if you want premium features): BitWarden.
Many times we were talking and writing here on Errortools.com about security, privacy, hacking, identity theft, etc. We tried to raise important security questions and I hope I have managed to at least shed some light and change maybe some bad behaviors for some, helping them embrace better routines about their security on their PC.
In this light, I will today present you with one neat and awesome piece of software, a password manager worth your time and money (if you want premium features): BitWarden.

