Error 0x8000ffff prevents you from using the Microsoft store. Altho it is not a critical error that will break Windows, it is annoying enough that will require fixing so we can use the store once again and install apps when we want to. Interesting thing is that this error was present inside Windows 10 as well causing some annoyance, you think Microsoft would learn, and then you see reality. Anyway, we have not come here to bash Microsoft, we came to solve errors.
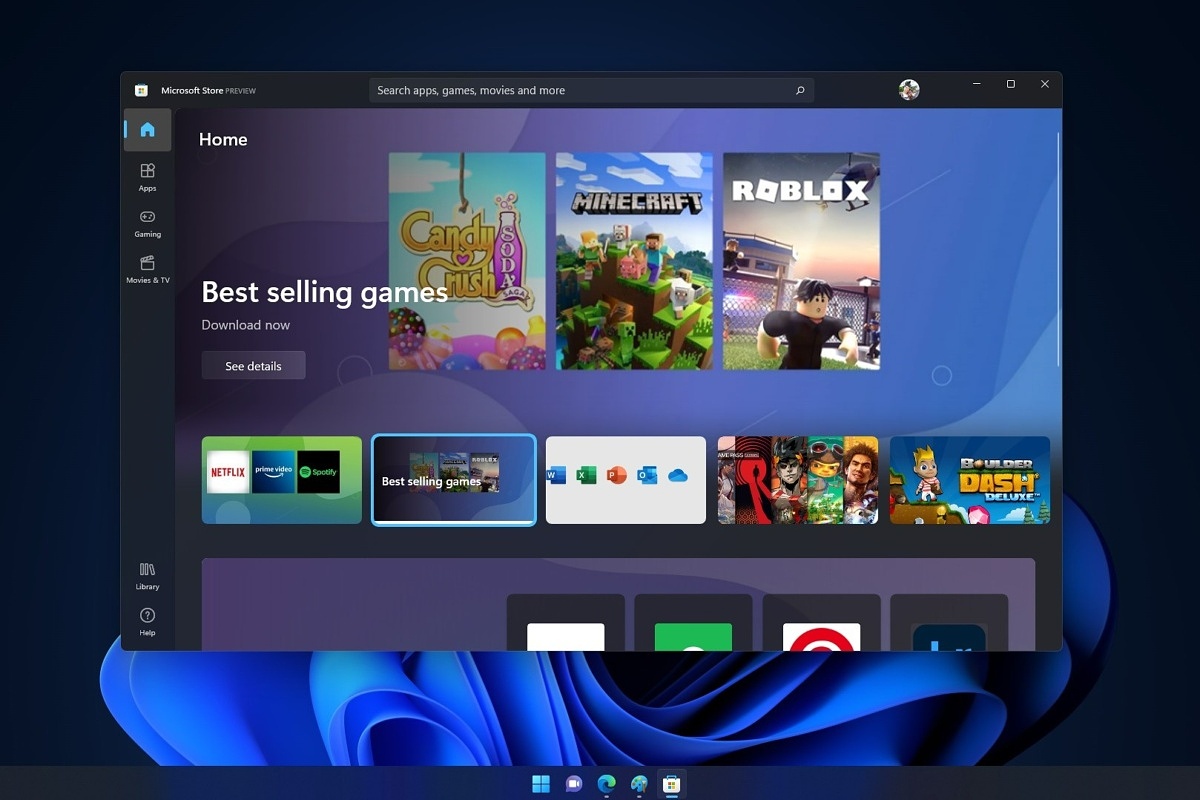
So there are several problems that can cause this error like issues with accessing the Microsoft servers, corrupt system files, settings being misconfigured, malware infections, or conflicting applications. We will cover all solutions for each scenario taking approaches from most simple solutions to more complex ones. Follow the guide and let's fix this annoyance.
Wait for Microsoft's servers to become accessible
Yes, just wait. If the problem is tied to Microsoft servers having heavy load or being temporarily down there is not much you can do except for their tech team to resolve the issue. Go to Twitter or Facebook and check the Microsoft page to see if anyone else has this issue, if several people are reporting the same error then it is due to server problems. In this case, the only thing you can do is to wait.
Run troubleshooter
If servers are working fine then the issue is within your system so let's get down to fixing. Most simple and easiest solution is to let Windows try and resolve the problem by itself. We will use troubleshooter for this, Windows's integrated fixing solution:
Press
⊞ WINDOWS +
I to open the
settings app
Click on
System in the left panel, then on
Troubleshoot on the right
Click on
Other troubleshooters
In
most Frequent section find
Windows Update and click on the
Run button
Wait for the troubleshooter to finish and follow on-screen instructions
Clear Store cache
If the troubleshooter has not found the issue or was unable to repair it, the next step is cleaning the Microsoft store cache in order to eliminate corrupted or partial cache files.
Press
⊞ WINDOWS +
R to open the
run dialog
In run dialog type in:
wsreset and press
OK or press
ENTER
A black screen will appear and it will not give any kind of feedback about progress, so it might seem like Windows has frozen, but do not panic nor try to do anything, this kind of behavior is normal, just wait for the process to finish and once it is done Microsoft store will launch with the cleared cache.
Disable Proxy
Proxy setting can interfere with establishing a connection to the store servers and if previous solutions have not worked we will check proxy next.
Press
⊞ WINDOWS +
R to open the
run dialog
Inside run dialog type:
inetcpl.cpl and hit
ENTER or press
OK button
Inside
Internet Properties click on the
Connections tab and then on
LAN settings
Uncheck the box next to
Use a proxy server for your LAN and click on
OK
Turn off antivirus
If nothing worked so far, turn off your anti-virus software, there is a slight possibility that your antivirus is misconfigured or preventing the system from accessing the store. Turn off antivirus and firewall to make sure that this is not an issue.
Delete the software distribution folder
So, we have tried a lot of things, and the error still persists? Let's then go to the next step and delete the software distribution folder in order to be remade new so we can eliminate corruption in the folder itself. To do this follow the guide:
Press
⊞ WINDOWS +
S to open the
search menu
Inside search type in
Windows terminal, right-click on the terminal and click on
Run as administrator.
Confirm with
YES on
UAC prompt pop up
Inside terminal press
CTRL +
SHIFT +
2 to open
command prompt
inside command prompt type in:
net stop wuauserv and press
ENTER
Then type in:
net stop bits followed with
ENTER
Next press
⊞ WINDOWS +
R to open the
run dialog
Inside run dialog type in
C:\Windows\SoftwareDistribution and press the
OK button or
ENTER
File Explorer will open and you will find yourself inside
SoftwareDistribution folder. Press
CTRL +
A to select all files inside
Press on the
delete icon or press
DEL, confirm with
YES
Once all files are deleted, the system will redownload new ones.
Enable Cryptographic service
Windows 11 has come with a cryptographic service that aims to make your computer more secure but if the service is turned off it can be the cause of 0x8000ffff error. In order to turn this service back ON, follow the guide:
Press
⊞ WINDOWS +
R to open the
run dialog
In
run dialog type in
services.msc and press
ENTER or click on the
OK button
In the list find
Cryptographic Services and double click on it
Inside
properties click on
Startup type dropdown menu and select
Automatic from the list
Click on the
Start button to run service and then on the
OK button to save the changes
Run SFC scan
SFC is an internal Windows tool for fixing corrupt system files, application will scan all system files and repair ones that are corrupted. To run an SFC scan do the following:
Press
⊞ WINDOWS +
S to open the
search menu
Inside search type in
Windows terminal, right-click on the terminal and click on
Run as administrator.
Confirm with
YES on
UAC prompt pop up
Inside terminal press
CTRL +
SHIFT +
2 to open
command prompt
inside command prompt type in:
SFC /scannow and press
ENTER
Wait for the whole process to finish and reboot your system
Run DISM scan
Similar to SFC, DISM scan will scan your system Windows image and if required it will repair it.
Press
⊞ WINDOWS +
S to open the
search menu
Inside search type in
Windows terminal, right-click on the terminal and click on
Run as administrator.
Confirm with
YES on
UAC prompt pop up
Inside terminal press
CTRL +
SHIFT +
2 to open
command prompt
inside command prompt type in:
DISM /Online /Cleanup-Image /RestoreHealth and press
ENTER
Wait for the whole process to finish and restart your computer

 I going to admit right here that I am a big fan of Cooler Master PC cases, I like them and they are always one of the things that I consider when building a new PC, overall I like their ideas and quality so personal for me it was quite a surprise to see that they are one that is making a new generation gaming chair.
Now truth to be told Orb X is not your typical gaming chair as you can clearly see from the pictures. The chair itself will come in two colors: white or black and RGB lighting looks to be prominently featured throughout.
I going to admit right here that I am a big fan of Cooler Master PC cases, I like them and they are always one of the things that I consider when building a new PC, overall I like their ideas and quality so personal for me it was quite a surprise to see that they are one that is making a new generation gaming chair.
Now truth to be told Orb X is not your typical gaming chair as you can clearly see from the pictures. The chair itself will come in two colors: white or black and RGB lighting looks to be prominently featured throughout.
 The chair itself is advertised as both meant and aimed for professional and gaming crowds but I believe the gaming crowd is in general more interested in this hardware piece.
Hardware is enclosed in a fully motorized shuttle dome which aims to maximize your privacy, it supports a single 49inch display or three 27inch monitors along with surround speakers if you do not wish to use headphones.
The chair itself is advertised as both meant and aimed for professional and gaming crowds but I believe the gaming crowd is in general more interested in this hardware piece.
Hardware is enclosed in a fully motorized shuttle dome which aims to maximize your privacy, it supports a single 49inch display or three 27inch monitors along with surround speakers if you do not wish to use headphones.
 It offers an adjustable headrest, lumbar support, and footrest so you can spend some time in it and be comfortable. Controls on the chair itself allow you to raise or lower the dome for easier getting in and out of it.
Orb X also has a compartment in its backside, it folds out and has a sliding tray designed to hold your PC or console. Everything is enclosed so wiring is not the issue.
Overall Orb X seems really like the computer chair of the future, Cooler Master expects to release the Orb X by December 2021, priced around $12,000-$14,000.
It offers an adjustable headrest, lumbar support, and footrest so you can spend some time in it and be comfortable. Controls on the chair itself allow you to raise or lower the dome for easier getting in and out of it.
Orb X also has a compartment in its backside, it folds out and has a sliding tray designed to hold your PC or console. Everything is enclosed so wiring is not the issue.
Overall Orb X seems really like the computer chair of the future, Cooler Master expects to release the Orb X by December 2021, priced around $12,000-$14,000. 
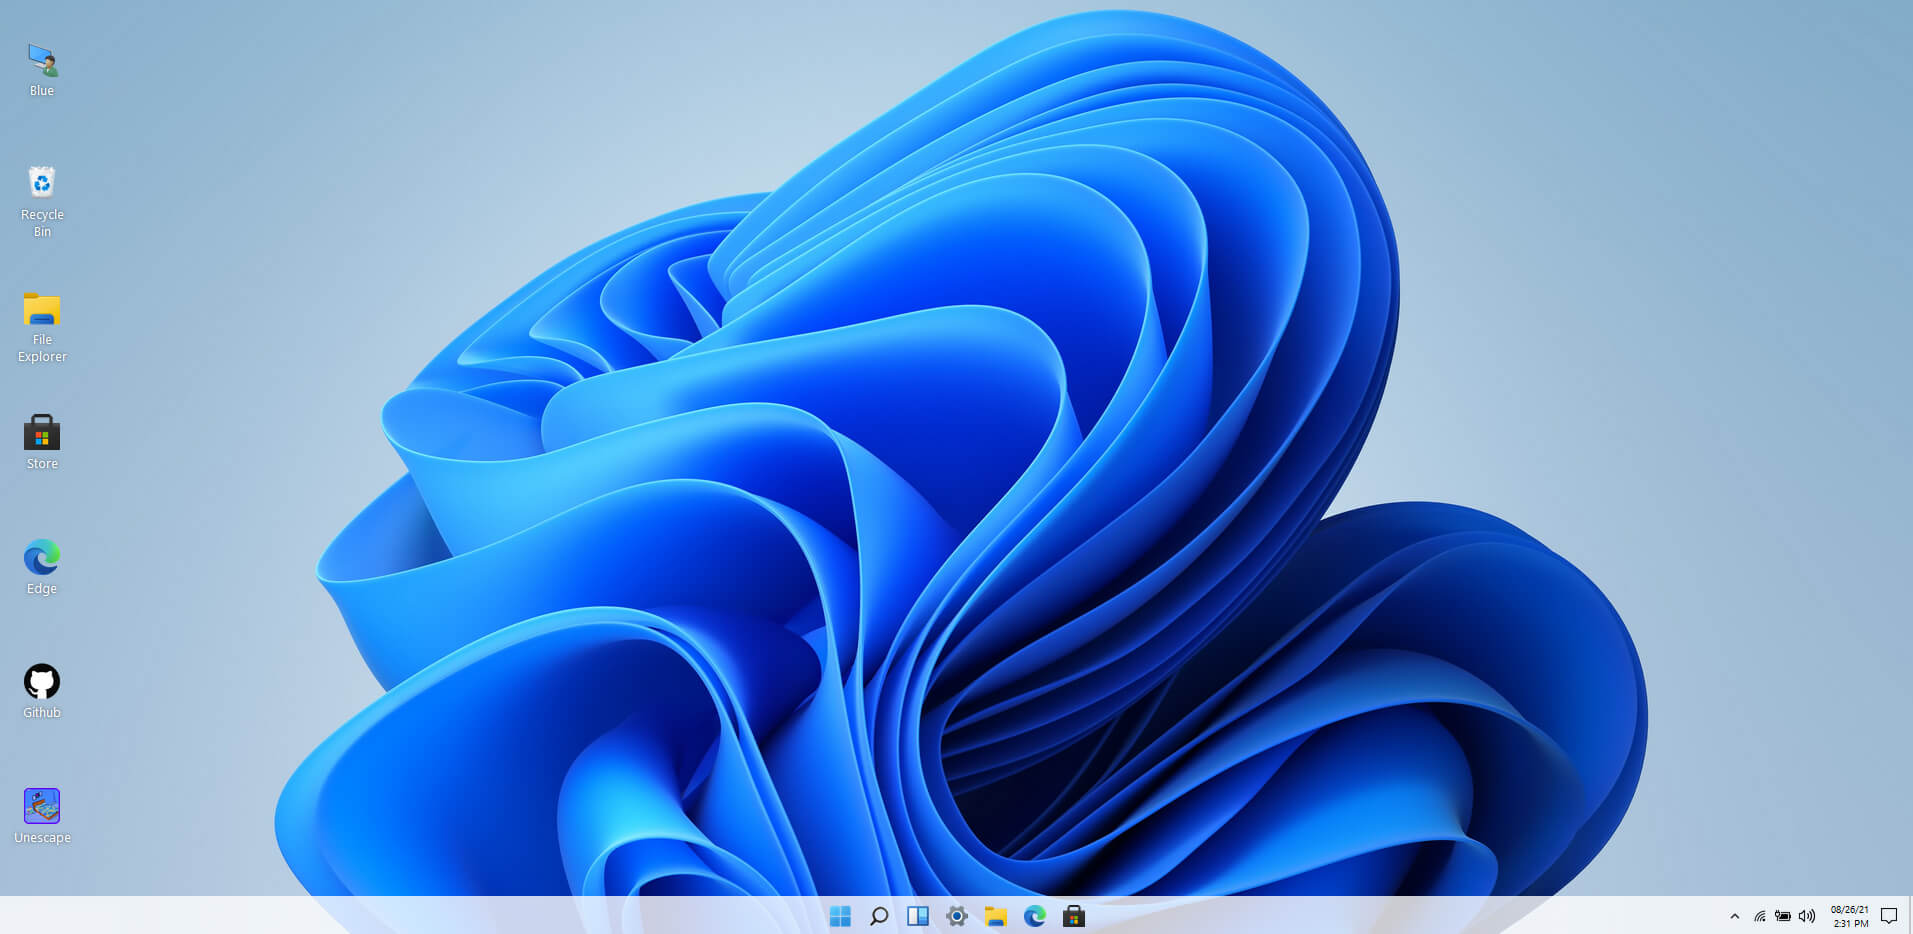 Windows 11 release date is closing in, some people have tried it via insider build, some have decided not to. It has come to our attention that there is a little website made by BlueEdge that offers a virtual Windows 11 desktop.
Opening the Website will put you right inside Windows 11 desktop, now take note that this is not Windows 11, it is a simulation of Microsoft’s newest OS and therefore many things will not work like File Explorer, etc.
One thing you can make sure it is working is UI itself, you can see how you do like the new Taskbar, start menu, widgets, and some other things. You can just pop up on the site and check how you do like the overall new look and feel of Windows 11 UI before installing it or trying it.
We are sure that many more options will come in time but even now you can get a feel of the newest OS.
Windows 11 BlueEdge site:
Windows 11 release date is closing in, some people have tried it via insider build, some have decided not to. It has come to our attention that there is a little website made by BlueEdge that offers a virtual Windows 11 desktop.
Opening the Website will put you right inside Windows 11 desktop, now take note that this is not Windows 11, it is a simulation of Microsoft’s newest OS and therefore many things will not work like File Explorer, etc.
One thing you can make sure it is working is UI itself, you can see how you do like the new Taskbar, start menu, widgets, and some other things. You can just pop up on the site and check how you do like the overall new look and feel of Windows 11 UI before installing it or trying it.
We are sure that many more options will come in time but even now you can get a feel of the newest OS.
Windows 11 BlueEdge site:  Skinning of applications is not new to PC users, but did you knew you could skin Steam?
With skin, you can customize the UI and style of the client to what you want making it more personal and to your liking. First thing is to find the skin that you would like to install. There are a lot of sites where you could find custom made Steam skins but we would recommend
Skinning of applications is not new to PC users, but did you knew you could skin Steam?
With skin, you can customize the UI and style of the client to what you want making it more personal and to your liking. First thing is to find the skin that you would like to install. There are a lot of sites where you could find custom made Steam skins but we would recommend