Runtime Error 5 is one of those errors that Windows users encounter at least once in their life.
Generally, when Runtime Error 5 occurs, the message that appears says ‘Invalid Procedure Call or Argument’. Runtime Error 5 occurs because the Quality Analyst function that resides within the Operating System behaves in an abnormal manner and the user receives a warning.
 Error Causes
As explained above, Runtime Error 5 is caused because of the unexplained behavior of the Quality Analyst function.
The problem occurs when the function is lost and is not mapped to any drive. As a result, Windows is unable to find and load it and displays the error message. Runtime Error 5 is also caused by other reasons listed below as follows.
Since these types of errors can easily be fixed, it is strongly advised that a user takes the necessary actions to keep them from occurring in the future.
Some instructions for users to fix Runtime Error 5 as soon as it appears are listed below as follows.

 Hardware under the hood
 Windows and Devices chief Panos Panay has revealed new focus sessions feature that will be in Windows 11 on his Twitter account today. He himself is referring to it as a game-changer especially with Spotify integration.
 The first new feature that was slid in is Always on top utility. With this cool utility, you can keep the window as the name suggests, always on top of other windows. To enable this cool feature all you have to do is press the key combination of ⊞ WINDOWS + CTRL + T and an active window will be now always on top of all other windows. To reverse and unlock this window from being always on top just press key combination again.
A second new feature is a really great one and my favorite thing to happen in power toys. Often we are making the search in our browsers to find stuff, things, maybe some explanations, information, etc. The newest update in power toys brings this to a whole new dimension. While you are on PC you just simply need to type ?? followed by questions like: ?? When doctor strange 2 is coming out and that will launch your default browser with your chosen search engine and provide you with the answer.
Third and final thing is G-code support in the file explorer preview pane and thumbnails, meaning that if you work with CNC equipment you can now have a thumbnail preview of the code itself inside File Explorer.
And that’s it for now, thank you for coming and reading, Take care and I hope to see you next time.
The first new feature that was slid in is Always on top utility. With this cool utility, you can keep the window as the name suggests, always on top of other windows. To enable this cool feature all you have to do is press the key combination of ⊞ WINDOWS + CTRL + T and an active window will be now always on top of all other windows. To reverse and unlock this window from being always on top just press key combination again.
A second new feature is a really great one and my favorite thing to happen in power toys. Often we are making the search in our browsers to find stuff, things, maybe some explanations, information, etc. The newest update in power toys brings this to a whole new dimension. While you are on PC you just simply need to type ?? followed by questions like: ?? When doctor strange 2 is coming out and that will launch your default browser with your chosen search engine and provide you with the answer.
Third and final thing is G-code support in the file explorer preview pane and thumbnails, meaning that if you work with CNC equipment you can now have a thumbnail preview of the code itself inside File Explorer.
And that’s it for now, thank you for coming and reading, Take care and I hope to see you next time. net stop wuauserv net start cryptSvc net start bits net start msiserver
net start wuauserv net start cryptSvc net start bits net start msiserver
“This Office visual refresh is based on feedback from customers who asked for a more natural and consistent experience within and between your applications, specifically on Windows. With this update, we deliver an intuitive, coherent, and familiar user interface, using the Fluent Design principles, across all your applications: Word, Excel, PowerPoint, OneNote, Outlook, Access, Project, Publisher, and Visio. We aligned this visual refresh with the design of Windows 11 to provide seamless experiences on your PC.”It is always refreshing to hear when a company listens to its user base and actually does what is needed instead of trying to invent the wheel.
 How to switch
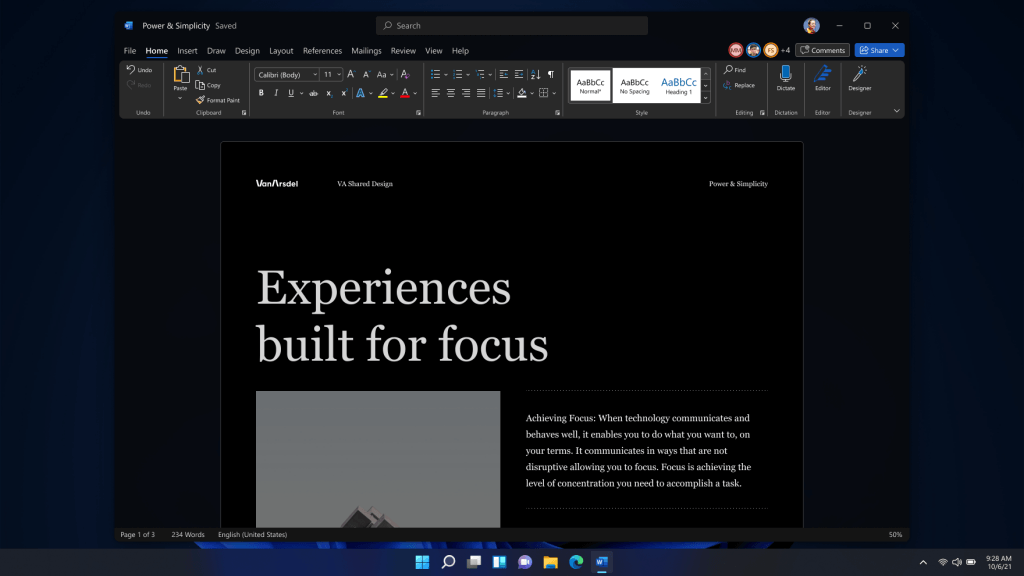 Conclusion
“There were problems installing some updates, but we’ll try again later. If you keep seeing this and you want to search the web or contact support for information, this may help: 2018-03 Cumulative Update for Windows 10 Version 1709 for x64-based Systems (KB4088776) – Error 0X800F0900”This kind of Windows Update error is most likely caused by some corrupted files in the system. It is also possible that the Windows Database might have become corrupted as well. So if you are currently experiencing this problem, refer to the options given below and see which one of them works best for you.
DISM.exe /Online /Cleanup-Image /RestoreHealth /Source:C:RepairSourceWindows /LimitAccess
net stop wuauserv net start cryptSvc net start bits net start msiserver
net start wuauserv net start cryptSvc net start bits net start msiserver
 Once disguised it will wait patiently for a user's click and once that happens it will replicate itself and further infect the system. This rapid spread can lead to stolen personal data, some system hick-ups, and other system-related issues.
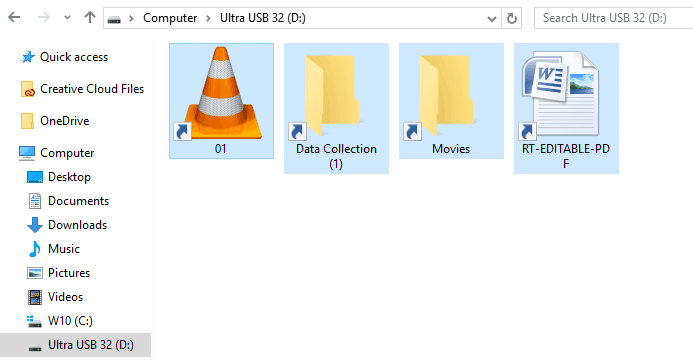
This malware mainly affects physical file transfer devices like for example and most USB drives, hard drives, and SD memory cards and it can easily transfer itself to the computer.
The advantage of this shortcut virus comparing it to others is that it is mostly undetected by a vast variety of antivirus software. So running just anti-virus software maybe not be enough to remove it from your system. Luckily for all unfortunate users that have caught this annoyance, it can be easily removed fully manually in a short time.
Once disguised it will wait patiently for a user's click and once that happens it will replicate itself and further infect the system. This rapid spread can lead to stolen personal data, some system hick-ups, and other system-related issues.
This malware mainly affects physical file transfer devices like for example and most USB drives, hard drives, and SD memory cards and it can easily transfer itself to the computer.
The advantage of this shortcut virus comparing it to others is that it is mostly undetected by a vast variety of antivirus software. So running just anti-virus software maybe not be enough to remove it from your system. Luckily for all unfortunate users that have caught this annoyance, it can be easily removed fully manually in a short time.