
What Is STOP 0x00000014 Error?
0x00000014 error is actually an error that is always displayed on a STOP message.
It is also known as Blue Screen of Death, abbreviated as BSOD. When this error occurs, the message that is displayed to the user either says ‘STOP: 0x00000014’ or states ‘CREATE_DELETE_LOCK_NOT_LOCKED’. It is crucial to fix this error to ensure your program is functioning appropriately. If this error message is not rectified, you might be opened to other error messages, such as error code 0x000000d1.
Solution
 Error Causes
As far as the causes of STOP 0x00000014 error are concerned, this error usually occurs when a device driver or hardware problem occurs. This error may also occur if users attempt to run some specific application or update or modify an existing application. When a 0x00000014 error occurs, the operating system restarts to disable the PC from performing any further.
Without taking into consideration the causes of its occurrence, it is crucial to make sure that the 0x00000014 error is fixed as soon as possible to eliminate any undesired inconvenience in the future.
Further Information and Manual Repair
A lot of times when an operating system tries to recover from the STOP 0x00000014 error, the user is prompted that Windows has recovered from an unexpected shutdown.
However, if Windows fails to recover on its own, manual repair has to be performed.
While there are several ways this error can be fixed, some of the most effective and efficient ways of troubleshooting the 0x00000014 error are listed below as follows.
- Restart your computer. Often simply restarting the computer can help eliminate the problem.
- If restarting the system doesn’t help, find if you have recently modified or altered any hardware or driver. It is possible that the 0x00000014 error has been caused by the recent modification. Undo the changes and find out if the error occurs again. If it doesn’t, it is highly likely the issue has been resolved.
However, if the error persists, some solutions that may work are outlined below.
- Start your system using the Last Known Good Configuration. This will undo any changes in the driver and recent registry.
- Another solution is to manually perform System Restore. This will also return the system back to its former state.
- Another idea that my work is to use roll back the device driver. When the driver will return to its previous version, the problem will easily be resolved.
To keep the 0x00000014 error from occurring in the future, it is advised to unplug any newly installed hardware or reinstall any deleted software.
If you're not tech-savvy and wish to get this error code rectified in a jiffy, download a powerful automated tool and perform a computer scan.

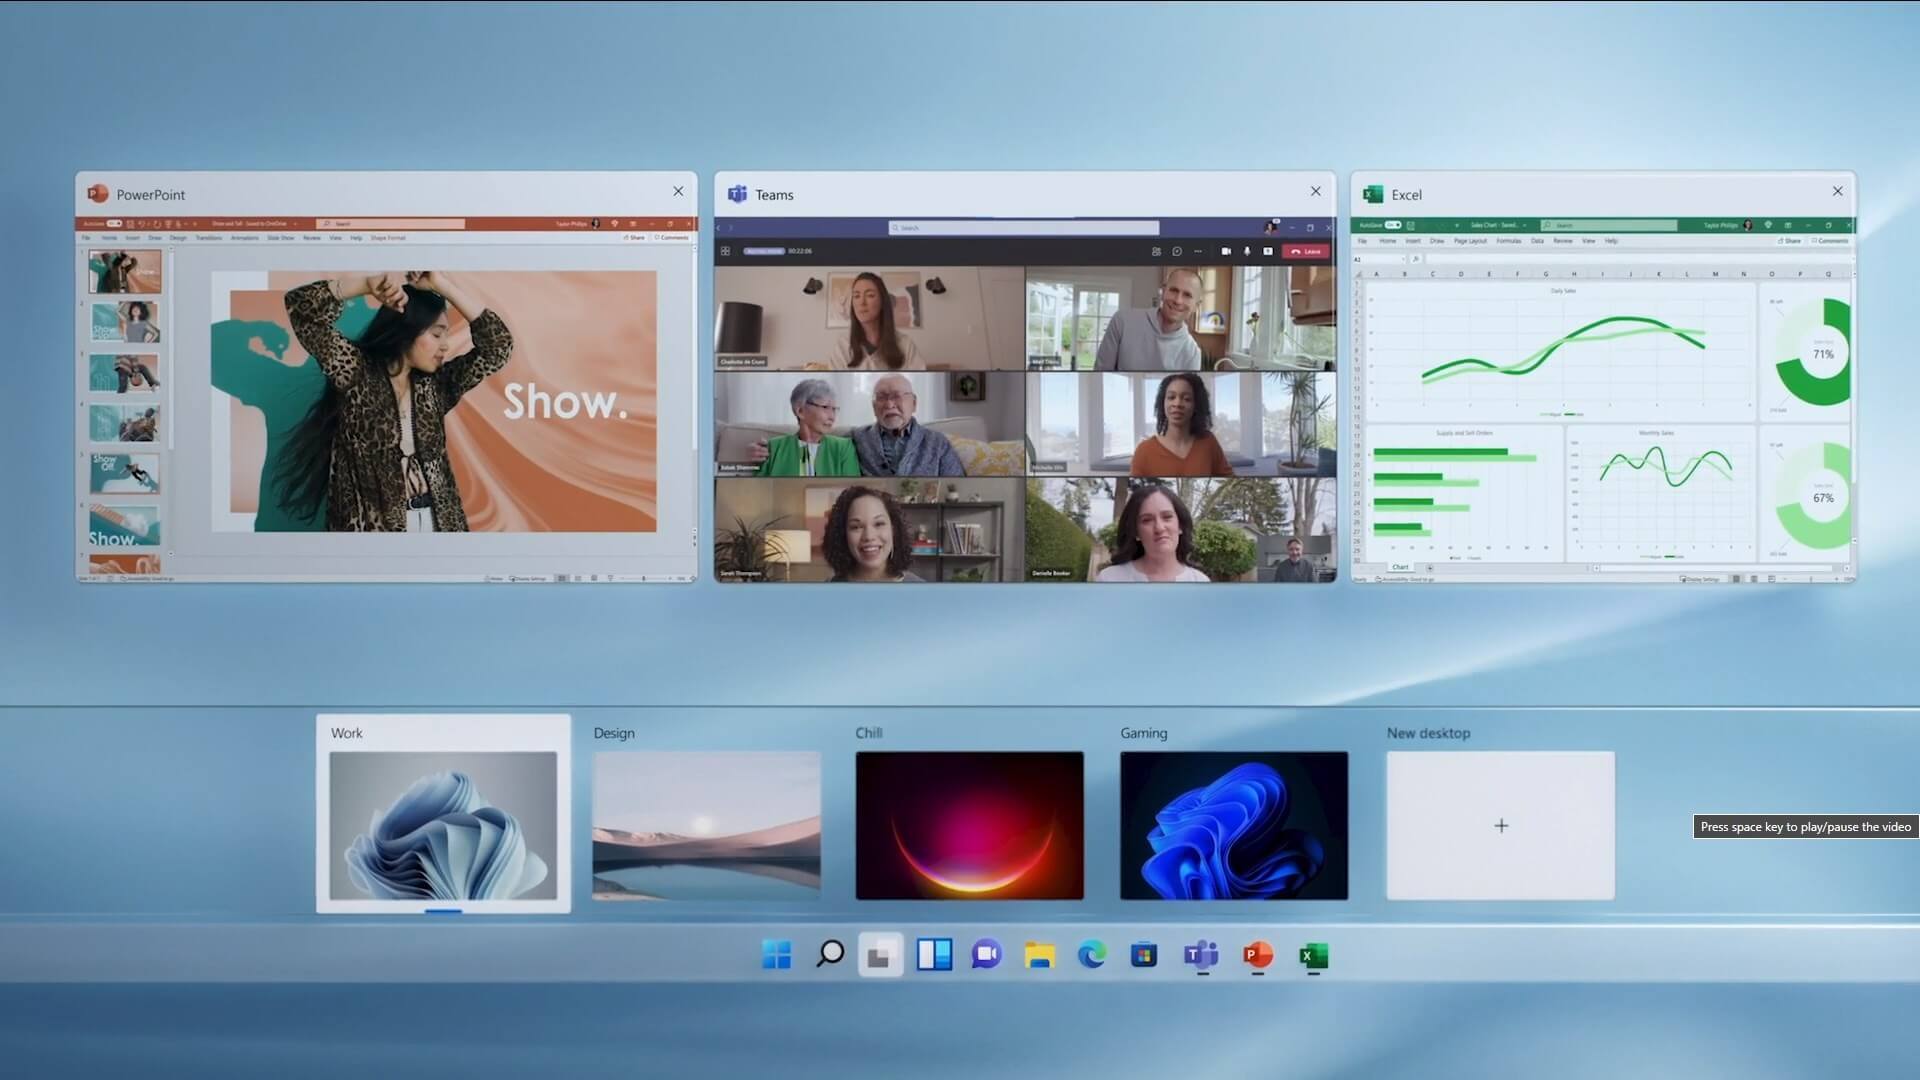 The feature that was originally planned for now scrapped Windows 10X is included in Windows 11. You will be able to customize your Virtual desktop with different wallpapers for each screen.
In order to fully customize your virtual desktops with different wallpapers follow this easy step-by-step guide.
The feature that was originally planned for now scrapped Windows 10X is included in Windows 11. You will be able to customize your Virtual desktop with different wallpapers for each screen.
In order to fully customize your virtual desktops with different wallpapers follow this easy step-by-step guide.
 Once run dialog is shown type in it control panel as shown in the picture and press OK
 If you have followed the steps precisely, you should be now in the control panel of Windows 10. Click on the top-right view and choose large icons. The Control panel will switch to a grid-like view, in the current view go to the far-right and almost bottom icon where it says User Accounts and click on it.
 User account settings
 Once you click on the link you will be presented with a User account control slider on the left and a brief explanation on the right
 Here in the picture, we see Windows default setting and an explanation of when and how he will notify you. If you wish to turn all notifications linked to programs changing computer or you making windows changes, click on the left slider and bring it all the way to the bottom where it says never notify me. If you prefer some notifications try to find which of the remaining 3 settings best suit your needs. Once you are done and satisfied with your choice click on OK.