A black screen error inside Windows 11 is a typical screen turning to solid black without any error message. This can be very annoying since it can randomly appear out of nowhere and it will appear while you are using the computer. Worry not, this is not a serious error and we have several solutions for it, so please keep reading and try them as presented in order.
 Restart graphic driver
This is the first thing to check if the issue is due to software or driver malfunctioning, there is a shortcut for rebooting graphic driver inside Windows 11. Press WINDOWS + CTRL + SHIFT + B to reboot the graphic driver and see if this fixes the issue. A beep sound should be heard during this process and the screen should turn back to normal.
Sometimes the screen can go black due to a faulty connection or cable. If you have it at your hand try a different cable or slightly and gently nudge the existing one to see will screen flicker. If you are on a laptop try gently moving the lid from back to front and pay attention to the screen. If screen flickers or picture returns with this method, cable or connector needs to be replaced.
The black screen can be because the computer is overheating. If this is the case either fan inside is not working properly or there is a lot of dirt and dust that needs to be removed so airflow can be established again for proper cooling. We have an article on errortools.com on how to properly clean your PC but if you are not technical enough maybe the best solution would be to call someone who is or to take the PC to service for cleaning.
Press WINDOWS + P to open projection settings, check to see if PC is set to PC screen only. If any other option is selected change it to PC screen only since this can cause random black screen issues.
If this problem has started to manifest itself during the latest update, go to setting and roll back from the latest update to fix this issue.
The black screen can also be caused by various viruses and malware. IF you have anti-virus software, run a full system scan to check it for malware. If you do not have one, download a free one and run a system scan, we recommend Bitdefender.

“An internal error has occurred: The specified resource name cannot be found in the image file. (0x90070716).”You can also encounter this error when you run the System Image Backup function. As mentioned, you can resolve this error using two potential fixes namely checking the status of the Windows Backup Service and checking the settings in the Windows Registry. For more details, refer to the instructions provided below but before you proceed, it would be better if you create a System Restore point first.
In the last article, we have covered various advantages of Apple hardware over Windows PC, however, PC has their own strengths and advantages over MACs as well. Join us as we explore why would you choose Windows PC over MAC.

If you like to customize and build your own hardware and customize your existing computer then MACs are out of the picture, on other hand, computers based on Windows operating system are much more flexible in terms of customization.
While Apple hardware is locked and only allows small changes to it, computers running on Windows are free and open to various upgrades and modifications so if you like to play with hardware Windows is your platform.
There are games on MAC true but their numbers can not compare to games available for the Windows platform. On top of that, most latest and best gaming hardware is not even available on Apple platforms so if you plan to game in high resolutions and play the latest games there really is no option other than Windows.
Windows Platforms also has multiple emulators that you can use to play games from other older platforms and Microsoft since it owns Xbox has some great plans for both PC and Xbox gaming.
Since the introduction of the new MAC OS X, apple really lost a lot of application back compatibility, and a lot of old legacy software can not be run on modern Apple computers. Windows on the other hand have always tried and succeeded in keeping maximum compatibility with older and legacy software.
Also on the Windows platform, there is a lot of community support for old and legacy software so even if it is not officially supported it is backed up by the community.
In terms of where can you find the most different software, you need to look no further than the Windows platform. How Windows itself has great backward compatibility and a lot of developers are using it to create new software thanks to Visual Studio and .NET Windows has cemented itself as a platform with the most available software.
The popularity of Windows as the home operating system and as a gaming platform has made it quite interesting in eyes of various developers and tons of small applications are made daily for it. Windows 11 has also brought native android support to it and that has just expanded its already impressive catalog of applications.
Overall Windows PC is most appealing for users that like to be able to choose everything, from hardware components to software they would like to use. No other platform will give you larger freedom of choice and better personalization options.
FreeMaps is a google chrome extension by Mindspark powered by Ask or MyWay. This extension offers users a quick and easy way to find the routes or locations that they desire. While all of this may seem appealing, this extension was classified as a Browser Hijacker by many anti-virus applications and was marked for removal.
When installed FreeMaps will change your home page, new tab and default search engine to MyWay.com, it will monitor your browsing activity and send it back to Mindspark ad servers. This data is later used/sold to better display targeted ads depending on your search queries.
While browsing the internet with this extension active you will see additional pop-up ads, sponsored links, and injected ads displaying throughout your browsing sessions, and even injected into websites that should be ad-free. Due to poor code optimization, these ads can sometimes cover a part of the page, making it unreadable or inaccessible.
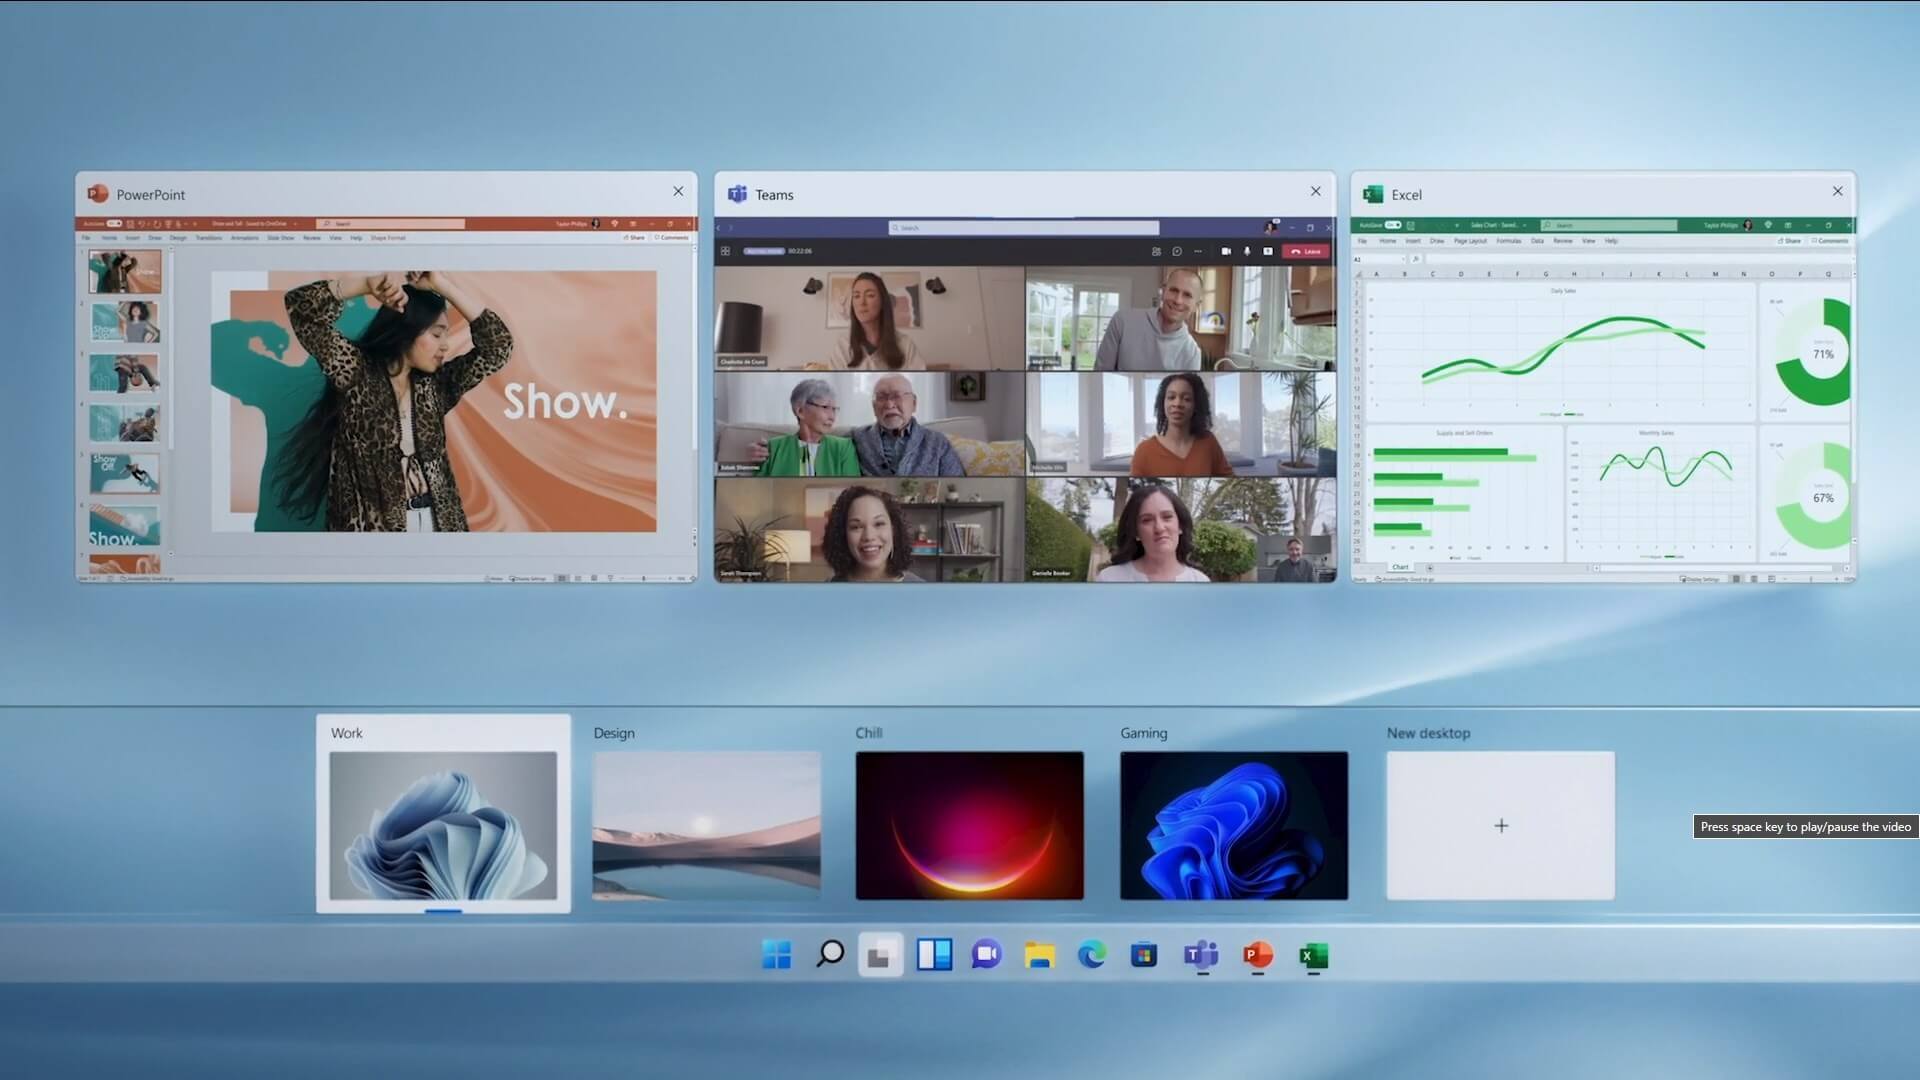 The feature that was originally planned for now scrapped Windows 10X is included in Windows 11. You will be able to customize your Virtual desktop with different wallpapers for each screen.
In order to fully customize your virtual desktops with different wallpapers follow this easy step-by-step guide.
The feature that was originally planned for now scrapped Windows 10X is included in Windows 11. You will be able to customize your Virtual desktop with different wallpapers for each screen.
In order to fully customize your virtual desktops with different wallpapers follow this easy step-by-step guide.
 Microsoft just released Windows 11 ISo file, based on the latest Insider Preview Build 22000.132. Inside build, you can try all-new features like clock updated app, snip tool, and everything releases so far via various patches. You can also use Windows 11 ISO file to do a clean install on your computer, but if you go with this option all of your existing files will be deleted.
Microsoft says it added the ability to name your PC during the setup experience. You’ll also get to experience the Get Started app that’s designed to help you get going on your new Windows 11 PC (even if it’s not actually a new one).
Microsoft just released Windows 11 ISo file, based on the latest Insider Preview Build 22000.132. Inside build, you can try all-new features like clock updated app, snip tool, and everything releases so far via various patches. You can also use Windows 11 ISO file to do a clean install on your computer, but if you go with this option all of your existing files will be deleted.
Microsoft says it added the ability to name your PC during the setup experience. You’ll also get to experience the Get Started app that’s designed to help you get going on your new Windows 11 PC (even if it’s not actually a new one).
 Error Causes
“Windows could not configure one or more system components. To install Windows restart the computer with error code 0xc1900101-0x30018.”When you check on the Windows 10 rollback log, you will see a part with the “iisetup.exe” that’s related to the abort. Usually, the upgrade process completes over 50% and gets stuck and then rolls back later on and generates the error logs. This kind of error, in most cases, appears during the upgrade of Windows 10 and is related to the Internet Information Services or IIS in Windows 10. For some unknown reason, it restricts the installation or the upgrade which causes the error to appear. To fix the “Windows could not configure one or more system components” error, you can try to remove the IIS from the Windows Features or rename the “inetsrv” folder. You could also move all the folders related to IIS to another drive. For more details, refer to the options provided below.