Internal Error 2771 - What is it?
Internal Error 2771 is an internal error code associated with Kaspersky Internet Security and Antivirus software. This error pops up when Kaspersky Internet Security software fails to install on your PC successfully.
Installation of the software is interrupted and therefore it ends prematurely. This happens mostly when you try to install a new build on an existing installation.
Internal Error 2771 is displayed in one of the following formats:
Internal Error 2771, Sandbox Feature
or
Internal Error 2771, WholeProduct Feature
Solution
 Error Causes
This error may result on your computer screen due to several reasons. Some of the most common underlying causes include:
- A leftover Registry Key
- Bad entries from previous Security Package
- INFCACHE.1 file corrupted
- Conflicts with other security software installed on your system
Further Information and Manual Repair
To successfully overcome this problem and ensure the successful installation of Kaspersky Internet Security software on your system, try the methods given below.
Method 1- Remove the Leftover Registry Key
Sometimes Internal error code 2771 may appear during installation due to the leftover registry key from the previous Kaspersky software removal.
A registry key is often created when uninstalling the previous Kaspersky version from the PC. This key is left behind even after you reboot your system.
This key is called AVP**_post_ uninstall, you need to delete it to ensure the new version of the Kaspersky program is installed successfully on your PC. For this, simply go to the start menu and type Regedit in the search bar.
Now navigate to HKEY_LOCAL_MACHINESOFTWAREMicrosoftWindowsCurrentVersionRun and then look here for the registry key called AVP**_post_ uninstall. In order to delete this file, right-click it and then select delete.
Once uninstalled, reboot your PC and then try installing the Kaspersky Internet Security program again.
Hopefully, this will resolve the issue. If the software installs smoothly, then the error is fixed, in case it still persists, then try other methods illustrated below.
Method 2 - Remove the INFCAHCE.1 Corrupt File
Another reason for the error pop-up may be INFCAHCHE.1 corruption.
This file is basically used to store driver information and inf file locations. However, if it contains corrupted information, then you must remove it.
To do this, go to the start menu and type cmd into the search bar. This will open a command prompt. Here type del C:\Windows\infinfcache.1. Now reboot your PC and try installing Kaspersky software on again.
Method 3 - Fix Software Conflict
Security software conflict can also result in internal error 2771 code display. And when this happens, the installation of Kaspersky prematurely ends.
Security software conflict may occur if you have Comodo Firewall installed on your PC. A firewall is known to cause issues with Kaspersky software programs.
The best way to resolve this issue is to uninstall all security software programs on your PC. Once all security software is removed, then install Kaspersky on your system. If the installation is successfully completed, then reinstall the other software again.
Method 4 - Download Restoro
Error 2771 can also result on your computer screen if traces of the previously installed Kaspersky software still remain in the registry despite the program removal. In such an event it is advisable to download Restoro.
This is a cutting-edge and user-friendly PC Repair Tool deployed with an intuitive interface and a powerful registry cleaner. The registry cleaner scans your entire PC in seconds and detects all registry-related problems.
It removes all the bad entries, invalid registry keys, traces of previously uninstalled programs, junk files, and cookies that are known for registry corruption. It takes just a few clicks to perform this process.
Once all traces are removed, you can install the new version of the Kaspersky Internet Security program on your PC without interruption.
Click here to download Restoro and be on your way to resolve Internal Error 2771 on your computer!

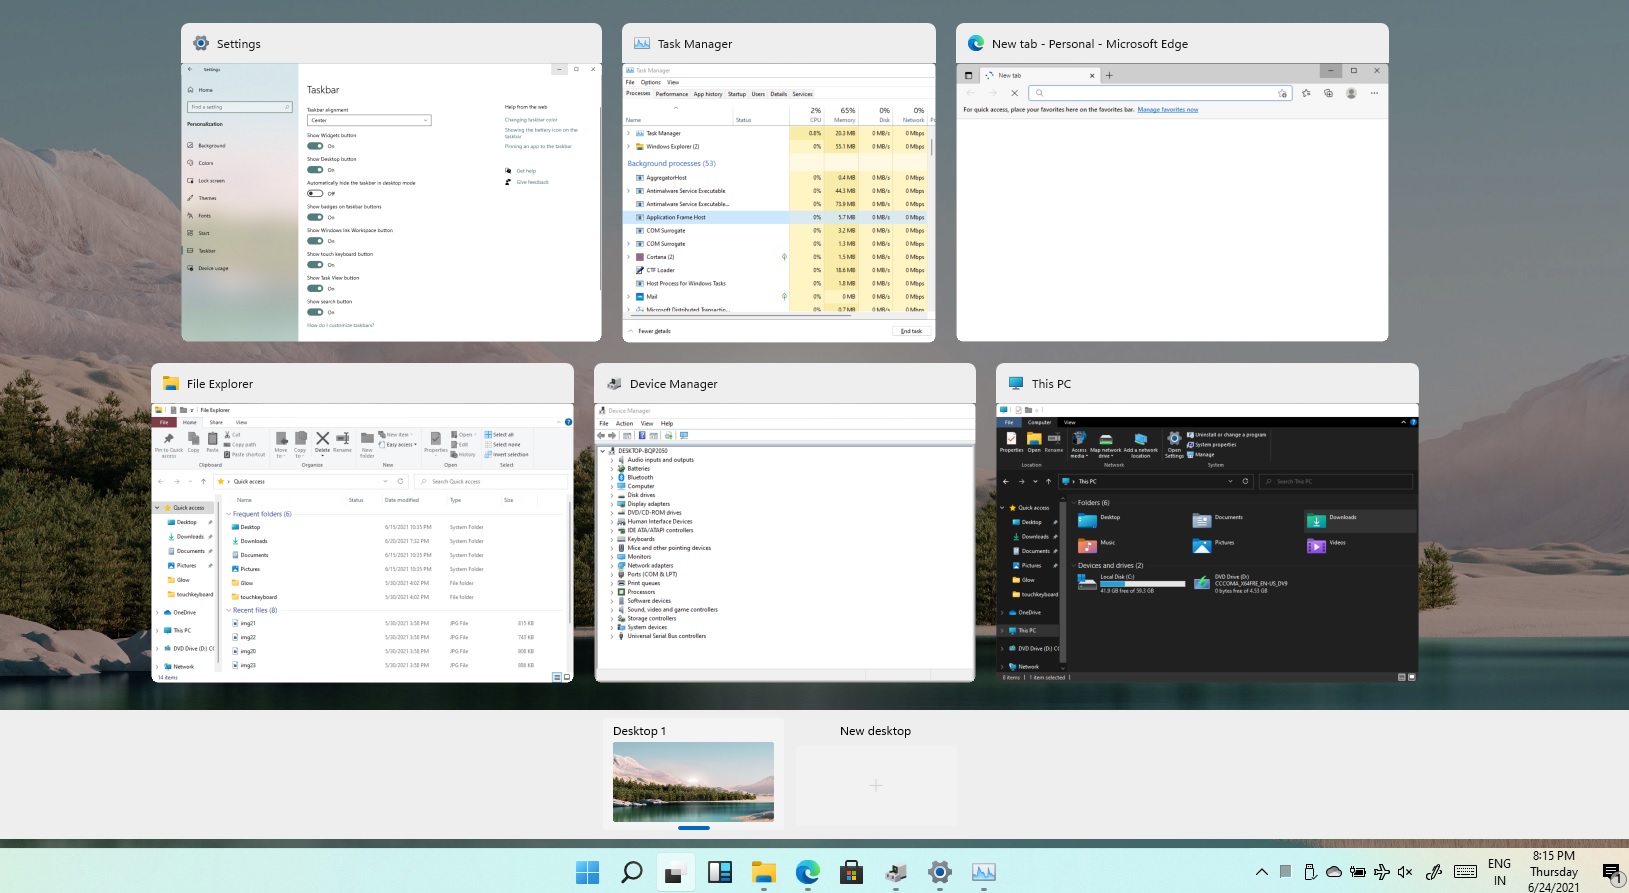
 As in previous Windows 10, inside Windows 11 also when you press the ALT + TAB key combination you will get a preview of all running applications along with all Browser tabs so you can go through them and pick the one you want to switch to.
Alto, I personally am a big fan of alt-tabbing, I must admit that I am not a big fan of having multiple browsers tabs on screen when I do press key combo. Luckily there is a very easy way to turn this feature off.
Turning browsers tabs thumbnails off
As in previous Windows 10, inside Windows 11 also when you press the ALT + TAB key combination you will get a preview of all running applications along with all Browser tabs so you can go through them and pick the one you want to switch to.
Alto, I personally am a big fan of alt-tabbing, I must admit that I am not a big fan of having multiple browsers tabs on screen when I do press key combo. Luckily there is a very easy way to turn this feature off.
Turning browsers tabs thumbnails off
 Automatic Windows cleanups can mostly take care of these things but for top-notch performance clearing cache manually is a far better option. We will here explore various cache temporary files, where they are, and how to clean them. Sit back and let’s do some cleaning!
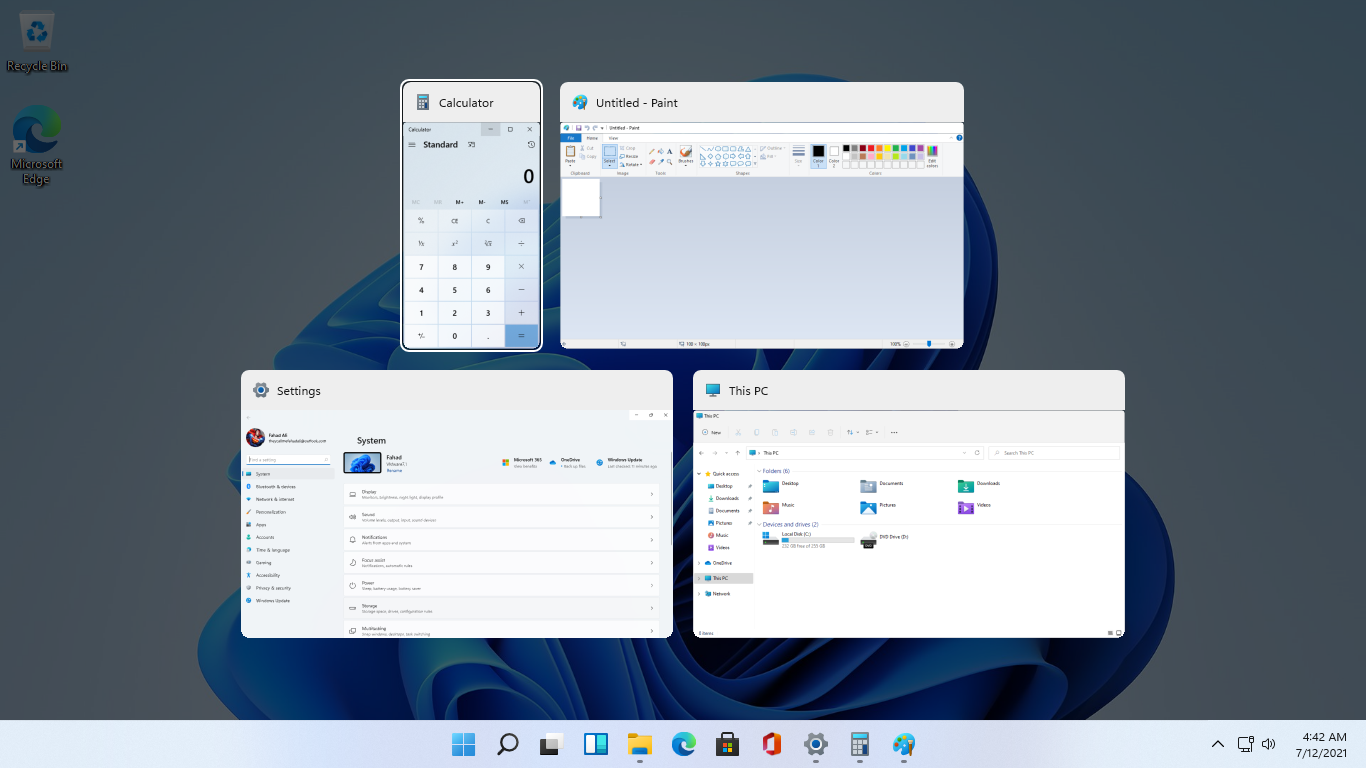
 Task View feature inside Windows 11 is actually a great feature, letting you quickly view open windows and virtual desktops. How Task view itself could be reached with keyboard shortcut combination of ⊞ WINDOWS + TAB some users will prefer this way of using it and thus button on the taskbar is something you do not want or need.
There is a very easy way to remove mentioned button and I will show you how to do it.
Right-click the taskbar button itself and click on Hide From Taskbar.
That’s it, you have done it.
Now in order for you to bring it back if you change your mind, you will have to do some extra steps but it is nothing difficult.
Right-click on the taskbar and click on Taskbar settings, you will be lead to Personalization > Taskbar.
Inside locate Taskbar Items and switch Task View to ON, you will see the Task View button right away showing itself again.
Task View feature inside Windows 11 is actually a great feature, letting you quickly view open windows and virtual desktops. How Task view itself could be reached with keyboard shortcut combination of ⊞ WINDOWS + TAB some users will prefer this way of using it and thus button on the taskbar is something you do not want or need.
There is a very easy way to remove mentioned button and I will show you how to do it.
Right-click the taskbar button itself and click on Hide From Taskbar.
That’s it, you have done it.
Now in order for you to bring it back if you change your mind, you will have to do some extra steps but it is nothing difficult.
Right-click on the taskbar and click on Taskbar settings, you will be lead to Personalization > Taskbar.
Inside locate Taskbar Items and switch Task View to ON, you will see the Task View button right away showing itself again.