There are times when you might find it difficult to delete folders or files in File Explorer and it could be due to many reasons. One of these reasons can be attributed to the failure that can lock down the folders or files which prevents you from deleting them. In this kind of situation, you can utilize the Command Prompt to delete the folders, sub-folders, and files on your computer, and in this post, you will be guided on how exactly you can do that.
Before you proceed, keep in mind that when you use the Command Prompt incorrectly, it might affect your computer and render it inoperable, thus, you must be extra careful when executing the steps given below and it would also be better if you create a System Restore Point. After that, refer to the following instructions.
Step 1: First, in the Start Search, type “command prompt” in the field and from the search results, right-click on Command Prompt and then select the “Run as administrator” option to open Command Prompt with admin privileges.
Step 2: After opening Command Prompt as admin, navigate to the folder where the file you want to delete is located. Note that you have to execute the “
cd” or the change directory command.
Step 3: Next, execute the following command in Command Prompt:
DEL /F /A <file path with extension>
Note: In the given command, “/F” is the force delete command, while “/A” is the command that selects the files with the ready for archiving attribute.
Step 4: After that, go to the location where you can find the folder you want to delete by using the “
cd” command again. And then execute the following command right after:
RD /S <folder path>
Note: In the given command, “RD” is the command that removes the folder from the directory, while “/S” removes all of its sub-folders and files. On the other hand, if you also use the “/Q” parameter, you won’t see the “Y/N” confirmation but if you didn’t use it, then simply tap the Y button to proceed.


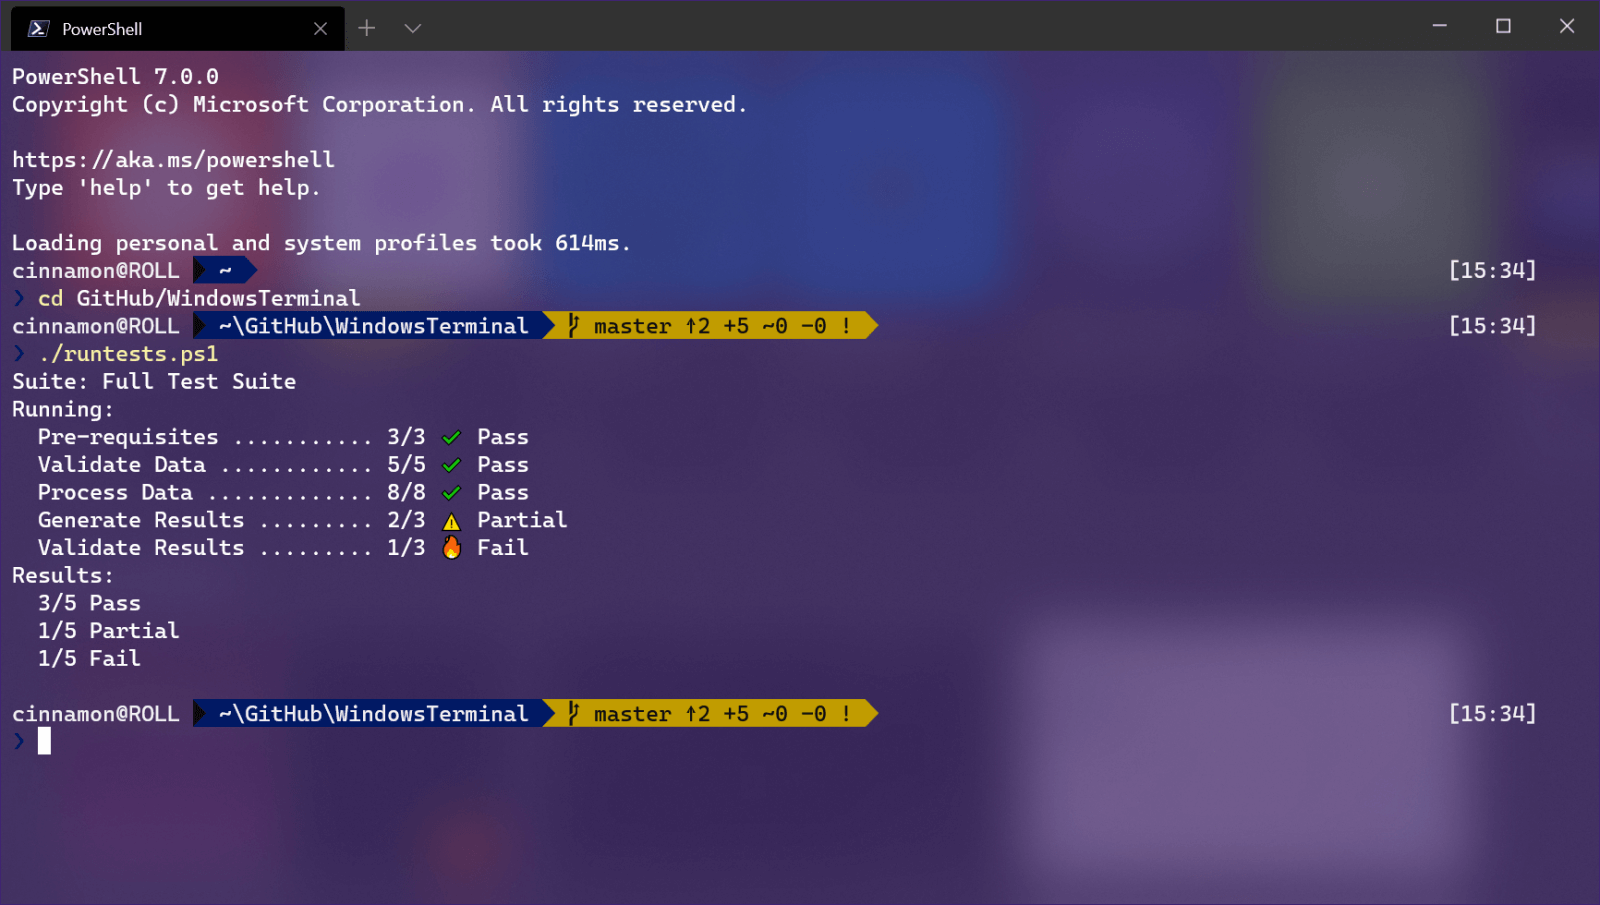 Windows Terminal is a new free Microsoft terminal sort of application. When you open either Power Shell or Command Prompt in Windows they will be opened in different windows, and if you want several of each you will have several windows of each on your screen.
Windows Terminal fixes this by opening each of the Instances of Command Prompt and Power Shell as separate tabs inside itself making it much easier to manage multiple instances of named applications.
You can also run both Power Shell and Command prompt tabs in the same Windows Terminal. Luckily running command prompt and power shell in different tabs is not the only thing you can do. Windows Terminal lets you choose your own theme, it has emoji support, GPU rendering, split panes, and many more customizable options.
Windows 11 will have Terminal as the default command-line environment for opening Power Shell or Command prompt, even Windows Subsystem for Linux (WSL)
Windows Terminal is a new free Microsoft terminal sort of application. When you open either Power Shell or Command Prompt in Windows they will be opened in different windows, and if you want several of each you will have several windows of each on your screen.
Windows Terminal fixes this by opening each of the Instances of Command Prompt and Power Shell as separate tabs inside itself making it much easier to manage multiple instances of named applications.
You can also run both Power Shell and Command prompt tabs in the same Windows Terminal. Luckily running command prompt and power shell in different tabs is not the only thing you can do. Windows Terminal lets you choose your own theme, it has emoji support, GPU rendering, split panes, and many more customizable options.
Windows 11 will have Terminal as the default command-line environment for opening Power Shell or Command prompt, even Windows Subsystem for Linux (WSL)