Code 22 is a type of Device Manager Error code. Device manager errors are reported by the drivers causing the problem. It indicates that the devices are disabled in the Device Manager.
This error code is displayed in the following format:
This device is disabled. (Code 22)
It looks like a very simple matter to enable a device from the Device Manager interface but if the device fails to load then there are likely greater underlying problems with the drivers.
Drivers allow hardware devices to communicate with other hardware devices and the operating system.
Drivers contain instructions and operating procedures for devices. Without a driver, a hardware device will not function and may not even appear in the Device Manager.
 Error Causes
Common causes of error code 22 are:
This means that though the error code 22 typically indicates that the device reporting the error is disabled but other causes can also be associated with the error occurrence.
Here are some of the best and easy do-it-yourself methods to resolve error 22 on your PC. Try these methods to repair the issue.
If the error code 22 is triggered due to a disabled device, then all you need to do to resolve the issue is enable the device.
To enable the disabled device, follow these steps. Simply go to the start menu and type Device Manager in the search bar. Now click on the Device Manager and then click Actions.
After you Click Actions, double click Enable Device. The Enable Device Wizard will pop up. Follow all the prompts from the Enable Device Wizard. This will hopefully resolve the issue.
If method 1 doesn’t work then this means the problem is deeper than you think. The problem can be triggered by the missing, corrupted, or outdated driver for the device reporting the error.
In such a situation it is advisable to reinstall the driver for the device. To do this first uninstall the driver for the device reporting error code 22 then reinstall the driver.
To activate changes reboot your PC. Now reinstall the latest and updated version of the driver uninstalled using the Plug and Play feature.
Sometimes devices can also get damaged due to registry issues. In such an event, install Restoro.
It is a PC Fixer deployed with a registry cleaner. The registry cleaner wipes out all the unnecessary and obsolete files damaging the registry and repairs them in a few minutes.
Click here to download Restoro.

Website breaches and stealing user data is nothing new in the world of the internet. Although a very unpleasant experience it still happens even on some high-quality websites. In this article, we will not focus on how can you not be the target of this kind of attack, because you really cannot. Weel you can kind of if you decide not to have your data on websites at all, but let's just say that is not something you are willing to do.
 So, in this case, you have some social, forum, or gaming accounts but you heard that service has been breached and that your email or password might be stolen. Well in this case all you need to do is of course to login into the service and change your password. But, what happens if you are not aware at all that service has been compromised?
Mozilla foundation has asked themselves this same question it seems and they have decided to help us out. They have placed a free online service where you can just by typing in your email address find out if your email or data has been compromised in any way.
Go to https://monitor.firefox.com/ and check it out, if you find out that there is some website that you did not know was breached, change your password right away, and if you have used the same password for anything else (I hope not), change them as well.
 Error Causes
 From the Device Manager choose the troublesome device and right-click on it, choose properties.
 Device properties floating Window will appear.
 Click on the top tab which says, Driver. From the Driver tab, click on Roll Back Driver.
 Note that if the device is working properly, the Roll Back Driver button will be greyed out and you will not be able to click on it meaning that chosen device is not the issue. If the device is not working properly and you can click on Roll Back driver, do it, choose the previous version, and reboot your computer.
You can use this method to get back to the previous driver version for any device that is causing issues in your computer.
Note that if the device is working properly, the Roll Back Driver button will be greyed out and you will not be able to click on it meaning that chosen device is not the issue. If the device is not working properly and you can click on Roll Back driver, do it, choose the previous version, and reboot your computer.
You can use this method to get back to the previous driver version for any device that is causing issues in your computer. DailyLocalGuide is a Browser Extension developed by Mindspark for Google Chrome. This extension hijacks your default search engine, the home page, and new tab, setting them to MyWebSearch.com.
From the Author:
The Software and Services are sponsored by third-party advertisements and commercial offers and may also contain links to third parties websites, advertisements, products, offers, applications, and more. By downloading and using the Software you give your consent to display to you such Third Party Content (by using display ads, pops, coupons, price comparison, in-line text, and content recommendations) through Our or Our business partners’ technology.
While installed, this extension gathers user browsing activity and sends it back to ad servers. This information is later used to better target ads. When browsing the internet with DailyLocalGuide installed you will see additional injected ads and sponsored content throughout your browsing sessions.
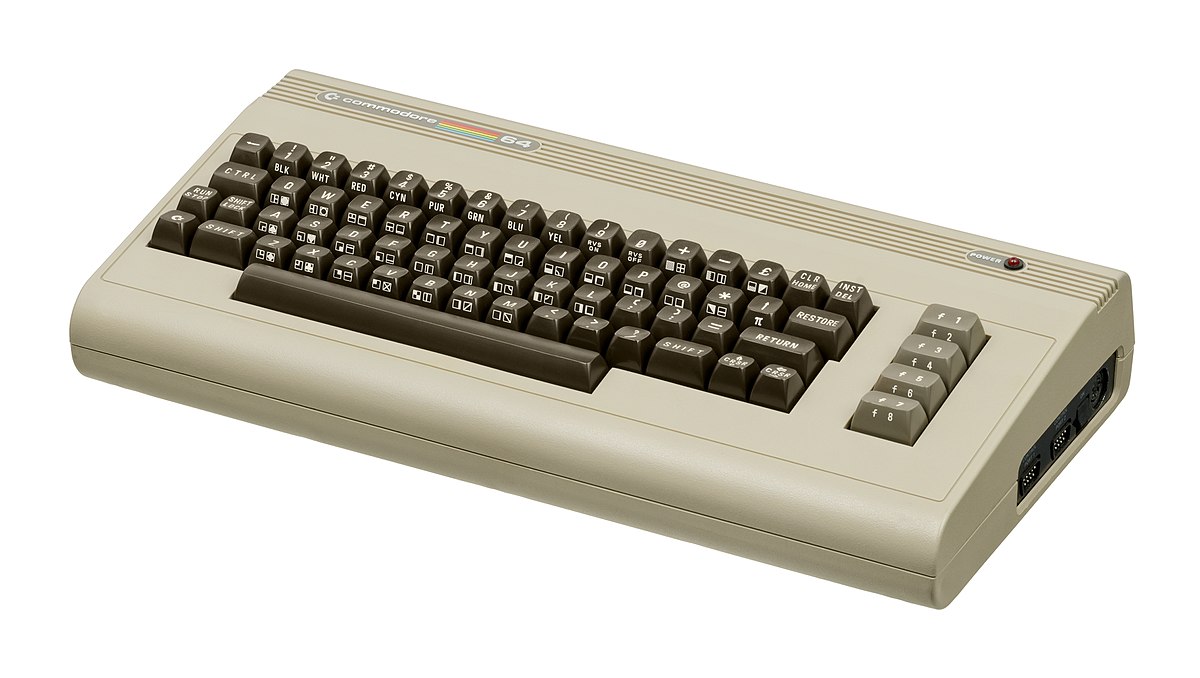 History of Commodore
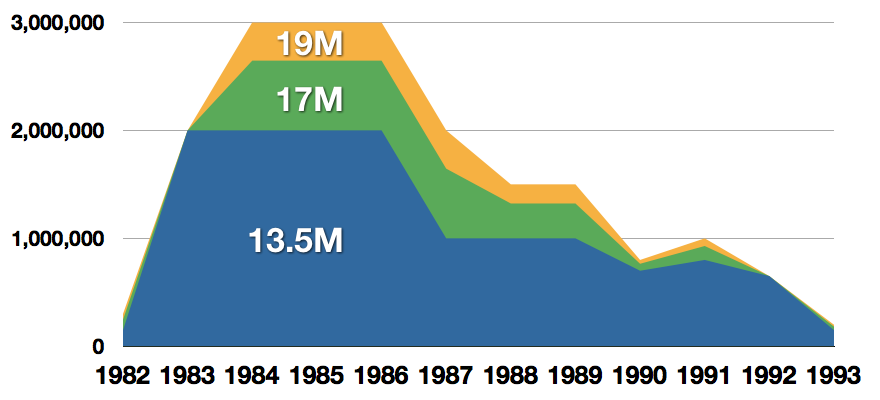
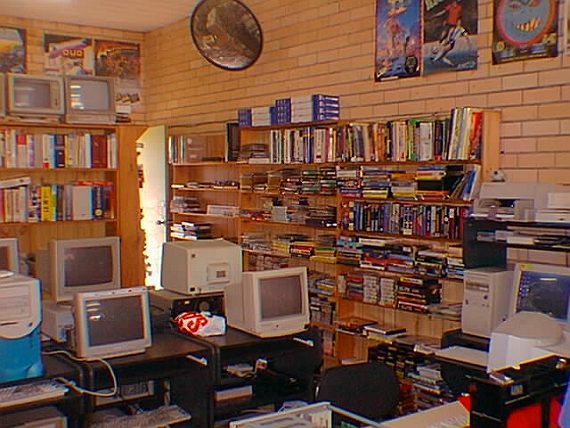 With sales booming and the early reliability issues with the hardware addressed, software for the C64 began to grow in size and ambition during 1984. This growth shifted to the primary focus of most US game developers. The two holdouts were Sierra, who largely skipped over the C64 in favor of Apple and PC compatible machines, and Broderbund, who was heavily invested in educational software and developed primarily around the Apple II. In the North American market, the disk format had become nearly universal while cassette and cartridge-based software all but disappeared. So most US-developed games by this point grew large enough to require multi-loading.
At a mid-1984 conference of game developers and experts at Origins Game Fair, Dan Bunten, Sid Meier, and a representative of Avalon Hill said that they were developing games for the C64 first as the most promising market. By 1985, games were an estimated 60 to 70% of Commodore 64 software. Over 35% of SSI's 1986 sales were for the C64, ten points higher than for the Apple II.
Everything was great for Commodore but the industry was moving forward and by the year 1988, PC compatible computers were stated to be the largest and fastest-growing home entertainment systems pushing C64 on to second place. Also, Nintendo’s gaming system has started to take hold in the world with amazing 7 million systems sold in 1988 only.
By the year 1991, many developers exited the gaming market for Commodore 64 home computer system and its popularity started to fall due to lack of software and not so many hardware changes.
With sales booming and the early reliability issues with the hardware addressed, software for the C64 began to grow in size and ambition during 1984. This growth shifted to the primary focus of most US game developers. The two holdouts were Sierra, who largely skipped over the C64 in favor of Apple and PC compatible machines, and Broderbund, who was heavily invested in educational software and developed primarily around the Apple II. In the North American market, the disk format had become nearly universal while cassette and cartridge-based software all but disappeared. So most US-developed games by this point grew large enough to require multi-loading.
At a mid-1984 conference of game developers and experts at Origins Game Fair, Dan Bunten, Sid Meier, and a representative of Avalon Hill said that they were developing games for the C64 first as the most promising market. By 1985, games were an estimated 60 to 70% of Commodore 64 software. Over 35% of SSI's 1986 sales were for the C64, ten points higher than for the Apple II.
Everything was great for Commodore but the industry was moving forward and by the year 1988, PC compatible computers were stated to be the largest and fastest-growing home entertainment systems pushing C64 on to second place. Also, Nintendo’s gaming system has started to take hold in the world with amazing 7 million systems sold in 1988 only.
By the year 1991, many developers exited the gaming market for Commodore 64 home computer system and its popularity started to fall due to lack of software and not so many hardware changes.
 Commodore announced that the C64 would be finally discontinued in 1995.
However, only one month later in April 1994, the company filed for bankruptcy. When Commodore went bankrupt, all production on their inventory, including the C64, was discontinued, thus ending the C64's 11 and a half year production.
Commodore announced that the C64 would be finally discontinued in 1995.
However, only one month later in April 1994, the company filed for bankruptcy. When Commodore went bankrupt, all production on their inventory, including the C64, was discontinued, thus ending the C64's 11 and a half year production.
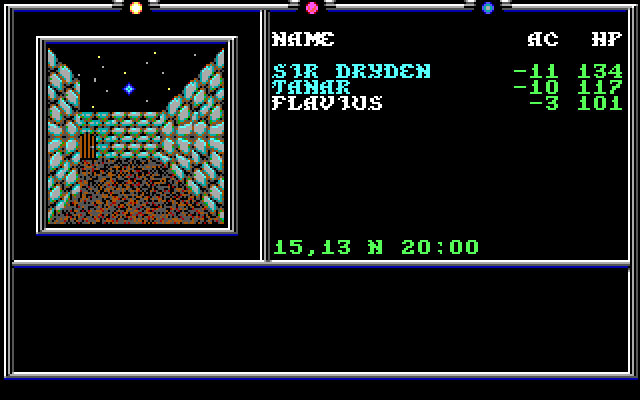
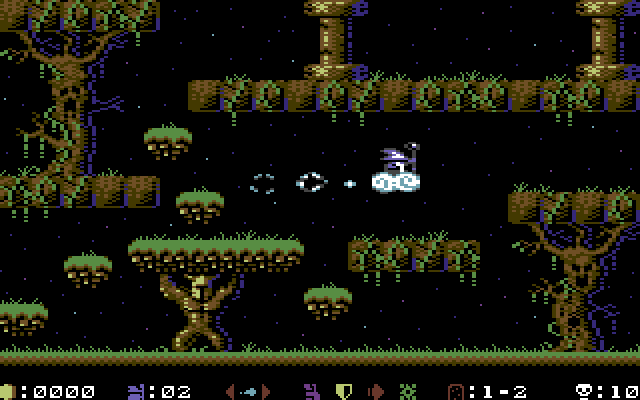 Zak McKracken and the Alien Mindbenders
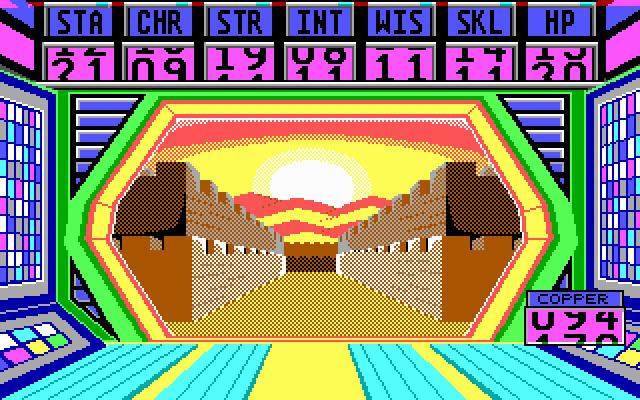
 If you are not keen on spending money for reliving and checking games or software of C64 here are some links to help you to at least experience part of it completely free.
Commodore 64 Emulator
C64 Game ROMs
If you are not keen on spending money for reliving and checking games or software of C64 here are some links to help you to at least experience part of it completely free.
Commodore 64 Emulator
C64 Game ROMs
RebateInformer is a browser extension for Google Chrome. This extension monitors the web pages the user is visiting and checks against an affiliate database for various rebates and coupons related to the context of the products being shown in the browser.
This extension analyzes websites your browser visits and attempts to find deals associated with the merchant’s product offerings. If an offer is found, it is injected into the deals page even if it's sold by a different merchant at a higher price. Several anti-virus scanners have marked this extension as Potentially Unwanted, and due to its data mining behavior, it is not recommended to keep it on your computer.