Error code 0x80070057 occurs when Windows users are having problems installing updates on their machines. The error code may result due to issues affecting Windows Update, for instance, problems with system files or settings that can be accessed or modified using the registry in Windows. Error code 0x80070057 affects multiple versions of the Windows operating system including Windows 10. Common symptoms manifested when this error code and other update error codes occur include the following:
Update error codes like error code 0x80070057 occur when there are issues related to system files, programs or malicious software is present on one’s machine. To combat these issues, users may need to implement manual repair procedures, depending on the specific error code present on their device.
 Further Information and Manual Repair
Windows users can fix error code 0x80070057 by manually repairing or deleting subkeys and values within the Windows registry. This enables Windows Update to function as the proper modification of settings and other information present in the registry can fix problems associated with certain error codes.
The manual repair procedures also enable users to address specific problems on the devices that may not be fixed through the use of other methods.
The Windows registry contains information regarding applications installed on the version of Windows you use on your device. This information as well as settings related to hardware are all accessible to users and can be useful when combating problems like error code 0x80070057.
However, users will need to be very careful when making modifications within the registry in Windows. This is due to the fact that errors made while accessing the registry can lead to serious issues on your PC. Backing up your registry before you modify it is crucial since it will provide protection against any problems that may arise if you make an error. This is the first step in resolving error code 0x80070057. Follow the steps below to back up your registry properly.
In the case of fixing error code 0x80070057, the registry file or subkey you will need to back up relates to this: HKEY_LOCAL_MACHINE. This contains configuration details or information related to your machine regardless of the user. Also note that the registry, once you have created a backup file, will be protected, thus enabling you to move to the manual method mentioned below.
The execution of modifications to the registry can be a complex procedure, especially if you are an average Windows 10 user who lacks technical knowledge. Thankfully, even non-technical users can access the solutions they need by simply following the instructions provided in this article.
You may also contact a Windows repair technician as well, in case you have trouble implementing the steps mentioned for modifying your Windows registry or if other problems arise while you are proceeding with these instructions.
Step one: Access the Windows Registry Editor by typing regedit.exe in the search box near the Start button.
Step two: Type the appropriate password or provide confirmation if you are prompted to do so
Step three: Locate Registry Editor
Step four: Enter the following:
[HKEY_LOCAL_MACHINESOFTWAREMicrosoftWindowsUpdateUX] "IsConvergedUpdateStackEnabled"=dword:00000000
[HKEY_LOCAL_MACHINESOFTWAREMicrosoftWindowsUpdateUXSettings] "UxOption"=dword:00000000
After making these modifications in the Windows registry, restart your machine. You can then check Windows Update to see if the problem has been resolved. If the modifications to the registry have proven successful, you will no longer see the error code 0x80070057 message box. You will also be able to complete all updates via Windows Update.
If you wish to always have at your disposal a utility tool to fix these Windows 8 and other related issues when they do arise, download and install a powerful automated tool.

Your version of Windows 10 would reach the end of service soon, Click to download a newer version of Windows 10 to stay supported. or An unsupported version of Windows will no longer receive software updates from Windows Update. These updates include security updates that can help protect your PC from harmful viruses, spyware, and other malicious software which can steal your personal information. Windows Update also installs the latest software updates to improve the reliability of Windows—such as new drivers for your hardware.and you are unable to perform updates then this guide is for you. There are several things you can do to fix this issue presented here, it is advisable to follow them in a way how they are presented for best performance and system safety.
If you have a laptop that is slowing down and some usual tasks are sluggish you probably mean that it is time to change it and get a new one. Altho it is a good solution and it will guarantee that you will be able to do your tasks with more speed and comfort, straight purchasing is not always the best thing to do.

There are things you can do and some upgrades that are cheaper and will bring your laptop back into the game and extend its usage for a few more years.
The most common issue for slowing down of computer is dust and dirt that accumulates over time and usage. If the laptop has not been properly cleaned in a while, cleaning it and placing new thermal paste on the CPU can do wonders. If you are not keen on doing this yourself or do not possess the required skillset take it to your local IT center for cleaning.
Various software can have speeding effects on computers, it can have some services running in the background and thus take precious resources slowing the whole system. If you are not using software, uninstall it.
If you are using your computer for basic tasks there is no really need to install the latest and best. A lot of new software will require new hardware and things that offer are not so much better nor even required to justify the upgrade. Let us take office, for example, if you are using it to just write some text and not using any advanced options there is really no need to switch to a newer version, the old one will do just fine tasks that you are in need of.
Now this fits in the domain of upgrading your hardware but still it is much cheaper than replacing the whole laptop. Windows 10 works much better with SSD and SSD itself is faster than your standard HD, especially if it is slower model spinning in only 5400RPM. Operation of HD replacement is simple and straightforward and anyone can do it but the benefits of replacement will be visible right away. With a new SSD instead of an old mechanical one, you will have the feeling that you actually bought a new laptop.
This is basically the last thing you can do in order to speed up your old laptop that will not break your bank account. Upgrading RAM was always the thing that can push your computer to have more power and to behave better while you are doing tasks. One important thing here is to first see how much RAM you have in your computer. If you are packing already 8GB then upgrading will not do much but if you have only 4GB, raising it to 6GB or 8GB will be beneficial. Also, check if the model of the laptop supports more RAM in the first place.
We have covered here a vast array of options in order to get your laptop back into the game with variability between hardware upgrades to taking care of your software. Whatever option you choose to do it will speed up your computer but among all of them, replacing the hard drive will do the most.
FlightSearchApp is a browser extension for Google Chrome. This extension claims to be a simple tool to provide updates regarding flight arrivals, flight departures, flight tracking, and access to time zone converters. However, it is a potentially unwanted program which is also known as a browser hijacker.
This extension hijacks your browser home page and search engine changing it to MyWay. While this extension is active you will see additional ads, sponsored links, and sometimes even pop-up ads appearing through your browsing sessions. It also keeps track of your browsing data, recording your browsing activity, website visits, clicks, and potentially personal information. It also adds a toolbar to the browser header which can lag the browser while also reducing usable screen size.
Several anti-virus scanners have marked this extension as a Browser Hijacker, and is therefore not recommended to keep on your computer.
New Apple's upscaling technology called MetalFX will place iOS and macOS devices back into the gaming world. Apple had great games back in the old days and some all-time hits like the prince of Persia have been made first for apple but along the way, it just lost it.
Same as NVIDIA's DLSS and Intel's XeSS systems, Apple MetalFX also uses AI algorithms to upscale the resolution of output game frames. So, for example, the GPU inside your MAC might render the game at 1080p, but through MetalFX and AI upscaling it will look like a 4K image but have a good frame rate since it is rendered in base resolution.
The ability to make AI strike a good balance between performance and image quality is a key to technology in today's modern gaming and having this technology will help developers a ton to be able to achieve great results on Apple hardware.
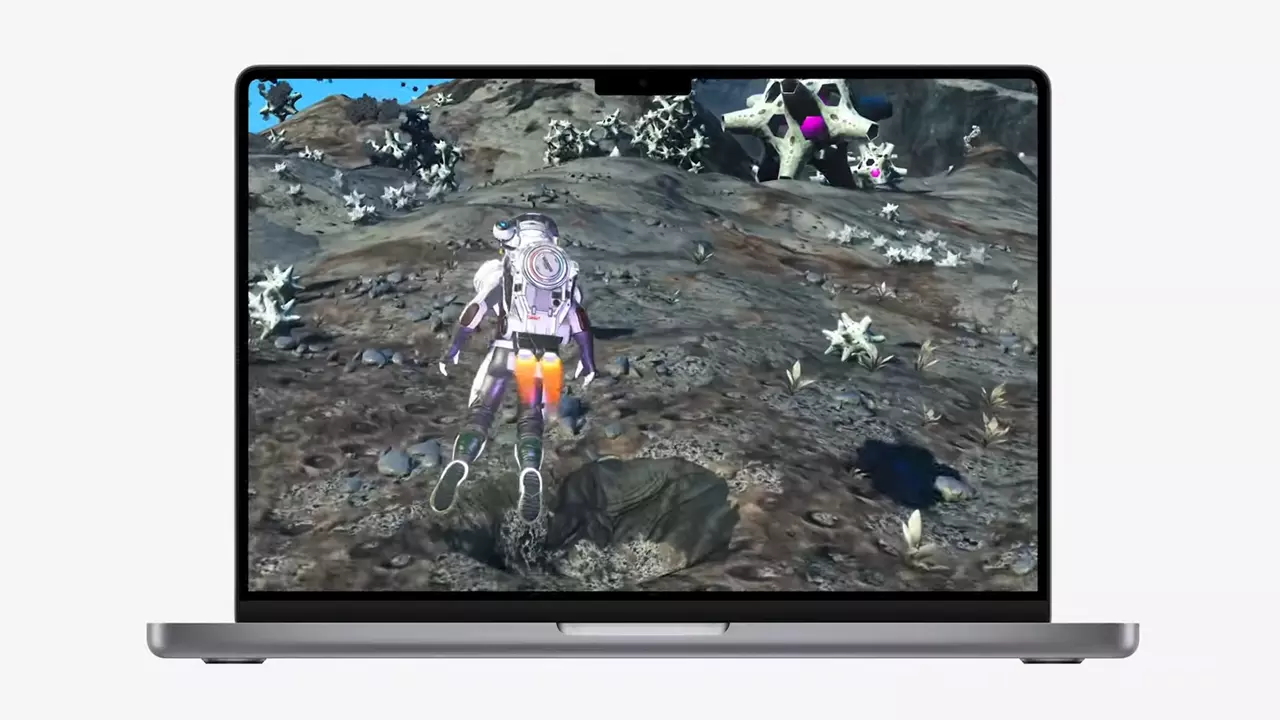
So far three official games that will use this technology and be released natively for Appl hardware are Resident Evil 8 Village, GRID legends, and No Man's Sky. All three games have been confirmed and Resident Evil 8 Village is already sent for review people are impressed since the game can run smoothly on all Apple devices, even ones with an M1 CPU.
When you say Apple gaming is probably the last thing that comes to your mind but truth be told Apple makes more money from games than Microsoft, Nintendo and Sony combined. Also, Apple itself was a big player once regarding computer games as well, Myst and Prince of Persia are games that were made and have been released for Apple first. Bungie was also founded by Apple developers and Halo was originally announced as a Mac game.
Apple has been trying and pushing gaming on its platform since it kind of died down. Today all Sony, Nintendo, and Microsoft controllers work without any issues with all Apple products. Apple also has its own gaming subscription service, Apple Arcade, and its Apple TV is packed with GPU that can rival Xbox ones.
MetalFX API ties and brings it all together, it is designed to get the most performance from the hardware by minimizing overhead.
Now, computers and laptops do not hold any large numbers if we look at the user base, and that could deter developers but if we look at iPad and iPhone things are different there, much different. How same CPU power these devices and how MetalFX is available across all products it is clear that there is a market for games there. No Man's Sky is coming to iPad using these technologies and bringing full computer experience to tablets.
 Jokes aside, I truly believe that choosing to upgrade your System to Windows 11 at this point in time is a bad decision and I will explain why I do believe it.
“Installer encountered an error: 0x80070424, The specified service does not exist as an installed service.”While you’ll see the following error message in the Windows Store:
“The were some problems installing updates, but we’ll try again later. If you keep seeing this and want to search the web or contact support for information, this may help: (0x80070424).”To fix this error, you can try to re-register the Background Intelligent Transfer Service DLL file or run the Windows Update and Store apps troubleshooters. You can also reset the Windows Update-related folders or the Microsoft Store or fix the Windows Update files by using the DISM tool. On the other hand, you can also use the Registry Editor or check Windows Services. For more details regarding these potential fixes, refer to each one of the given options below.
net stop wuauserv net start cryptSvc net start bits net start msiserver
net start wuauserv net start cryptSvc net start bits net start msiserver