This is a type of Google Chrome update error code. It indicates a failure to communicate with Google update. The error code is displayed in the following format:
‘Update server not available (error: 3)’
 Error Causes
Error 3 may be triggered by several reasons. These include:
Here are some of the best and effective DIY methods to resolve error 3 on your PC without any professional help. You don’t need to be a technical whiz to try these methods.
If the reason for the error cause is related to Google Chrome configured as administrator on your PC, then simply run it as a normal user. This is a common issue with Google Chrome auto-updating mechanism.
If the problem still persists, then it is advisable to try re-installing Google Chrome.
To do this, first, uninstall Google Chrome. Go to the start menu, control panel, and then program and features. Choose Add and Remove Programs and uninstall Google Chrome.
To activate changes, reboot your system. Now reinstall Google Chrome by downloading it from Google Chrome’s official website.
If error 3 is triggered because Google Chrome is not registered properly, then try this method to fix the issue.
Error 3 may also pop up because of registry issues.
These issues occur when the registry gets overloaded with obsolete and unnecessary files like cookies, internet history, bad entries, and junk files. In such an event, it is advisable to download Restoro
This is a user-friendly and cutting-edge PC Fixer embedded with a registry cleaner. The registry cleaner removes all the obsolete files instantly and repairs the damaged registry thereby resolving all errors including error 3.
Click here to download Restoro and resolve error 3.

In the last article, we have covered various advantages of Apple hardware over Windows PC, however, PC has their own strengths and advantages over MACs as well. Join us as we explore why would you choose Windows PC over MAC.

If you like to customize and build your own hardware and customize your existing computer then MACs are out of the picture, on other hand, computers based on Windows operating system are much more flexible in terms of customization.
While Apple hardware is locked and only allows small changes to it, computers running on Windows are free and open to various upgrades and modifications so if you like to play with hardware Windows is your platform.
There are games on MAC true but their numbers can not compare to games available for the Windows platform. On top of that, most latest and best gaming hardware is not even available on Apple platforms so if you plan to game in high resolutions and play the latest games there really is no option other than Windows.
Windows Platforms also has multiple emulators that you can use to play games from other older platforms and Microsoft since it owns Xbox has some great plans for both PC and Xbox gaming.
Since the introduction of the new MAC OS X, apple really lost a lot of application back compatibility, and a lot of old legacy software can not be run on modern Apple computers. Windows on the other hand have always tried and succeeded in keeping maximum compatibility with older and legacy software.
Also on the Windows platform, there is a lot of community support for old and legacy software so even if it is not officially supported it is backed up by the community.
In terms of where can you find the most different software, you need to look no further than the Windows platform. How Windows itself has great backward compatibility and a lot of developers are using it to create new software thanks to Visual Studio and .NET Windows has cemented itself as a platform with the most available software.
The popularity of Windows as the home operating system and as a gaming platform has made it quite interesting in eyes of various developers and tons of small applications are made daily for it. Windows 11 has also brought native android support to it and that has just expanded its already impressive catalog of applications.
Overall Windows PC is most appealing for users that like to be able to choose everything, from hardware components to software they would like to use. No other platform will give you larger freedom of choice and better personalization options.
RegClean Pro is a program developed by Systweak Inc. RegClean Pro cleans such invalid registry errors using its advanced scan engine. It not only fixes invalid registry entries, it also defragments the registry, keeping it streamlined for smoother system performance.
RegClean Pro defines auto-start registry entities that allow the program to run each time the system is restarted, it also adds various Scheduled tasks in Windows Task Manager in order to launch the application at various times. This application has been found bundled up with various other potentially unwanted applications, also several anti-virus programs have detected this application for optional removal.
0xC1900101 – 0x20017, The installation failed in the SAFE_OS phase error during Replicate_OC operationTo fix this issue, you need to follow the given options below. But before you do, you need to create a System Restore point first so that if anything goes wrong, you can always undo the changes you’ve made.
dism /Mount-Image /ImageFile:H:sourcesboot.wim /index:1 /MountDir:C:UsersUserDesktopmount
C:UsersUserDesktopmountWindowsSystem32mcupdate_GenuineIntel.dll
dism /Unmount-Image /MountDir:C:UsersUserDesktopmount /commit
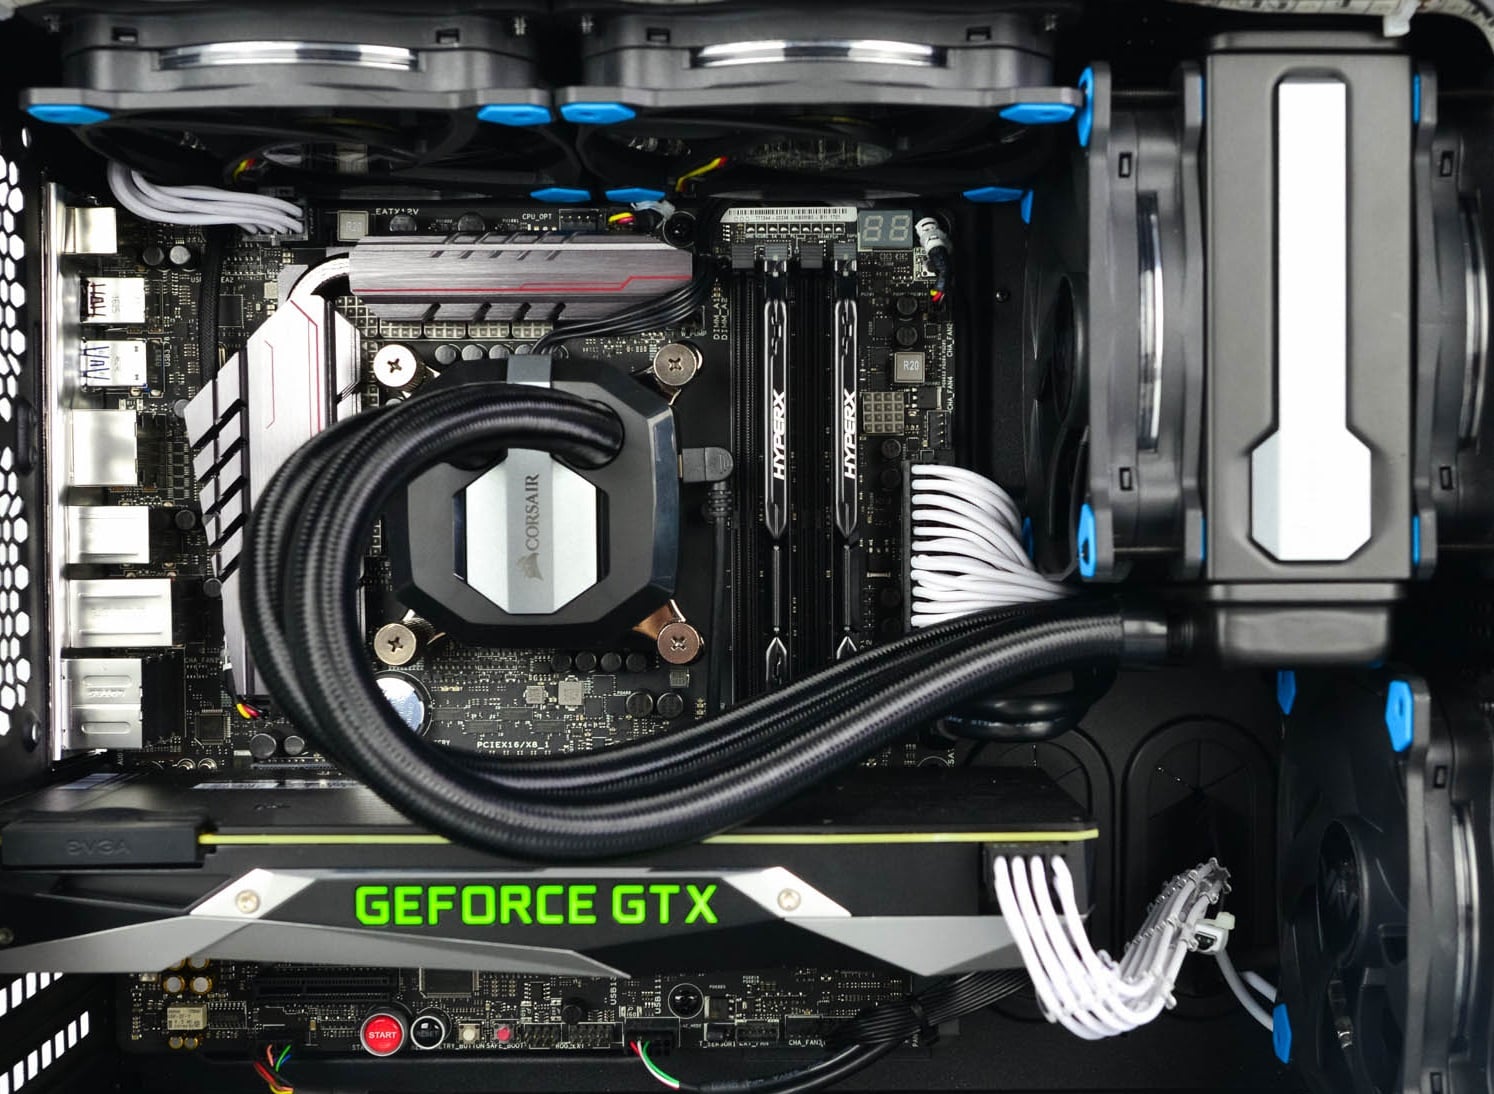 Builders with no depth knowledge and experience can sometimes choose improper CPU or GPU, picking one of them to be much more powerful than another thus not using it to its full potential because another component cannot handle stuff at the same speed. In order to not be trumped by this kind of stuff, there is a website that is completely free and you do not even need to be registered in order to use it.
Bottlenet calculator link here
What is even better, once you input your components you will get advice on what to change in order to tweak the system a little more to avoid bottlenecks even more. It is a very useful tool and we are advising you to use it in order to save money but not throwing it on some component that will be half used.
Builders with no depth knowledge and experience can sometimes choose improper CPU or GPU, picking one of them to be much more powerful than another thus not using it to its full potential because another component cannot handle stuff at the same speed. In order to not be trumped by this kind of stuff, there is a website that is completely free and you do not even need to be registered in order to use it.
Bottlenet calculator link here
What is even better, once you input your components you will get advice on what to change in order to tweak the system a little more to avoid bottlenecks even more. It is a very useful tool and we are advising you to use it in order to save money but not throwing it on some component that will be half used. Error Code 0x80004002 is a Windows-based error code that affects Windows 10 and previous operating systems, including Windows XP, Vista, Windows 7, and Windows 8. In most instances, the message box that shows Error Code 0x80004002 pops up as you attempt to install new software or programs on your machine.
Common symptoms include:
There are a number of different solutions that you can use to attempt to resolve Error Code 0x80004002. Because there are multiple causes to the issue, some of the methods used to successfully address the problems at hand are fairly simple, while others require advanced knowledge or abilities to complete. If the methods below are not successful in the resolution of the issue or if you aren’t confident in your skills to implement these methods, contact a qualified Windows repair technician to assist you. Once this error message is not rectified, you could be exposing your computer to other error messages, including error code 0x80240020.
There are many different issues that can contribute to the appearance of Error Code 0x80004002. The most common causes for this particular error message include:
Due to the number of causes that can contribute to Error Code 0x80004002, there are a number of methods that you can use to attempt to resolve the issues behind the error. While some of these methods are fairly easy to implement, others may require you to use programs like registry cleaners and driver installation wizards, so if you are not comfortable using these kinds of software, contact a certified Windows repair technician to assist you.
Here are the top ways that you can attempt to address Error Code 0x80004002:
Many different registry cleaning tools exist on the Internet, but not all of these are provided by trustworthy sources. Rather than trusting a file from an unknown publisher, you can use the registry cleaning program included in your Windows software package.
Run this tool to complete a scan of your files, discovering which ones may need to be repaired. In most cases, the registry cleaner itself can repair the necessary files and resolve the error.
It is always a good idea to restart your computer after you have run the registry cleaning tool to ensure that your machine can accurately assess the newly repaired files.
In some cases, Error Code 0x80004002 arises when drivers are out of date. If you believe that this is the case, you can check on the status of your various drivers by going into the settings for your operating system and selecting the “Update Drivers” option.
You can also check your system for any necessary updates to your Windows software, which may serve to address the error code.
After you have checked and installed any necessary drivers, make sure to restart your computer to fully apply any changes that the installation process has introduced.
In some cases, the best way to address the missing or corrupt files that can cause Error Code 0x80004002 is to simply reinstall your copy of Windows. Always make sure to back up your files before reinstalling your software.
Because Error Code 0x80004002 can also be caused by malware or a virus, you can run your virus scan software to detect and resolve the problem. After doing so, run the registry repair tool to fix any affected files and restart your computer.
In today's modern world many households have internet access, most of the connection nowadays is done via Wi-Fi or wireless but there is a high probability that you have also a few devices connected via cable. There are of course many disadvantages and advantages between cable connection and wireless connection.

The main advantages of a hard cable connection are of course faster speed and stability compared to Wi-Fi. But if we look into the cables themselves there is also a big difference between them. Not all cables are the same and quality as well as speed vary a lot between them. Choosing the right cable is essential in order to make a maximum of your internet and we have some great tips and explanations of what cables do so you can make the right choice and enjoy your full internet potential.
Cheap cables and expensive ones are not the same no matter what everyone tells you. The old proverb you get what you pay is true and more expensive cables will be made from better materials and will have a higher transfer rate.
Quality network cables are separated into different categories with proper markings and when buying one you should always look for these markings on the cables themselves, do not buy cables that do not have markings since they will often provide lower transfer rates or will not be shielded from outside influences resulting in packet drops and instability in a network.
Unless stated, these standards are typically rated at their quoted speeds for a run of around 100 meters (around 330 ft) and use a standard RJ-45 Ethernet connector. Each generation of cable is designed to be compatible with the generations that came before it, so it’s possible (for example) to use a Cat-6a cable with a router that only supports speeds of 1Gbps.
When purchasing higher quality cable you might not be able to choose if you have shielding or not since some standards like Cat-6a, Cat-7, and Cat-8 are always shielded. But if you do not have the need for these and you are satisfied with Cat-5e for example you can choose.
Shielded cables are a little more expensive but they will provide you with a coating that will eliminate interference from outside waves making cables more reliable. Of course, if the cable will go through a room that does not have many radio waves or some other interferences then buying a shielded cable is a waste of money.
Usually, there are two types of connector platings on connectors, silver, and gold, and people usually think that gold is much better but there are major differences between silver and gold platings and truth to be told there is no better one, both are different and should be considered depending on your need.
Silver plating will provide you with faster speed since its conductivity is larger than gold, but gold is slower on the oxidation front so its life span is longer. On the other hand, if your cables are always connecting and disconnecting gold will be first to be scrubbed off from the surface since the gold coating is much thinner.
Overall if you would only connect cable once and have slower internet than cable capacity gold is the way to go, in another case if you would use the cable as always connecting and switching and your internet plan is the same as cable transfer capacity you might want to go with silver one.
Network cables are made from copper, your standard conduction material but even here there are differences in quality and therefore the chance of pocket losses over it. More quality less loss and more stable connection and this will depend on the purity of copper that is used in the cable itself. More purity in copper, more stability, simple as that.
So as you can see, there are a lot of different things that will influence your pick of proper network cable but the overall best advice is to get one that will fit well into your needs and setup. pair it up with your router and your internet plan since just simply buying something that you can not use is really a waste of money.