How to Fix 0x0000007B Error

What is 0x0000007B Error?

0x0000007B is the most common Windows stop error.

The error is displayed on the blue-colored screen which is also called the blue screen of death. You may receive a 0x0000007B error message during Windows XP setup or while running the setup program.

The message is often displayed as ‘a problem has been detected and Windows has been shut down to prevent damages’ or ‘inaccessible boot device error’.

Solution

Restoro box imageError Causes

The 0x0000007B error code is usually triggered by:

  • Poor Window XP installation
  • Registry corruption
  • Device Drivers Issues
  • Boot sector viruses

Further Information and Manual Repair

The 0x0000007B error makes your system vulnerable and reduces its speed significantly. And besides, you can’t run the programs smoothly on your PC either. Therefore, it’s advisable to fix the error right away.

To fix and repair the 0x0000007B error successfully, you must first understand the cause of the error. Let’s take a look at all the solutions available to fix the 0x0000007B error.

Cause: Boot Sector Viruses

Solution: If your computer is infected with boot sector viruses, then you will first have to download a powerful antivirus. After downloading the antivirus program, run it on your PC to check your computer for viruses. Delete the viruses found and click the repair option.

Sometimes even an antivirus program may fail to remove the virus and repair the system. In such cases, you must repartition and format your hard disk and also reinstall Windows XP.

Cause: Device Driver Issues

Solution: Device driver issues may occur if the boot controller is not properly configured or the driver is not up to date. If device driver configuration is the cause of the 0x0000007B error on your PC, then all you need to do is restart your PC, and while restarting press F8 to go to the advanced boot options.

Now choose the ‘Last Known Good Configuration’ option. After selecting it, boot into windows and then perform a system restore. Now go to Device Manager and perform a driver rollback to reinstall the drivers. This will resolve the configuration issues.

However, if you need an updated driver, all you need to do go on the web and download software to update the driver. It is advisable to download software from the manufacturer’s website in order to successfully update the device driver.

Cause: Poor Windows Installation

Solution: In this case, you will have to perform a Windows start-up repair. To do this: boot Windows XP from CD. Press ‘enter’ at setup Windows Screen when prompted. Then press R to repair Windows Installation.

This procedure will not delete any user data and files. In fact, it will copy only the original Windows files over the bad or existing ones.
Some of the best ways to avoid Ox0000007B blue screen errors are

  • To scan for viruses every time you use your PC
  • Never open web pages, emails, or download content that you think looks suspicious because that’s probably a virus.
  • Always keep your computer updated.

Do You Need Help with Your Device?

Our Team of Experts May Help
Troubleshoot.Tech Experts are There for You!
Replace damaged files
Restore performance
Free disk space
Remove Malware
Protects WEB browser
Remove Viruses
Stop PC freezing
GET HELP
Troubleshoot.Tech experts work with all versions of Microsoft Windows including Windows 11, with Android, Mac, and more.

Share this article:

You might also like

Fix Rstrui.exe error in Windows 10

Fix Rstrui.exe error in Windows 10

Rstrui.exe is a service assigned to controlling system restore, it is considered an essential part of the Windows system and without it working you will not be able to perform a system restore operation. Without system restore working you will not be able to "rewind" Windows into a working state if needed which can create in itself many new complications. Luckily we have working solutions for this specific problem, so get ready, and let's start.

SFC scan

Sfc scan is a built-in Windows tool that scans and repairs system corrupted and missing files. To run it open up the command prompt in administrator mode and type in it: SFC /SCANNOW then, let the whole process finish, do not interrupt it, and reboot after it is done.

DISM scan

Similar to SFC scan, DISM is also a built-in tool for fixing files linked to Windows essential working. Start a command prompt in administrator mode and type in: DISM /Online /Cleanup-Image /RestoreHealth Again let the process completely finish and then reboot your system.

Scan for viruses and other malware

Viruses and other malware can seriously damage the system and with it rstrui.exe along with it. Scan your system with Windows defender or even better with some other dedicated security suite to eliminate malicious threats if they exist.

Update Windows

Keeping Windows updated can bring you more good than harm, it is very advisable to keep it up to date all the time so all security leaks and bugs are repaired and that you have your OS in top-notch working order. Updating can also fix corrupted system files or replace them with newer versions so if your Windows is not updated go to update central and do it. Congratulations, you have just Fixed the Rstrui.exe error in Windows 10 all by yourself. If you would like to read more helpful articles and tips about various software and hardware visit errortools.com daily. Your Rstrui.exe error in Windows 10 should have been fixed now.
Read More
Setup Voice control in Windows11

Computer voice control has moved a long way from its beginning routes and in today's age controlling your PC with voice is truly a reality and fully possible. Voice control is taking up the steam in everyday life, from simple commands in cars, Alexa, smartphones, TVs, etc. to modern computers.

voice control

Windows 10 has introduced voice control into PC with Cortana even during the installation process but a lot has changed from having a virtual assistant in begging days and in today's modern Windows 11 OS. You can now freely open apps, move, copy delete files, and even dictate in order to create a word document.

However, in order to take this advantage, you will need to turn it off first since it is disabled by default. Of course, you will need a microphone and some spare time to train Windows in understanding you properly.

Setting up Voice Control

Just like in Windows 10, in Windows 11 voice control is also in accessibility options and the first step is to turn ON Windows Speech Recognition.

Click on the Start button and type Settings into the search bar, click on Open, or press ENTER. On the left side of the settings, window locate and click on Accessibility. On the right part once Accessibility is selected scroll down and find a section titled Interaction and click on Speech. Turn on the switch next to Windows Speech Recognition.

A pop-up will appear that will lead you through the rest of the setup and that's it.

Improving Voice Control

In order to make your voice control better, if you are not satisfied with the results, you can sample more of your voice into the algorithm to tune it more to your liking. Sadly this option is still deep in Control Panel.

Click the Start button and type in Speech recognition into the search bar, look for the search result with Control Panel displayed under it, and click on Open. Click on Train Your Computer to Better Understand You and follow the instructions.

The process will probably take a few minutes. The more data you provide to the speech recognition model, the more accurate it will be when interpreting your instructions. You can train the model multiple times, and each time you do, it should improve the accuracy.

Read More
Can’t remove Bluetooth mouse & keyboard
Windows 10 supports various devices to get connected to which makes it quite a flexible operating system. The connection varies on the fact that the device can be connected either with Bluetooth or other wireless and wired connection. However, no matter how great the features are, there a few times when they bring in some bugs too. One of these bugs won’t allow you to either remove or reinstall the Bluetooth mouse and keyboard device from your Windows 10 computer. So if you are currently experiencing this problem, read on as this post will guide you in fixing it. Before you go over the suggestions laid out below, you need to create a System Restore Point first since, in one of the options, you will be making some changes with the registry files as well as some critical Windows settings. Once you have that covered, refer to the following options.

Option 1 – Configure the Bluetooth Services

The first thing you can do is configure Bluetooth Services.
  • Tap the Win + R key combination to open the Run dialog box.
  • After that, type “services.msc” in the field and hit Enter to open the Windows Services Manager.
  • You will then see a list of services and from there, look for the following services and make sure that their default values are set as follows:
    • Bluetooth Audio Gateway Service – Manual (Triggered)
    • Bluetooth Support Service – Manual (Triggered)
    • Bluetooth User Support Service – Manual (Triggered)
  • Now click on the Start button to start all the aforementioned services and then check if you can now remove or reinstall the Bluetooth mouse and keyboard device.

Option 2 – Try running the Bluetooth Troubleshooter

As you know, Windows 10 has various troubleshooters with user-friendly interfaces where you can utilize them to fix issues in your PC. And since you’re dealing with some Bluetooth problem, you have to run the Bluetooth Troubleshooter.
  • Open the Windows 10 Settings.
  • Then go to Update & Security > Troubleshoot.
  • You should find the option for Bluetooth on your right-hand side – click on it then click on the “Run the troubleshooter” option.
  • Now follow the next screen options.

Option 3 – Try to reinstall or update the Bluetooth driver

The issue might have something to do with the Bluetooth drivers. It could be that it is outdated and needs to be updated or that you recently updated it and since then you have trouble removing the Bluetooth device and so to fix the issue, you can update, roll back or uninstall the Bluetooth drivers. How? Follow the steps below.
  • Tap the Win + X keys to open the Device Manager.
  • Next, look for the Bluetooth device and right-click on it.
  • Select the option “Update driver”.
  • After that, a new popup window will appear. In there, select the option, “Search automatically for updated driver software”.
Note: Checking the update may take a few minutes so you’ll have to wait until it finishes. If it is able to find an update, you must install it.

Option 4 – Get rid of any interference

If you have several wireless devices in the same room as your PC then it might have caused interference with the current connection in your PC which is why you have to switch off all the other devices and then try removing reinstalling the Bluetooth mouse and keyboard devices again.

Option 5 – Remove or reinstall the Bluetooth devices in a Clean Boot State

You might want to uninstall or remove the Bluetooth Devices while your computer is in a Clean Boot State. Putting your computer in this state will surely help especially if there are some processes that prevent the Bluetooth devices from being removed or reinstalled.
  • Log onto your PC as an administrator.
  • Type in MSConfig in the Start Search to open the System Configuration utility.
  • From there, go to the General tab and click “Selective startup”.
  • Clear the “Load Startup items” check box and make sure that the “Load System Services” and “Use Original boot configuration” options are checked.
  • Next, click the Services tab and select the “Hide All Microsoft Services” check box.
  • Click Disable all.
  • Click on Apply/OK and restart your PC. (This will put your PC into a Clean Boot State. And configure Windows to use the usual startup, just simply undo the changes.)
  • After that, try to reinstall or remove the Bluetooth mouse and keyboard devices again.
Read More
Fix An internal error has occurred 0x80070716
If you see the following error message in the File History tab of the File Recovery utility of the Windows Backup module in your Windows 10 computer, read on as this post will guide you in fixing it with the help of two potential fixes.
“An internal error has occurred: The specified resource name cannot be found in the image file. (0x90070716).”
You can also encounter this error when you run the System Image Backup function. As mentioned, you can resolve this error using two potential fixes namely checking the status of the Windows Backup Service and checking the settings in the Windows Registry. For more details, refer to the instructions provided below but before you proceed, it would be better if you create a System Restore point first.

Option 1 – Try checking the status of the Windows Backup Service

  • First, you need to tap the Win + R keys on your keyboard to open the Run dialog box.
  • Next, type “services.msc” in the field and click OK or tap Enter to open the Windows Services Manager.
  • After that, you will see a list of services and from there, look for the Windows Backup Service and double click on it to open its Properties.
  • Then check if its Startup type is set to Disabled. If it is, then change it to “Manual”. Note that this service is essential as it provides backup and restores capabilities.
  • Now click on the Apply and OK buttons to save the changes made and then restart your computer. Check if the error is now gone.

Option 2 – Try checking the Registry setting of Windows Backup

  • Tap the Win + R keys to open the Run dialog box.
  • Then type “Regedit” in the field and tap Enter to open the Registry Editor.
  • After opening the Registry Editor, navigate to this registry key: HKEY_LOCAL_MACHINESOFTWAREMicrosoftWindowsCurrentVersionWindowsBackup
  • From there, look for DWORDs named “ValidConfig” and “ValidSystemImageBackup” located in the right-side panel.
  • Once you found them, delete them or set both of their values to “0” and make sure that the base is Hexadecimal and click OK.
  • Now exit the Registry Editor and restart your computer to apply the changes made.
Read More
Fixing error 0xc000000e in Windows 10
If you encounter a Recovery Error code 0xc000000e, “Your PC needs to be repaired” error on your Windows 10 computer, then it means that there is some hardware failure or an incorrect drive configuration. Apart from the error, it may be accompanied by different error message such as:
  • A required device is inaccessible
  • The selected entry could not be loaded
  • A required device isn’t connected or cannot be accessed
  • The selected entry could not be loaded because the application is missing or corrupt
  • The boot selection failed because a required device is inaccessible.
As mentioned, the error code 0xc000000e or STATUS_NO_SUCH_DEVICE error indicates that there is a hardware failure or an incorrect drive configuration and to fix it, you have to check your cables as well as check the drive with the diagnostic utility available from the manufacturer of the drive. And if you are using older PATA (IDE) drives, then this kind of error also indicates an incorrect master/subordinate drive configuration. There could be different causes for this error. It could be that the winload.exe file is not accessible or is corrupted or that the boot location for the operating system cannot be found. Thus, for you to boot into and access the operating system, you can try the suggestions given below.

Option 1 – Try rebuilding the Boot Configuration Data (BCD) file

  • Once you get to the Welcome Screen part, click on Next.
  • Afterward, click on the Repair your computer option located on the bottom-left part of the window.
  • Then click on Troubleshoot.
  • Next, select the Advanced Options and then Command Prompt.
  • Once Command Prompt has been pulled up, the following command to rebuild BCD files.
bootrec /rebuildbcd
  • Once the command line is successful in finding out a Windows installation, hit Y to let it boot from the list which will successfully rebuild BCD.
  • Now type “exit” to close Command Prompt and then restart your computer to successfully apply the changes made.

Option 2 – Try to run the Automatic Repair Utility

You might also want to use Automatic Repair in fixing the error code 0xC000000E. To do so, follow the steps below.
  • You can start by creating and booting from a bootable Windows 10 USB Stick.
  • After that, click on Repair your computer located in the bottom left corner when you are on the initial Windows Startup screen.
  • Next, click on Troubleshoot, and then on the other screen, click the Startup Repair option.
  • Now select the operating system you want to repair. Once you do that, it will start to repair your operating system. Wait until the process is completed and then check if the problem’s now fixed.

Option 3 – Try checking the physical device connections

You might also want to try checking if there are other devices that are connected to your PC. This is because of the configuration of the BIOS or UEFI might be configured in a way that any external device connected to the computer has a higher boot priority compared to the hard disk.  And if it’s really the case, the externally attached disk might be the drive your computer is trying to boot into and not the hard disk. In such cases, Pen Drives, USB storage devices, CDs, DVDs, and so on, are included in this category of physical device connections.

Option 4 – Try updating the BIOS

As you know, the BIOS is a sensitive part of a computer. Even though it is a software component, the functioning of the hardware depends on it largely. Thus, you must be careful when modifying something in the BIOS. So if you don’t know much about it, it’s best if you skip on this option and try the other ones instead. However, if you are well-versed in navigating the BIOS, then follow the steps below.
  • Tap the Win + R keys to open the Run dialog box.
  • Next, type “msinfo32” in the field and press Enter to open System Information.
  • From there, you should find a search field on the bottom where you have to search for the BIOS version and then press Enter.
  • After that, you should see the developer and version of the BIOS installed on your PC.
  • Go to your manufacturer’s website and then download the latest version of BIOS on your computer.
  • If you are using a laptop, make sure that you keep it plugged in until you have updated the BIOS.
  • Now double click on the downloaded file and install the new BIOS version on your computer.
  • Now restart your computer to apply the changes made.

Option 5 – Try resetting the BIOS/UEFI configuration

You might also want to reset the BIOS configuration which will lead to arranging the boot configuration since it is intended by the manufacturer. Note that this will get rid of any blockage in the boot process.

Option 6 – Try marking your Disk as Online

Marking your Disk as Online can also help in resolving the error code 0xC000000E. To do so, follow the steps below.
  • You need to first create a bootable Windows 10 Media and then boot from it.
  • After that, click on Repair your computer on the first window of the Windows 10 installation setup.
  • Now, choose the operating system partition from the options and click on Next.
  • Then select Command Prompt from the System Recovery Options box.
  • Next, type in “diskpart” and hit Enter to initiate the Diskpart utility inside the Command Prompt.
  • Now type in either “list disk” or “list volume” and hit Enter. Either of these commands will help you in listing all the Disk connects or all the partitions on those disks formed. So you have to select one command depending on the list command you entered.
  • Afterward, type in “select disk #” or “select volume #” and hit Enter to select the Disk or Partition you want to select.
  • Now type in “online disk #” or “online volume #” and press Enter to mark the disk you selected as Online.
Read More
Windows is stuck in Airplane Mode
As of late, a number of users reported experiencing a problem where their Windows 10 computers get stuck on Airplane mode for some unknown reason. According to the affected users, they were unable to turn off the Airplane mode which means that their computers are also not able to connect to the internet. One of the possible reasons why this kind of issue occurs is that there could be a bug with the airplane mode or it could also be the doing of faulty network drivers or physical switch that’s turned on, and so on. If you are one of the few users who experience the same issue, then read on as this post will guide you on what to do if your Windows 10 computer gets stuck on Airplane mode. There are a couple of suggestions you can check out to resolve the problem. You can try to check the status of the Radio Management service, flush the DNS cache or you could turn off the airplane mode via system settings. You could also update the network drivers or turn off the physical switch for airplane mode or make some adjustments in the Windows Registry. For more details, refer to each one of the suggestions provided below.

Option 1 – Try to check the Radio Management Service status

  • First, tap the Win + R keys to open the Run dialog box and type “services.msc” in the field, and hit Enter to open the Windows Services Manager.
  • Next, look for the Radio Management service and select Properties.
  • From there, change its Startup type to Disabled and click on the Apply and OK buttons to save the changes made.
  • Once done, restart your computer and check if you can now turn off the airplane mode.

Option 2 – Flush the DNS cache

You could also try to flush the DNS cache to fix the “ERR_ICAN_NAME_COLLISION” error. All you have to do is open Command Prompt as an administrator and then execute each one of the following commands sequentially to flush the DNS cache:
  • ipconfig/release
  • ipconfig/renew
  • ipconfig/flushdns

Option 3 – Try turning off the airplane mode via System settings

If flushing the DNS cache did not help in fixing the problem, then you might want to turn off airplane mode via system settings.
  • In the Windows Search bar, type “airplane mode”.
  • From the search results that appear, click on Airplane mode.
  • After that, a window will appear where you have to turn off the toggle button for Airplane mode.

Option 4 – Try to update, rollback or reinstall the Network adapter drivers

The next thing you can do to resolve the problem is to update the Network Adapter drivers by following these steps:
  • Tap the Win + R keys to launch the Run window and then type in the “devmgmt.msc” command and hit Enter to open the Device Manager window.
  • Under the Device Manager, you will see a list of drivers. From there, look for the Network Adapters and expand them.
  • Look for the Broadcom Network Adapter and right-click on it, as well as other network adapters that have an exclamation icon, and update them all.
  • Restart your PC and see if it helped in fixing the problem.
Note: If updating the network drivers didn’t help in fixing the problem, you can also try to roll back the very same drivers from their previous versions and restart your Windows 10 PC. After that, the system itself will reinstall the drivers you just uninstalled. Alternatively, you can also download and install the drivers from the manufacturer’s website directly. To reinstall the network adapter drivers, refer to these steps:
  • Open the Devices Manager from the Win X Menu.
  • Then locate the device drivers and right-click on them to open the Properties.
  • After that, switch to the Driver tab and click on the Uninstall Device button.
  • Follow the screen option to completely uninstall it.
  • Finally, restart your computer. It will just reinstall the device drivers automatically.

Option 5 – Try to turn off the physical switch for Airplane mode

If your computer has a physical switch to turn on or off the airplane mode, then you might want to check that switch if you have one. Chances are, it could be the reason why you’re unable to turn off Airplane mode on your computer.

Option 6 – Try to make some adjustments in the Registry

  • Tap the Win + R keys to launch the Run utility.
  • Then type “Regedit” in the field and hit Enter to open the Registry Editor.
  • Next, navigate to this registry path: HKEY_LOCAL_MACHINESystemCurrentControlSetControlClass
  • From there, edit the registry value of “RadioEnable” to “1”.
  • Exit the Registry Editor once done, and restart your computer.
Read More
Disable widgets menu inside Windows 11
windows 11 widgets menu
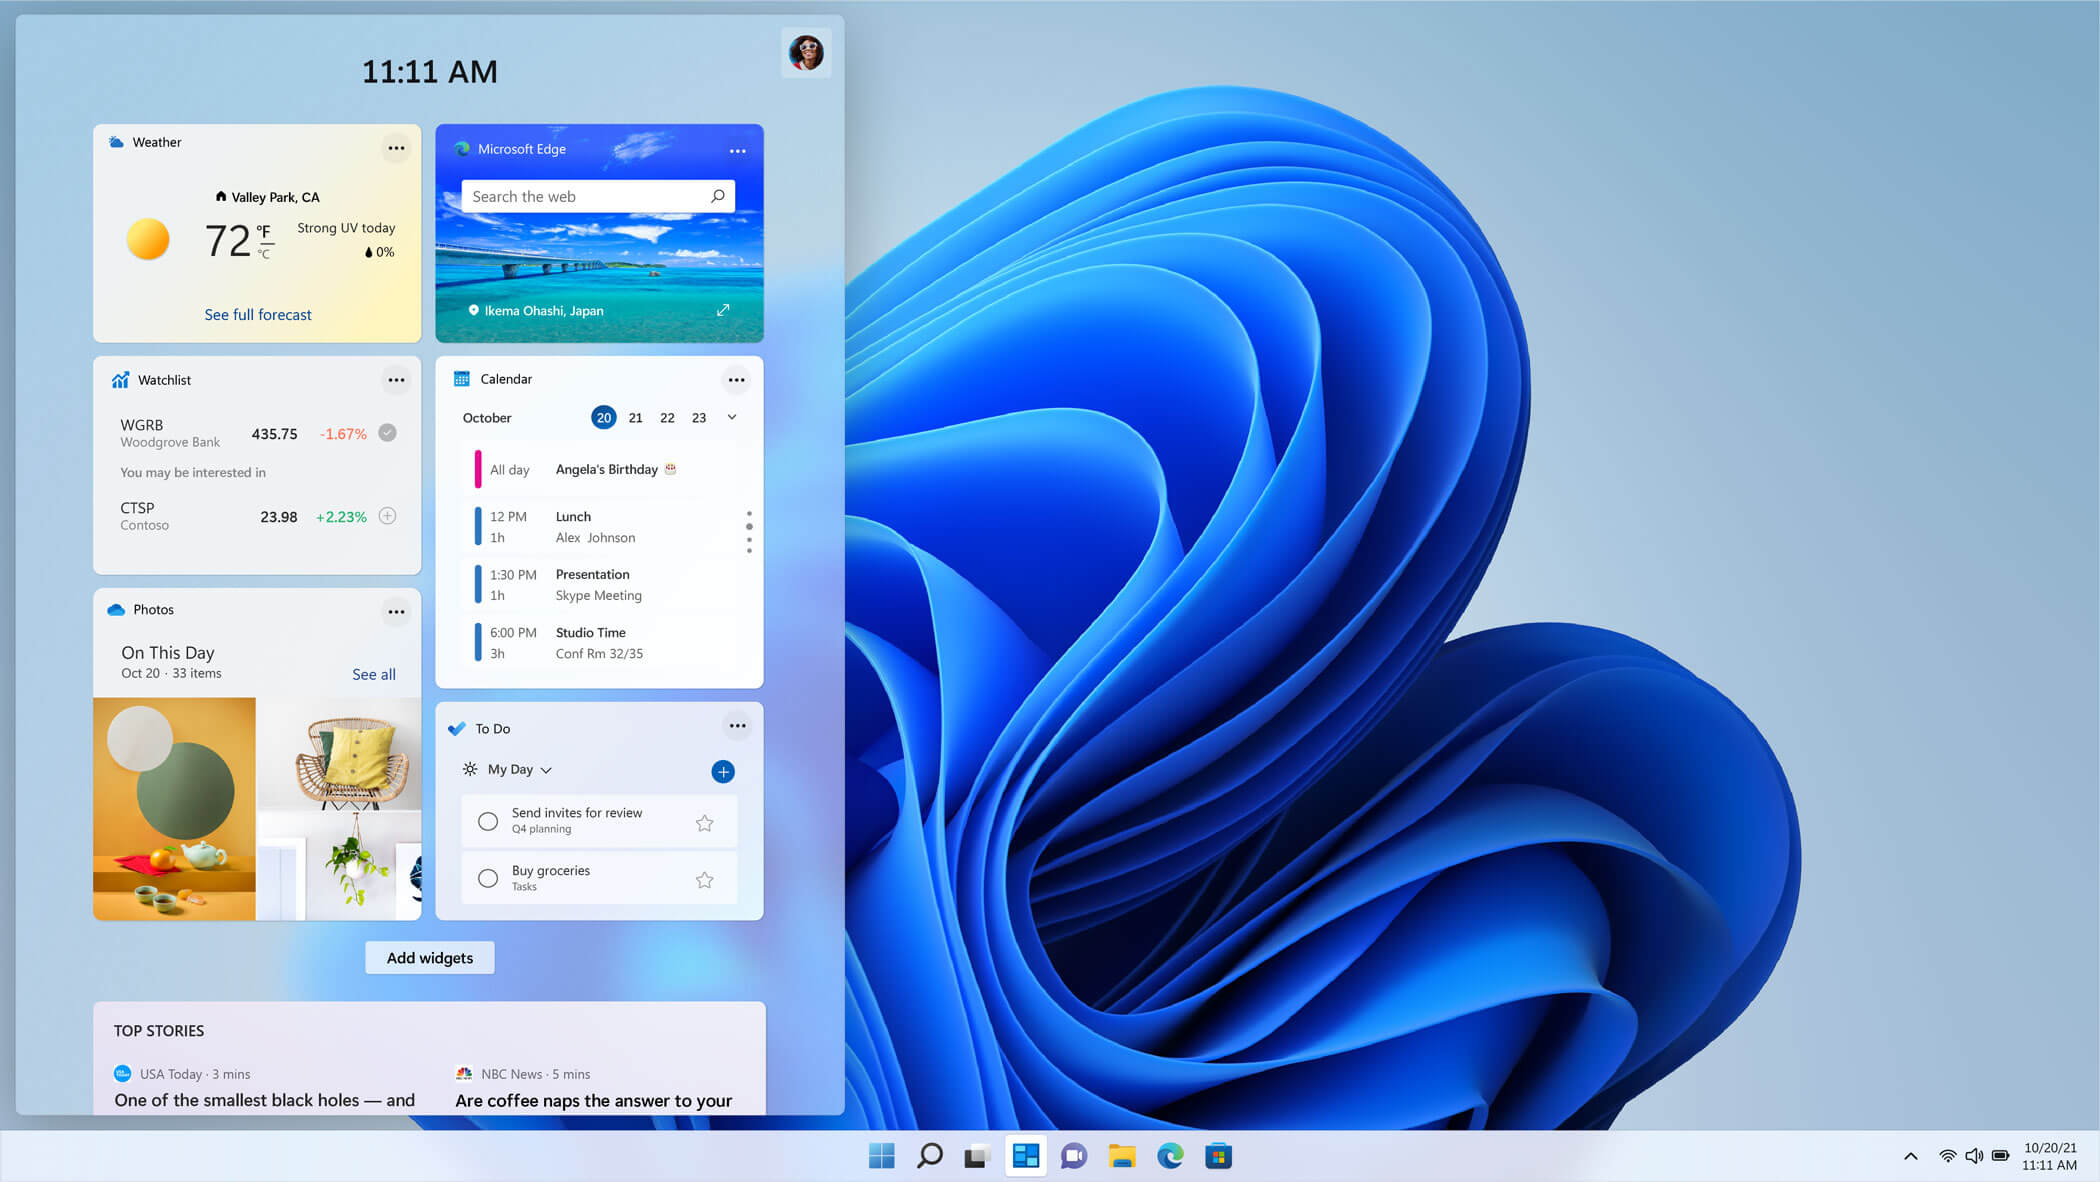
The new widget's menu inside Windows 11 is generally met with a positive attitude but there are still users which prefer not to have it. Luckily for them, Microsoft included a very easy way to turn the widgets menu on or off. Follow this easy guide to see how. Right-click on the widget button in the taskbar and click on Hide from Taskbar and that’s it Alternatively, you can also turn it off via the setting app. Go to the settings app and navigate to Personalization > Taskbar > Taskbar Items and flipping the switch beside Widgets to Off. Please note that both methods will only hide the button to toggle widgets menu, at the current state there is no really a way to actually turn it off, only hide it and make it not available to bring it up.
Read More
Fix cannot open IPv4 Properties in Windows 10
Many Windows 10 users often change the IP addresses of their computers’ network adapter in order to connect to the internet or network they belong to in times when there is no automatic connection for their computers. In most cases, access to modifying this setting is restricted for some odd reason even if you are an administrator. So if you are one of the users whose Windows 10 VPN IPv4 Properties are not working, this post can help you remedy that so that you can open and edit the IPv4 Properties on your Windows 10 PC. The common way to change IP settings is by going to Settings > Network and then to Internet > Change adapter options > Select Network adapter > right click and open Properties. From there, you can select TCP/IP 4 and modify it. If you aren’t able to do this, refer to the instructions laid out below to troubleshoot the problem in accessing the IPv4 Properties.

Option 1 – Try using PowerShell to manually set the IPv4 properties

As you are not able to set it using the interface, you can do so using PowerShell instead. Note that this option will only work for you if you run PowerShell with administrator privileges. After opening PowerShell, according to many users, you have to run the this command – set-DnsClientServerAddress -InterfaceAlias “Ethernet” -ServerAddresses xxx.xx.xxx.xxx,x.x.x.x,xxx.xx.xxx.xxx,x.x.x.x Usually, Ethernet is the name of your network adapter which is set by default. If you want to see the actual name of your network adapter, you can just type this command and tap Enter after doing so – Get-NetAdapter -physical | where status -eq 'up' After entering the given command, you will see a list of active Ethernet adapter in your computer as you can see on the image above. Note that the 4 sets of X like the one on the image below should match with the sequence:

Option 2 – Try editing the rasphone.pbk files

The rasphone.pbk files stores property for the connections and since you are not able to access the IPv4 properties, it is most likely that it has been disabled here. The good thing is that you can open these files and edit them using Notepad. Refer to the steps below to do so.
  • Open the Windows Explorer and then enable the show hidden files option.
  • After that, look for the files at this location – C:Users <username>AppDataRoamingMicrosoftNetworkConnectionsPbk_hiddenPbkrasphone.pbk
  • Then right-click on it and select the “Open with” option and choose the Notepad app.
  • After opening the file, look for “IpPrioritizeRemote” from the long list.
  • Once you found it, set its value from “1” to “0”.
  • After that, look for “IPInterfaceMetric” and set its value to “1” and tap Ctrl + S to save the changes you’ve made, and then exit and try accessing the IPv4 properties again. It should work, but if you’re still unable to access it, try the next option below.

Option 3 – Enable the Split Tunneling if you use VPN

All data goes back and forth when you are using a VPN service on your computer. And since you are using VPN, it could be that it disables the IPv4 interface. If that’s the case, you need to stay connected with both the local network and VPN and to do so, you have to enable Split Tunneling. How? Follow these steps:
  • Open PowerShell with administrator privileges.
  • Next, type in “Get-VpnConnection” and tap Enter. After doing so, it will give you the exact name of your VPN.
  • After that, type in “Set-VpnConnection -Name “yourVPNName” -SplitTunneling $True” and tap Enter. Once you enter the command, it will free your IPv5 settings so that you can change it to connect with your local network if you prefer it to.
Read More
Upcoming comic book movies with release dates
upcoming comic moviesThe World of Superhero movies has gone through some interesting variations, from good ones to bad ones, from big-budget ones to small ventures, even from large well-known characters to niche ones. No matter what you think of some of them no one would disagree that since the release of Iron Man and starting Marvel cinematic universe superheroes movies exploded in popularity. Following the Superhero craze, let’s see what is coming up in comic books transferred to big screens with their release dates.

List of upcoming movies

Shang-Chi and the Legend of the Ten Rings, Sept. 3, 2021 Trailer Venom: Let There Be Carnage, Oct. 15, 2021 Trailer Eternals, Nov. 5, 2021 Trailer Spider-Man: No Way Home, Dec. 17, 2021 Trailer Morbius, Jan. 28, 2022 Trailer The Batman, March 4, 2022 Trailer Doctor Strange in the Multiverse of Madness, March 25, 2022 Thor: Love and Thunder, May 6, 2022 DC League of Super-Pets, May 22, 2022 Black Panther: Wakanda Forever, July 8, 2022 Black Adam, July 29, 2022 Trailer Spider-Man: Into the Spider-Verse 2, Oct. 7, 2022 The Flash, Nov. 4, 2022 The Marvels, Nov. 11, 2022 Aquaman and the Lost Kingdom, Dec. 16, 2022
Read More
Fix Error 0x800F0923 in Windows 10
In trying to upgrade your Windows 10 computer, you might have come across the error 0x800F0923. This kind of Windows upgrade/update error is caused by an incompatible driver or software that’s installed on your computer. Thus, to fix the problem, you need a working fix which you can choose from below. As mentioned, you can try updating the concerned application or software to its latest version to resolve the compatibility issue and in turn, fix error 0x800F0923. Note that depending on where you had installed the application, your steps will change. So if you have it installed directly from the website, refer to these steps:
  • Look for the built-in option to check the updates since the most application has this option.
  • You also have the option to go to the website of the application and check if there is a new version available. If there is, download and update the app.
On the other hand, if you have downloaded the app from the Microsoft Store, here’s what you have to do:
  • Open the Store and click on the three dots located at the top-right of the window.
  • Next, click the Download and Updates option.
  • From there, check if there is an update available for the store. If there is, update it.

Option 2 – Try to uninstall the application or software

If updating the app or software to its latest version didn’t help and you’re still getting the error 0x800F0923 every time you attempt to install the Windows Updates, you may have to uninstall it. You will need to use the usual Program and Features to uninstall it if you have downloaded it from the website.
  • In the search box, type in “control” and then click on Control Panel (desktop app) among the search results.
  • After that, select Programs and Features from the list which will give you a list of all the programs installed on your computer.
  • From there, look for the concerned program and select it and then uninstall it.
Note: If you have downloaded the app from the Windows Store, you can simply right-click on it from the application list and then uninstall it.

Option 3 – Try to disable your antivirus program

Disabling the antivirus program or any security software installed in your computer is always a good idea you can try when the Windows Update process does not go smoothly. So before you try updating your computer again, make sure to disable the antivirus or security program and once the Windows Update is done, don’t forget to enable the antivirus program back again.

Option 4 – Try to run the Windows Update Troubleshooter

Running the built-in Windows Update troubleshooter could also help you resolve the Windows Update error 0x80073712. To run it, go to Settings and then select Troubleshoot from the options. From there, click on Windows Update and then click the “Run the troubleshooter” button.

Option 5 – Try to do the Update in a Clean Boot state

Putting your PC in a Clean Boot state can also help you install Windows Updates or Upgrades without any trouble because, during this state, you can start the system with a minimum number of drivers and startup programs that will surely help you in isolating the root cause of the issue.
  • Log onto your PC as an administrator.
  • Type in MSConfig in the Start Search to open the System Configuration utility.
  • From there, go to the General tab and click “Selective startup”.
  • Clear the “Load Startup items” checkbox and make sure that the “Load System Services” and “Use Original boot configuration” options are checked.
  • Next, click the Services tab and select the “Hide All Microsoft Services” checkbox.
  • Click Disable all.
  • Click on Apply/OK and restart your PC. (This will put your PC into a Clean Boot State. And configure Windows to use the usual startup, just simply undo the changes.)
  • After that, try to install the Windows Updates or upgrade again.

Option 6 – Try running Microsoft’s online troubleshooter

You also have the option to run Microsoft’s online troubleshooter which could help you fix Windows Update errors including the error 0x800F0923.
Read More
1 2 3 171
Logo
Copyright © 2023, ErrorTools. All Rights Reserved
Trademark: Microsoft Windows logos are registered trademarks of Microsoft. Disclaimer: ErrorTools.com is not affiliated with Microsoft, nor claims direct affiliation.
The information on this page is provided for information purposes only.
DMCA.com Protection Status