If you have a BlueTooth device on your computer, you know that each time you need to receive or transfer the file you need to find the icon in the system tray, right-click on it and choose the desired option. But there is a simpler solution, create a Bluetooth icon on the desktop so it is always easy to access.
Open File Explorer by pressing ⊞ WINDOWS + E
Go to C:\Windows\System32
Find fsquirt.exe
Right-click on it and choose copy
Go to the desktop and right-click, choose paste
Rename the file to Bluetooth
And, you are done!

22H2 update for Windows 11 will arrive later this year and although Microsoft is not releasing anything big there will be some interesting improvements and fixes. We take a look at some that caught our attention.

One of the most interesting upcoming features is enhanced phishing protection. Microsoft Defender SmartScreen will be upgraded to alert users when they try to store passwords in plain text files and also if they accidentally type in a Microsoft account password on phishing sites.
"These enhancements will make Windows the world's first operating system with phishing safeguards built directly into the platform and shipped out of the box to help users stay productive and secure without having to learn to be their own IT department,"
Microsoft
Finally, Windows File explorer is getting tabs that will allow much easier management of folders and files inside it.
It is confirmed that Microsoft is also working on a new 'HOME' sidebar that should be modern in design and in features including OneDrive so you can find everything in one place.
Pinning of favorite files was also mentioned so you can easily pin favorites for quick access.
Windows 11 has brought back widgets in a new way and from all the feedback users are loving them. Currently, you have a widget sidebar on the left part of the screen where you have your chosen store widgets but from the Microsoft teaser, we will have soon the option to have them in full screen.
If you are using a widget for reading news, blogs, etc. this feature will be very good since you will be able to use your whole screen for information and not just a part of it.
Another new feature is 'suggested actions' which is going to be particularly useful in apps like Microsoft Teams. With this new feature, you can highlight a date in a Teams message and Windows will suggest actions.
For example, if you highlight a date, you'll see a recommendation to create an event in Microsoft Calendar for that day.
This error code occurs when users fail to activate their Windows operating system. It is one of the more popular Windows error codes since it affects many versions of Windows including Windows 7, Windows 8.1, and Windows 10. Error code 0x8007007b has common symptoms which include the following:
 Error Causes
Windows error codes such as Error code 0x8007007b can be a complicated issue, requiring the use of technical knowledge and skills. For this reason, we have listed instructions in the simplest of forms to enable even average users to successfully complete manual repair methods that will resolve error code 0x8007007b.
The same approach has been applied to all our error code solutions. See also Error Code 0x00000024 and Error Code 0x80004005.
Below are the two main methods for correcting this issue.This method involves the use of a Multiple Activation Key (MAK) instead of the Key Management Service (KMS) to activate the Windows operating system you intend to use on your PC. This manual repair method requires the use of Command Prompt so ensure you follow the instructions provided carefully so as to avoid the risks of causing harm to your system.
Attempt to activate your Windows installation once you’ve completed the exact instructions above. If you are unable to complete this process, consider getting help from a Windows repair technician or simply move to the next manual repair method listed below.
System File Checker (SFC) enables Windows users to scan and repair errors or corruption on system files. Since such errors within your system files can cause error code 0x8007007b to occur, follow the steps below to fix this error code.
The System File Checker tool will begin scanning your machine for corrupted or missing files in need of repair. If these files are found on your system, the tool will repair and replace them. Once this is done, restart your computer then check to see if you can now activate your Windows operating system.
If you wish to always have at your disposal a utility tool to fix these Windows 8 and other related issues when they do arise, download and install a powerful automated tool.
“Windows cannot install required files. Make sure all files required for installation are available and restart the installation. Error code: 0x800701e3.”To fix this Windows Upgrade error, here are some suggestions that might help.
net stop wuauserv net start cryptSvc net start bits net start msiserver
net start wuauserv net start cryptSvc net start bits net start msiserver
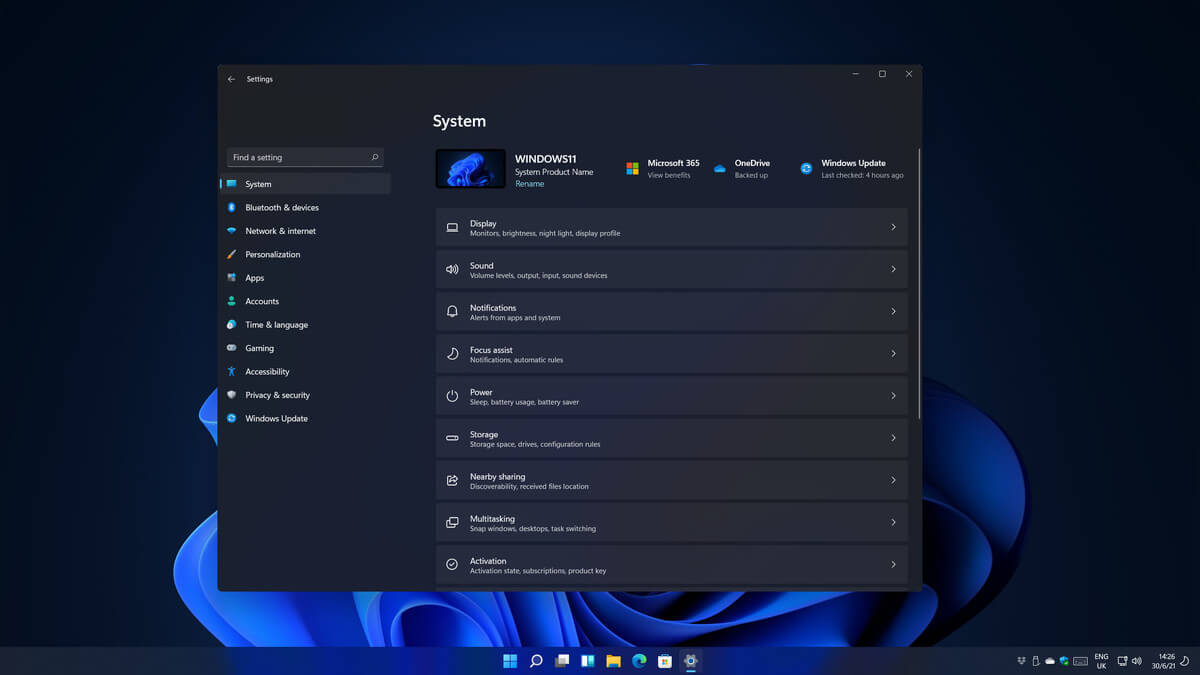 Same as Windows 10, Windows 11 also keeps track of date and time using an internet time server. But in a case that you need to change the date or time for any kind of reason here is a guide for that process:
Error Code 0x80070032 is a command that most often relates to codes or commands that have not been entered correctly or do not apply to the given program. It can also appear when mail folders in Windows Mail are not able to sync in the way that they should between the local device and the servers owned by Microsoft.
Common symptoms include:
The primary methods used to address Error Code 0x80070032 are fairly basic and easy to complete. Most users should be able to complete these methods on their own and they do not require a lot of time to do. However, if you don’t feel like you have the experience, skills, or knowledge necessary to complete the steps listed below, consider getting in touch with a qualified Windows repair technician to assist you.
Error CausesThere are three basic methods that users can try in order to resolve Error Code 0x80070032 on their machine. These are fairly simple and easy to complete. However, if the methods below aren’t successful in resolving the error code or if you do not feel confident in your ability to use them, get in touch with a certified Windows repair professional to assist you.
If you believe that you are seeing the error due to entering a command that didn’t work, use Method One first. If you believe it is due to a mail syncing error, use Methods Two or Three.
Here are the top methods for addressing Error Code 0x80070032:
If you believe that you are experiencing Error Code 0x80070032 because of a command that you have entered, the best solution is to reinstall the program in which you were entering the command. You may also want to try updating your program, if able, before reinstalling it. Remember to restart the computer before reattempting to enter in the command that caused the error.
For many users, Error Code 0x80070032 appears because of a bug in one of the versions of Windows 10. If you believe that this is the case, open up your Windows Updates and check to see if there are any updates that you can install.
For users who are only seeing Error Code 0x80070032 because of the bug mentioned above, Windows released an update that should address the error code on its own. If your computer is fully updated, the error may be resolved on its own. Always remember to restart your computer after installing updates so that the necessary changes can take effect.
If the above methods did not resolve the problem successfully, you can switch to local access to your Windows Mail, rather than relying on Microsoft access. To do so, complete the following steps:
Once this is done, you can switch back to your Microsoft account, which should reset your syncing ability. Follow these steps to switch back: