If you wish to continue where you have left off when you signed out of Windows follow this guide and learn how to continue your work after signing in, restart apps in your Windows.
You can set Windows 10 to Automatically save your restartable apps when you sign out and restart them after you sign in. Here’s how:

Error code 0x000000D1 is a serious error that is displayed when Windows automatically shuts down to protect the system against further damage.
Usually, when this error occurs, the message displayed to the users states something like STOP 0x000000D1 DRIVER_IRQL_NOT_LESS_OR_EQUAL.
 What Causes 0x000000D1 Error?
Usually, the STOP 0x000000D1 error code is caused by issues like incompatibilities, third-party drivers, driver conflicts, outdated drivers, malicious drivers, and other related problems.
Speaking technically, the message displayed to the user actually means that the kernel-mode driver has tried to gain access to memory at an unreasonably high process IRQL.
If left unfixed, STOP 0x000000D1 error can become quite serious. Increased frequency of occurrence may not only lead to data loss but can cause system corruption as well. That’s why it is crucial to fix it and to resolve the underlying issues causing it as soon as possible.
CHKDSK [volume [[path] filename]] [/F] [/V] [/R] [/X] [/C] [: size]]Note: In the command given above, “[/F]” will try to fix the system errors while “[/R]” will be the one to fix the bad sectors.
C00D1199: Cannot play the file
Error CausesAn error has occurred Code: 0xC004F050 Description: The Software Licensing Service reported that the product key is invalid
Error CausesiLivid is a video download manager for YouTube and other third-party video-hosted websites. iLivid download manager has powerful features that make it the fastest and easiest way to download hosted files. iLivid includes XBMC plug-ins that let you play almost all popular audio and video formats, in any available protocol and in any media type: streaming, CDs, DVDs, and RAR and archived files from your hard drive.
Livid is a program developed by Bandoo Media Inc. Upon installation, it defines an auto-start registry entry which allows the program to run on each boot for the user who installed it. A scheduled task is added to Windows Task Scheduler in order to launch the program at various scheduled times. The software is designed to connect to the Internet and adds a Windows Firewall exception in order to do so without being interfered with.
Multiple Anti-Virus scanners have detected iLivid as a possible Malware and are therefore not recommended.
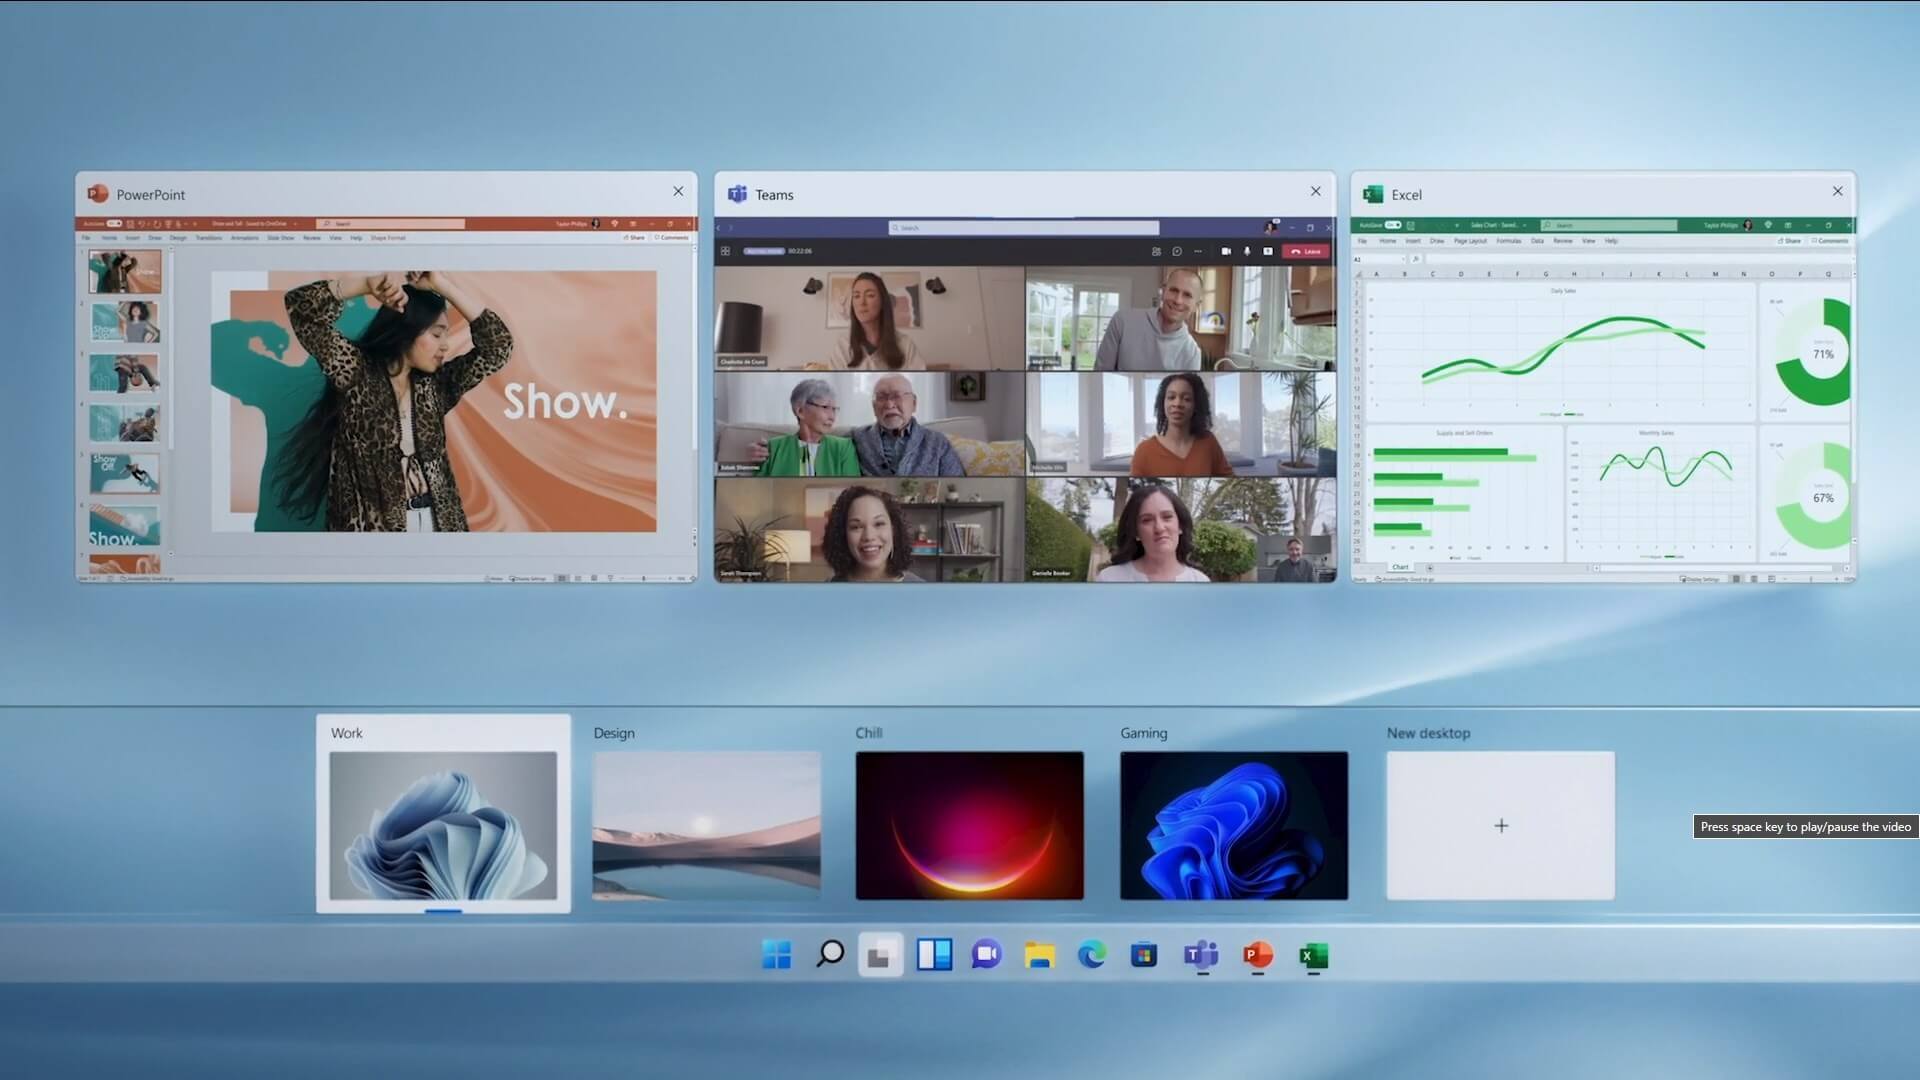 The feature that was originally planned for now scrapped Windows 10X is included in Windows 11. You will be able to customize your Virtual desktop with different wallpapers for each screen.
In order to fully customize your virtual desktops with different wallpapers follow this easy step-by-step guide.
The feature that was originally planned for now scrapped Windows 10X is included in Windows 11. You will be able to customize your Virtual desktop with different wallpapers for each screen.
In order to fully customize your virtual desktops with different wallpapers follow this easy step-by-step guide.
 From the Device Manager choose the troublesome device and right-click on it, choose properties.
 Device properties floating Window will appear.
 Click on the top tab which says, Driver. From the Driver tab, click on Roll Back Driver.
 Note that if the device is working properly, the Roll Back Driver button will be greyed out and you will not be able to click on it meaning that chosen device is not the issue. If the device is not working properly and you can click on Roll Back driver, do it, choose the previous version, and reboot your computer.
You can use this method to get back to the previous driver version for any device that is causing issues in your computer.
Note that if the device is working properly, the Roll Back Driver button will be greyed out and you will not be able to click on it meaning that chosen device is not the issue. If the device is not working properly and you can click on Roll Back driver, do it, choose the previous version, and reboot your computer.
You can use this method to get back to the previous driver version for any device that is causing issues in your computer. Error Code 0x80d02002 is one of the common errors encountered by Windows users upgrading to Windows 10 or installing new Windows updates. This error results in program lock-ups, system crashes, and freezes, or slow PC performance. It can also cause possible loss of private data on your device.
Some of the common error messages involving Error Code 0x80d02002 include:
Error CausesIn trying to fix Error Code 0x80d02002, you can employ manual repair methods to effectively and efficiently solve the issue. However, keep in mind that one tiny error made in using the command prompt can result in data loss or put your computer in a no-boot situation. In such cases, you can seek help from a Windows professional or consider using an automated tool whenever necessary.
You can try doing the following manual repair methods in an attempt to fix Error Code 0x80d02002:
In trying to fix Error Code 0x80d02002, you may try resetting manually and check the Windows update components by doing the following steps:
net stop wuauserv net stop cryptSvc net stop bits net stop msiserver ren C:WindowsSoftwareDistribution SoftwareDistribution.old ren C:WindowsSystem32catroot2 catroot2.old net start wuauserv net start cryptSvc net start bits net start msiserver pause
Check if there are system files that need to be repaired by running an SFC Scan. Follow the steps below:
There are times when Skype or your installed antivirus can conflict in updating your system. You can disable first your antivirus or Skype as you update your system and enable them once again when you successfully update your system.
Can’t seem to put up with the long and technical manual repair process? You can still fix this error by downloading and installing a powerful automated tool that will surely get the job done in a jiffy!