HPQTRA08.exe - What is it?
HPQTRA08.exe (Hewlett Packard Tray 08) is the Hewlett Packard Digital Imaging Monitor task. It is installed with the drivers of HP imaging products like PhotoSmart Printers.
It incessantly monitors and indicates the connectivity status with any recognizable HP product.
Simply put, HPQTRA08.exe is an exe (executable) file that contains step-by-step instructions that a computer follows to carry out a function.
HPQTRA08.exe error code is displayed in any of the following formats:
- "Hpqtra08.exe Application Error."
- "Cannot find hpqtra08.exe."
- "Hpqtra08.exe not found."
- "Error starting program: hpqtra08.exe."
- "Hpqtra08.exe is not a valid Win32 application."
- "Hpqtra08.exe failed."
- "Faulting Application Path: hpqtra08.exe."
- "Hpqtra08.exe has encountered a problem and needs to close. We are sorry for the inconvenience."
- "Hpqtra08.exe is not running."
Solution
 Error Causes
Error code HPQTRA08.exe can be triggered for several reasons. However, some of the most common causes include:
- Corrupt Windows registry keys
- Virus infection
- Deleted, damaged, or corrupted HPQTRA08.exe file
- HPQTRA08.exe file conflict
- Corrupt or incomplete installation of Hp Digital Imaging
It is advisable to repair the error code HPQTRA08.exe on your PC immediately. Delays can lead to serious problems especially if the underlying cause of the error is related to registry corruption.
Further Information and Manual Repair
To resolve this error on your PC, you don’t need to hire a professional and pay hundreds of dollars for the repair. Simply try the DIY methods listed below to fix the problem right away.
Method 1 - Download and Install HPQTRA08.exe File
If the error cause is related to deleted, corrupted, or damaged HPQTRA08.exe file, then the best way to fix the problem is to install the HPQTRA08.exe file on your PC.
However, first, make sure the site you select to download the file from is reliable and trusted.
By downloading from an unreliable website you can expose your PC to potential malicious programs and risk your data security.
Method 2 - Remove all Viruses
Sometimes viruses and malware tend to disguise in the form of exe files such as the HPQTRA08.exe file.
In such a situation scan your entire PC for viruses and malware using a powerful antivirus. Remove all the malicious programs found to fix the issue.
Method 3 - Clean and Repair the Registry
The registry saves all PC-related activities and information including both important and obsolete files such as cookies, bad registry entries, invalid keys, internet history, and junk files.
If these files are not removed from the registry frequently, these accumulate in the registry and corrupt thereby triggering error codes. Error code HPQTRA08.exe is generated when the corrupt Windows registry keys are associated with the HPQTRA08.exe file.
To resolve, clean the registry and repair it. Although this can be done manually it can be time-consuming and tricky especially if you are not technically sound, therefore it is advisable to download Restoro.
Click here to download Restoro and resolve error HPQTRA08.exe.
Method 4 - Locate and Install the Driver
As was pointed out, you might need to reinstall the printer driver again. Using
DriverFIX, you’ll be able to automatically update your computer system and install the drivers your computer needs to operate smoothly.

 Run the Windows Memory Diagnostic tool
 Sadly receiving this blue screen does not really explain which of the three cases is the correct one and causing the unwanted issue.
That being said, this article will not offer you a direct solution this time, it will be more like a guide on what to check and to do in order to remove this error, reason for this is the nature of the error itself.
If your computer is booting properly and you can enter Windows without issues the first thing you can try is going into power options and set it to high performance, if you are on a laptop set high performance both ways, when plugged and when on battery. Power performance settings can reflect on some hardware and can cause mayhem. After setting reboot the computer and see if the error repeats itself.
If the error persists go to the device manager and see if there is hardware that has any kind of warning beside it. If there is, update the driver or remove the driver of the device to see if this fixes the issue.
If all of the previous two things fail there is another thing you could try. Turn off your computer and disconnect all hardware except the most basic one. Now, this may take a long period of time but boot your computer and then repeat this process but each time add a new piece of hardware to eliminate and find which one is causing the issue. When found try to see if it is repairable through driver updates or get a new device.
Sadly receiving this blue screen does not really explain which of the three cases is the correct one and causing the unwanted issue.
That being said, this article will not offer you a direct solution this time, it will be more like a guide on what to check and to do in order to remove this error, reason for this is the nature of the error itself.
If your computer is booting properly and you can enter Windows without issues the first thing you can try is going into power options and set it to high performance, if you are on a laptop set high performance both ways, when plugged and when on battery. Power performance settings can reflect on some hardware and can cause mayhem. After setting reboot the computer and see if the error repeats itself.
If the error persists go to the device manager and see if there is hardware that has any kind of warning beside it. If there is, update the driver or remove the driver of the device to see if this fixes the issue.
If all of the previous two things fail there is another thing you could try. Turn off your computer and disconnect all hardware except the most basic one. Now, this may take a long period of time but boot your computer and then repeat this process but each time add a new piece of hardware to eliminate and find which one is causing the issue. When found try to see if it is repairable through driver updates or get a new device. 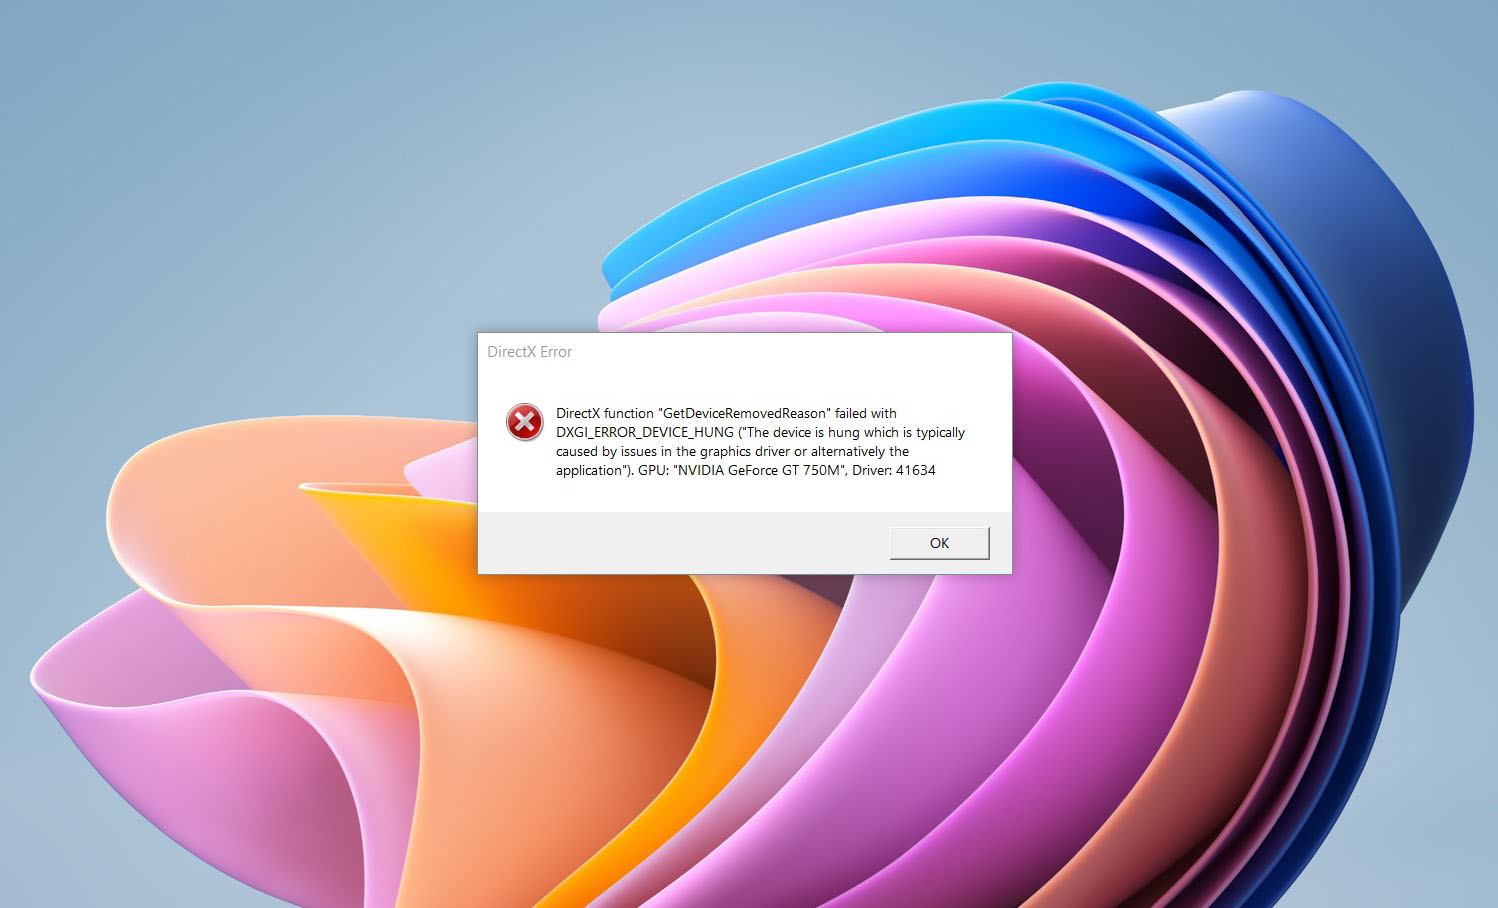 If you are one of the gamers affected by this error, fear not because we have a solution for you. Follow provided fix guide in order to correct this error and get back to gaming asap.
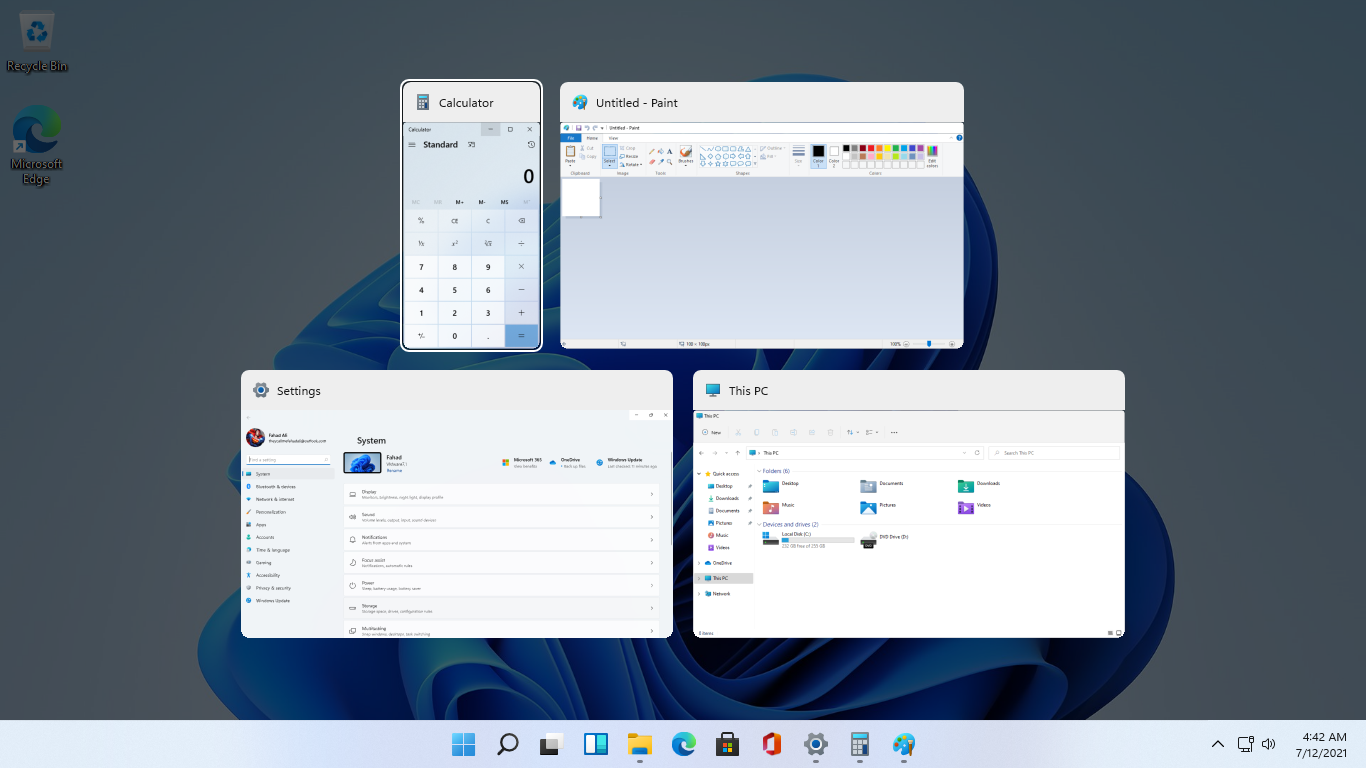 As in previous Windows 10, inside Windows 11 also when you press the ALT + TAB key combination you will get a preview of all running applications along with all Browser tabs so you can go through them and pick the one you want to switch to.
Alto, I personally am a big fan of alt-tabbing, I must admit that I am not a big fan of having multiple browsers tabs on screen when I do press key combo. Luckily there is a very easy way to turn this feature off.
Turning browsers tabs thumbnails off
As in previous Windows 10, inside Windows 11 also when you press the ALT + TAB key combination you will get a preview of all running applications along with all Browser tabs so you can go through them and pick the one you want to switch to.
Alto, I personally am a big fan of alt-tabbing, I must admit that I am not a big fan of having multiple browsers tabs on screen when I do press key combo. Luckily there is a very easy way to turn this feature off.
Turning browsers tabs thumbnails off