Scammers have decided to target Windows’s 10 App installer process in order to infect your computer and steal your data.
 As in most usual online scams, everything starts with a strange email containing threats and other poorly written and composed speech. At the end of the given email, there would be a link claiming that you, of course, need to read it and follow instructions about the threat, if you click the link it will open a web page where you will have an innocent-looking PDF file with more information about the threat itself.
If you click on a seemingly innocent PDF file it will summon Windows 10's AppInstaller.exe tool, kickstarting a download-and-run process that'll put you in a bad place very quickly. From there, you'll have to deal with the dangers of malware BazarBackdoor, including data and credential theft.
This kind of scam is nothing new but the interesting thing here is that it uses App installer and by clicking on a link you are opening and giving permission for a malicious crook to use it. So, stay safe and do not click on any links from unknown emails no matter what.

 The latest update from Panos Panay on Twitter is including New and redesigned Snipping tool inside Windows 11. From the shared video, we can see that it includes modern Windows 11 UI redesign and it looks and feels like a part of Windows 11.
More things that can be seen from the shared video is that it looks like the new snipping tool is a merged version of the old with snip & sketch.
It is good to see that it is still possible to capture screen with easier way natively inside Windows 11 but some more functionality would be more welcome I guess.
Users were asking for added functions for a long time like adding simple text for example but from shared video, no new features were presented so for some users 3rd party solutions will still be the way to go.
The new and redesigned Snipping tool will roll out with the next update and we will see then about all new features inside it firsthand. Until then, take care.
The latest update from Panos Panay on Twitter is including New and redesigned Snipping tool inside Windows 11. From the shared video, we can see that it includes modern Windows 11 UI redesign and it looks and feels like a part of Windows 11.
More things that can be seen from the shared video is that it looks like the new snipping tool is a merged version of the old with snip & sketch.
It is good to see that it is still possible to capture screen with easier way natively inside Windows 11 but some more functionality would be more welcome I guess.
Users were asking for added functions for a long time like adding simple text for example but from shared video, no new features were presented so for some users 3rd party solutions will still be the way to go.
The new and redesigned Snipping tool will roll out with the next update and we will see then about all new features inside it firsthand. Until then, take care. Microsoft has cut out Russia from downloading ISO files for Windows 10 and Windows 11 as well as installation tools without any explanation or reason behind this.
If you connect via VPN to a Russian server and try to download either ISO files or installation tools you will be greeted with the error 404 and an explanation of File or Directory not found or There was a problem with your request.
At this time you can still download Windows 11 Media creation tool but once you run it will throw a 0x80072F8F-0x20000 error with text: For some unknown reason, this tool failed to run on your computer.
People in Russia can still download files if they connect via VPN and go to a server located outside Russia.
Microsoft has not published any explanation why is this happening, it might be technical difficulty or it could be on purpose.
Since the beginning of the Russian military operation in Ukraine Microsoft has been putting restrictions on Russia starting with a suspension of all sales in March, next month in April Microsoft started suspending developer's accounts on GitHub linked to sanctioned companies and the suspension was even if the developer is not working for a given company or left it.
At the beginning of this month, Microsft laid off 400 employees inside Russia as they began scaling back operations in the country but has also stated that they would continue to provide services to all contractors and customers inside Russia so this sudden blocking of downloads is unexpected and it goes against their statement.
 Coursera was one of the pioneers when it comes to college education online. When it started all courses were free and offered certificates if the taker has done tasks with a passing grade. Today not everything is free but still, there are tons of free courses that can help you to learn something new and to advance in your work or hobby.
Google is using the Coursera platform to deliver its courses to the audience and besides google a lot of academic professors from Princeton, Stanford, John Hopkins and many more are presently offering their course material.
Coursera was one of the pioneers when it comes to college education online. When it started all courses were free and offered certificates if the taker has done tasks with a passing grade. Today not everything is free but still, there are tons of free courses that can help you to learn something new and to advance in your work or hobby.
Google is using the Coursera platform to deliver its courses to the audience and besides google a lot of academic professors from Princeton, Stanford, John Hopkins and many more are presently offering their course material.
 edX has evolved from MITx, MIT’s free initiative to place some free academic lectures from its classrooms free into the world. Since it was rebranded into edX it started including other big university names like Berkeley, University of Texas System, Harvard, and many more.
Since its infant days, edX has expanded and included many areas that it offers coursework from arts to science. Certificated today are mostly not free but course videos are, so if you care to learn and not wave certificates around this is a great place to do it.
edX has evolved from MITx, MIT’s free initiative to place some free academic lectures from its classrooms free into the world. Since it was rebranded into edX it started including other big university names like Berkeley, University of Texas System, Harvard, and many more.
Since its infant days, edX has expanded and included many areas that it offers coursework from arts to science. Certificated today are mostly not free but course videos are, so if you care to learn and not wave certificates around this is a great place to do it.
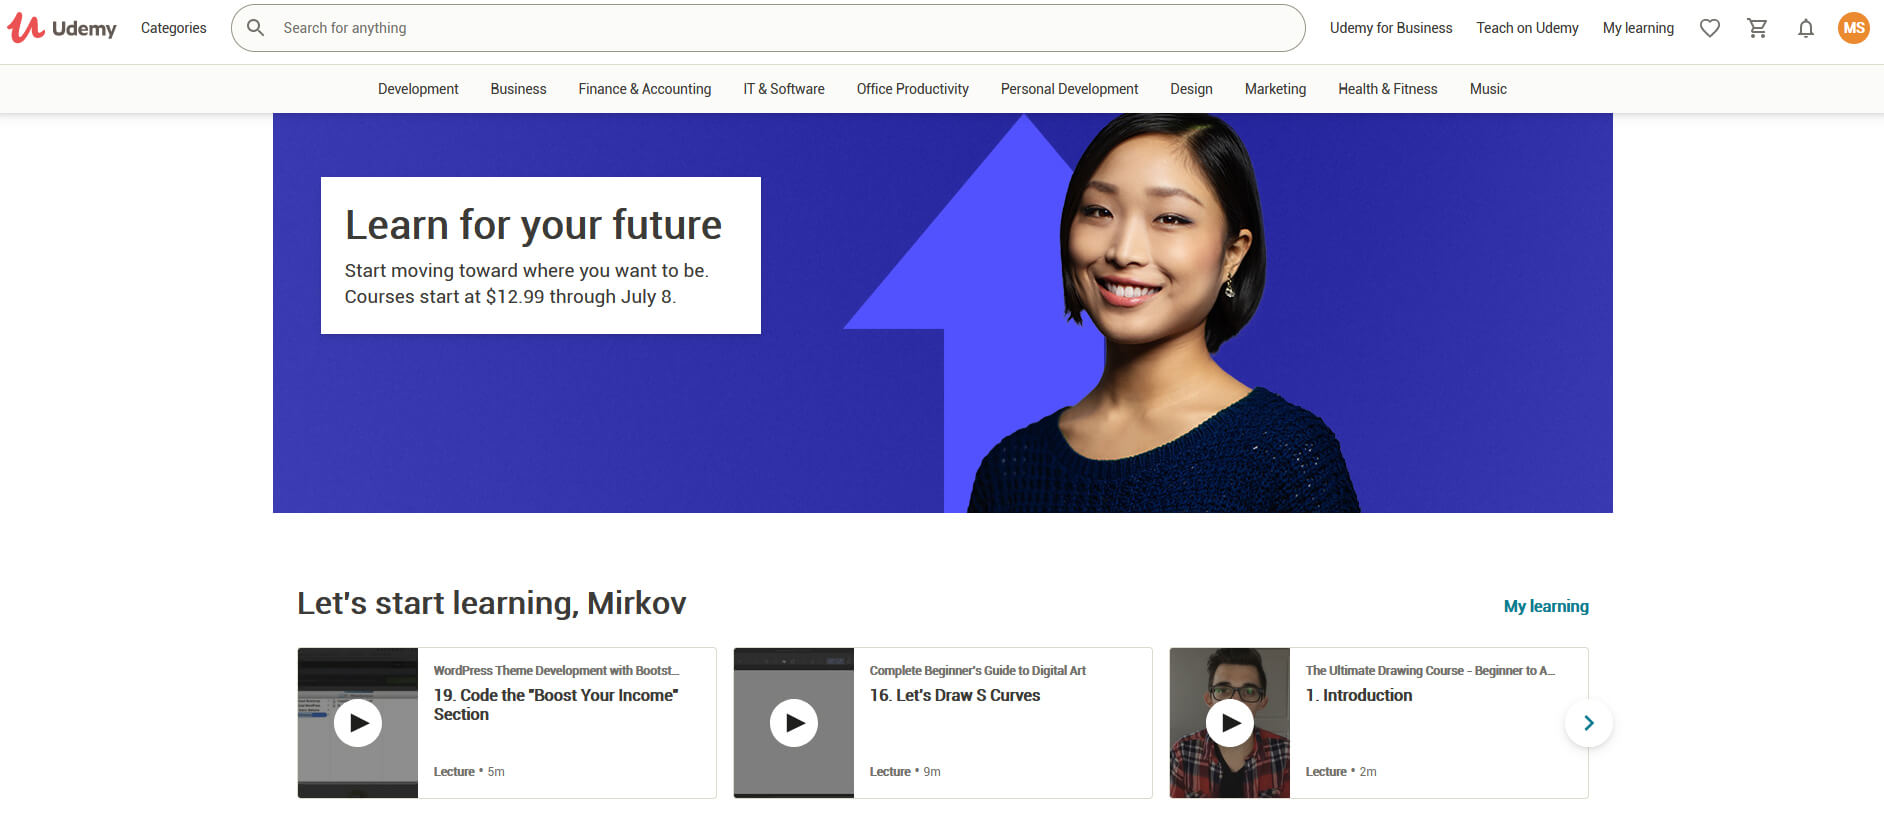 Udemy has a little different approach to course material than previously mentioned websites. Teachers on Udemy are mostly people that are working in a given field. Programmers will teach programming, fitness instructors will teach training, etc.
There are vas variety of topics even on lifestyle, hobbies even gaming to more serious ones like software developing hardware, etc.
There are free courses but mostly are one-time purchases with unlimited access to course material and with frequent discounts udemy might be a good place to look if you can find anything interesting.
Udemy has a little different approach to course material than previously mentioned websites. Teachers on Udemy are mostly people that are working in a given field. Programmers will teach programming, fitness instructors will teach training, etc.
There are vas variety of topics even on lifestyle, hobbies even gaming to more serious ones like software developing hardware, etc.
There are free courses but mostly are one-time purchases with unlimited access to course material and with frequent discounts udemy might be a good place to look if you can find anything interesting.
 Alison is kind of Udemy if we are talking about course material and who is teaching, the difference however is that it has more free content and it is one of the rare websites on this list that has Language courses.
Courses vary from beginner level to more advanced ones.
Alison is kind of Udemy if we are talking about course material and who is teaching, the difference however is that it has more free content and it is one of the rare websites on this list that has Language courses.
Courses vary from beginner level to more advanced ones.
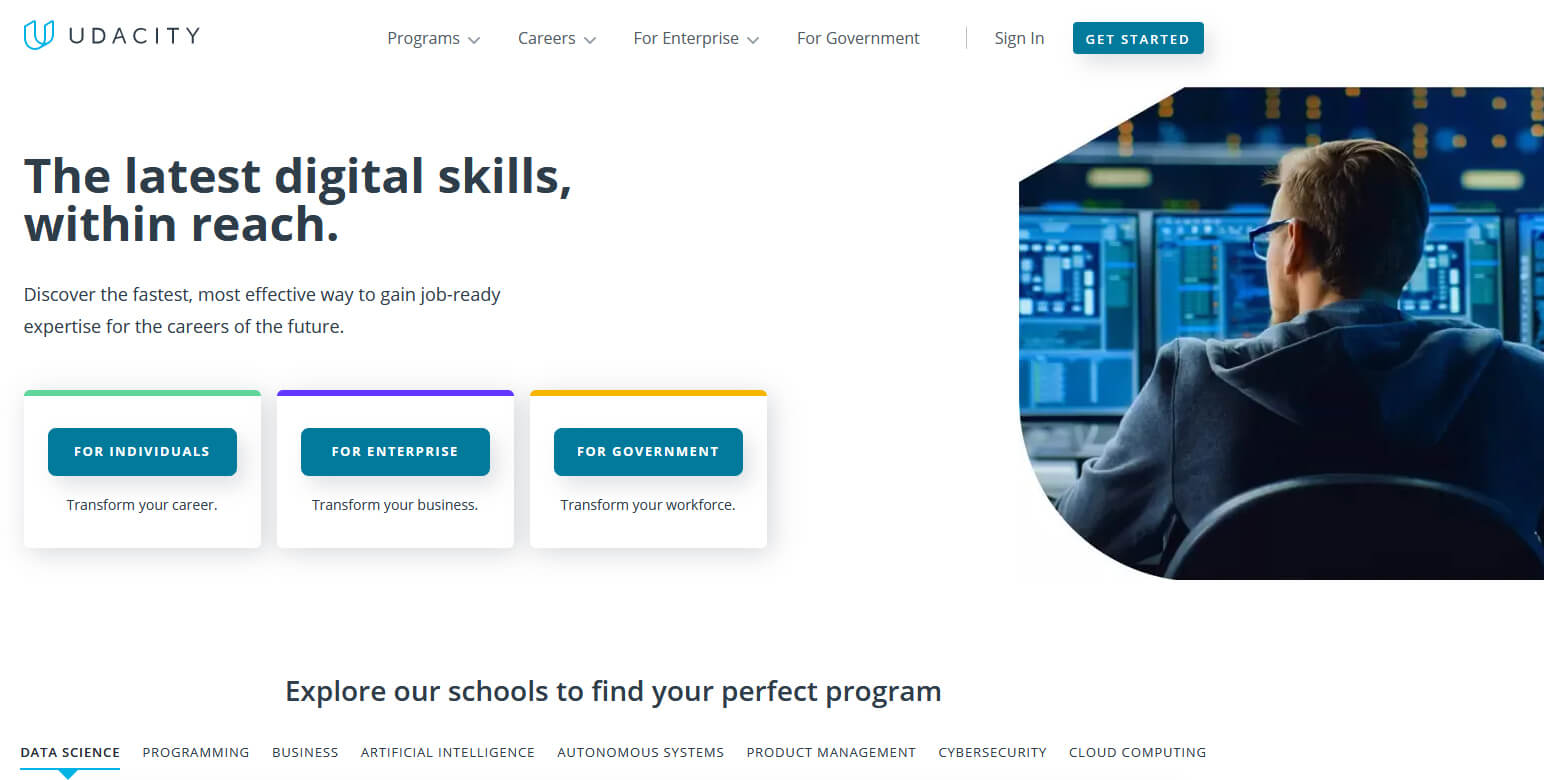 Udacity was also one of the earlier websites to offer free courses, in today’s world it still has free material but there is also paying one.
The big difference from other competitors is that Udacity focuses mostly on programming, data science, and web development and it is very strong in this field. There are no courses about art. Music or similar, mostly IT stuff is covered here.
If this is something that interests you, make a free account and give it a go.
Udacity was also one of the earlier websites to offer free courses, in today’s world it still has free material but there is also paying one.
The big difference from other competitors is that Udacity focuses mostly on programming, data science, and web development and it is very strong in this field. There are no courses about art. Music or similar, mostly IT stuff is covered here.
If this is something that interests you, make a free account and give it a go.
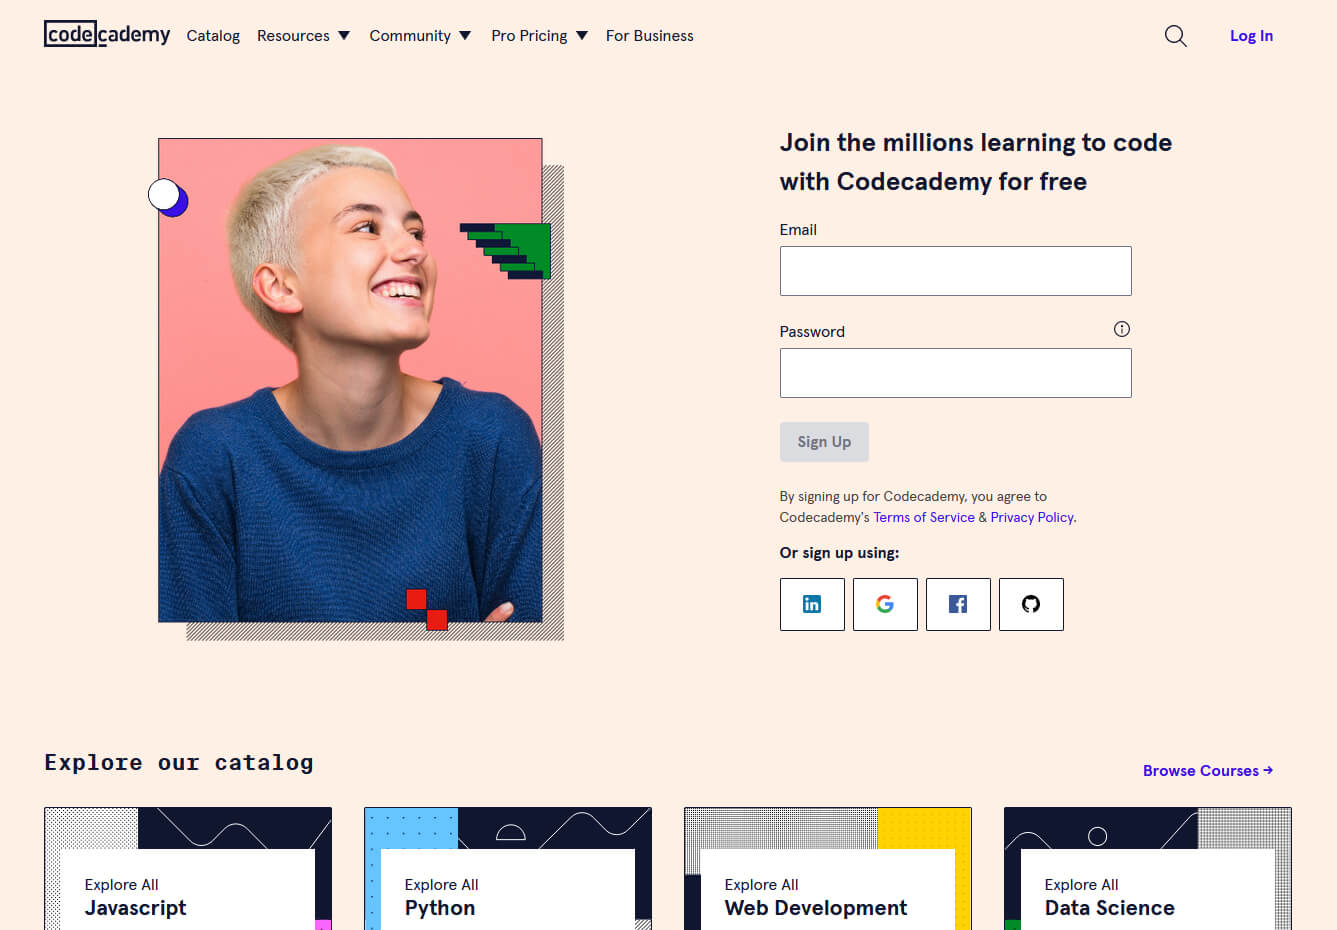 Codecademy is a website mainly focused on teaching you how to code. Pro plan is there but there are a lot of basic and free courses on the mentioned subject.
The curriculum is really wide covering Python, R, Java, JavaScript, SQL, Ruby, C#, C++, Swift, PHP, HTML, CSS and more so I am sure that if you are interested in coding this would be a pretty good place to find things.
Besides pure language coding courses site offers also, Cybersecurity, Web design, Data science, web development, Game Development, Mobile Development, and many more courses on provided subjects.
Codecademy is a website mainly focused on teaching you how to code. Pro plan is there but there are a lot of basic and free courses on the mentioned subject.
The curriculum is really wide covering Python, R, Java, JavaScript, SQL, Ruby, C#, C++, Swift, PHP, HTML, CSS and more so I am sure that if you are interested in coding this would be a pretty good place to find things.
Besides pure language coding courses site offers also, Cybersecurity, Web design, Data science, web development, Game Development, Mobile Development, and many more courses on provided subjects.
 Academic Earth has been built with one simple premise: Everyone deserves access to education.
Lead by this kind of mindset on Academic Earth you will find well, academic courses similar to ones found on edX and Coursera, but from mentioned sites here all courses are free and you will find only academic ones, there are no entrepreneur or expert courses here, just pure academic ones.
If you wish to see and learn something the way it is taught in Harvard, Berkeley, MIT, etc this is the place for you.
Academic Earth has been built with one simple premise: Everyone deserves access to education.
Lead by this kind of mindset on Academic Earth you will find well, academic courses similar to ones found on edX and Coursera, but from mentioned sites here all courses are free and you will find only academic ones, there are no entrepreneur or expert courses here, just pure academic ones.
If you wish to see and learn something the way it is taught in Harvard, Berkeley, MIT, etc this is the place for you.
 Khan academy is completely free and it is offering courses matching certain grades for children. It is offering courses for all 8 years of elementary school, math courses for high school and college with some coursework on topics like science, arts & humanities, reading, life skills, etc.
Despite not being on the same level as some university courses presented on other mentioned websites Khan Academy is a good place to learn a lot of basic skills that you could build upon later.
Khan academy is completely free and it is offering courses matching certain grades for children. It is offering courses for all 8 years of elementary school, math courses for high school and college with some coursework on topics like science, arts & humanities, reading, life skills, etc.
Despite not being on the same level as some university courses presented on other mentioned websites Khan Academy is a good place to learn a lot of basic skills that you could build upon later.
FileShareFanatic is a browser extension developed by Mindspark Inc. This extension offers users the ability to quickly access some of the most popular file-sharing websites. While this may sound tempting and useful at start, using this extension might prove more annoying then useful.
When installed FileShareFanatic hijacks your new tab page changing your default search engine to search.myway.com. Additionally it monitors user activity, recording visited websites, clicked links, viewed products, and whatever other information that can be used by the Ad network to display targeted Ads.
While browsing the internet with this extension you will notice an increase of ads on pages, especially in search results. This extension injects additional ads, sponsored links, and even displays pop-up ads in order to gain revenue.
FileShareFanatic has been marked as a Browser Hijacker by several top anti-virus scanners, and is scheduled for deletion.
 Following are proven solutions that will resolve the issue and provide you with a working device.
Error Code C19000101 - 2000B is a Blue Screen of Death (BSOD) error encountered by Windows users in an attempt to upgrade their operating system from Windows 7 or Windows 8/8.1 to Windows 10. The system upgrade does not successfully finish and when the installation is resurrected, it fails then reverts back to the original operating system. More and more Windows users come across this error that may have been triggered by a few reasons to be discussed in this article.
 Error Causes
Microsoft users can experience the BSOD error C19000101-2000B due to the following reasons:
In fixing error code C19000101-2000B, you can try doing it manually. Manual repair methods can offer users solutions effectively and efficiently, having to address the root causes and issues in relation to a number of Windows error codes. If properly implemented, these manual repair methods can help Windows users resolve problems at hand immediately. However, there are cases where the help of a Windows professional is necessary. In such instances, it would be best to consult a certified Windows expert or you can also try using a powerful automated tool whenever needed.
To be able to fix error code C19000101-2000B, implement the first method used in resolving error code 0xc000021a, then you can proceed with this first method:
If you are upgrading to Windows 10 using Windows Update, you can perform a manual repair using the next method.
Net stop wuauserv
Net stop bits Net stop msiserver Net stop cryptSvc
Net start wuauserv
Net start bits Net start msiserver Net start cryptSvc
 Advanced desk features