What exactly is the 2GB filesize Error?
The PST file could be around 2 gigabytes if you are using MS Outlook 2002 or any earlier versions for your own personal Folders. The 2GB filesize malfunction occurs when your PST memory both reaches or exceeds this limit.
The 2GB size problem code is, in addition, referred to as an outsize PST file error.
When this error happens you may be unable to deliver or receive e-mails via your Outlook account. Moreover, you'll likewise not be able to add any new data or even view your important calendar items, notes, and saved drafts.
MS-Outlook shows several types of problem codes which indicate the 2GB file size dilemma. Listed below are some of the messages that can be displayed on your monitor:-
- The file could not be added to the folder. The action could not be completed.
- Task 'Microsoft Exchange Server - Receiving' reported error (0x8004060C): 'Unknown Error 0x8004060C'
- Can't copy the item
- Errors have been detected in the file xxxx.pst. Quit all mail-enabled applications.
- Task 'Microsoft Exchange Server' reported error (0x00040820):'Errors in background synchronization. In most cases, further information is available in a synchronization log in the Deleted Items folder.'
- xxxx.pst cannot be accessed - 0x80040116
Solution
 Error Causes
The simple explanation for this malfunction is that you have maxed out the two gigabytes account limit. This happens in case you continue downloading fresh data and saving files and the old emails in your Outlook account.
Over time, the space becomes limited and along with it the 2 GB file limit error.
This error also presents a critical danger of data loss which is a possibility in your Outlook account, which hinders you as well from fully utilizing your email account.
For regular Outlook customers, who utilize this program for practically all email communication within as well as outside the office, this error is annoying and frustrating as it causes a great deal of annoyance as well as decreases their performance and productivity.
What exactly are the Symptoms?
Below are a few signs that will help you recognize the 2GB file-size error:
- Inability to fill and open the OST and PST files
- Error messages pop-ups
- Failure to send emails
- Failure to make or edit new contacts
- Inability to synchronize the file
Further Information and Manual Repair
It is desirable to fix this error code right away especially if this is the preferred strategy to carry out communication in your office. Fix it immediately or else you might not receive e-mails that are important from your colleagues.
There are 3 ways to solve this issue.
Method 1
One is to remove the old e-mails and connections and replace them with new ones. This may not be the best option for you in case you don't wish to lose emails and your old contacts.
Method 2
The second alternative would be to install a fresh version of MS-Outlook like 2010. The file-size limits of OST and PST files in these editions are larger than in ms-outlook 2002.
On the other hand, this is a good idea for the long run but may not be the best idea for today as you will not have the ability to recover your previous e-mails and contacts that are outdated.
Method 3
The third and maybe the method that is best to resolve the 2GB file size limit error while ensuring the restoration of your old e-mails and contacts as well as increasing the limit to 4GB, is Restoro program's installation. Here may be the best recovery program on the market.
It is really easy to use, safe, exceptionally functional, secure, and especially can resolve this issue. Technical expertise isn't needed by you to perform your way around this device.
All you should do is:
Click here to download and install the Restoro repair tool on your computer. In your MS Outlook account, you can restore all your data in just a couple of clicks.
Talking of data recovery, this software can also help you recover all those other e-mails before the PST malfunction happened, or that you may have deleted. So, if you have deleted any significant email that you want to recover, this will undoubtedly be of use for you.
By installing it on your system you can double your Outlook account's quality to twice as much as the standard size.

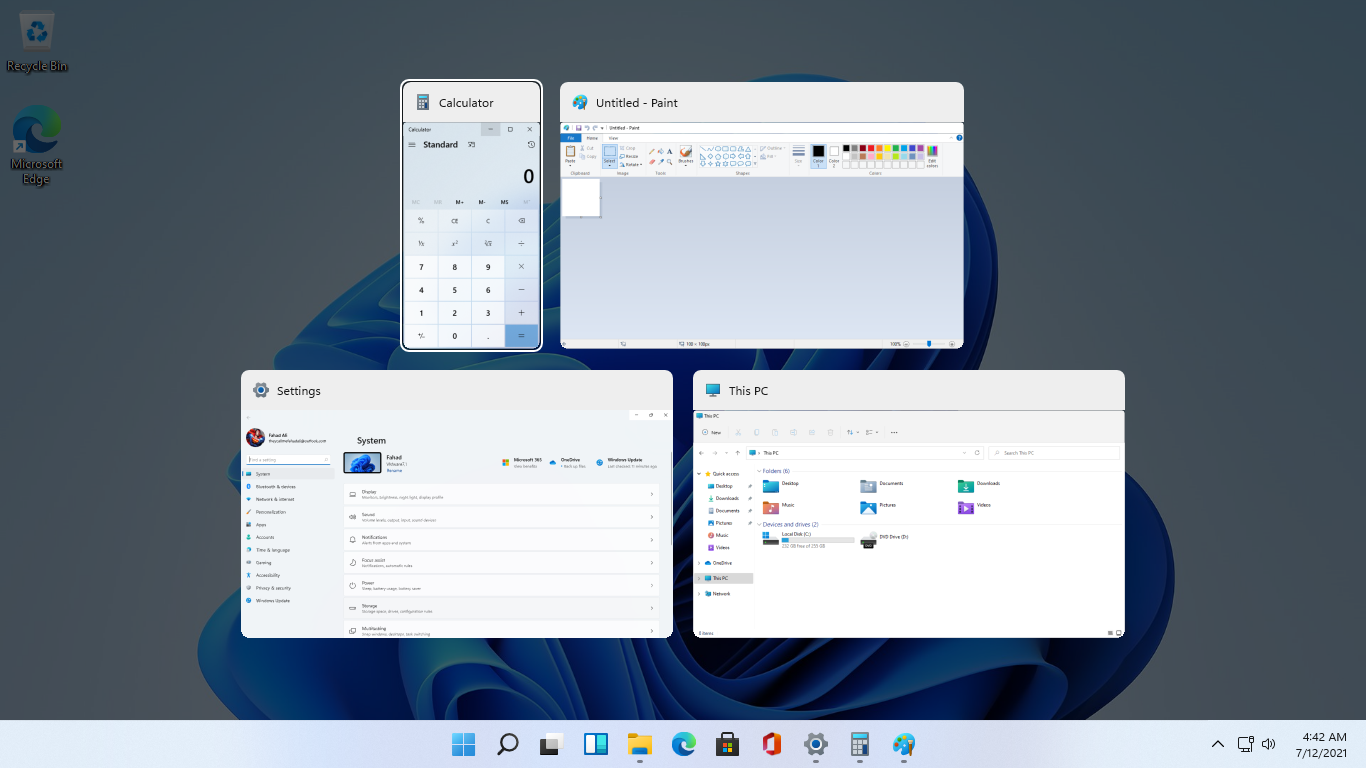 As in previous Windows 10, inside Windows 11 also when you press the ALT + TAB key combination you will get a preview of all running applications along with all Browser tabs so you can go through them and pick the one you want to switch to.
Alto, I personally am a big fan of alt-tabbing, I must admit that I am not a big fan of having multiple browsers tabs on screen when I do press key combo. Luckily there is a very easy way to turn this feature off.
Turning browsers tabs thumbnails off
As in previous Windows 10, inside Windows 11 also when you press the ALT + TAB key combination you will get a preview of all running applications along with all Browser tabs so you can go through them and pick the one you want to switch to.
Alto, I personally am a big fan of alt-tabbing, I must admit that I am not a big fan of having multiple browsers tabs on screen when I do press key combo. Luckily there is a very easy way to turn this feature off.
Turning browsers tabs thumbnails off
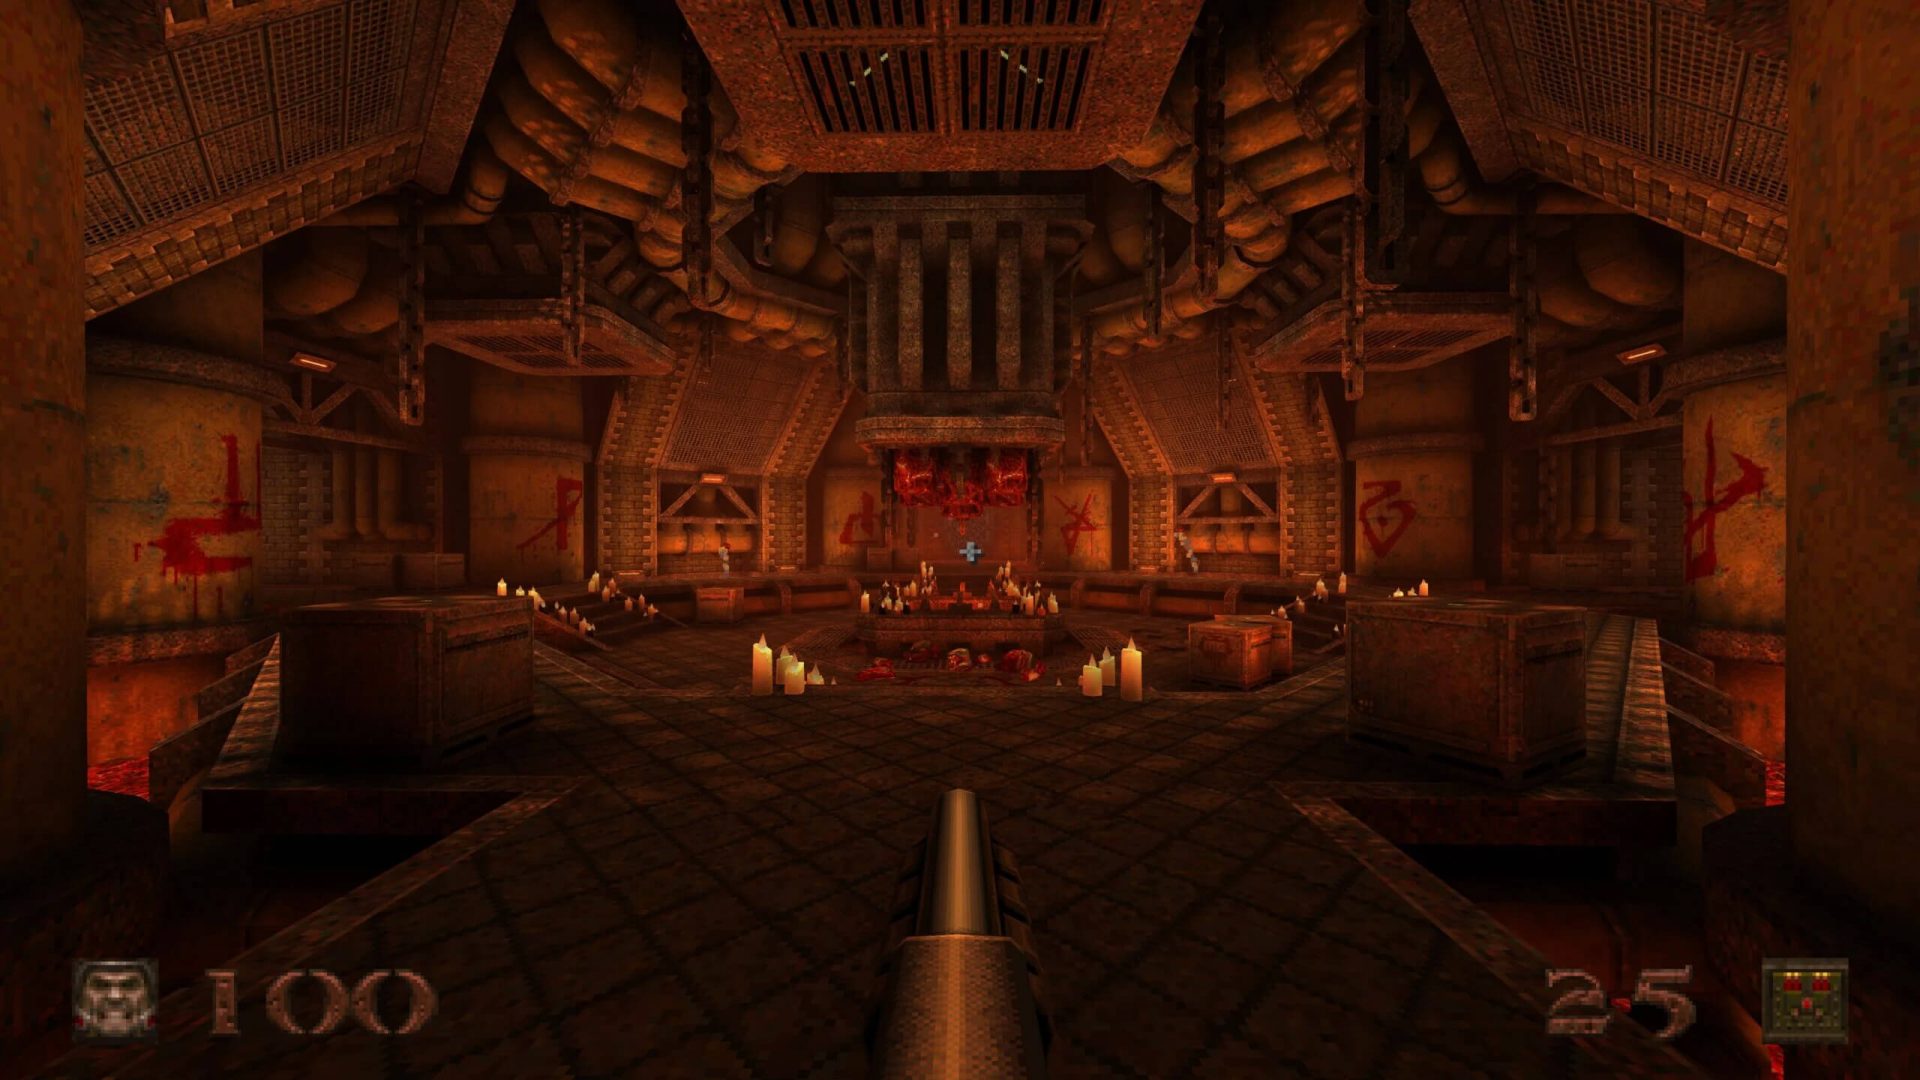 Without any fanfare, news, or information Bethesda has released a completely free upgrade for legendary Quake 1. Free upgrade is automatically applied to all users who possess the original game and it has already been rolled out.

 When the Apps screen opens on the left click on Default apps.
 On right, you will get a list of Windows default applications for certain types of files. Click on any application you would like to change and choose from the drop-down list a new one. Click on it and you are done.