Error Code 52 is a device driver problem that users experience on any Windows 2000 operating system and later Windows systems.
The error occurs when the operating system prevents the peripheral device connected to the computer from functioning properly and is usually displayed by the following message:
“Windows cannot verify the digital signature for the drivers required for this device. A recent hardware or software change might have installed a file that is signed incorrectly or damaged, or that might be malicious software from an unknown source. (Code 52)”
 Error Causes
Error Code 52 is triggered by the following factors:
Error Code 52 can pose severe risks to the overall health of your PC and any negligence in fixing it can be disastrous for your computer.
However, since the error code is like other device driver errors, resolving the error is relatively straightforward. Here are a few methods to resolve the error code.
You can use system restore to roll back the system to a time when there was no error to eliminate the problem. Here is how you can use it:
By restoring the system via a last saved system checkpoint, you can obtain undamaged Windows system registry files that can help avert the error code.
If restarting your PC does not help, you will have to find the exact nature of the problem by running the troubleshooting wizard for the device and address the problem accordingly. To do this, proceed with the following steps:
After following the directions of the Troubleshooting wizard, make sure to restart your PC for the changes to take effect. Then check if your device is still causing problems.
Uninstalling and then reinstalling the device driver can help solve the error.
You can do this by firstly logging in as Administrator and open Device Manager. Select the device that is causing the problem and double click it and make sure that the peripheral is connected properly to the PC.
Upon opening, click on the ‘Driver’ tab and then select ‘Update Driver’. Make sure to refer to the system documentation that you received with your PC or computer to check for the motherboard details and driver specifics.
Manually uninstalling and reinstalling the driver will do the trick, however, it may be time-consuming especially when you would have to resort to your hardware user manual.
Therefore, using a program such as DriverFIX can save you a lot of time and frustration in having your device work properly on your computer.
DriverFIX, with its user-friendly approach to help you fix your PC issues, comes with an integrated database that detects which drivers you need to reconfigure within just a few seconds and downloads it automatically.
It further ensures that your drivers are installed in their entirety leaving no room for any incomplete files to remain that create Error Code 52.
It also has the added advantage of being able to backup and restores your files should there be the slightest possibility of system file damage. DriverFIX is the answer to fixing your PC error codes accurately and quickly.
Click here to download DriverFIX to fix Error Code 52 quickly and effectively!

winmgmt /verifyrepositoryAfter you enter the command, if there is a response saying, “repository is not consistent”, then the repository has an issue. If not, then something else is causing the problem. Since you are certain that corruption exists in the WMI repository, then here are some suggestions you need to check out to repair or rebuild the WMI repository.
 Error Causes
“ehshell.exe – Common Language Runtime Debugging Services Application has generated an exception that could not be handled. Process id=0xa18 (2584), Thread id=0xa24 (2596).”
Error Causes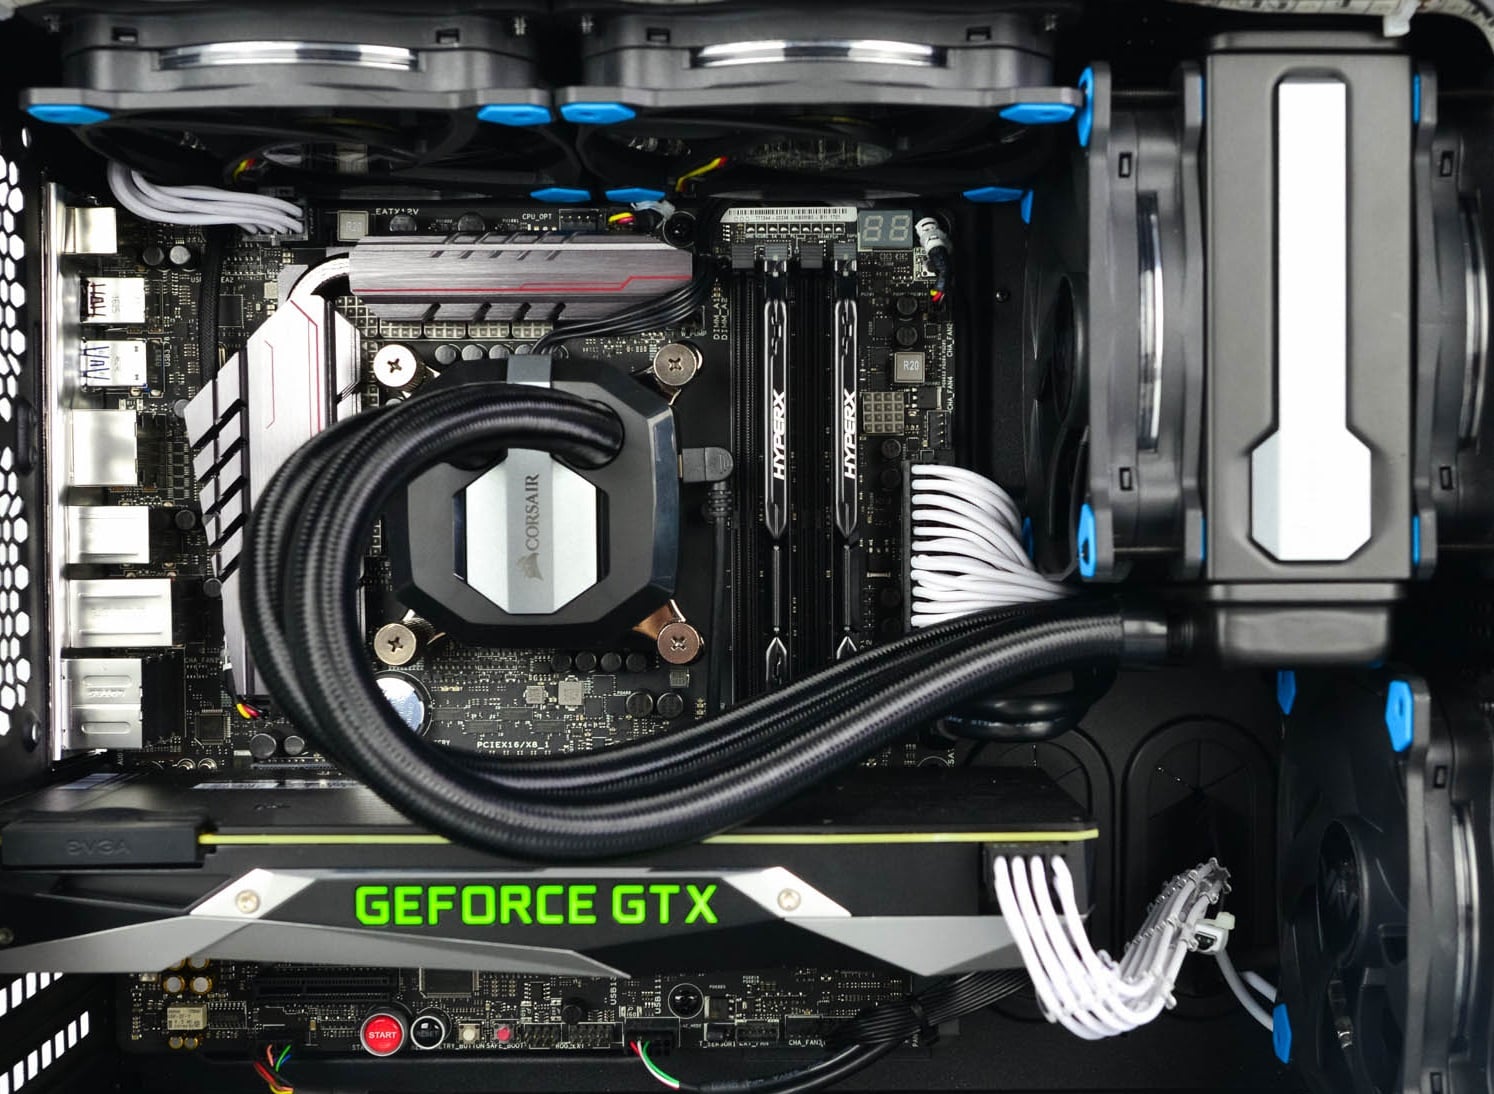 Builders with no depth knowledge and experience can sometimes choose improper CPU or GPU, picking one of them to be much more powerful than another thus not using it to its full potential because another component cannot handle stuff at the same speed. In order to not be trumped by this kind of stuff, there is a website that is completely free and you do not even need to be registered in order to use it.
Bottlenet calculator link here
What is even better, once you input your components you will get advice on what to change in order to tweak the system a little more to avoid bottlenecks even more. It is a very useful tool and we are advising you to use it in order to save money but not throwing it on some component that will be half used.
Builders with no depth knowledge and experience can sometimes choose improper CPU or GPU, picking one of them to be much more powerful than another thus not using it to its full potential because another component cannot handle stuff at the same speed. In order to not be trumped by this kind of stuff, there is a website that is completely free and you do not even need to be registered in order to use it.
Bottlenet calculator link here
What is even better, once you input your components you will get advice on what to change in order to tweak the system a little more to avoid bottlenecks even more. It is a very useful tool and we are advising you to use it in order to save money but not throwing it on some component that will be half used. HKEY_LOCAL_MACHINESYSTEMCurrentControlSetControlStorageDevicePolicies
CHKDSK [volume [[path] filename]] [/F] [/V] [/R] [/X] [/C] [: size]]Note: In the command given above, “[/F]” will try to fix the system errors while “[/R]” will be the one to fix the bad sectors.
Error Code C19000101 - 2000B is a Blue Screen of Death (BSOD) error encountered by Windows users in an attempt to upgrade their operating system from Windows 7 or Windows 8/8.1 to Windows 10. The system upgrade does not successfully finish and when the installation is resurrected, it fails then reverts back to the original operating system. More and more Windows users come across this error that may have been triggered by a few reasons to be discussed in this article.
Error CausesMicrosoft users can experience the BSOD error C19000101-2000B due to the following reasons:
In fixing error code C19000101-2000B, you can try doing it manually. Manual repair methods can offer users solutions effectively and efficiently, having to address the root causes and issues in relation to a number of Windows error codes. If properly implemented, these manual repair methods can help Windows users resolve problems at hand immediately. However, there are cases where the help of a Windows professional is necessary. In such instances, it would be best to consult a certified Windows expert or you can also try using a powerful automated tool whenever needed.
To be able to fix error code C19000101-2000B, implement the first method used in resolving error code 0xc000021a, then you can proceed with this first method:
If you are upgrading to Windows 10 using Windows Update, you can perform a manual repair using the next method.
Net stop wuauserv
Net stop bits Net stop msiserver Net stop cryptSvc
Net start wuauserv
Net start bits Net start msiserver Net start cryptSvc
 Following a two-year investigation by the California Department of Fair Employment and Housing, the state has filed a lawsuit against Activision Blizzard for fostering a "frat boy" culture in which female employees are allegedly subjected to unequal pay and sexual harassment.
As reported by Bloomberg, Activision Blizzard is being accused by the state of California of discriminating against female employees at nearly all levels of employment, including in regards to compensation, promotion, assignments, and termination. The state alleges Activision Blizzard’s leadership has failed to address any of these outstanding issues or prevent them from occurring within the workplace. You can read the full details of the lawsuit here.
The suit, filed Tuesday in the Los Angeles Superior Court, says Activision Blizzard, which is made up of about 20 percent women, assigns women, and women of color, to "lower paid and lower opportunity levels" with lower starting pay for similar work as their male counterparts.
The documents also accuse Activision Blizzard of fostering a "pervasive 'frat boy' workplace culture in the office. Male employees are said to drink "copious amounts of alcohol" as they make their way through cubicles and "often engage in inappropriate behavior toward female employees."
Male employees are said to come to work hungover, play video games during work "while delegating their responsibilities to female employees, engage in banter about their sexual encounters, talk openly about female bodies, and joke about rape."
The lawsuit also cites one particular incident where a female employee, who was already subjected to intense sexual harassment at the company, committed suicide during a work trip with a male supervisor who allegedly brought inappropriate, sexual items with him on the trip.
The lawsuit is asking for an injunction that will force Activision Blizzard to comply with workplace protections, as well as deliver unpaid wages, pay adjustments, back pay, and lost wages and benefits for female employees.
Following a two-year investigation by the California Department of Fair Employment and Housing, the state has filed a lawsuit against Activision Blizzard for fostering a "frat boy" culture in which female employees are allegedly subjected to unequal pay and sexual harassment.
As reported by Bloomberg, Activision Blizzard is being accused by the state of California of discriminating against female employees at nearly all levels of employment, including in regards to compensation, promotion, assignments, and termination. The state alleges Activision Blizzard’s leadership has failed to address any of these outstanding issues or prevent them from occurring within the workplace. You can read the full details of the lawsuit here.
The suit, filed Tuesday in the Los Angeles Superior Court, says Activision Blizzard, which is made up of about 20 percent women, assigns women, and women of color, to "lower paid and lower opportunity levels" with lower starting pay for similar work as their male counterparts.
The documents also accuse Activision Blizzard of fostering a "pervasive 'frat boy' workplace culture in the office. Male employees are said to drink "copious amounts of alcohol" as they make their way through cubicles and "often engage in inappropriate behavior toward female employees."
Male employees are said to come to work hungover, play video games during work "while delegating their responsibilities to female employees, engage in banter about their sexual encounters, talk openly about female bodies, and joke about rape."
The lawsuit also cites one particular incident where a female employee, who was already subjected to intense sexual harassment at the company, committed suicide during a work trip with a male supervisor who allegedly brought inappropriate, sexual items with him on the trip.
The lawsuit is asking for an injunction that will force Activision Blizzard to comply with workplace protections, as well as deliver unpaid wages, pay adjustments, back pay, and lost wages and benefits for female employees.
Gables is a browser extension developed by MindSpark Inc. This browser extension lets you create gifs and memes with a few simple clicks. This extension usually comes bundled up with the ASK toolbar.
While active this extension monitors your browser activity and records website visits, clicked links, and potentially personal data. This data is later forwarded to MindSparks ad servers where it is used to better target ads.
This extension hijacks your browser home screen, as well as your default search provider, and changes them to MyWay.com. This extension has been marked as a Browser Hijacker by several anti-virus scanners, and due to its behavior, it is not recommended to keep it on your computer for security reasons.