As of late, users have been reporting about getting an error saying, SAFE_OS phase error during Replicate_OC operation when they tried to upgrade their Windows 7 or Windows 8.1 computers to Windows 10. Although the error code in this problem could vary, in this situation, it states:
0xC1900101 – 0x20017, The installation failed in the SAFE_OS phase error during Replicate_OC operation
To fix this issue, you need to follow the given options below. But before you do, you need to create a System Restore point first so that if anything goes wrong, you can always undo the changes you’ve made.
Option 1 – Try to change the Windows 10 installation
According to security experts, one of the main causes of this error is the KB3064209Windows Update. This particular update is the one responsible for updating the CPU Microcode for processors made by Intel. Thus, if you don’t use an Intel processor, you can skip this option and proceed to the next one. However, if you use Intel, make sure to follow the instructions in this option carefully. Take note that in this solution, C: partition is referred to as the OS Partition while H: partition is referred to as the USB Pen Drive.
- First, you need to download the Windows 10 ISO from the Windows 10 Media Creation tool and then copy its contents to the Pen Drive H.
- Next, tap the Win + X keys and click on the Command Prompt (Admin0 option. If a User Account Control appears, simply click Yes.
- After opening Command Prompt, type the following command:
dism /Mount-Image /ImageFile:H:sourcesboot.wim /index:1 /MountDir:C:UsersUserDesktopmount
- Now navigate to the following path in the Windows File Explorer:
C:UsersUserDesktopmountWindowsSystem32mcupdate_GenuineIntel.dll
- From there, right-click on the file named “mcupdate_GenuineIntel.dll and click on Properties.
- Next, go to the Security tab and click on Advanced. In the Advanced section, change the Owner to your User Account and click OK.
- And then back to the Security tab, click on the Edit button and check on Full control to make sure that your User Account has all the privileges.
- Now click on Apply and then OK.
- After that, delete the file you saw earlier which is named mcupdate_Genuine.dll.
- Then close all the Windows File Explorer instances and go back to the Command Prompt window and unmounts the image you mounted before by typing the following command:
dism /Unmount-Image /MountDir:C:UsersUserDesktopmount /commit
- Afterward, repeat the steps from mounting up until here for these files:
- wim /index:2
- wim /index:1
- wim /index:2
- Now delete the mount folder and remove the USB Pen Drive and then boot with the installer.
Option 2 – Try to perform a Disk Cleanup
Chances are, some unnecessary files in your computer might be interrupting the installation process which explains why you’re getting SAFE_OS phase error during Replicate_OC operation instead so you need to perform a Disk Cleanup in order to fix the problem.
Option 3 – Try updating all your drivers
Every now and then, drivers get corrupted or outdated so it’s no surprise that they conflict with the operating system and cause errors like the SAFE_OS phase error during the Replicate_OC operation. To fix the problem, you need to update all your drivers. Follow the steps below to update your drivers.
- Tap the Win + R keys to launch Run.
- Type in devmgmt.msc into the box and tap Enter or click OK to open the Device Manager.
- After that, a list of device drivers will be displayed. If you see a red or yellow sign that shows up against the driver, right-click on the driver’s name and select “Update Driver Software” or “Uninstall”. And if you find any “Unknown device”, you need to update it as well.
- Select the “Search automatically for updated driver software” option and then follow the instructions to complete the process.
- Restart your PC.
Note: You also have the option to go directly to the website of your graphics card manufacturer and check if there’s a new update – if there is, download it.
Option 4 – Try to update your system’s BIOS
Aside from outdated drivers, outdated BIOS could also be the reason why you’re getting the SAFE_OS phase error during Replicate_OC operation which is why you need to update your system’s BIOS in order to resolve the issue.
Option 5 – Try checking the Windows Services status
- In the Cortana search box, search for “Services” and then click on the Services icon.
- After that, the Services utility will be opened in a new window.
- Next, look for the following services:
- BITS (Background Intelligent Transfer Service)
- Windows Update Service
- Cryptographic Service
- Then right-click on each one of the services and click on Properties. From there, select Automatic from the drop-down of the Startup Type menu.
- Now click on OK for each one of them and restart your PC to apply the changes made.
Option 6 – Try to check the RAM modules
There are many times when all the components of the RAM weren’t able to be used by the computer so you need to check the RAM modules.
- You need to first turn off your PC and then take out your RAM physically.
- Next, clean it with a soft cloth and blow some air into the RAM slot in the motherboard.
- After that, put your RAM back in the same slot.
- Then try updating your computer system again.

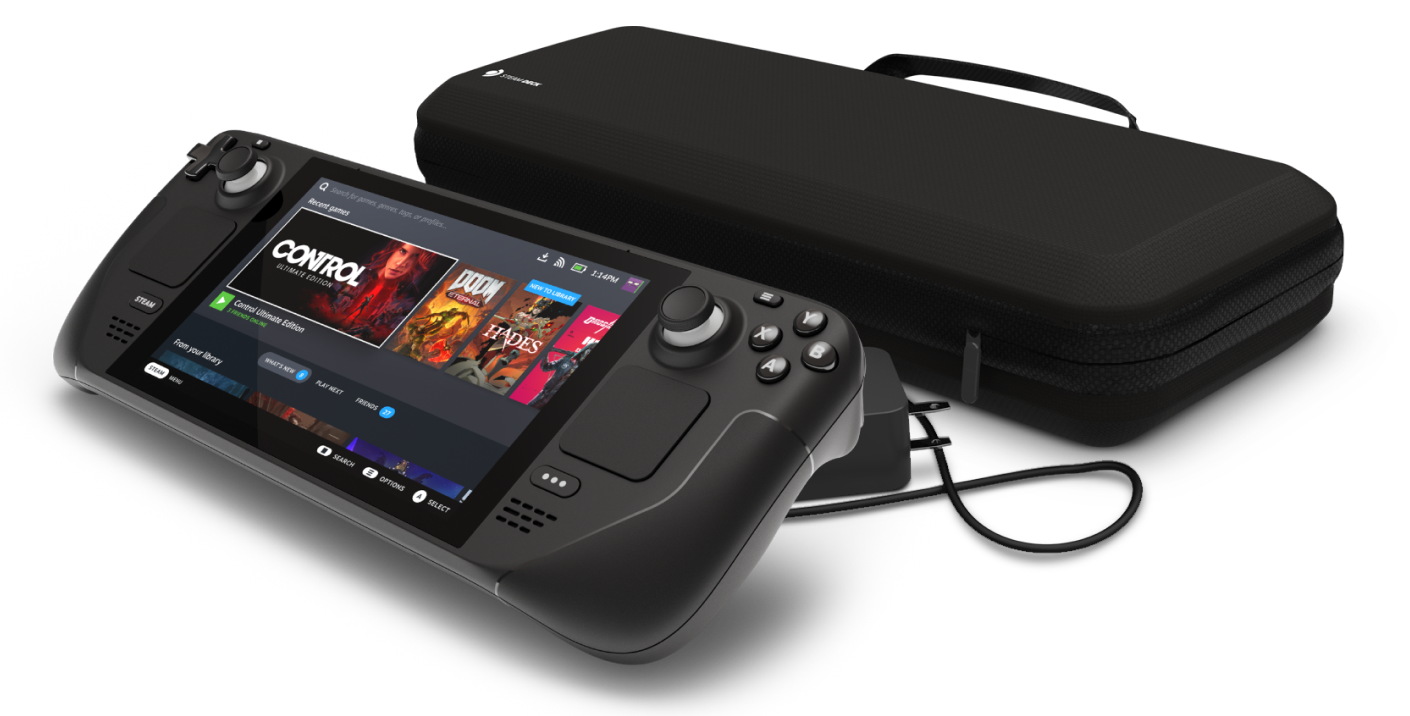 This, of course, means that you will be able to have both Proton and Windows on your device letting you play anything that you wish if the hardware is strong enough. Valve also said that you can launch OS from an SD card! This of course will save space available for games themselves, especially for entry models with less than one available.
All of this information really pushes Deck into the territory of a handheld PC and not just another console and I must admit that this announcement left a smile on my face.
This, of course, means that you will be able to have both Proton and Windows on your device letting you play anything that you wish if the hardware is strong enough. Valve also said that you can launch OS from an SD card! This of course will save space available for games themselves, especially for entry models with less than one available.
All of this information really pushes Deck into the territory of a handheld PC and not just another console and I must admit that this announcement left a smile on my face.  Error Causes