
Option 1 – Try to use the Registry Editor to edit and fix corrupted tasks
The first thing you can do to fix the problem is to edit those tasks via Registry Editor, as well as fix the corrupted ones in System32. Before you proceed, keep in mind that since you are dealing with the Backup triggered by the Task Scheduler, you can find the entries for the tasks in different locations. You can find the Task Scheduler at Task Scheduler Library > Microsoft > Windows > Windows Backup, whereas, you can find it in this path in the Registry Editor, HKEY_LOCAL_MACHINE SOFTWARE Microsoft Windows NT CurrentVersion Schedule WindowsBackup AutomaticBackup. On the other hand, you can find the Windows System folder at C:/Windows/System32/Tasks/MicrosoftWindows/WindowsBackup. You need to ensure that the name of the task name is the same as everywhere and take note of the name. Once you have these covered, follow the steps below.- Tap the Win + R keys to open Run and type “Regedit” in the field and hit Enter to open the Registry Editor.
- Next, navigate to this key: ComputerHKEY_LOCAL_MACHINESOFTWAREMicrosoftWindows NTCurrentVersionScheduleTaskCacheTreeMicrosoftWindowsWindowsBackup
- From there, take note of the GUID value in the ID entry of the task under the AutomaticBackup and Windows Backup Monitor folder.
- After that, you have to remove the task registry entries related to the ID from these locations
- HKEY_LOCAL_MACHINESOFTWAREMicrosoftWindows NTCurrentVersionScheduleTaskCachePlain
- HKEY_LOCAL_MACHINESOFTWAREMicrosoftWindows NTCurrentVersionScheduleTaskCacheLogon
- HKEY_LOCAL_MACHINESOFTWAREMicrosoftWindows NTCurrentVersionScheduleTaskCacheBoot
- Once done, you have to create a temporary copy of the corrupted task file by going to this location: C:/Windows/System32/Tasks/MicrosoftWindows/WindowsBackup
- From there, look for the AutomaticBackup and Windows Backup Monitor tasks and copy them to a location where you can keep them safe.
- Next, you have to fix the corrupted task by deleting it from this location: C:/Windows/System32/Tasks/MicrosoftWindows/WindowsBackup
- After that, you have to recreate the task by going to Task Scheduler > Microsoft > Windows> Windows Backup.
- Now click on the Action menu and on Import task and navigate to the backup files and import them.
- Once you’ve created the tasks, run them manually and see if the error is now fixed.
Option 2 – Try to delete the Schedule keys in the Registry
- Launch the Registry Editor and go to this key: HKLMSOFTWAREMicrosoftWindows NTCurrent VersionSchedule
- From there, delete all of its sub-keys.
- Once done, exit the Registry Editor and check if the Backup Tasks are now working.
Option 3 – Try to remove the WindowsBackup file
The next thing you can do to fix the problem is to remove the WindowsBackup file if the first two options didn’t work. It is possible that the problem has something to do with corrupted Task files. The task files are XML files that include parameters, programs to use, and many more. If any of these files end up getting corrupted, the task scheduler will have trouble running it and will throw the “The Task image is corrupt or has been tampered with” error.- To delete it, go to C:WindowsSystem32TasksMicrosoftWindowsWindowsBackup.
- From this location, get rid of all the files. You could also these files via Command Prompt using the DEL command.
- Once done, go to the Backup and Restore in the Control Panel and set up the Windows Backup again.
Option 4 – Try to delete the task from the Task Scheduler
If you don’t want to delete the files from Windows Explorer, you can delete them instead via Task Scheduler.- Open the Task Scheduler and go to Task Schedule LibraryMicrosoftWindowsWindowsBackup.
- From there, delete both of the tasks and set up Windows Backup again.
- Once done, go to the Task Manager and run the AutomaticBackup task again and see if it works.
Option 5 – Try to restart the Task Scheduler service
As mentioned, it is possible that the Task Scheduler service could be disabled. You could have disabled it when trying to enhance your computer’s performance and whatnot. Thus, you need to verify if it’s running or not and then restart it.- First, you need to tap the Win + R keys on your keyboard to open the Run dialog box.
- Next, type “services.msc” in the field and click OK or tap Enter to open the Windows Services Manager.
- You will see a list of Services and from there, look for the Task Scheduler service and double click on it.
- After that, go to the General tab and click on the Startup Type options and then select “Automatically” from the given list.
- Click on the “RUN” option and select the “Restart the Service” option.
- And click on the “After Second Failure” option and then select the “Restart-Service” option again.
- Now click on the “After Subsequent Failures” tab and select the “Restart the Service” option.
- Finally, click on the Apply and OK buttons and then run the Task Scheduler and see if the issue is now fixed.
Option 6 – Try refreshing the User_Feed_Synchronization
According to security experts, enabling and disabling the User Feed sync also known as the User_Feed_Synchronization task can help resolve the problem.- Tap the Win + X keys and select the PowerShell (admin) option from the menu.
- Next, type the “msfeedssync disable” command and tap Enter.
- Repeat the same process but this time run the “msfeedssync enable” command.
 For people not familiar with recent events, the state of California has sued Blizzard for various things including discrimination and offensive behavior. Later Blizzard executives were caught shredding some evidence and things just started to go to worse from there.
After much drama, many people believed that this is the end for Blizzard entertainment and that they would not be able to recover from this since the community has sided with California and Blizzard has received a large punch as many subscribed WOW players have left the game.
Things are not so grim as they were looking as their Diablo 2 remake has made moderate success despite being released in these troubling times and there are rumors of Overwatch 2 planned release date as of the first quarter of 2022.
For people not familiar with recent events, the state of California has sued Blizzard for various things including discrimination and offensive behavior. Later Blizzard executives were caught shredding some evidence and things just started to go to worse from there.
After much drama, many people believed that this is the end for Blizzard entertainment and that they would not be able to recover from this since the community has sided with California and Blizzard has received a large punch as many subscribed WOW players have left the game.
Things are not so grim as they were looking as their Diablo 2 remake has made moderate success despite being released in these troubling times and there are rumors of Overwatch 2 planned release date as of the first quarter of 2022.


 Run the Windows Memory Diagnostic tool
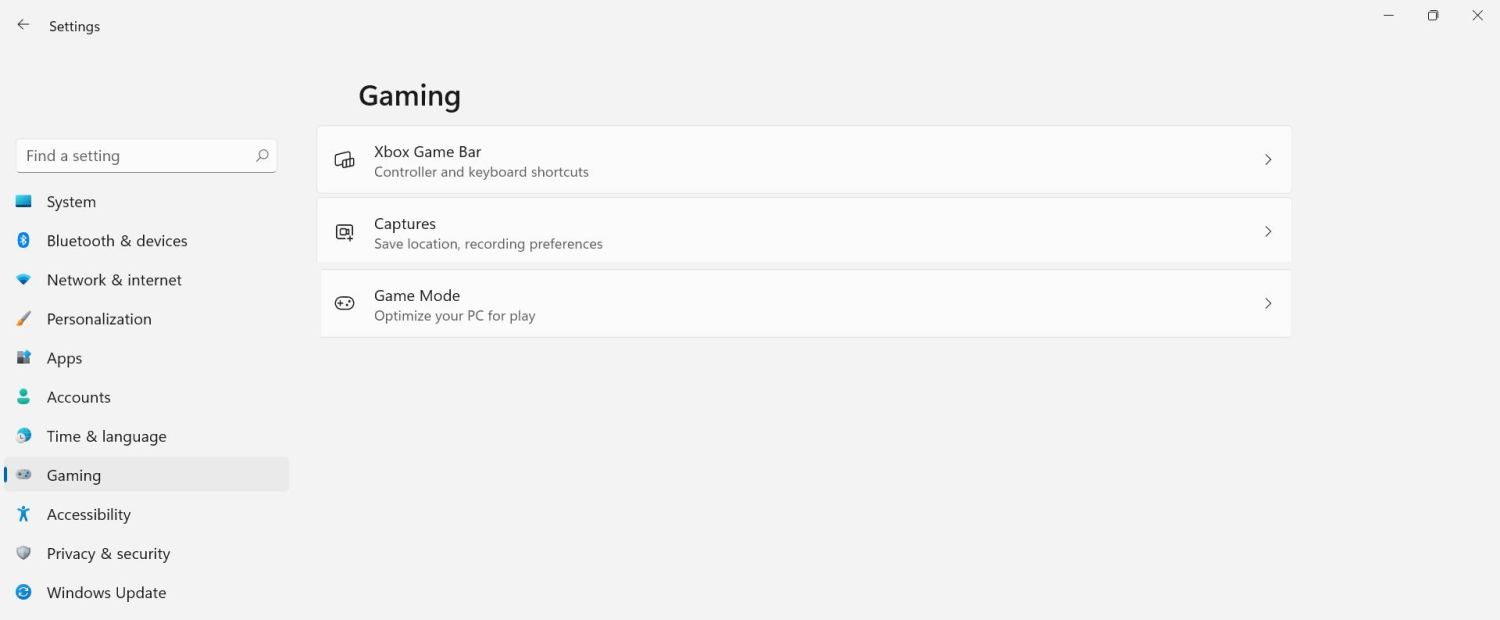 The game mode is active at all times and usually, everything works great but in some instances, it can sadly cause some performance issues. If you are one of these unlucky people where game mode is not working as supposed to do, don’t panic, we have a quick guide for you on how to turn it off.