Diablo 2 resurrected has hit official release and servers seem to be finally taken care of and everything seems to be running smoothly now. The game also received great praise from gamers and attracted old players of the original Diablo 2 game.
 Speaking of old players of old Diablo 2, they can transfer their old characters into remaster and continue playing them within this new great HD environment. There are some steps and requirements but we are here to help and transferred characters will bring full stash, inventory, and equipped items with them.
There are not many requirements for this transfer to occur but they must be respected in order to be successful. The first thing is a minor requirement and somewhat annoying but it needs to be done, firstly fire up Diablo 2 resurrected and create a character, any kind of character with any kind of name, any kind of class. This strange requirement is to actually create a character folder and register it inside D2 resurrected so we can copy old ones there.
The second requirement will be that characters that you wish to be transferred must be offline characters. Old battle net online characters cannot be transferred at this moment and probably will not be in the future as well. So for all of you that wish to transfer online characters, bad luck, for the rest of us casuals playing offline single-player mode, we can enjoy our characters.
The process itself of transferring characters when previously mentioned requirements are met is just a simple and copy operation. If you have somewhere backed your characters go into your backup folder and copy files in c:\users\*current user*\saved games\*diablo 2 resurrected folder*
If you do not have characters backed up and just have old Diablo 2 installed and playing it, you can go to c:\users\*current user*\saved games\*diablo 2 folder* and just copy all characters files into c:\users\*current user*\saved games\*diablo 2 resurrected folder*
Your old characters end with .d2s extension, grab all that you want to transfer, and copy them into D2R. Take note that copied characters cannot be brought back into Diablo 2, once they are copied into Diablo 2 resurrected all further progress on them will be tied to the new game.
That’s it about the transfer process and requirements for it. Fire up the new game version and enjoy.

 Error Causes
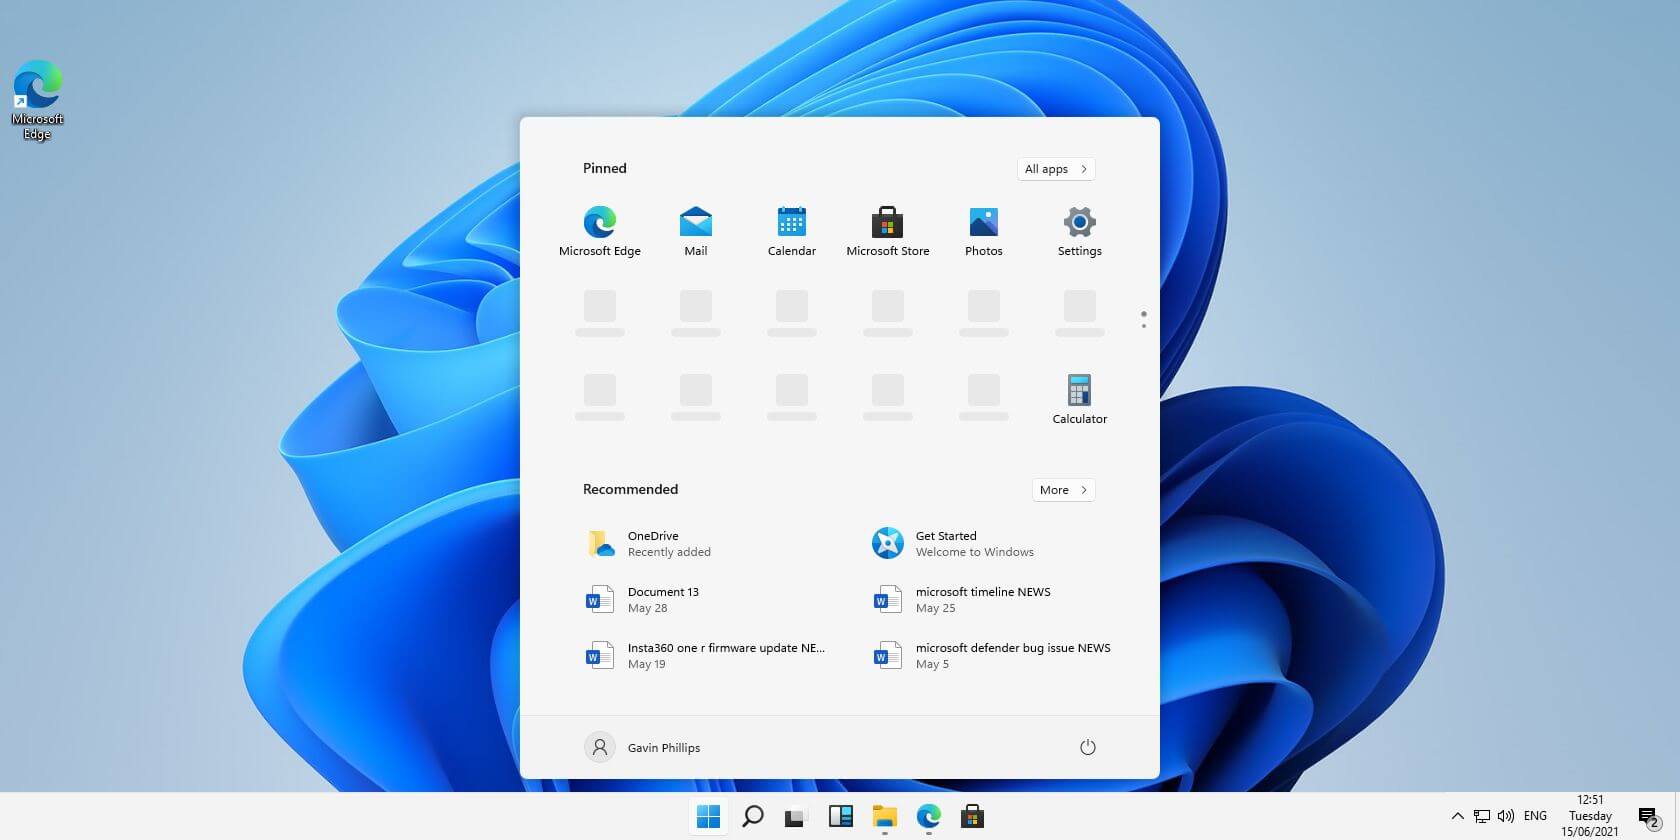 Windows 11 comes with glass and transparency effects by default once it is installed. The transparency effect looks really good but if in any case, you do not like them, you can easily turn them off very easily
Steam Autumn sale is still raging and other storefronts like EPIC and GOG have also had their go, and as the year slowly closes we reflect on the best games released this year.
The games presented are not in any particular order and as sales are still raging pick one for you for a good time.
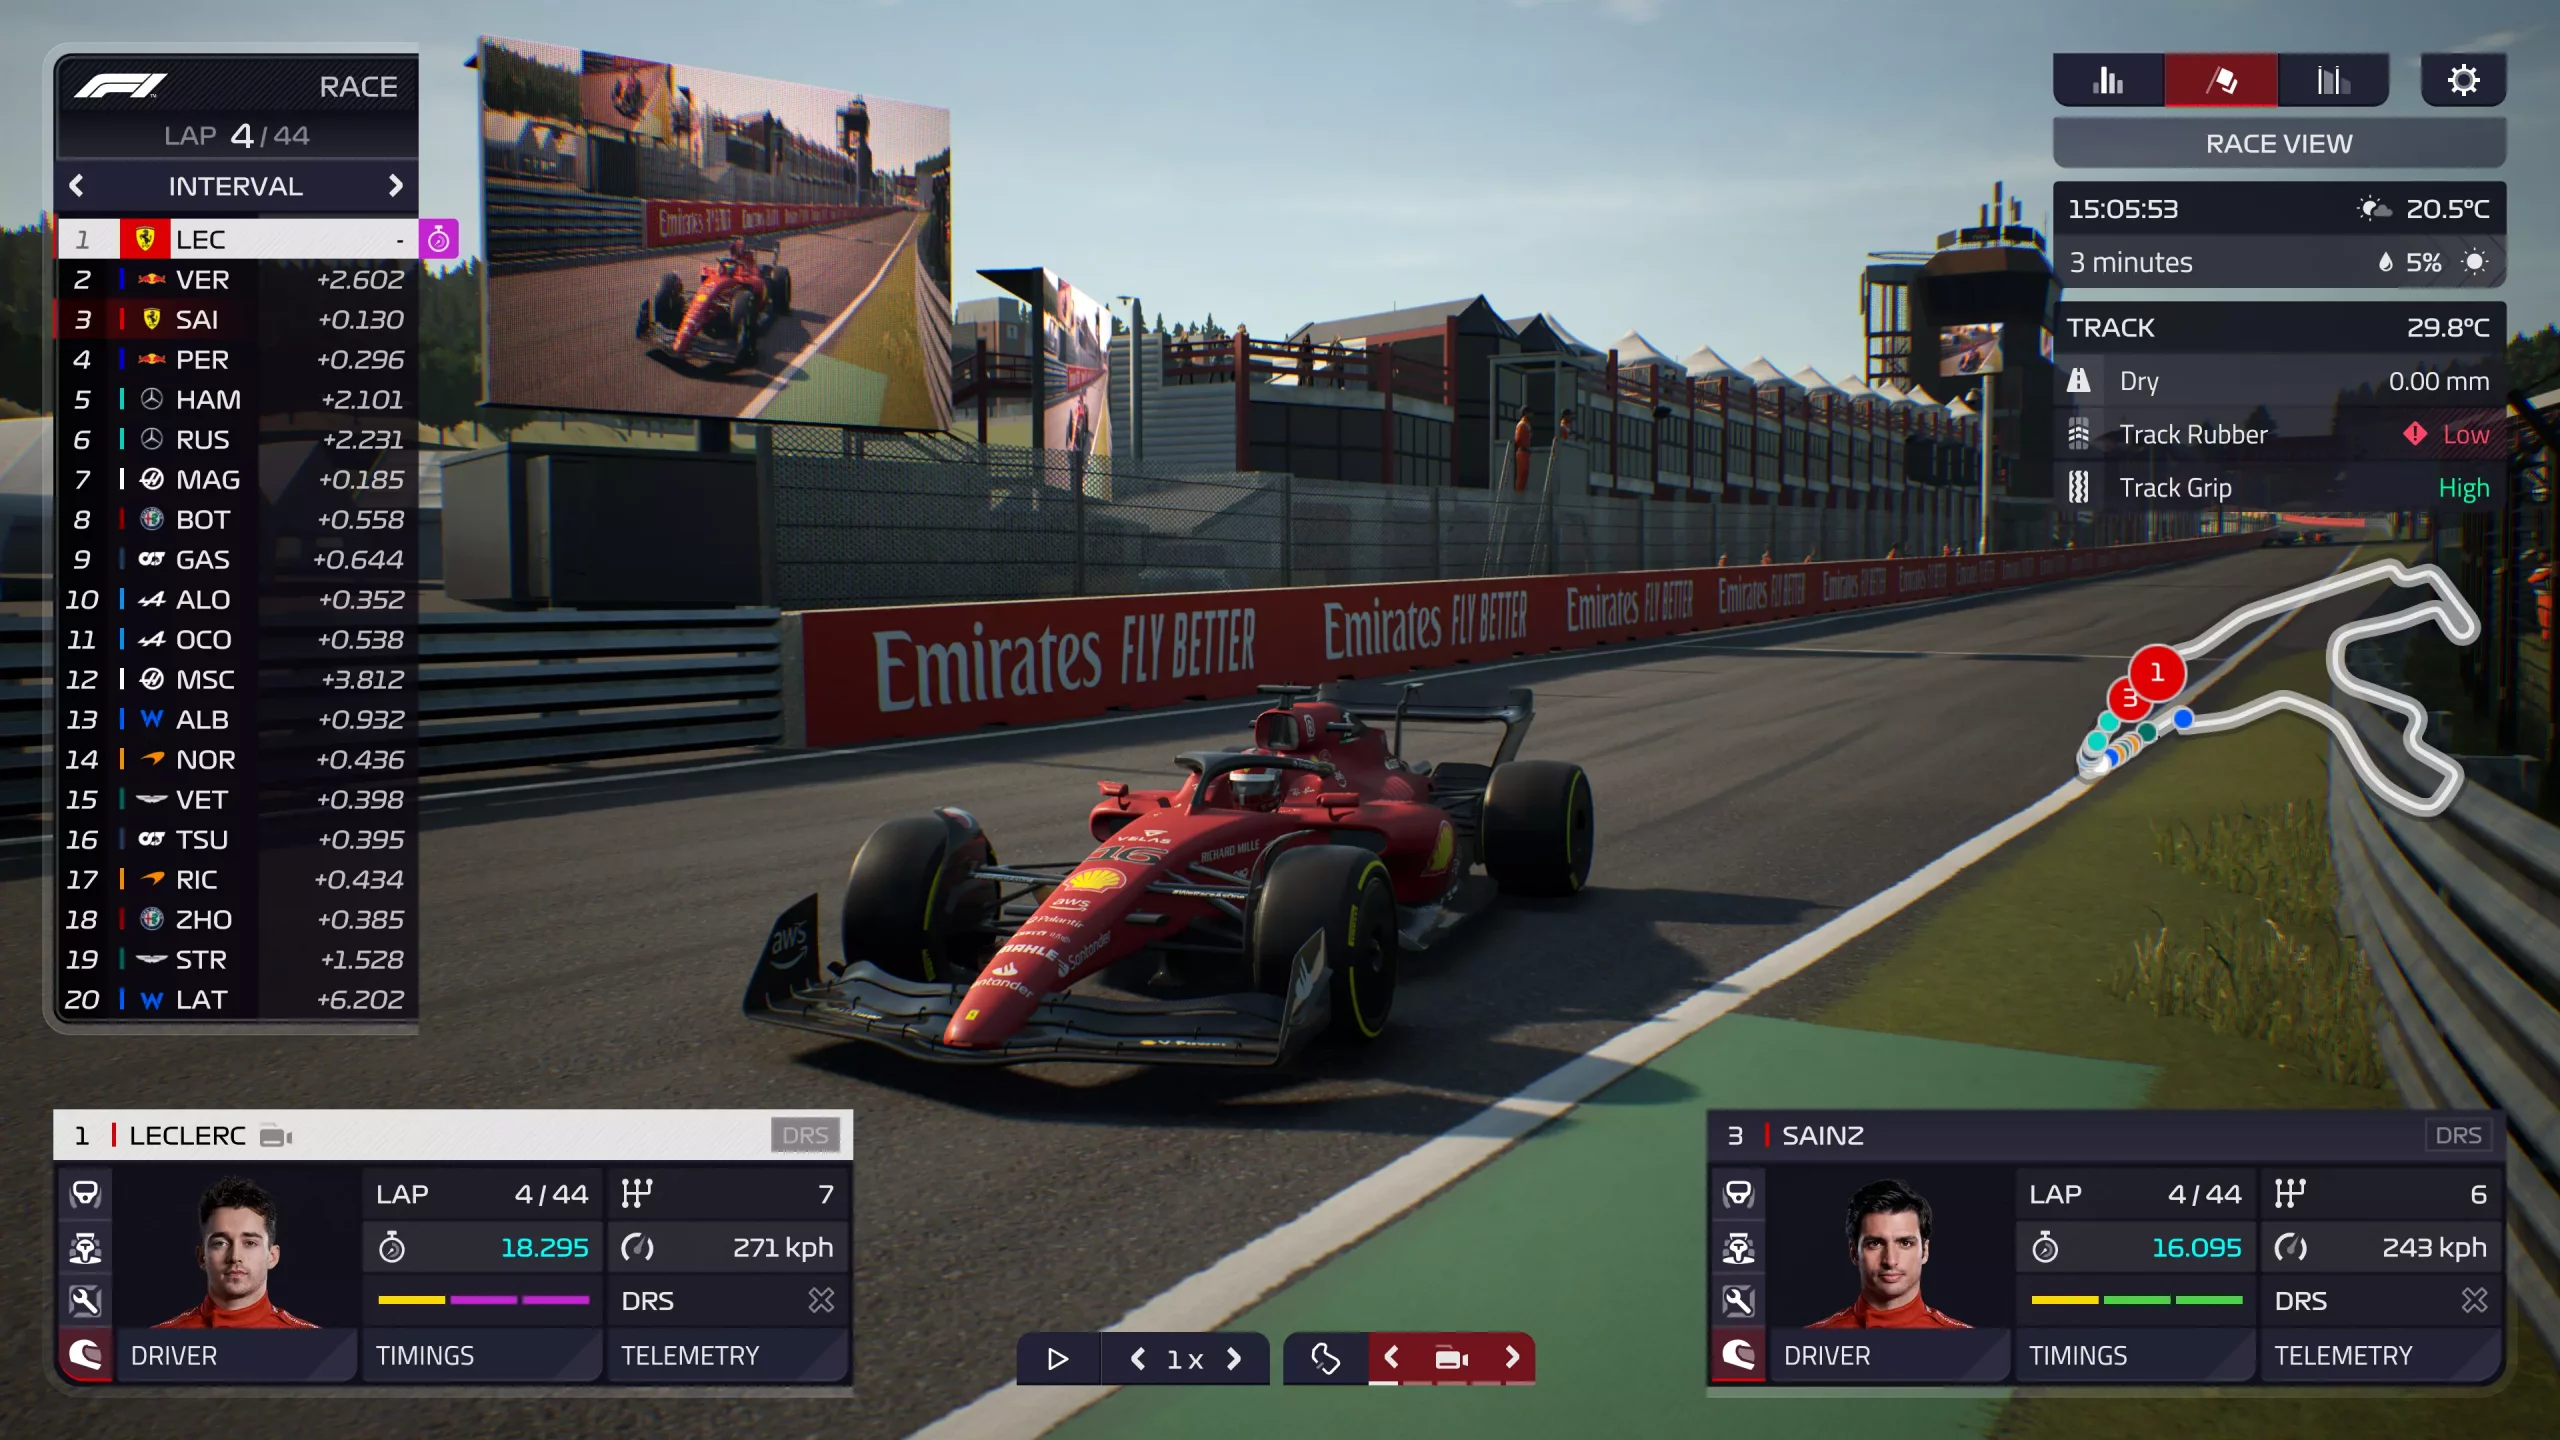
If you are into formula racing this new manager is something we will wholeheartedly recommend. How it has been a very long time since a good F1 manager has been released this one is breath of fresh air. Masterfully done and fun to play, also licensed with real teams and cars get it here: https://store.steampowered.com/app/1708520/F1_Manager_2022/
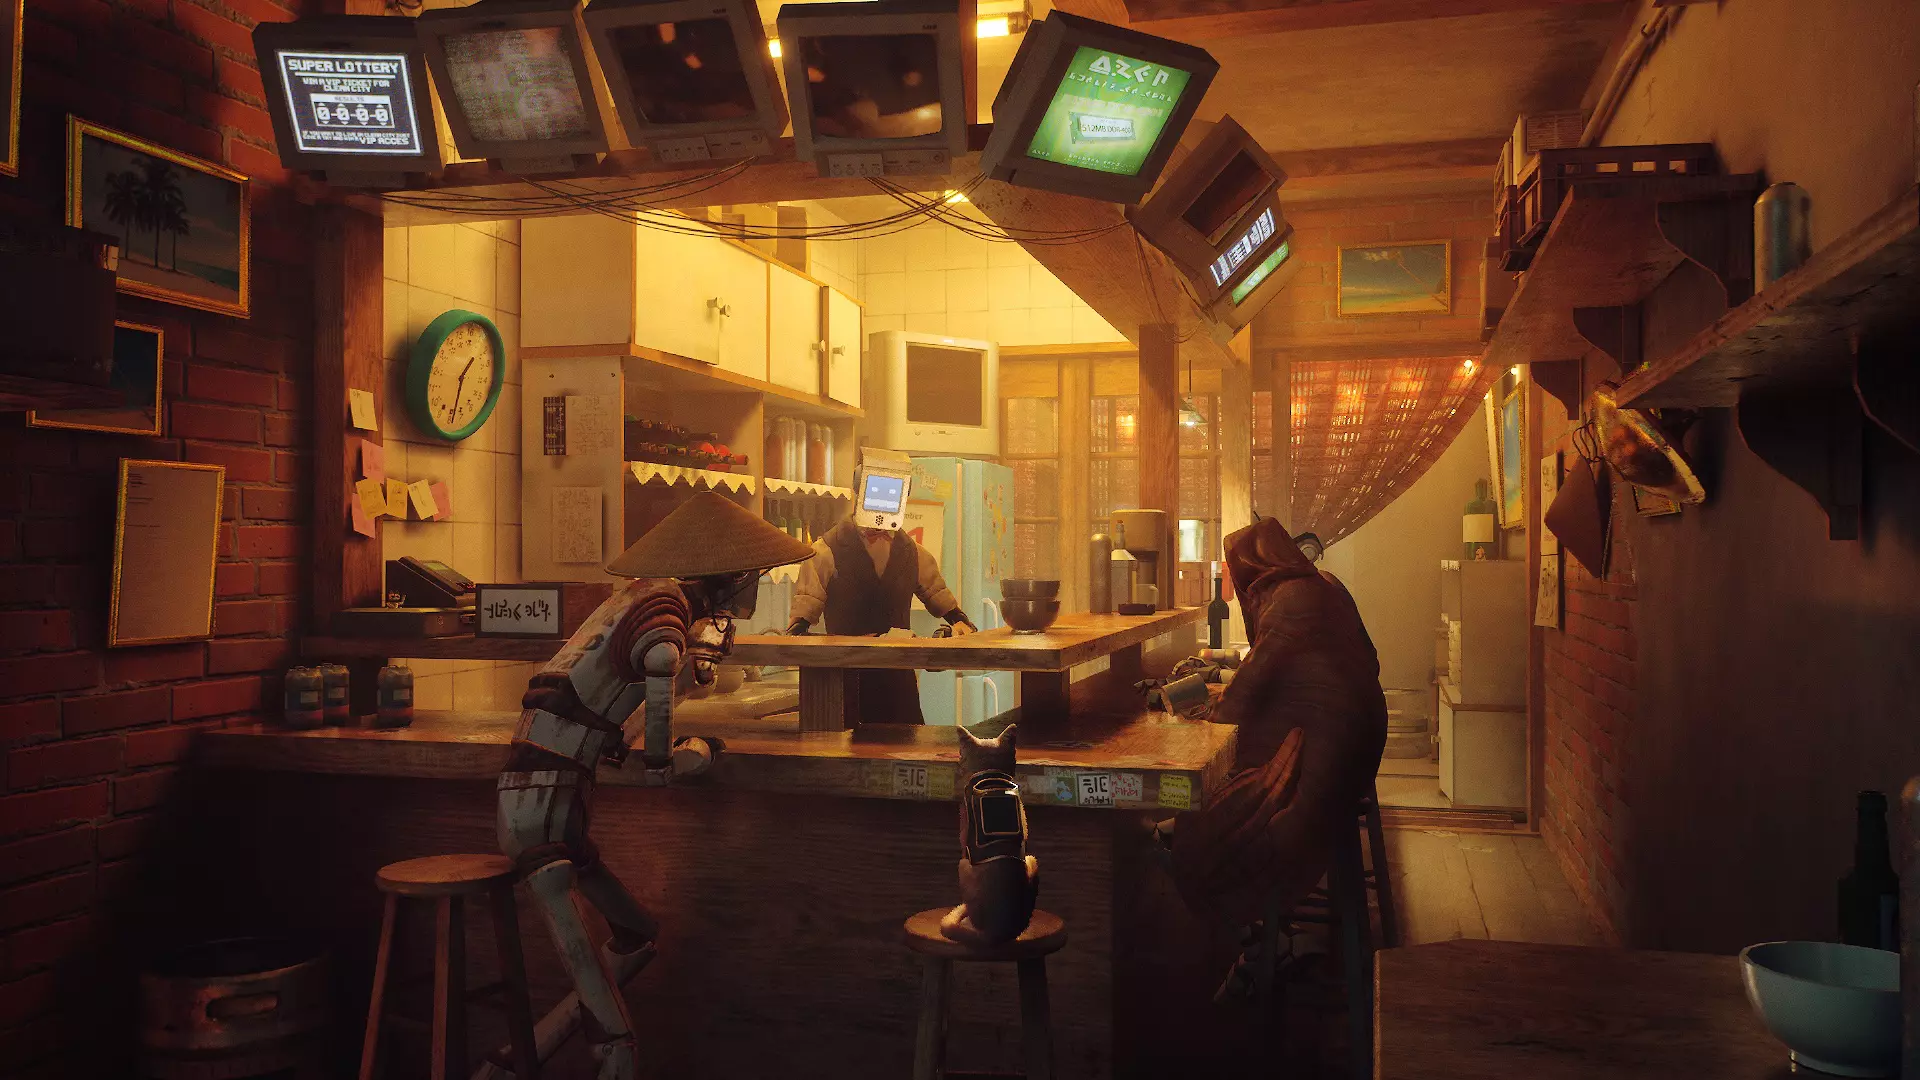
I like cats, but this game is on another level from its competitors. Unique approach, great storyline, and of course orange cat as the main character! Set in a cyberpunk environment following the story of some unfortunate androids you can do most cat things like playing in boxes, etc but essentially the game is a puzzle platformer which in my opinion is a great thing. Meow your things and get the game while it is discounted: https://store.steampowered.com/app/1332010/Stray/
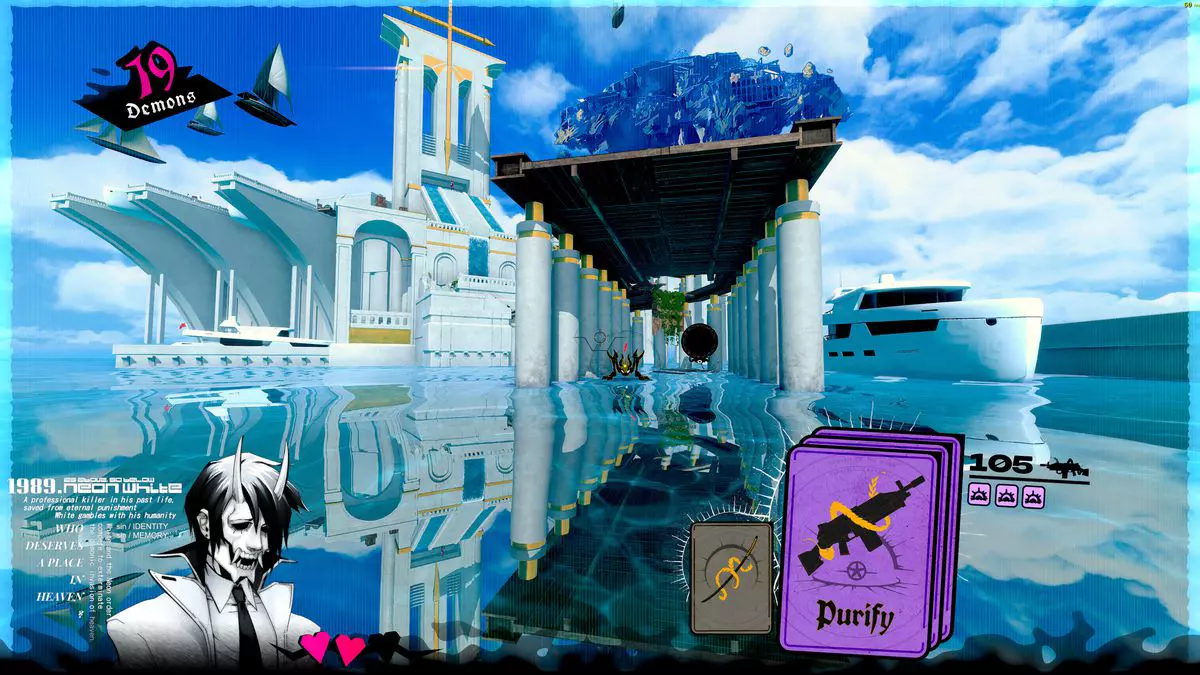
Mirror's Edge was the very unique game when it was released introducing parkour into the gaming world, and Neon white brings it one level up. With competitive parkour FPS gameplay this game is great for killing some time and competing with your friends but most of all it is fun to play experience. Get it here: https://store.steampowered.com/app/1533420/Neon_White/
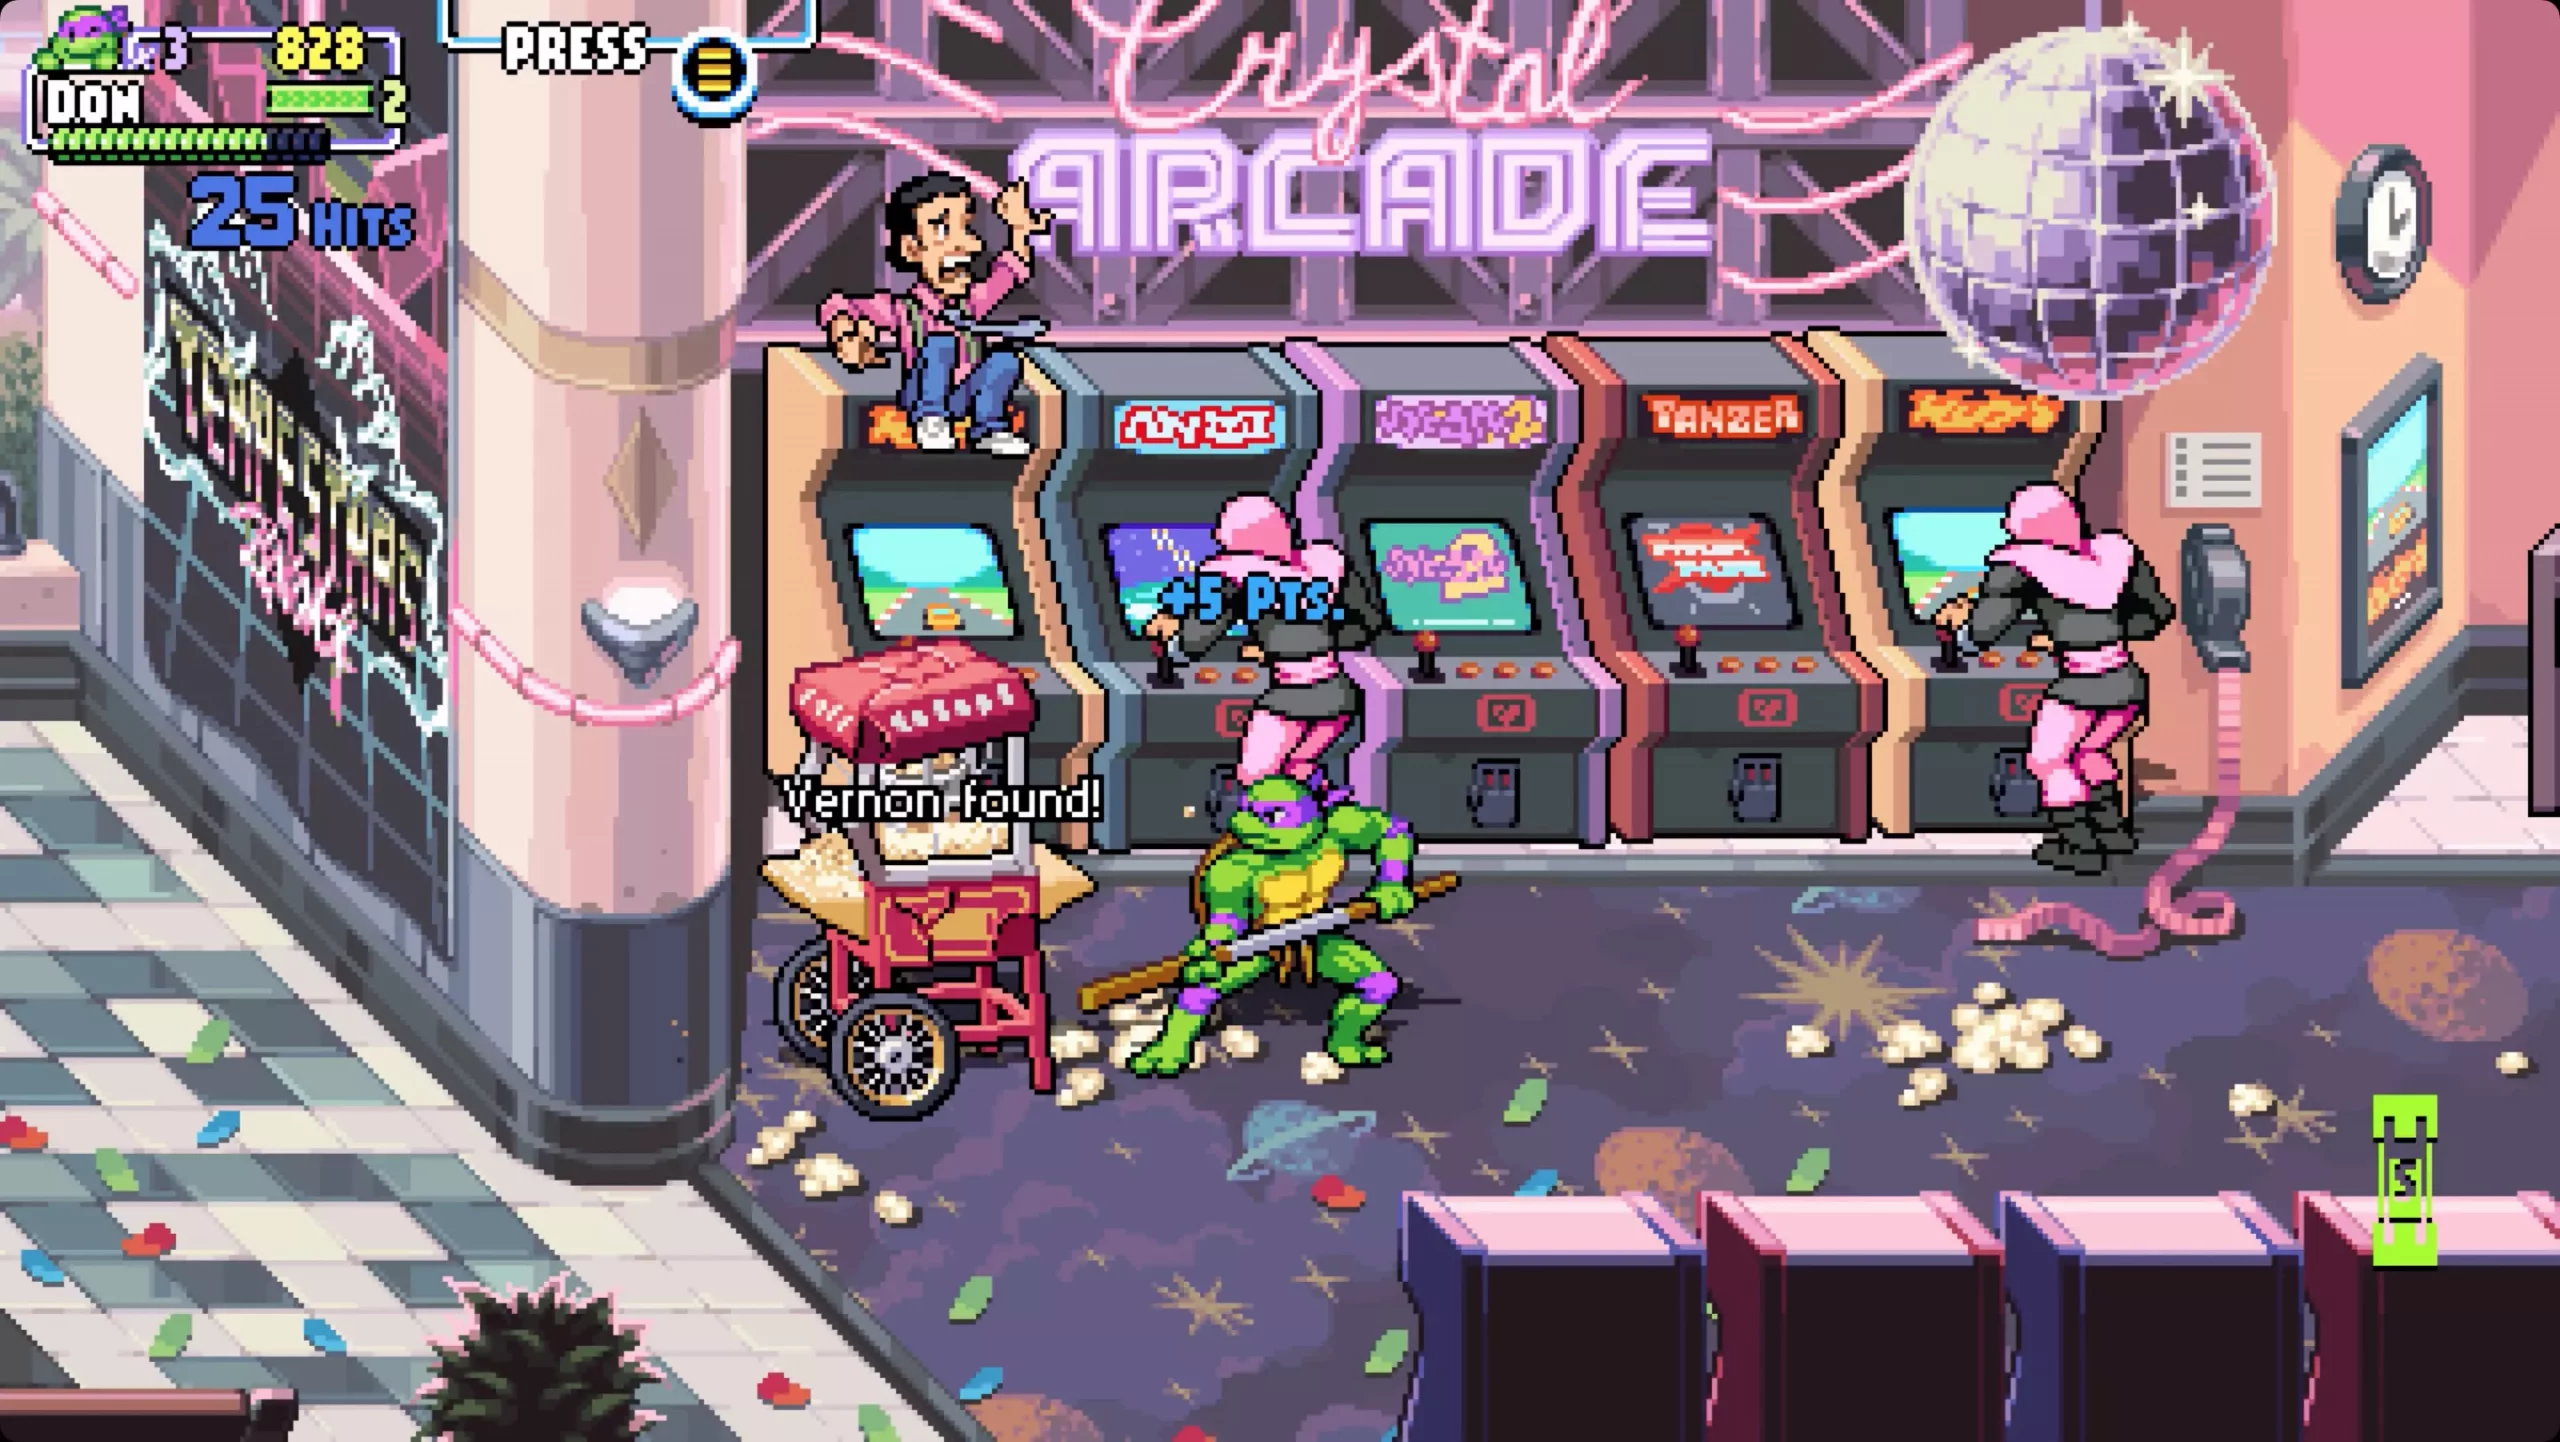
Shredder's revenge is a love letter to classic beat-them-up games found in old dusty arcades back in old times. Fast frenzy action, pixel art graphics, and tons of fun!!! Get it now and start partying like it was 1980: https://store.steampowered.com/app/1361510/Teenage_Mutant_Ninja_Turtles_Shredders_Revenge/
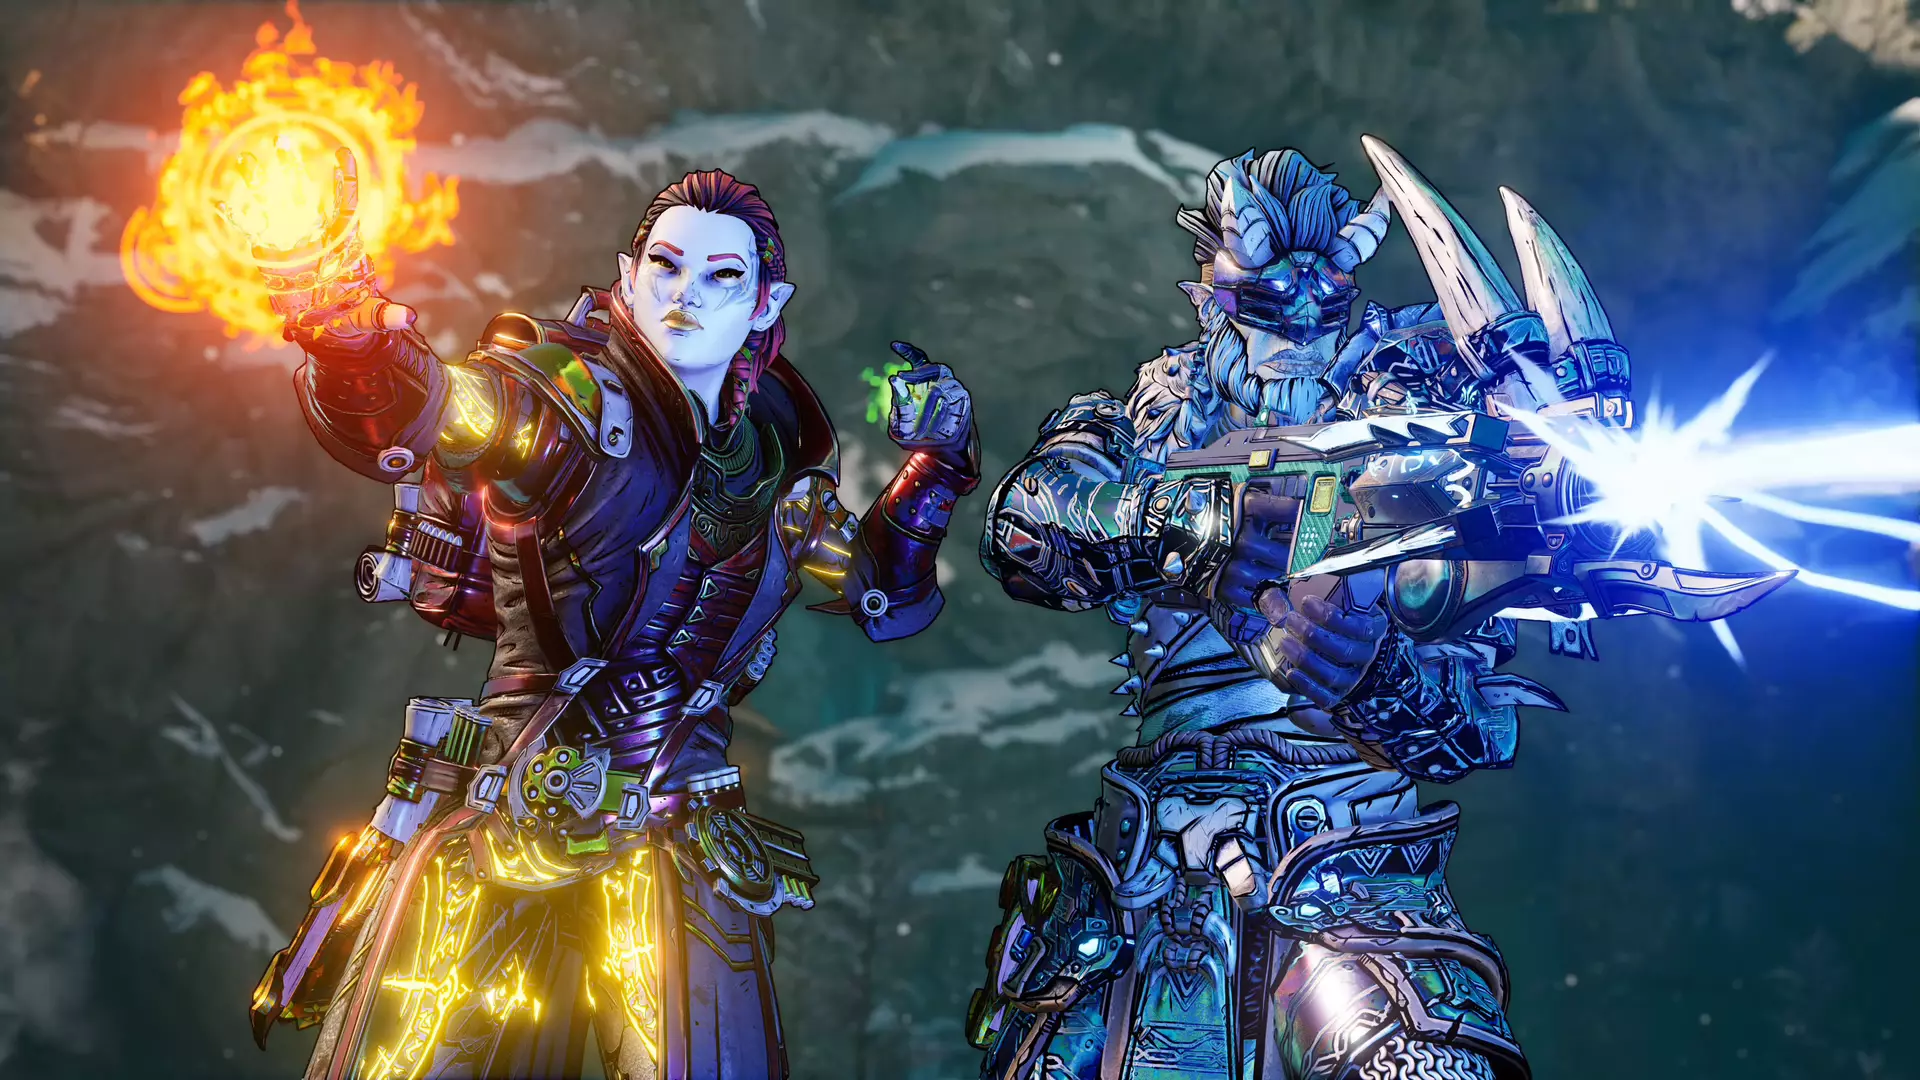
This game needs to be experienced in order to fully grasp its magnitude and quirkiness. From the creators of borderlands comes a new IP fusion of fantasy, guns, and crazy ideas all wrapped into an action RPG looter shooter with a recognizable borderlands style of graphics. https://store.steampowered.com/app/1286680/Tiny_Tinas_Wonderlands/
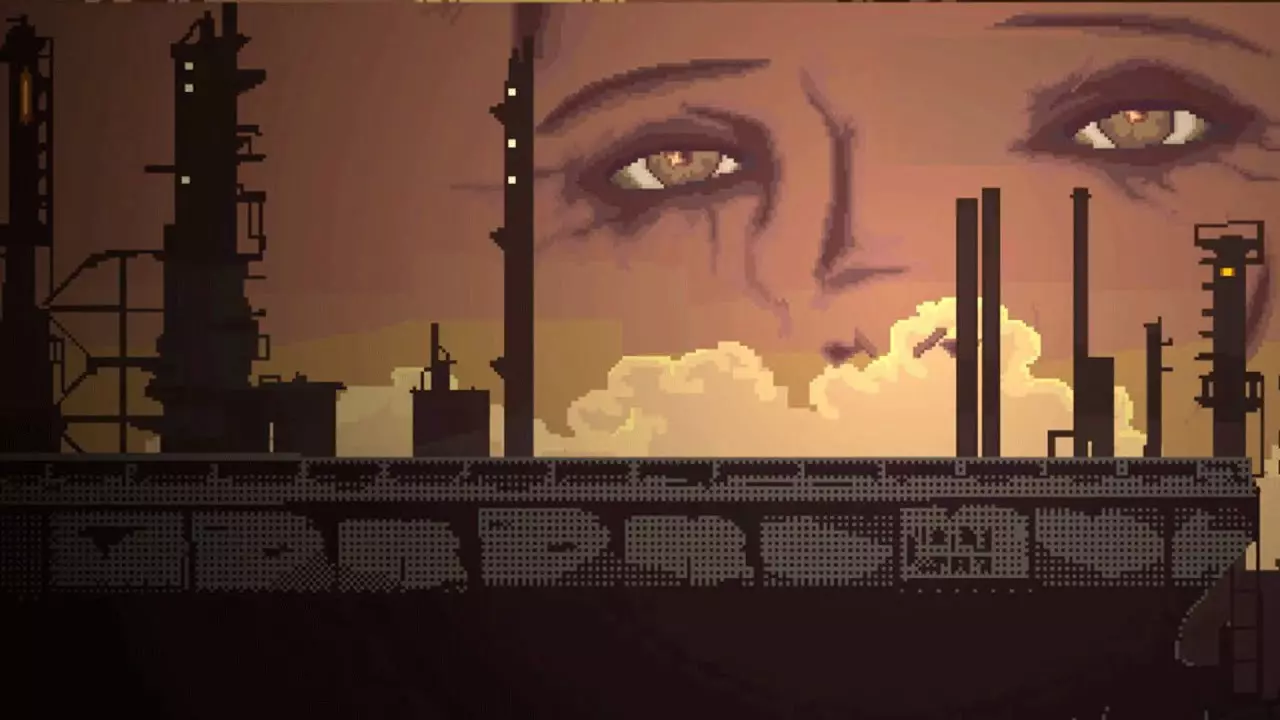
Winner of multiple awards, Norco is a classic point-and-click adventure game with a great sci-fi story with a lot of environmental focus. Story and atmosphere are the main selling points for the game and if you enjoy good stories with interesting characters give this one a go: https://store.steampowered.com/app/1221250/NORCO/
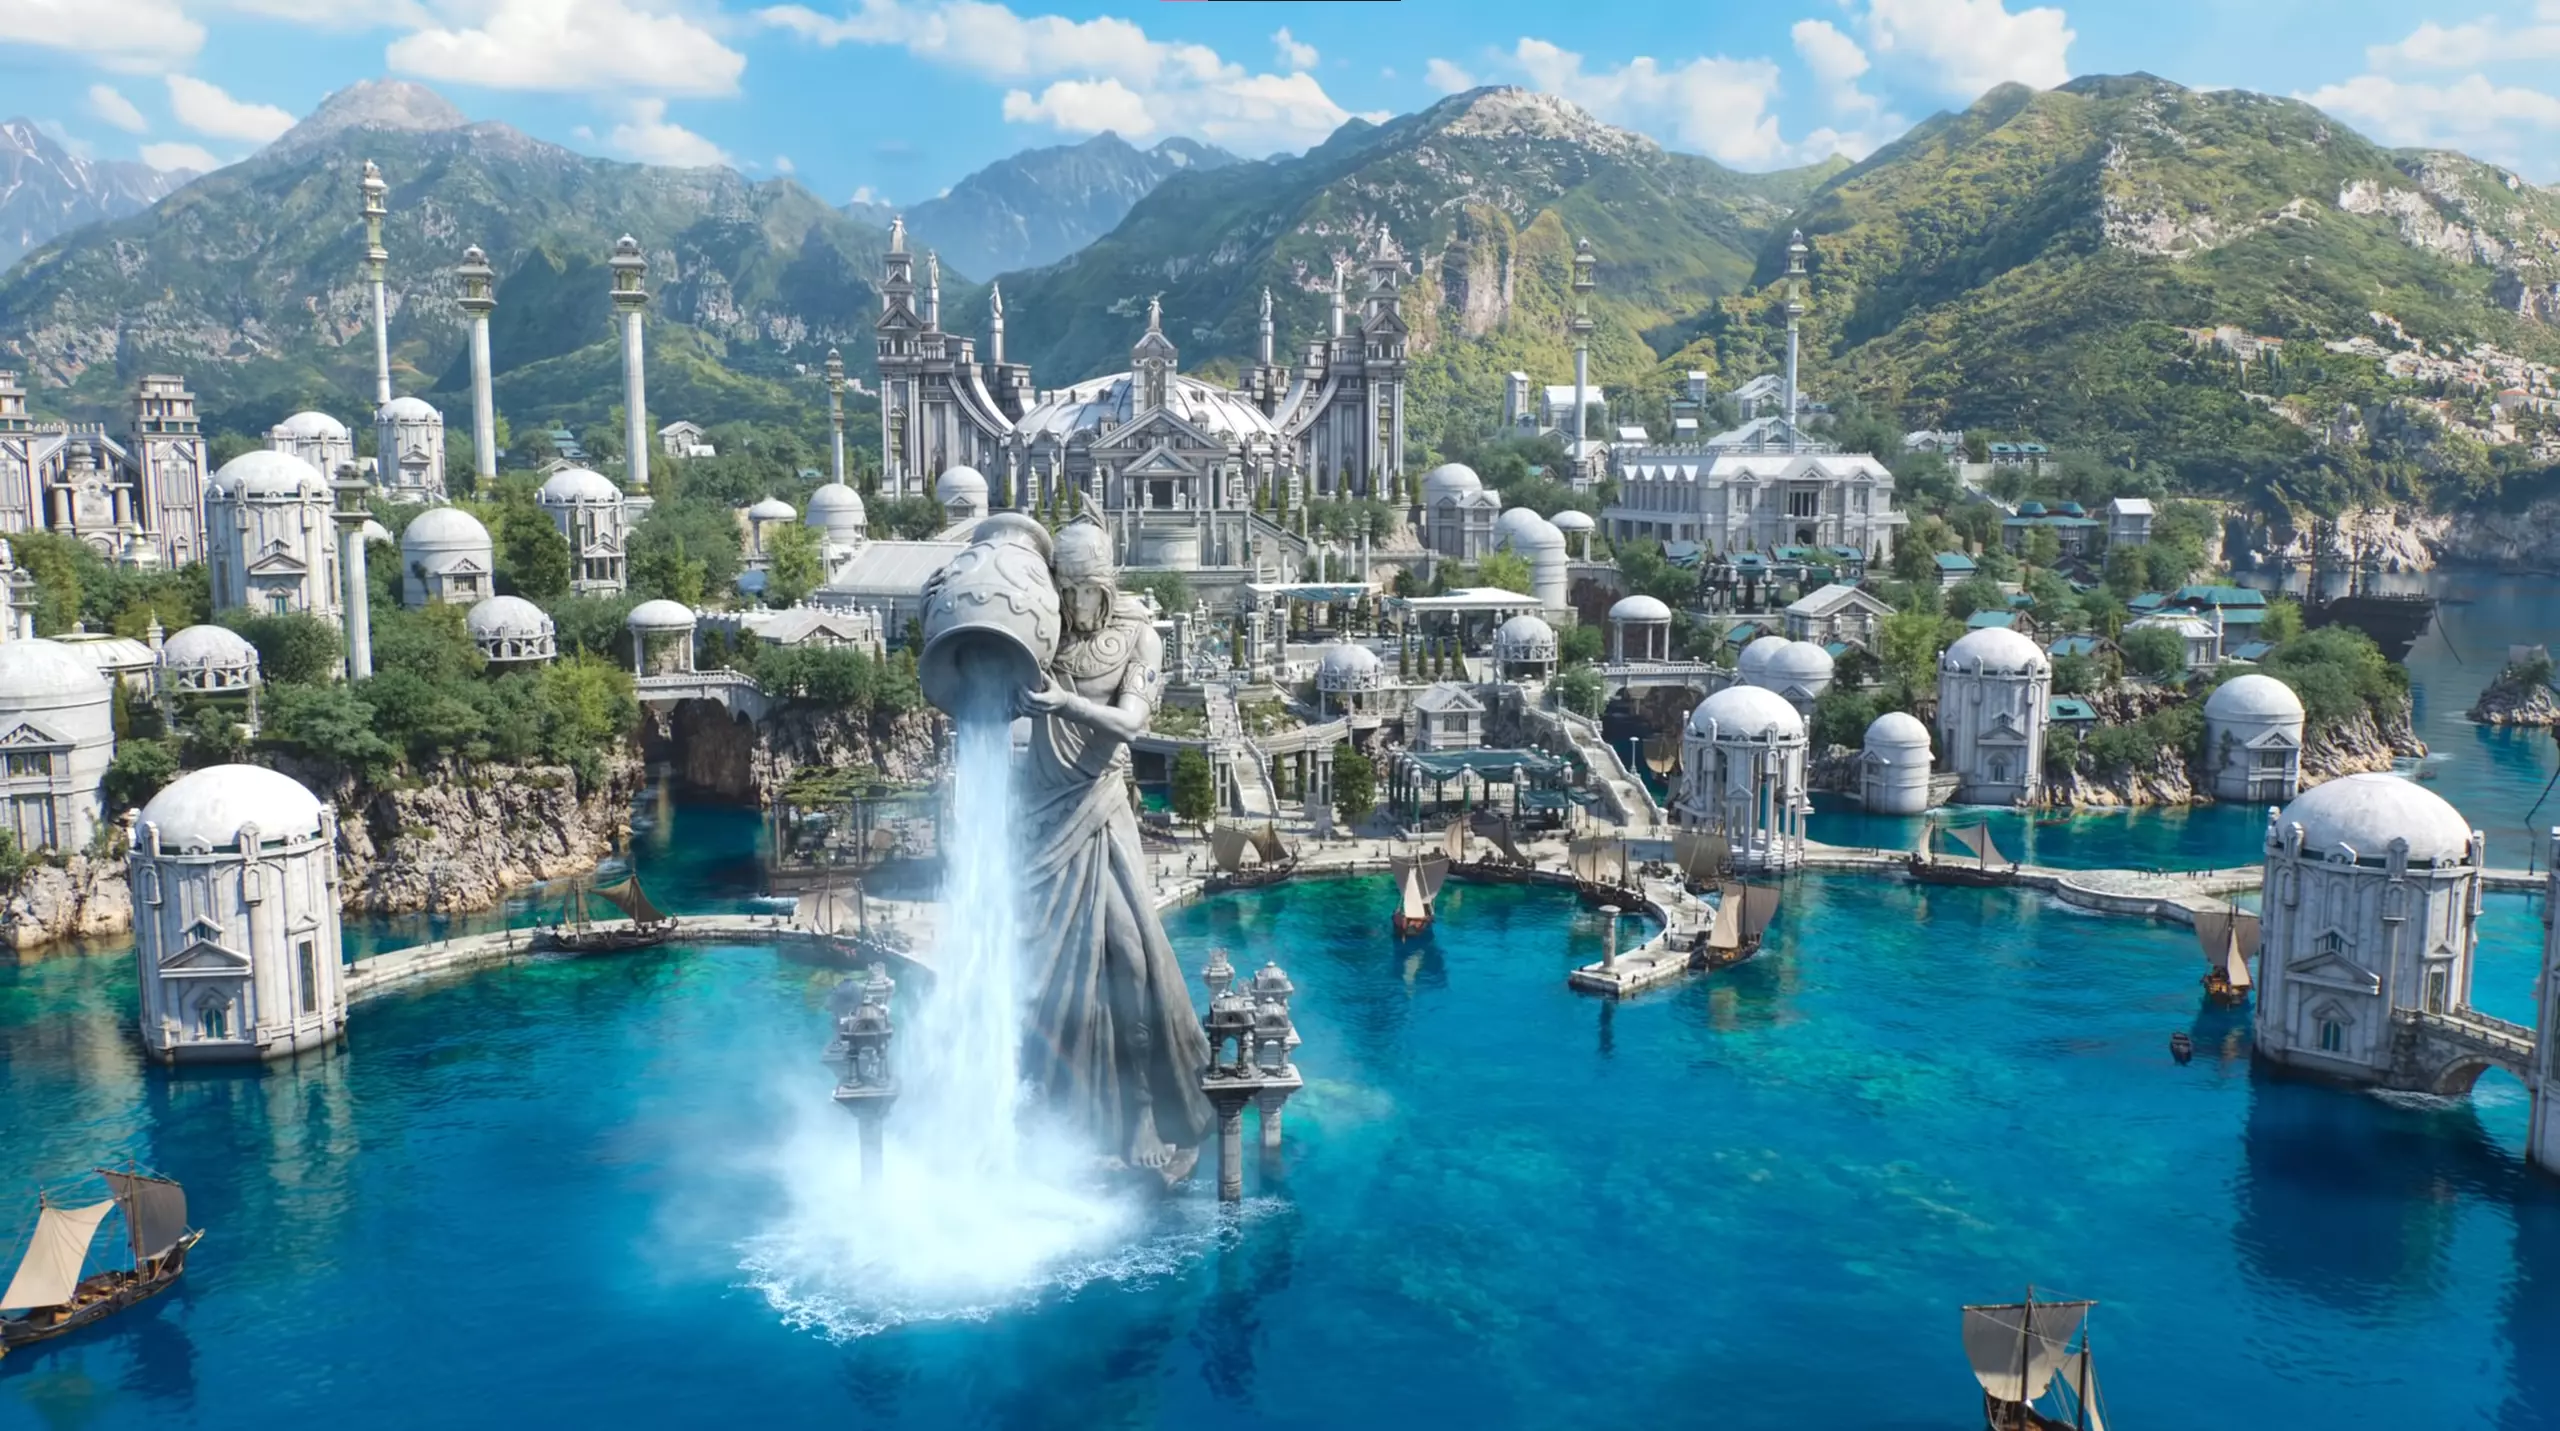
Expansion for Massive multiplayer online roleplaying game brings so much to the table that we just could not oversee it and place it aside. Technically not full standing game since it is the expansion it still delivers on many fronts and since it is supposedly the last expansion now is the best time to pick it up and give a final fantasy 14 a go: https://store.steampowered.com/app/1592500/FINAL_FANTASY_XIV_Endwalker/
Of course, the list would not be complete if we did not include Elden ring, a great example of how a difficult but well-executed game can go over and beyond. With a story on par with great epics and compact as in dark souls, this title will provide you with many hours of gameplay and content. https://store.steampowered.com/app/1245620/ELDEN_RING/
 Error Causes
diskpartStep 5: Afterwards, type in either of the following commands to help you in either listing all the Disk connects or all the partitions on those disks formed.
diskpart or list volumeStep 6: Next, you need to select any of the two given commands below depending on the list you entered on the previous step.
select disk # or select volume #Step 7: After you enter the command, it will select the Disk or the Partition you want to select. Now you have to type and enter the following command to clean your drive.
cleanStep 8: Now enter any of the two following commands.
list disk or list volumeStep 9: Then type the next command below to create a specified partition.
create partition primaryStep 10: Once done, type in the following command to select the newly created partition.
select partition 1Step 11: Next, type the following command to mark the selected partition as active.
activeStep 12: Finally, restart your computer to successfully apply the changes made and then see if it has fixed the problem or not.
Error code 0x000000D1 is a serious error that is displayed when Windows automatically shuts down to protect the system against further damage.
Usually, when this error occurs, the message displayed to the users states something like STOP 0x000000D1 DRIVER_IRQL_NOT_LESS_OR_EQUAL.
What Causes 0x000000D1 Error?Usually, the STOP 0x000000D1 error code is caused by issues like incompatibilities, third-party drivers, driver conflicts, outdated drivers, malicious drivers, and other related problems.
Speaking technically, the message displayed to the user actually means that the kernel-mode driver has tried to gain access to memory at an unreasonably high process IRQL.
If left unfixed, STOP 0x000000D1 error can become quite serious. Increased frequency of occurrence may not only lead to data loss but can cause system corruption as well. That’s why it is crucial to fix it and to resolve the underlying issues causing it as soon as possible.
 So there are several problems that can cause this error like issues with accessing the Microsoft servers, corrupt system files, settings being misconfigured, malware infections, or conflicting applications. We will cover all solutions for each scenario taking approaches from most simple solutions to more complex ones. Follow the guide and let's fix this annoyance.
Google Chrome is the most used browser in the world with the most user downloads. Most users are using browsers how it is, open it up and just surf but Chrome offers more than just plain surfing. Here we are presenting you with some interesting features that most users do not use but should.

Chrome's Omnibox, also known as the address bar got its name because it can do much more than just search the internet. You already probably know that just by typing any word you will search the internet with Google or another search engine of choice.
You can also set specific keywords inside Chrome settings to tie them with specific websites, for example, you can tie the letter E with errortools, and then just by typing E windows error you will search term windows error on website errortools. There are some already predefined things and you can add anything you want so this is a great feature in order to speed up your work skipping part of actually opening the site.
On any webpage, you can simply select any text and right-click on it to get a new menu entry that will say search Google for "your selected text" and by clicking on it you will automatically search the net for the selected term.
When we surf the internet some of us tend to have plenty of open tabs and over time they can clutter and shrink in width making the surfing experience an unpleasant one.
Chrome has tab groups and you really need to start using them since you can organize much better all the tabs, even color-code them.
On top right part on title bar right next to minimize button there is small arrow pointing down, once you clik on it all opened tabs will be displayed by name as a listand by clicking on it you will automatically switch to it.
Google Chrome has its default download destination but you can change that destination and even turn on option to be asked where you would like your download to be saved each time.
YouTube has cations for its videos but Chrome itself has live caption option in order to provide you with automatic AI captions for any type of video or audio on any website. If you are struggling with following what is being said try this awesome option.
Using extensions in Chrome is awesome, specialy if extensions are usefull but if you go incognito they are not active. There is an option in Chrome to turn on the extensions even in incognito mode and even better, you can even choose which ones you want to be active, you do not need to turn all of them.